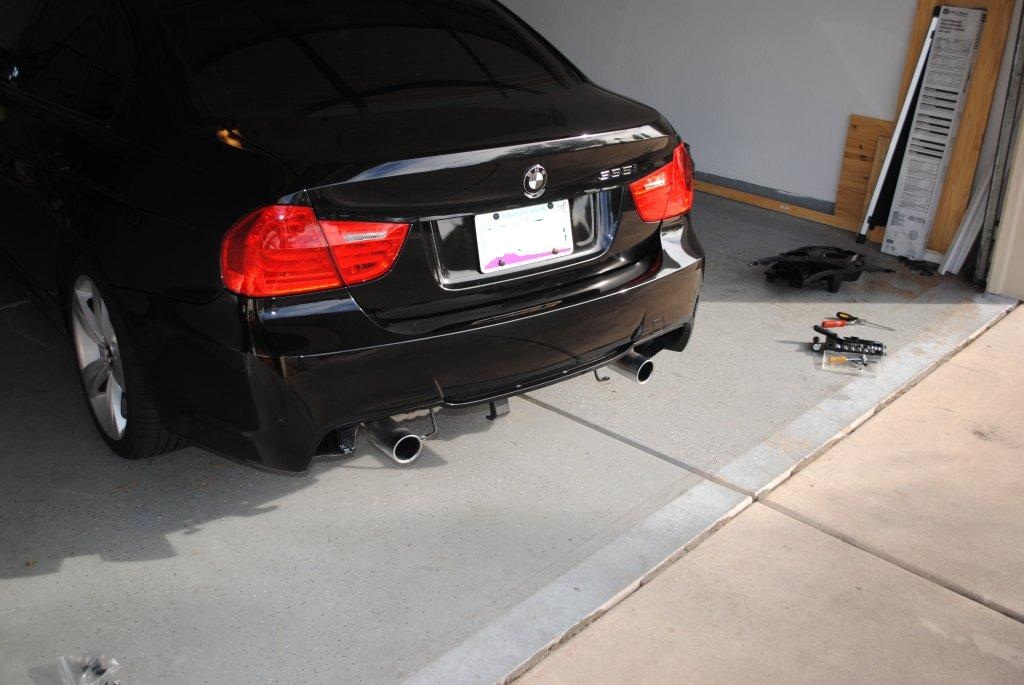
First I used the video from this
post to remove the OEM bumper. It's almost the same for an E90 LCI.

Only real difference was the top clips that are behind the tail lights. Instead of tabs it's just pinching the bumper cover so you can pull it right out once you have all the other tabs off.

Now I'll pick up where the video stops.
Once you have the OEM bumper off. You will need to remove the bumper guides. There are three 8mm bolts on the top, and two 10mm bolts on the left & right.
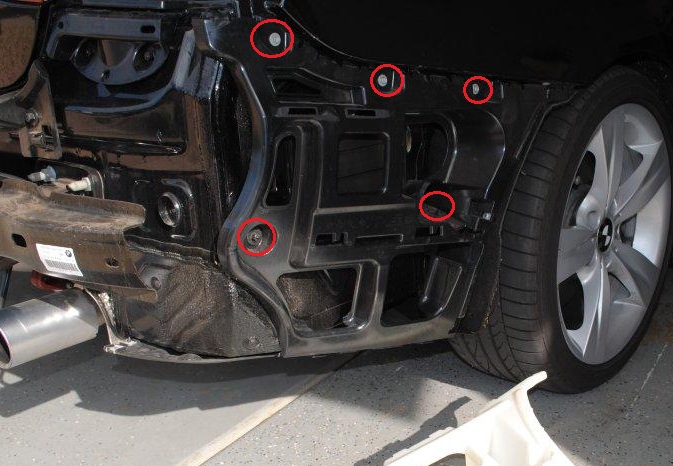
Attached to the bumper guide is a sensor that is clipped in two places. You can pull the sensor right off the bumper guide once it is detached from the car.

(sorry for the bad focus)
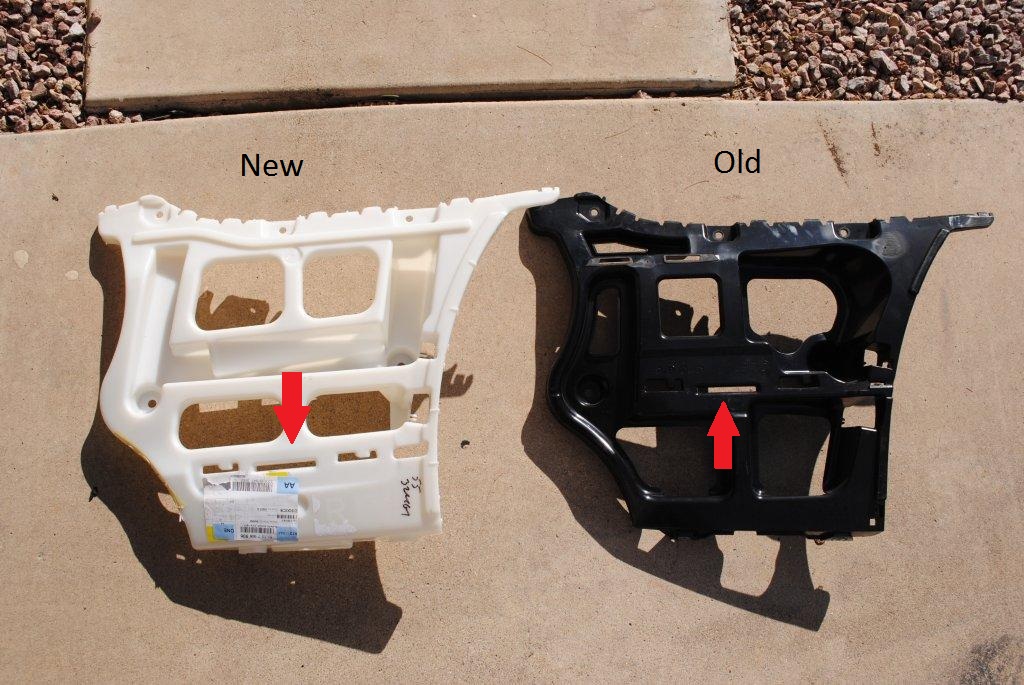
Now install the new bumper guides, reversing what you just did. Make sure you transfer the metal clips used to screw the bumper cover and fender well lining on from the old bumper guide to the new one.
The main difference between the bumper guides is that the slotted area moves down for the M-Tech bumper to push into.
Next snap on the new bumper cover. I found it easier to slip the cover under the pressure clips by the tail lights first so it was level, then snap the sides in. Now reverse what you did to take off your OEM bumper -->
screw in the bumper to the quarter panel
screw the lining back on
screw the cover to the bumper guide underneath
install the torx screws
replace your tail lights
The diffuser is fairly easy to figure out. I did have to steal two metal clips from spots that were no longer used to screw the diffuser to the bumper cover underneath in two spots.
Also My fender well lining didn't line up as it did before but with a little force I was able to stretch it over enough to screw it on.