We are now done prepping the top of the glove box. This took about 20 minutes
We now move to the wiring part of this install.
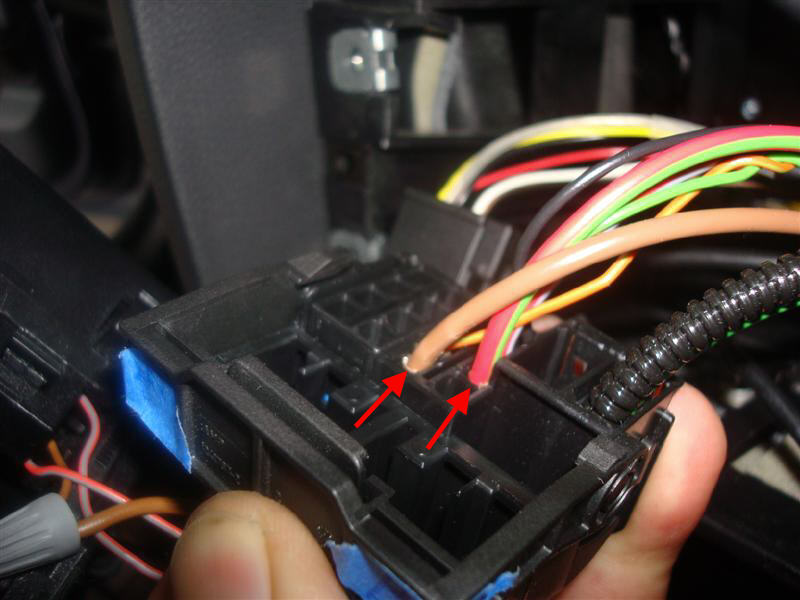
22) This is the wire harness to work on.
Circles in red indicate the wires to remove.
The instructions indicate to remove these 2 wires.
Not as easy as it sounds.
You dont just pull on them from the harness.
The red X indicate 2 wire harnesses within the main wire harness.
These 2 can be removed to give you more room to work on the other wires.
I strongly suggest you do this to give you room to work.

23) Back view of the harness. Red arrows indicate the 2 wires to remove.
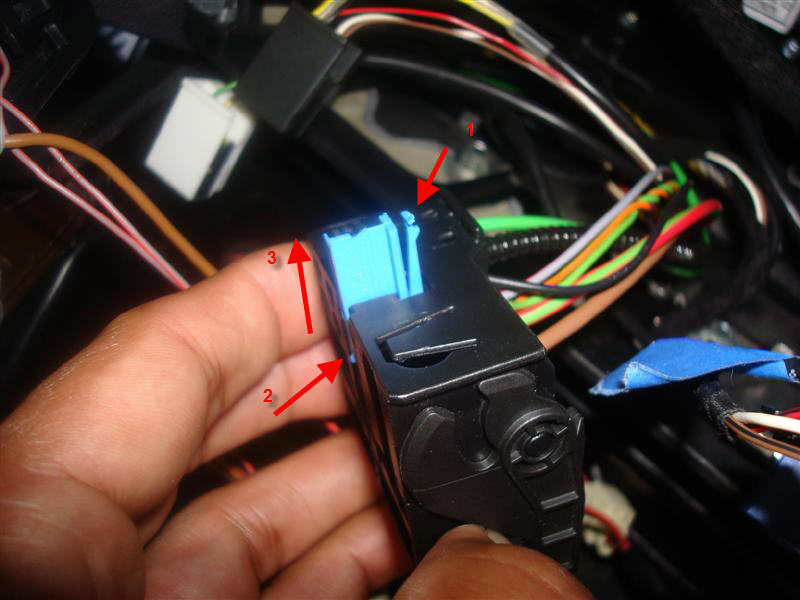
24) To remove wires from the harness, you need to remove this blue piece from the harness first. Use the smallest flat head screw driver you can find.
Per the numbers in the pics:
1- push down on this tab
2- push out on the direction of arrow 3 and remove the blue piece completely.
25) Once the blue piece is removed, you will be able to remove the 2 wires.
Install the new ones from the interface wiring.
26) install the removed wires in this piece and continue to follow the directions.

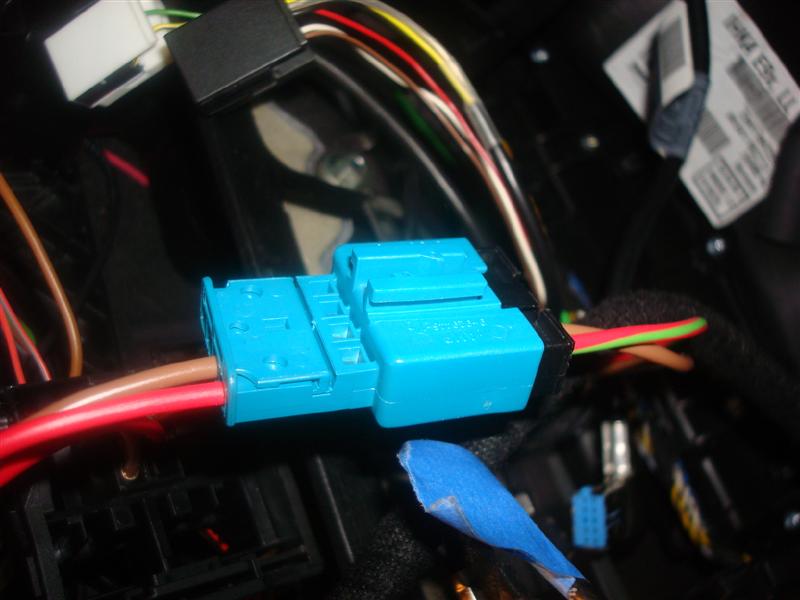
27) connect the new built plug to the one in the interface kit.
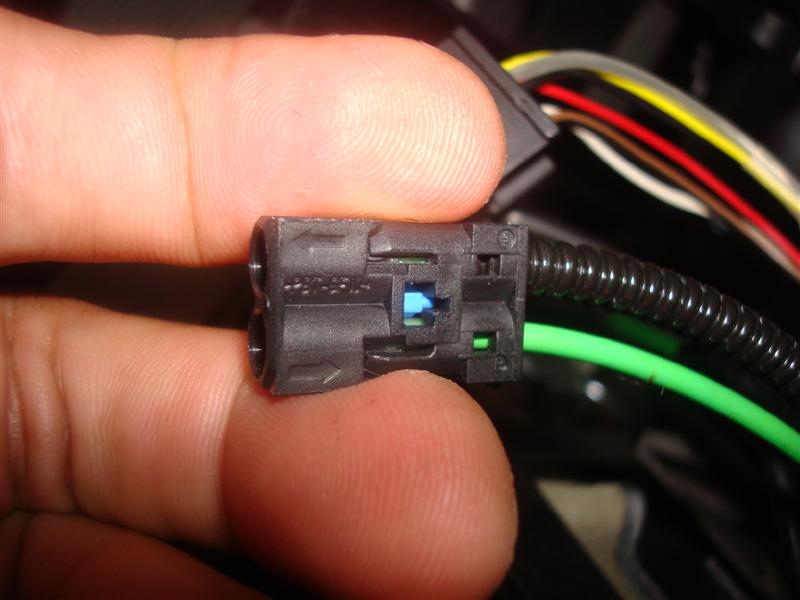
28) Now to the fiber optics wiring.
Remove this piece from the main harness.
The green wire needs to go.
To remove it, use a small flat head screw driver and push on the blue middle piece.
Once that is out, you can remove the green wire.
29) Continue the wiring instructions for the fiber optics wires.
30) Re assemble the main wire harness.
At this point, all wiring is done, all new connections are done.
All this wiring took the most time. I finished it in 1 hour.
It took me a long time because I spent a LOT of time figuring out how
To remove current cables from harness. Not as easy as just pull on the wire.
But with these instructions, it should be much easier for the next person doing this mod.