THis is the link to my original problem.
http://www.e90post.com/forums/showthread.php?t=736949
Okay Recently ran into this problem from time to time WOT followed by Half engine light and car going crazy. Also car cut off boost, and wouldn't shift out of 3rd. scared the daylights out if me then i read the codes and they are shown below they did not want to clear. Restarted the car LONG crank then started up felt like my torque converter was out.. anyways i also got DME internal error codes. so i started but replacing the crank shaft sensor. and decided to do a DIY since i could not find any and could find anyone sharing their experiences.
Also got a Transmission code that i could not clear with the JB4 you could use INPA, i used my dads Snap On Diagnostic machine DOhicky thingy. anyways cleared it and it went away AFTER I REPLACED THE SENSOR!

So far so good car is pulling hard and I'm Code free. now lets get on with the DIY shall we.
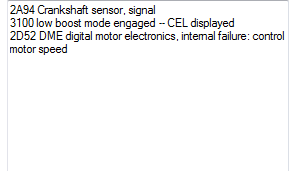
 First take your air intake off. (not the manifold!)
assuming you have your cowl off
Then Lets get started.
Tools:
E8 Torx socket
Small flat head screw driver
A ton of extensions
CrankShaft sensor 13 62 7 525 015, and the Gasket (O-Ring)
(NOT CAMSHAFT!!! my dad ordered that one set me back 3 hours -_-)
Long Mechanics Magnet YOu will Drop the screw, haha i did a ton of times.
Plenty of light or a flash light.
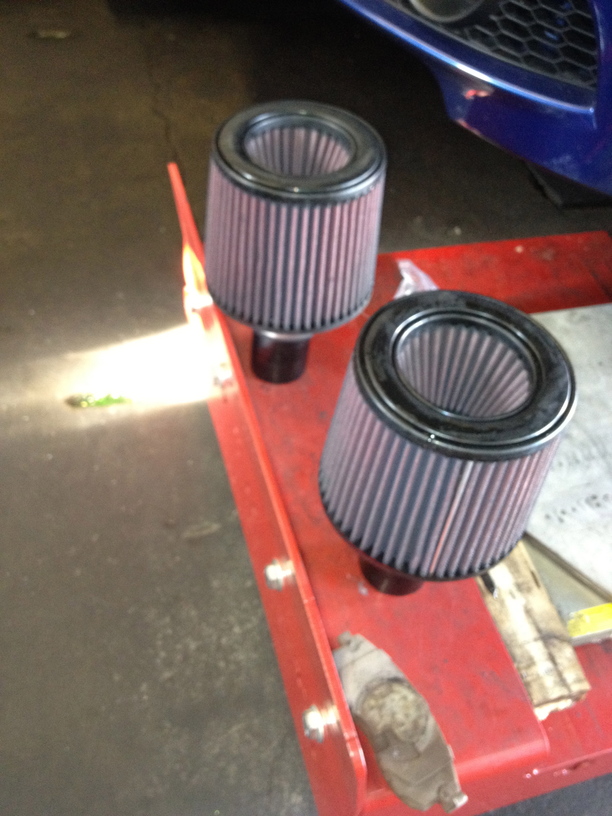
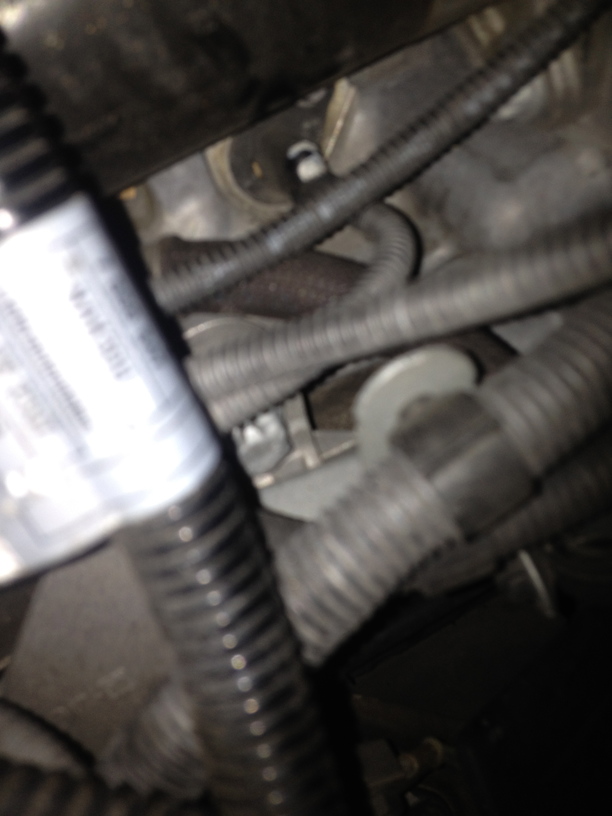
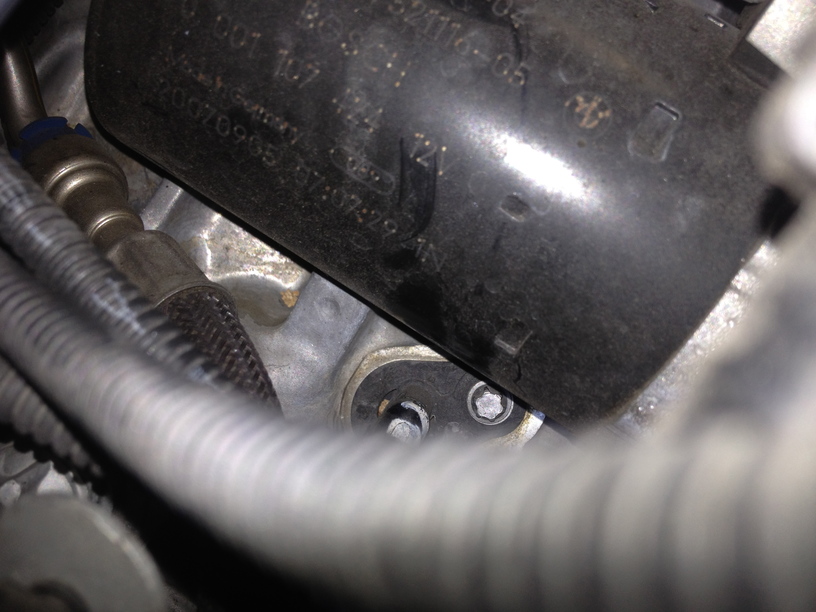
The Sensor is located Under the starter i did it while the car was hot BAD IDEA.
Use a E8 Socket and about 2 long extensions should be Enough
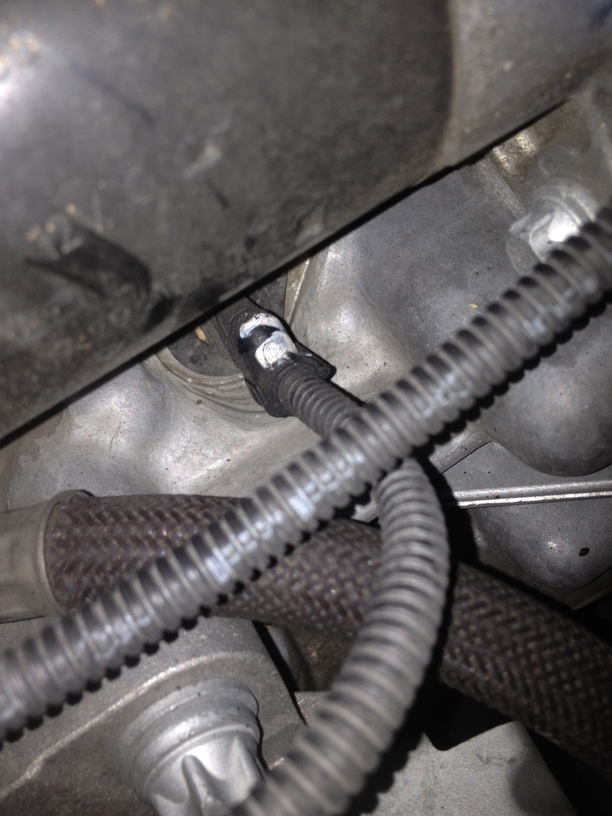
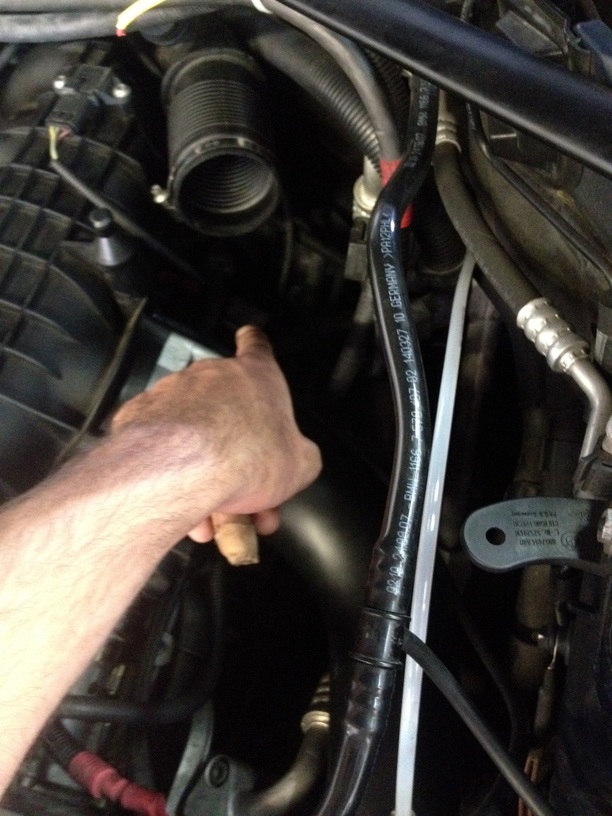
After the Removal. pull on the wire to get the Sensor out bring it into reach use a small flat head screw driver to un clip the connector carefully.

Then after its out put the NEW O-ring on the New Sensor, place it in the Hole. then carefully Fish the bolt into the hole without dropping it in the Bay i did about 3 times.
Tighten the Bolt Just snug not too tight.
then reconnect the wire and your done after you put your intakes on, and cowl on...you can leave the cowl off

hope this helped enjoy.