First of all, I just want to say that the instructions below were not written by me. The pictures were not taken by me. The user cisfinmark replied to one of my threads with this DIY guide when I mentioned I had door lock issues but he's no longer active (last login was in Oct 2010). I searched the forum and A LOT of people had this problem. His help to me was too great to just go unnoticed as a reply so I'm posting this so others can benefit from it as well.
Dealer charges were in the hundreds for those out of warranty. The actual actuator only costs $35... This DIY was a pain, took me close to three hours just because I was afraid to break certain parts. If i had to do it again, I can see myself doing it all under one hour.
With that being said, i now will paste cisfinmark's reply.
My comments will be in bold
Problem: The driver's side door will not unlock with fob or central locking button. The actual key and door handles work fine for unlocking and opening this door. All other doors operate normally. Fuses 56 and 57 were fine.
Fuse 56 was replaced with a 20 amp mini as suggested.
http://www.bmwtis.com/tsb/bulletins/...p/B511907g.htm
The actuator was ordered for $34.82 from Tischer
GetBMWparts.com
part#
51217202143
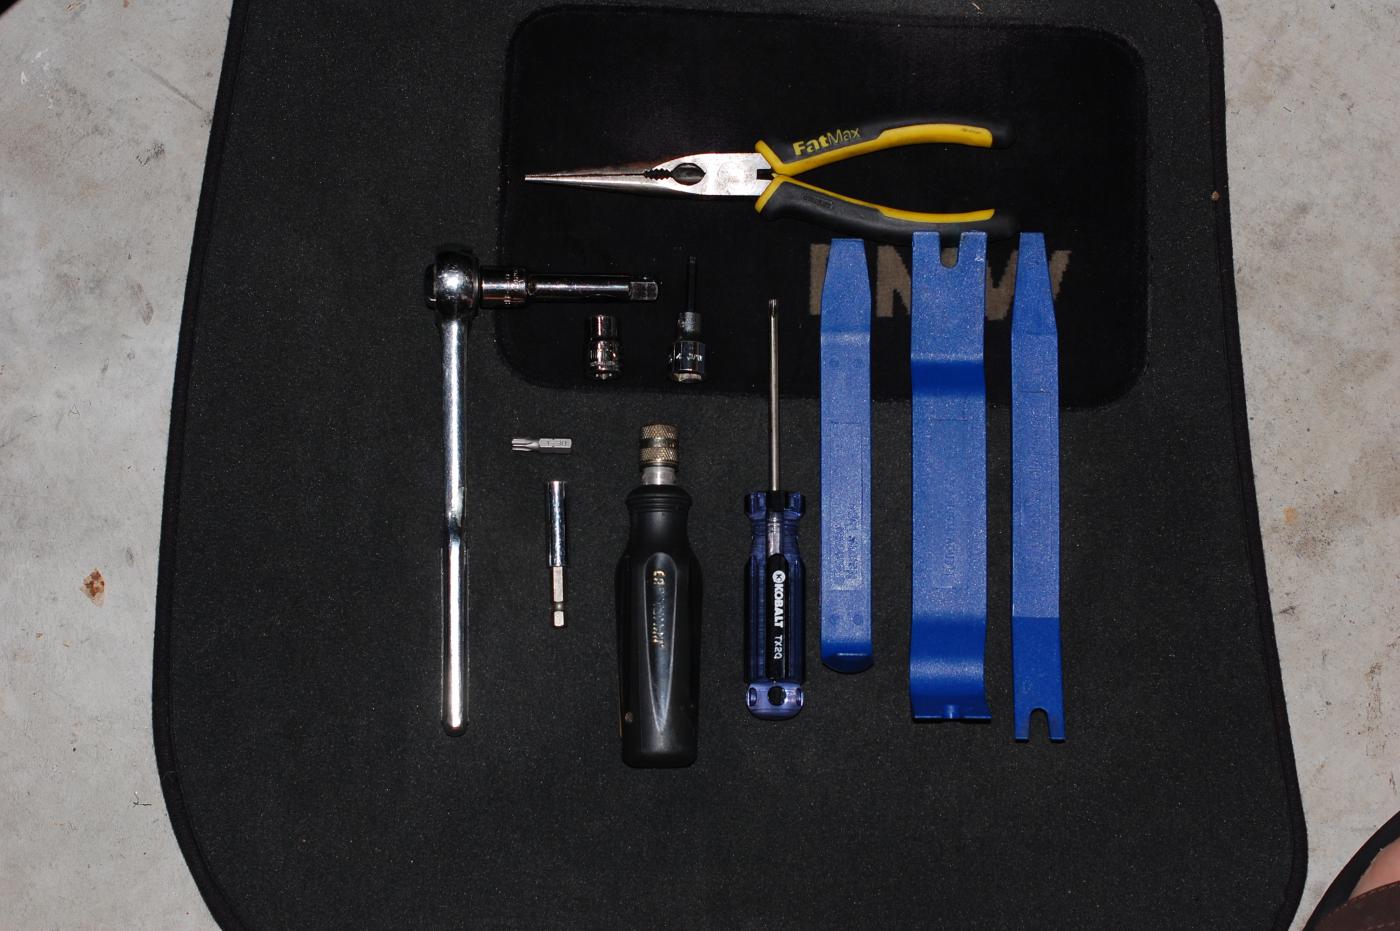
The tools used are pictured below. The Bentley service manual was also used as reference.
The plastic trim tools worked really well. I got mine from ECStuning.
I didn't have the Bentley manual, just the pictures posted below to go along with, and I managed fine, so it's not needed if you follow this guide. I also didn't have plastic trim tools, I just used my hands, a screwdriver, and force. I did scratch some of the paint inside though, but it didn't bother me that much since it's underneath the panels
The driver's side window was brought down so that about 4-5" of glass remained visible.
i followed this but i think the original poster meant bring the glass down so it's OPEN 4-5" because i was able to unclip the plastic hook from the window easier this way.
Added Step: Disconnect the battery
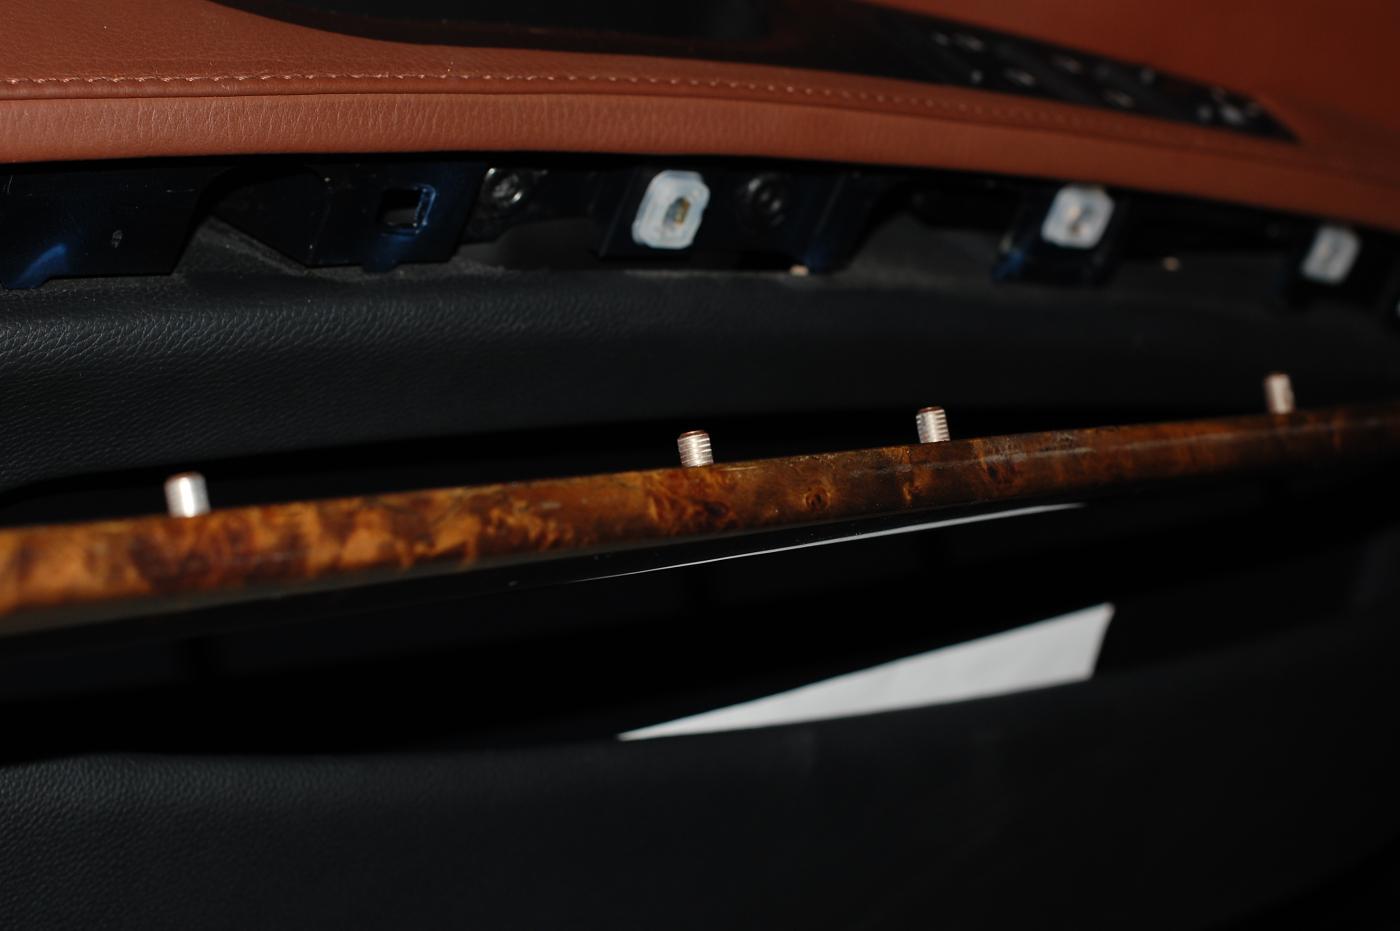
The "wood" trim was removed using the plastic trim tools starting toward the inside (right-hand-side of the photo).
pull the trim from the side closest to the hinge since the other side (the side closest to the door lock) is a hook.
The three Torx-20 screws were removed from the panel.
these will fall out once you unscrew them all the way, don't worry if they don't, they'll fall out once you remove the panel
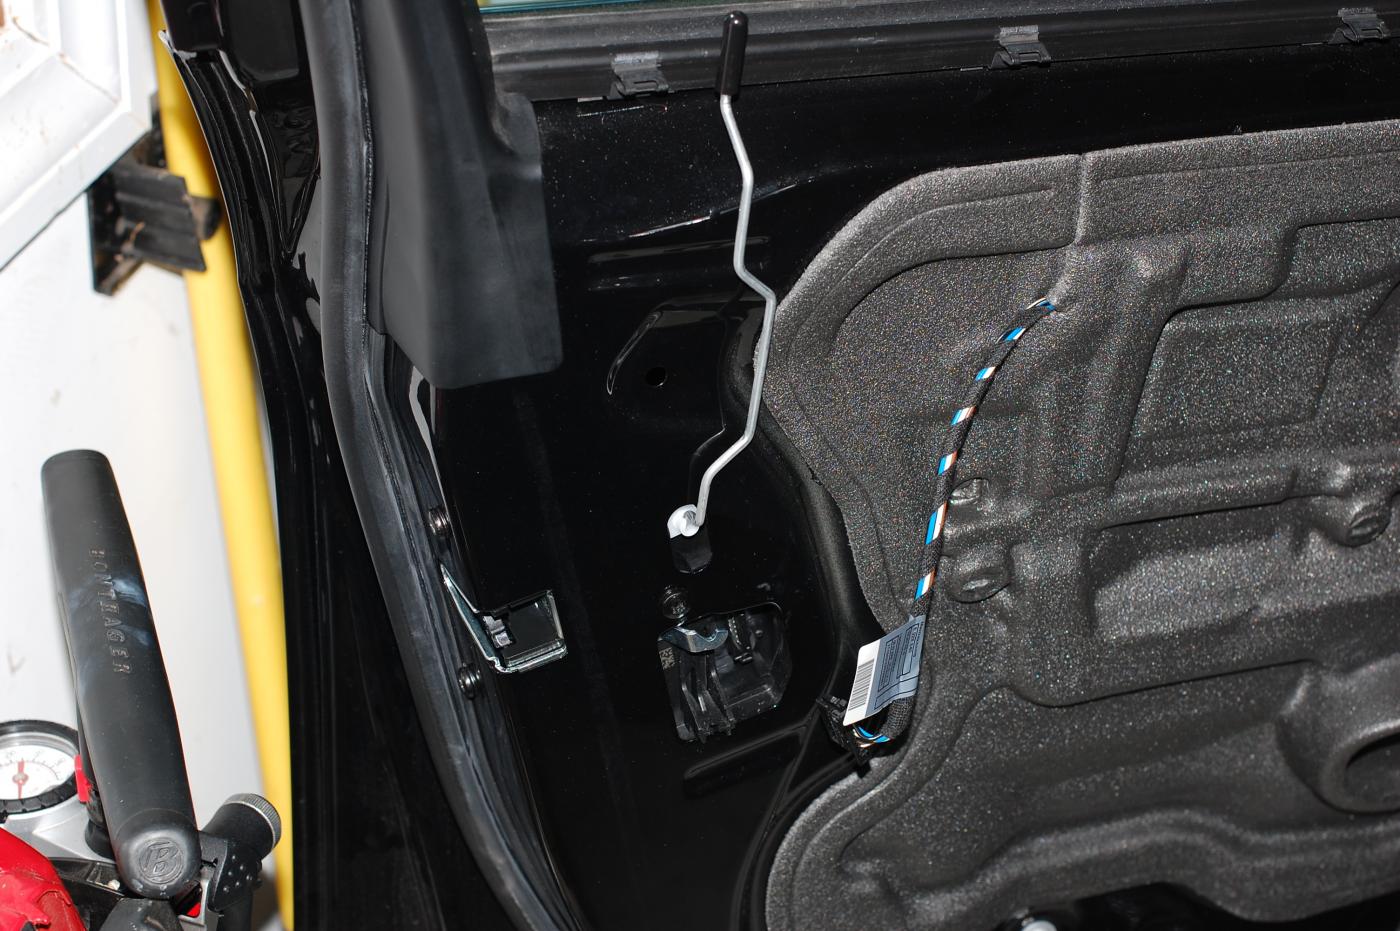
To remove the door panel I started toward the top inside corner near the window speaker (right-hand-side of the photo), again using the plastic trim tools. I worked clockwise until all that remained was removing the panel from the upper clips. The fasteners hold up well as I removed the panel a number of times. Once the panel was removed over the unlocking button, the wires were unplugged, and the Bowden cable was unhooked (see photos).
The tape in the picture of the black interior is where the hooks are. make note of where each cable goes. there are five cables: speaker, mirror, window control, flood light (bottom of door) and door handle hook.
The unlocking button rod was pulled straight out of the actuator.
The power cable to the windows has press-point and rotating lever to get it unhooked from the panel (see photo).
I removed the door light and replaced the bulb with a wedge LED for good measure.
The vapor barrier was completely removed. It goes back on nicely.
use a sharp blade to help you cute the sticky butyl tape. you don't want it all bunched up and messy when you put it back together.
No special tool was used to unhook the window glass from the window regulator. I just used the plastic trim tools behind the glass to pry the clip out enough to pull the glass up. See the photo with the circular hole in the glass to see what you're dealing with.
this is the tricky part. there are two hooks that you'll need to unclip. if you find that you don't have enough space for your hands to go in and out to unclip the window just reconnect hte battery and power window cable and play with it to move the window to a comfortable position. TAPE the window glass to the top of the door so once you unclip it, it won't fall down and shatter the glass, i doubt this will happen but better to be safe. i have small hands and after 30 minutes, i was able to unclip both holes. this is the WORSE part out of this entire DIY. if you have big hands you're pretty much screwed imo. to get a good idea of where the hook is, look down into the hole of the glass, youll want to take your right hand position it behind the glass, grab the plastic clip and pull outwards and using your left hand, pull/push the glass upwards to unclip.
Once the glass was out, I removed the two 10 mm nuts holding the outside window regulator guide to clear some space.
you can't really remove the window regulator, just remove the two nuts and gently stuff it down and to the left out of the way. the tension cables will still be intact so it's kind of tricky to move it around, but as long as it's down as far as possible you'll have enough space.
The door lock was removed by removing the small circular cover on the side of the door and removing the 4 mm Allen bolt. As far as I can tell, you must remove this first or the actuator will not come out.
this is referring to the keyhole piece. the allen bolt should come out all the way, be careful it doesn't drop inside the door panel.
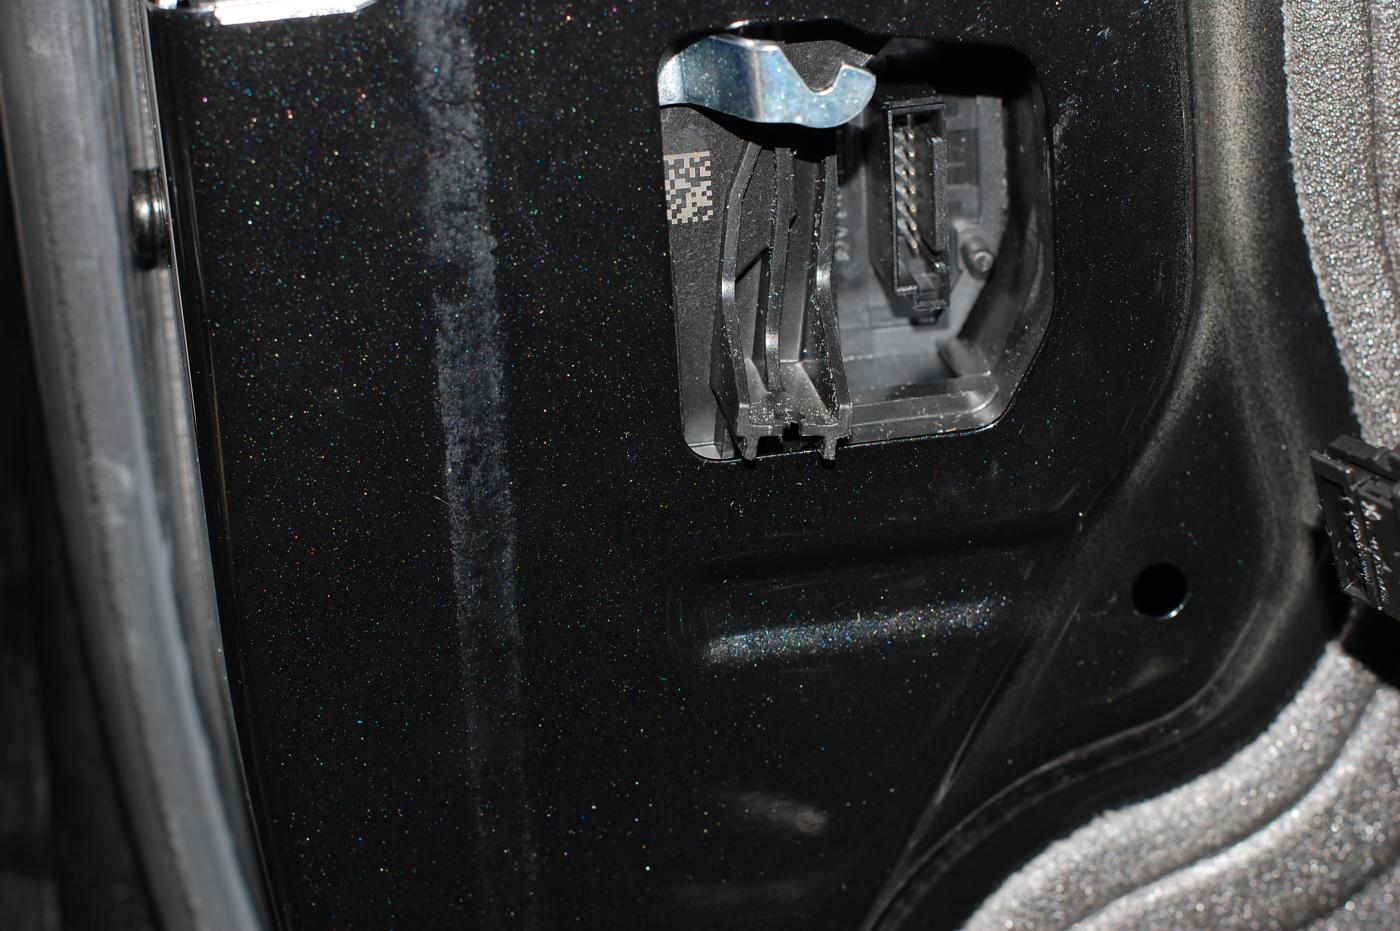
With the door lock out you can can reach up from the inside of the door and unclip the wires from the actuator. There are two: one is on the bottom; the other is on the side. The wires are tied to plastic plugs that are pressed into supporting holes on the actuator. You can see these a bit in one of the photos showing the exterior door handle cable.
To unhook the exterior door handle cable from the actuator reach from the inside of the door and grab the white plastic end and pull it out of its slot in the actuator. The second point of attachment should come off the actuator lever at the same time (see photo of cable end). Be sure to get both of slotted attachment points back on properly on the new actuator and confirm that the exterior handle works before closing things up.
aside from the exterior door handle cable, there was another plastic clip that was attached to my actuator with no purpose other than to route a cord out of the way of the window i suppose. these was hard to remove, you just have to yank and twist it out.
I then removed the actuator by removing the three Torx-30 screws.
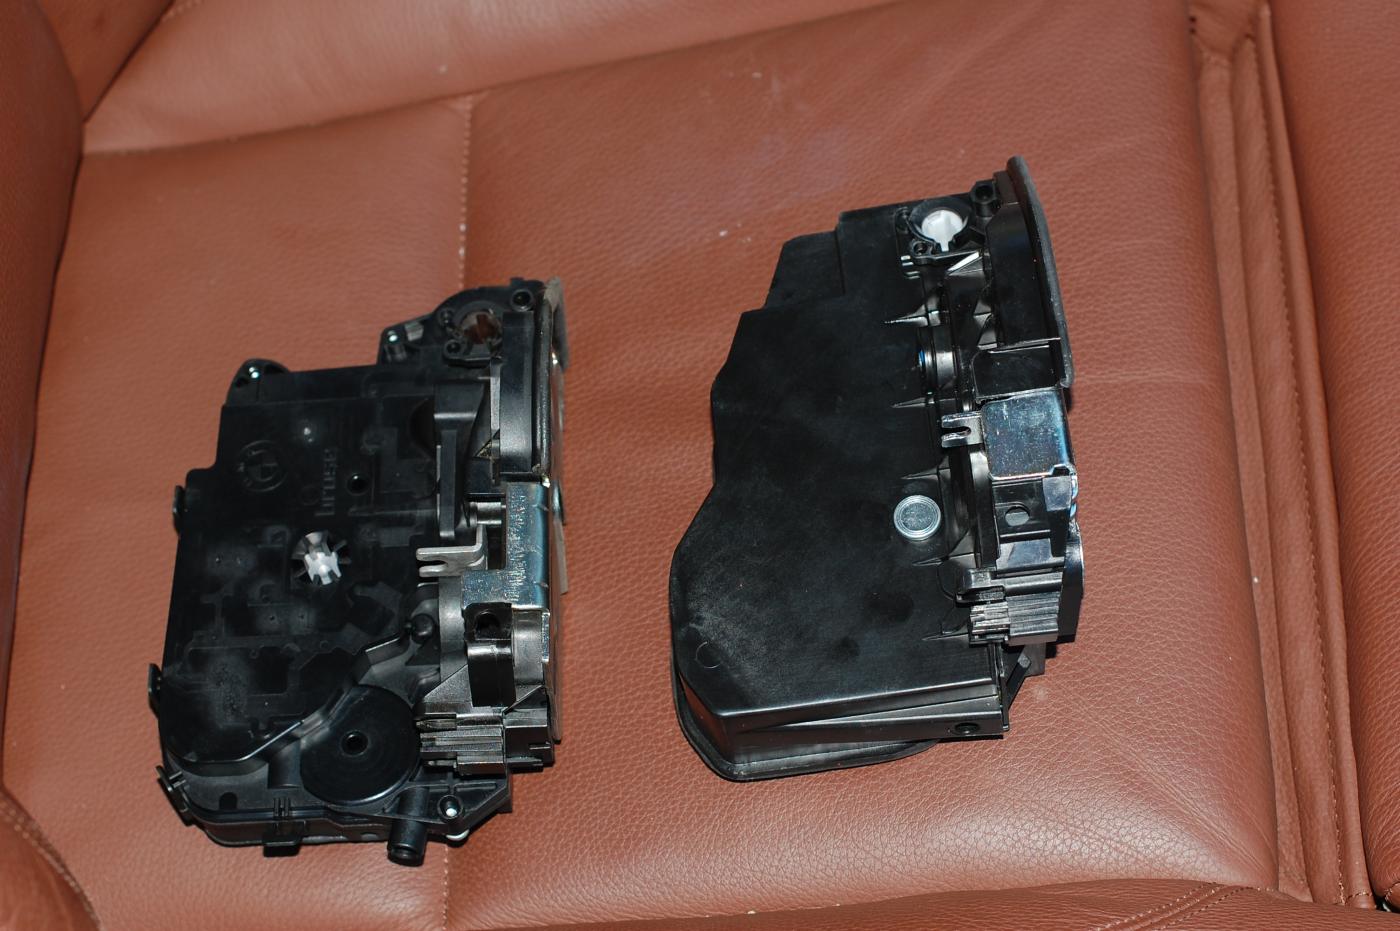
For comparison I've shown the old (left) and new (right) actuators from several angles. Also shown is the actuator and door lock, showing the point at which the door lock enters the actuator.
The installation of the new actuator was reverse of the removal. The only issue I had was with with improper installation of the exterior door handle cable to the actuator (mentioned earlier). The battery was also a bit run down.
Once you take the defective actuator out, you'll be confident enough to remember the steps to put everything back together. Just to make sure, I checked that the actuator was fixed before I placed the door panel and vapor barrier back on.