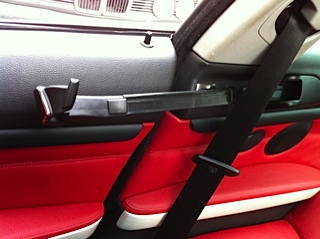
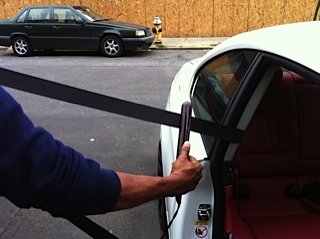
Your Seatbelt arms are functioning but for some reason the belt doesn't stay on the arm and come all the way forward.. Here's your fix.. I've had this problem for a while on my passenger side, but never got around to it, searched for a fix couldn't find one. After looking at the base where the seatbelt is connected and then at the belt itself, I figured out that it was the seatbelt itself right where the arm "catches" it.
NOTE: Theres an even easier fix at the end of this guide..
Devised a plan executed and success, decided to share for those with same problem. This fix can be done on the belt that doesn't work but I loved the outcome so much I did it to the entire belt on both sides.
This also fixes any seatbelt issues where it gets tangled up or stuck when you take it off.
Tools Required
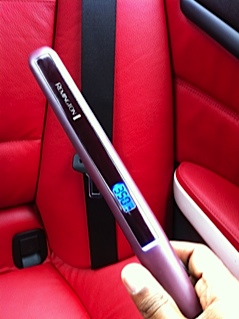
1. Flat Iron (works best) stolen from GF
2. Regular House Iron (optional)
3. Extension Cord (optional)
1. Swallow your MANLY pride and be prepared to use a Flat Iron ... lol
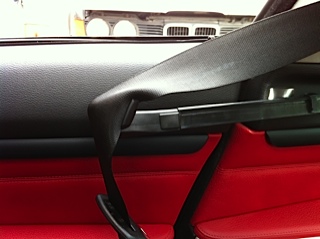
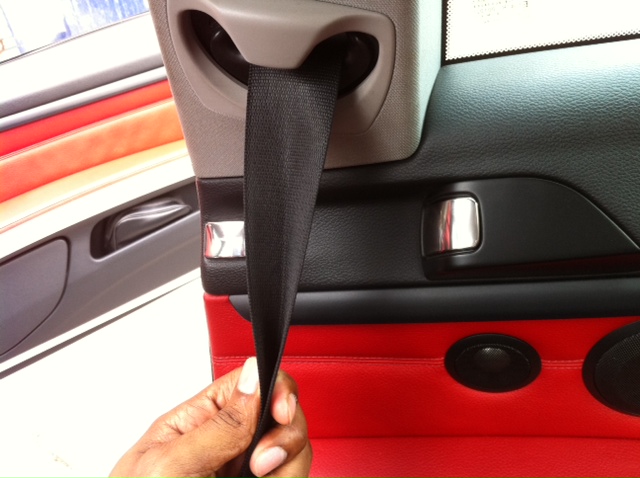
1a. Determine which side has the problem and look closely at where the arm catches the seatbelt, the problem is the crinkle or bend in the belt where the arm catches it. This wrinkle can be made by use, or if it got stuck while going back, or someone sat on it etc..
2. Get Your Extension Cord and plug your Flat Iron in and let it heat up to about 350 Degrees or Just let it heat up I guess..
If you don't have an extension cord chances are you can probably plug it in warm it up and run back and forth lol.. easier to to just get extension cord
(woman in building yells!!! security!!! theres a guy running back and forth with a hot iron)
 3.
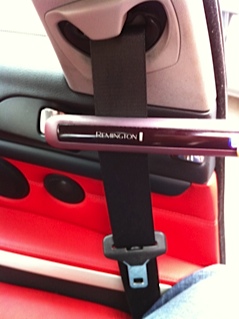
3. Use the Flat Iron to First Straighten the bend/wrinkle/crinkle in the portion of the seatbelt that the arm catches. Straighten and hold the iron in the opposite direction of where the bend was going; so if it was bent backwards straighten forwards by twisting it a little while moving up and down. Try not to stay too long in one spot.. After you feel you've done it enough
hold the belt in the desired position with your hand as it cools. Don't just let it go.
 4.
4. After Step 3 you can test to see if the arm is catching or not try doing it about 3-5 times to make sure, note: the process of the arm grabbing the belt actually begins to bend it back into a crimped position don't worry you'll re-straighten it in a few. After you've tested it a couple of times
Repeat Step 3.
 4a.
4a. Once you've completed Step 3, 4, and 3 again your actually finished.. This next step is for anyone with a seatbelt being stuck problem or if they just want a smoother operating belt. I figured since I was already out there with a flat iron

: might as well.
5. Follow the same method as above but do the entire belt, pull the entire belt out and put some tension on it as you begin to straighten about 10-12 inches @ a time or how much ever you can depending on your arms length,
remember when straightening there must be tension on the belt otherwise your gonna make it worse. Also here you DONT have to wait for the belt to cool just allow it to smoothly roll back into the pillar having it cool wrapped up is better. But when you get to the part of the belt that hangs outside of the pillar let that part cool before letting it go as you did in Step 3. Once your finished with the entire belt,
Repeat Step 3, I just needed to do it one more time to "seal the deal" if you may..
6. Once everything has cooled, Test the seatbelt arm a few times, and pull out the entire belt out and let it go back in a few times verify smooth operation. and Re-straighten anything you don't feel comfortable with.. After That Your DONE !!


My GF suggested spraying it with one of her products but i told her to go away..
Didn't want the car smelling like hair spray, If you don't have a flat iron try your own way of doing the above with a regular house iron whether you should keep the steam on or not I'm unsure..
EDIT: My cousin also suggested some regular spray starch, but to each their own my method above works fine for me as is, lets see how long it lasts before I have to do it again, if i have to..
-------------------------
NEW FIX FOUND
Ok so day 2 of me opening and closing this thing on purpose, it still works and only jumped off the arm once or twice.. Im anal, so I want it to work as flawlessly as the drivers side, so i took another look at the belt..
When the arm catches it, it literally puts the bend right back into the belt, so I wondered what can i do instead of ironing this crap again.. same thought process of ironing it straight, why don't I just bend it properly.. Duh...
Mini Steps to Quick & Easier New Fix
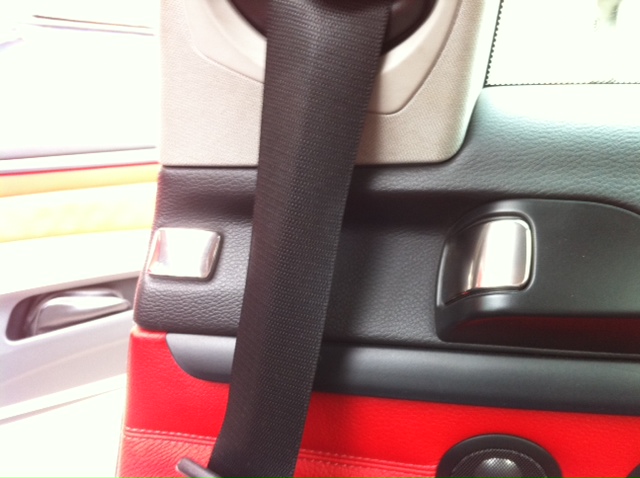
1. Look the the belt where the arm is causing the bend its seems to be bent close as tho your closing a book.
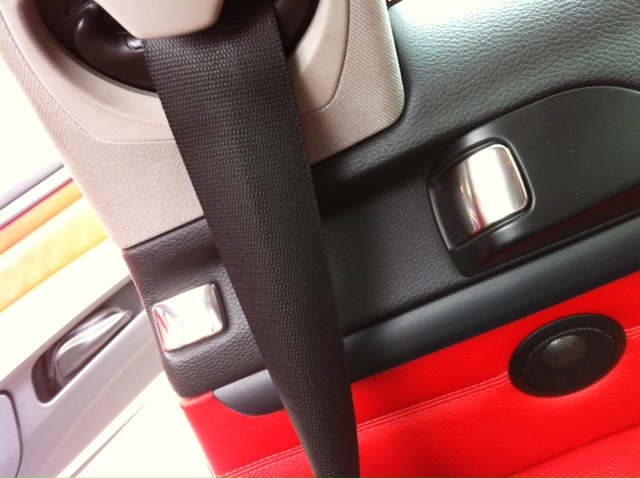 2.
2. So umm the fix would be to bend it like your opening a book duh pretty stupid right

Do this and hold it for a second and just simply let it go. Test and Voila ..... Again.. After bout 10-15 Back to Back Tests, I can say that this is definitively fixed.. Again..
I don't know if it has anything to do with the fact that flat ironed it or not, but it works without falling @ all.. And even better if it does fall again, you don't have to get a flat iron to fix it, just hop in the back grab the belt and bend it once more..