Quick update on the above.
I have now completed this retrofit as OEM as I could possibly get (only the wire colours that I ran are non-OEM).
For those interested, I can confirm the wiring diagram is as follows;
Right headlight
1 - Pin 14 FRM x14260 (0.75mm2 wire)
2 - GROUND - X166 (2.5mm2 wire)
3 - Pin 38 FRM x14261 (2.5mm2 wire) - SAME AS HALOGEN
4 - GROUND - SAME AS HALOGEN
5 - Pin 41 FRM x14260 (0.5mm2)
6 - Residual from Halogen - can leave in place
7 - Pin 8 FRM x14260 (0.5mm2 wire - should be 0.75mm2) - MOVE FROM PIN 1
8 - Pin 51 FRM x14260 (0.5mm2 wire) - SAME AS HALOGEN
9 - Pin 32 FRM x14260 (0.5mm2 wire) - SAME AS HALOGEN
10 - Pin 28 FRM x14260 (0.5mm2 wire) - SAME AS HALOGEN
11 - Pin 30 FRM x14260 (0.5mm2 wire) - SAME AS HALOGEN
12 - Pin 40 FRM x14261 (0.75mm2 wire) - SAME AS HALOGEN
PROCESS
PIN 1 - 0.5mm2 from FRM X14260 pin 8 - MOVE TO PIN 7
RUN 0.50mm2 wire to PIN 5 FROM FRM x14260 PIN 41
RUN 0.75mm2 wire to PIN 1 FROM FRM x14260 PIN 14
RUN 2.5mm2 GROUND TO X166
Left headlight
1 - Pin 41 FRM x14261 (0.75mm2 wire)
2 - GROUND - X165 (2.5mm2 wire)
3 - Pin 6 FRM x14260 (2.5mm2 wire) - SAME AS HALOGEN
4 - GROUND - SAME AS HALOGEN
5 - Pin 41 FRM x14260 (0.5mm2 wire)
6 - Residual from Halogen - can leave in place
7 - Pin 50 FRM x14261 (0.5mm2 wire - should be 0.75mm2) - MOVE FROM PIN 1
8 - Pin 50 FRM x14260 (0.5mm2 wire) - SAME AS HALOGEN
9 - Pin 19 FRM x14260 (0.5mm2 wire) - SAME AS HALOGEN
10 - Pin 15 FRM x14260 (0.5mm2 wire) - SAME AS HALOGEN
11 - Pin 17 FRM x14260 (0.5mm2 wire) - SAME AS HALOGEN
12 - Pin 13 FRM x14260 (0.75mm2 wire) - SAME AS HALOGEN
PROCESS
PIN 1 - 0.5mm2 from FRM X14261 pin 50 - MOVE TO PIN 7
RUN 0.50mm2 wire to PIN 5 FROM FRM x14260 PIN 41
RUN 0.75mm2 wire to PIN 1 FROM FRM x14261 PIN 41
RUN 2.5mm2 GROUND TO X165
Height Sensor Front
1 - Pin 26 FRM x14260 (0.35mm2 wire)
2 - EMPTY
3 - EMPTY
4 - Pin 49 FRM x14260 (0.35mm2 wire)
5 - Pin 31 FRM x14260 (0.35mm2 wire)
6 - EMPTY
Height Sensor Rear
1 - Pin 27 FRM x14260 (0.35mm2 wire)
2 - EMPTY
3 - EMPTY
4 - Pin 48 FRM x14260 (0.35mm2 wire)
5 - Pin 29 FRM x14260 (0.35mm2 wire)
6 - EMPTY
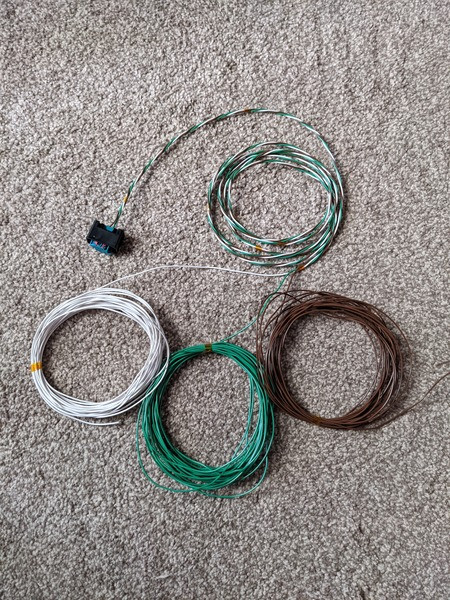
The height sensor looms themselves are easy enough to make, I grabbed the correct size wire off of eBay and knocked them up, these were then heatshrinked (for the part that would be outside of the car);
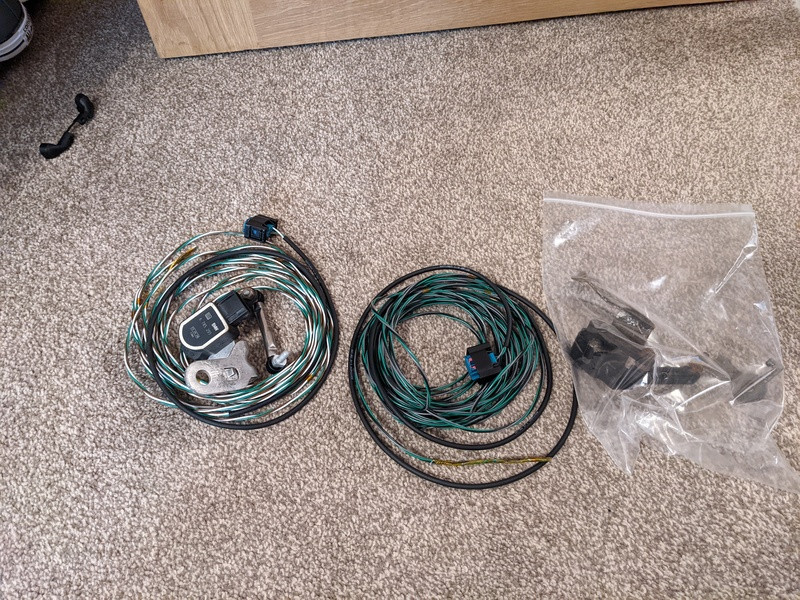
The sensors themselves are easy enough to source. Just make sure they have the correct brackets attached (as they differ between the M3 and non-M cars).
The wiring through the cabin was the next big hurdle.
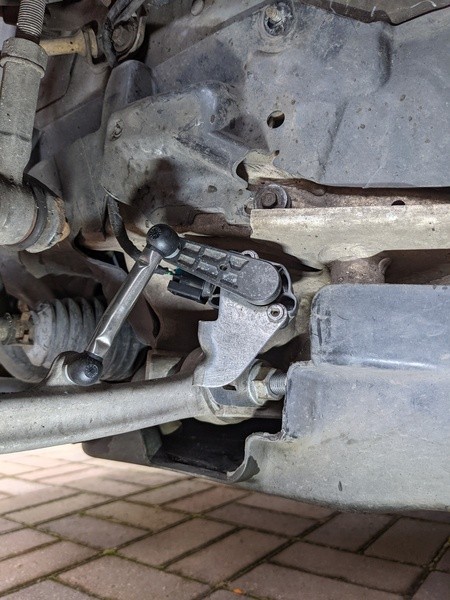
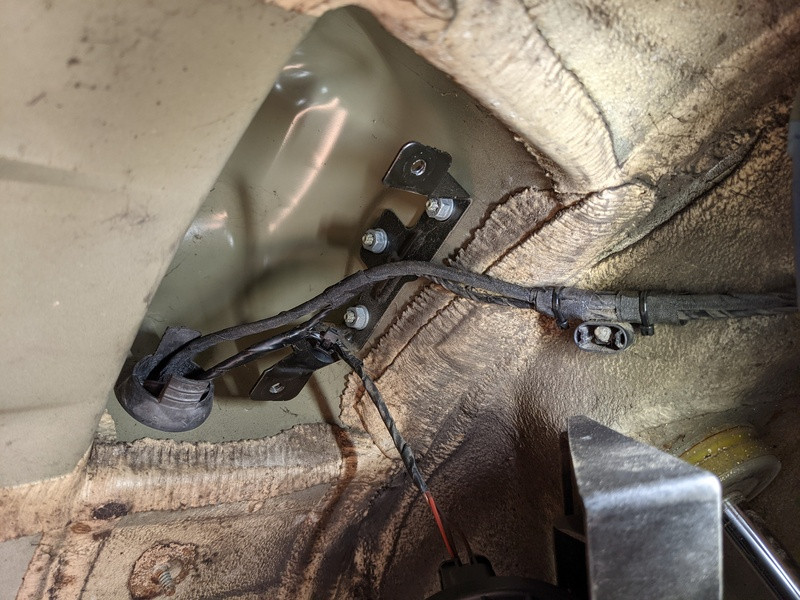
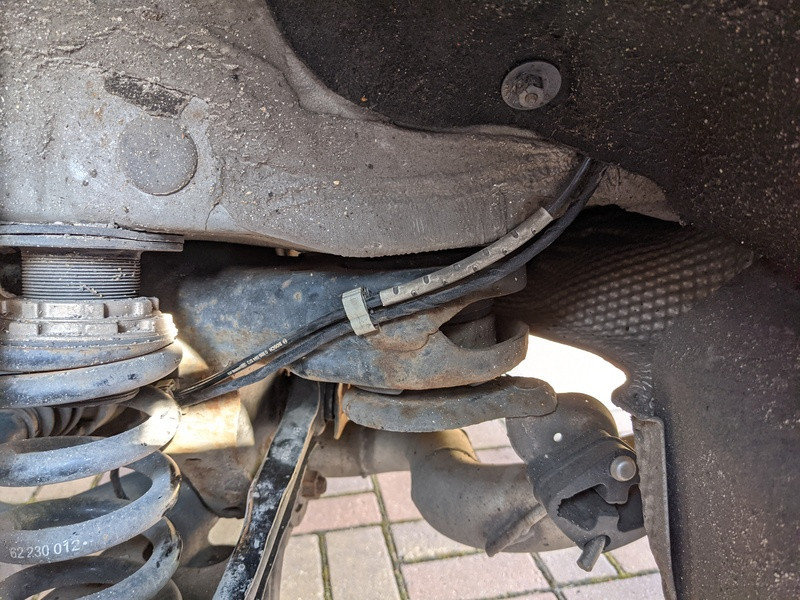
For the front sensor, it was a simple task of wiring along the existing wiring up to where it joins the main harness back into the cabin.
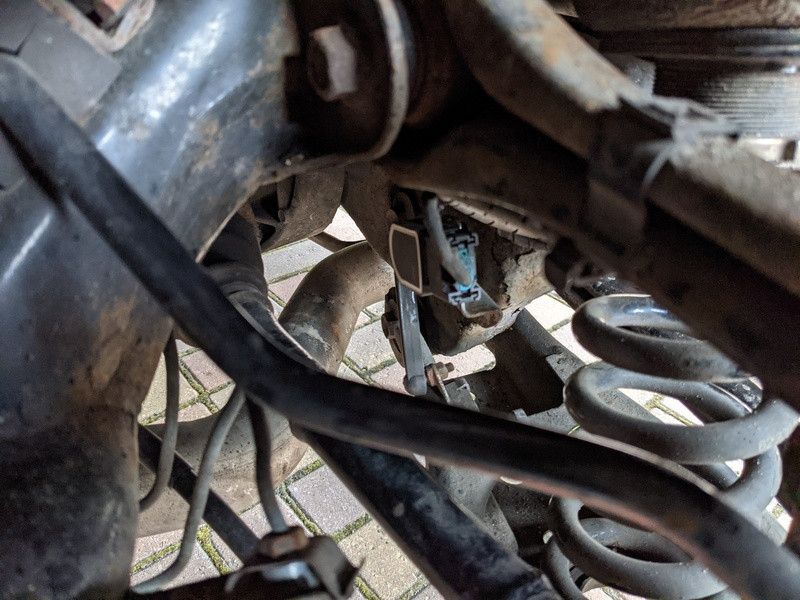
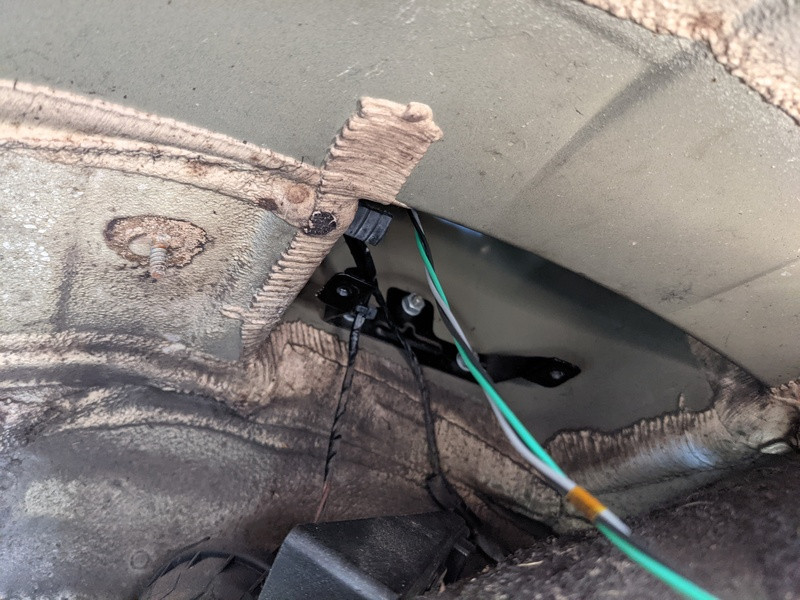
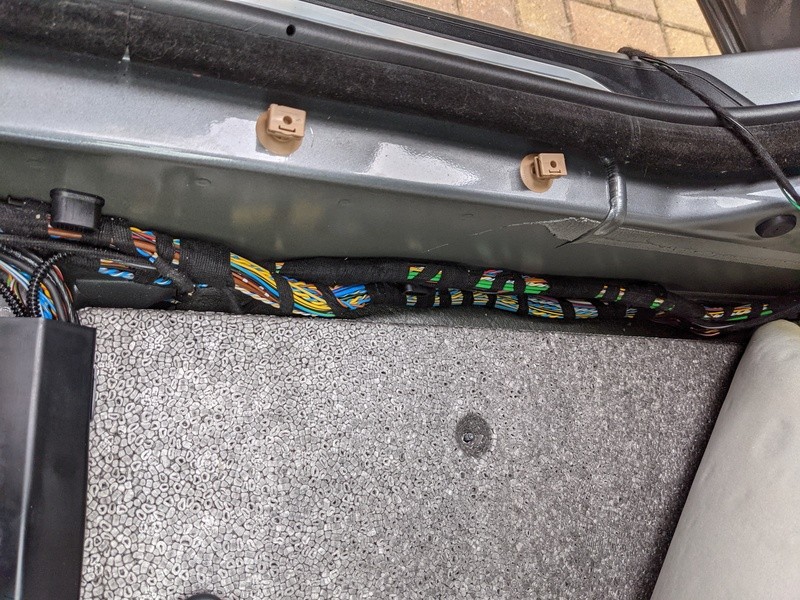
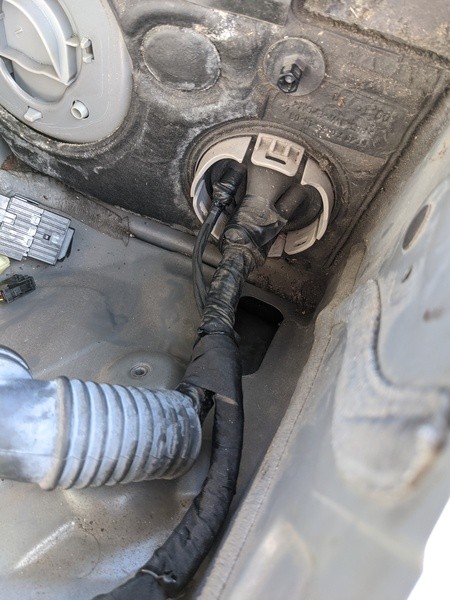
For the rear sensor, removing the arch liner and alarm revealed a spare hole in the grommet into the cabin next to the rear seats - perfect for this wiring;
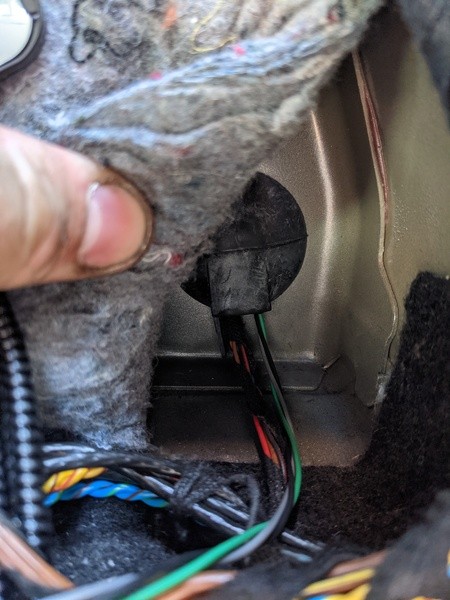
Then along the main harness towards the front of the car;
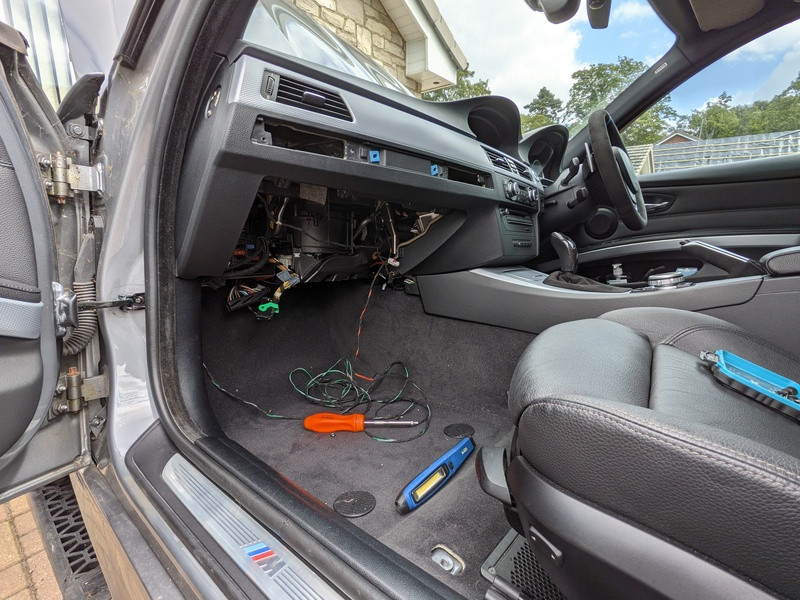
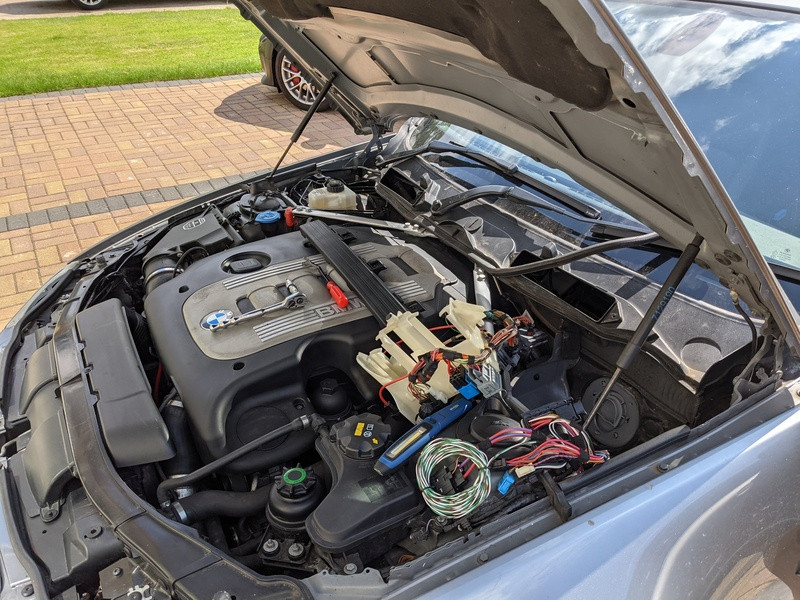
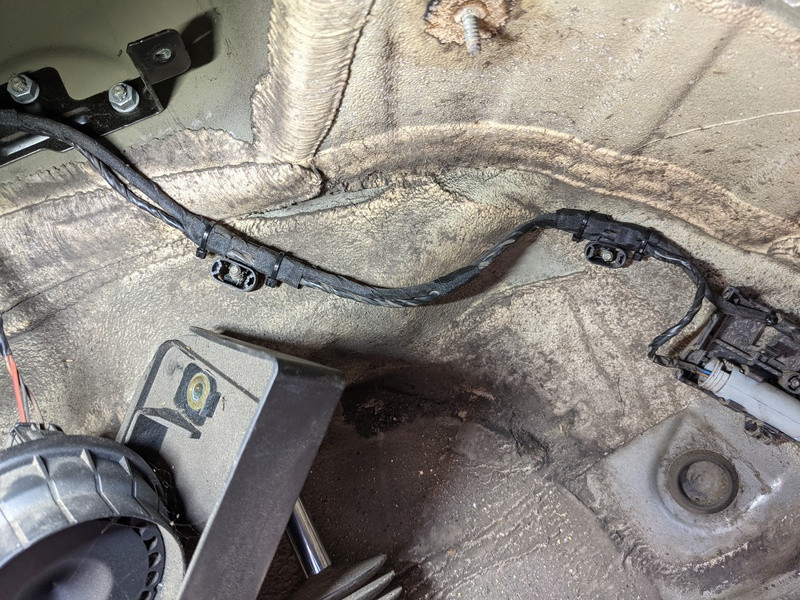
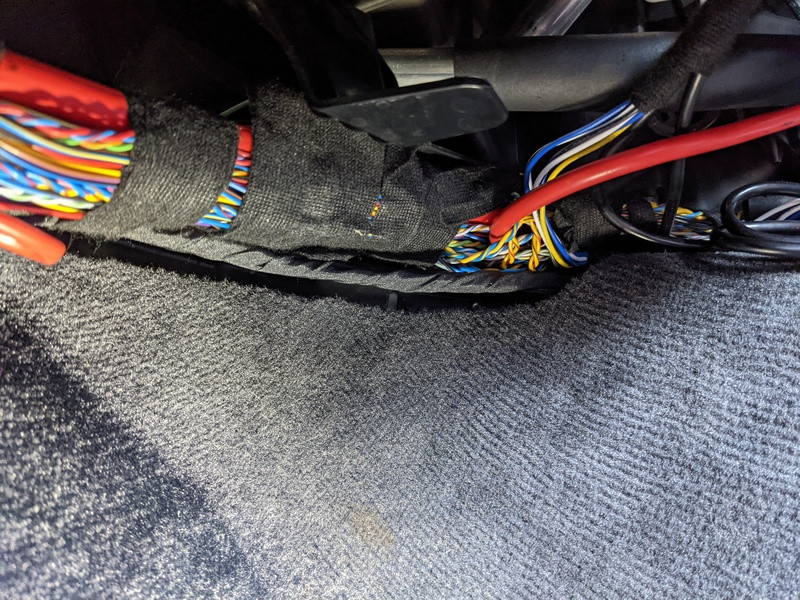
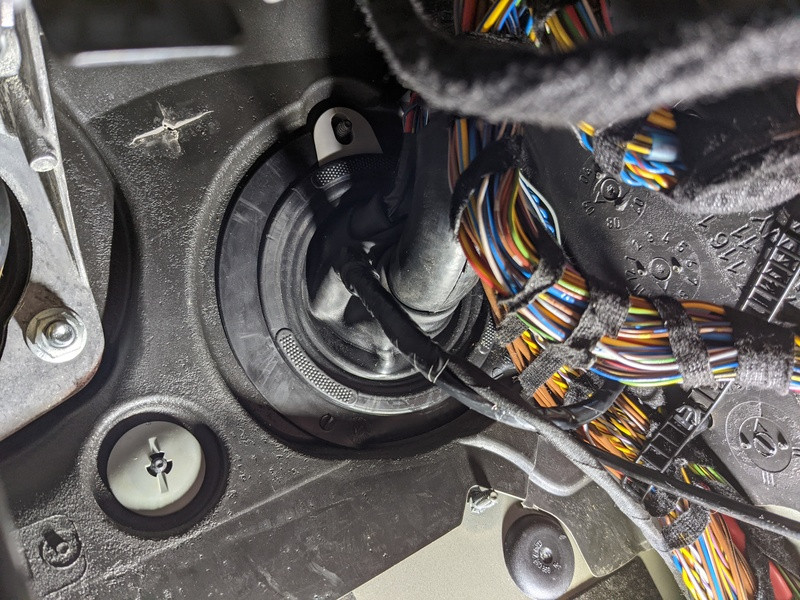
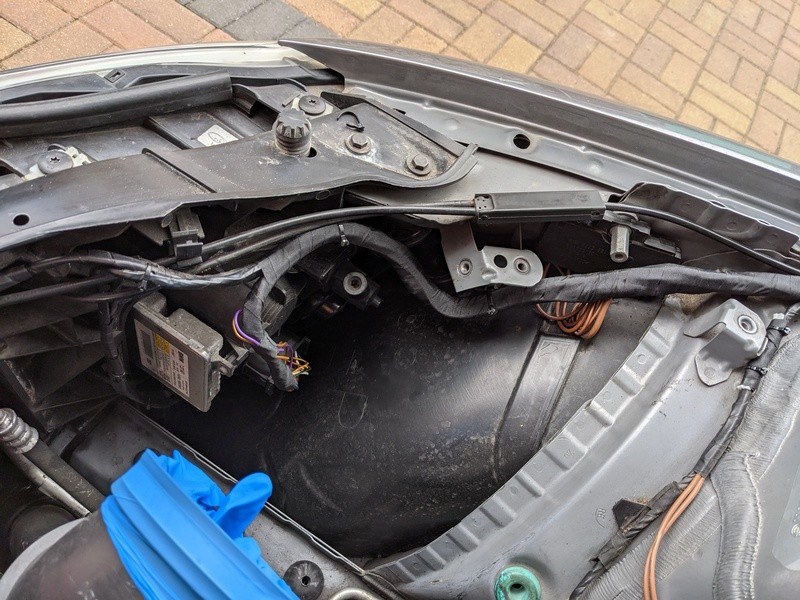
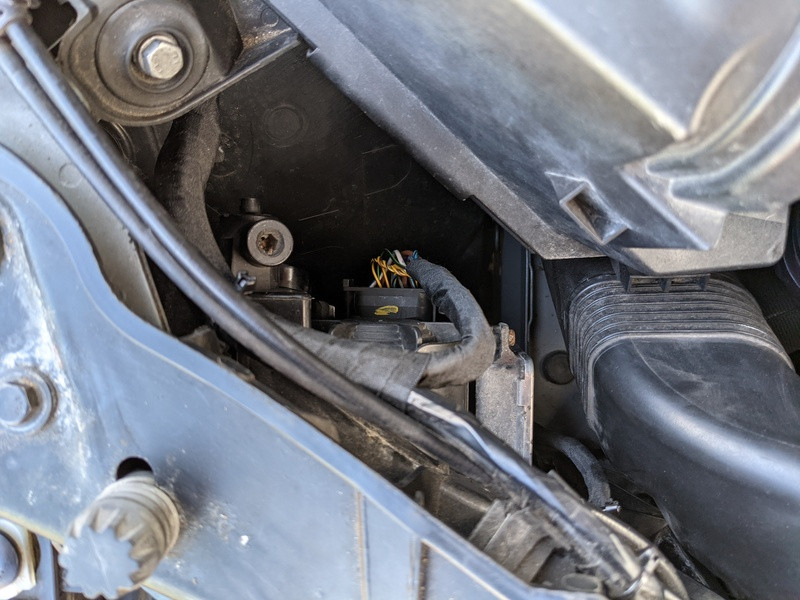
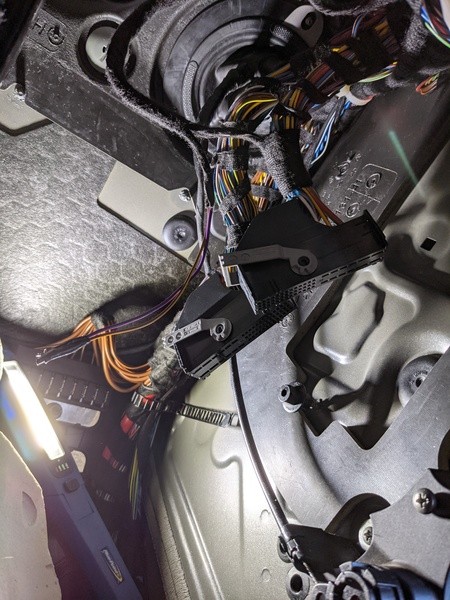
Wiring the additional wires for the passenger headlight and front sensor loom into the cabin itself required the DDE to be removed, but it meant there was plenty of room to feed through the bulkhead and to make a tidy job of it;
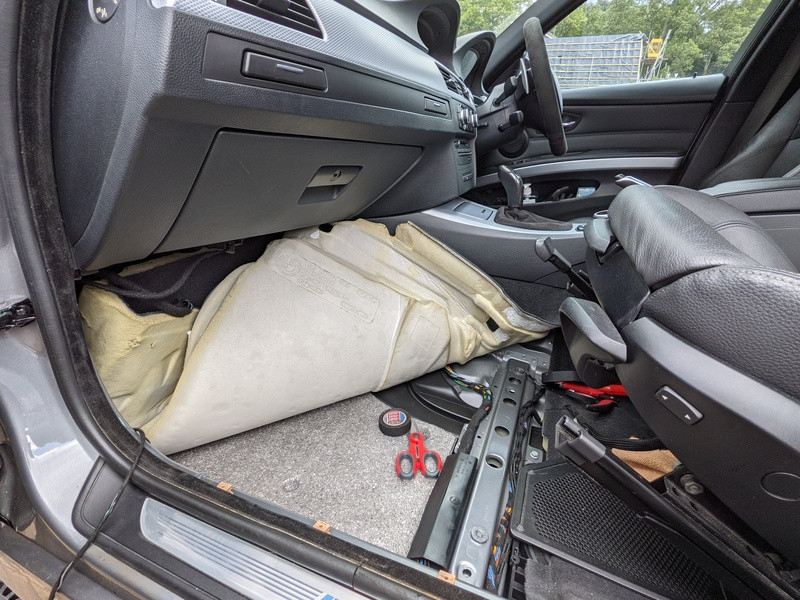
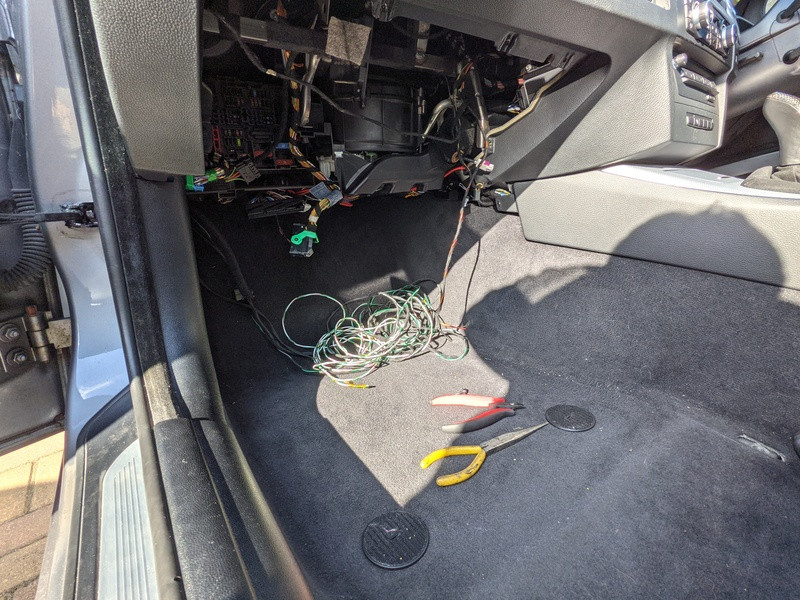
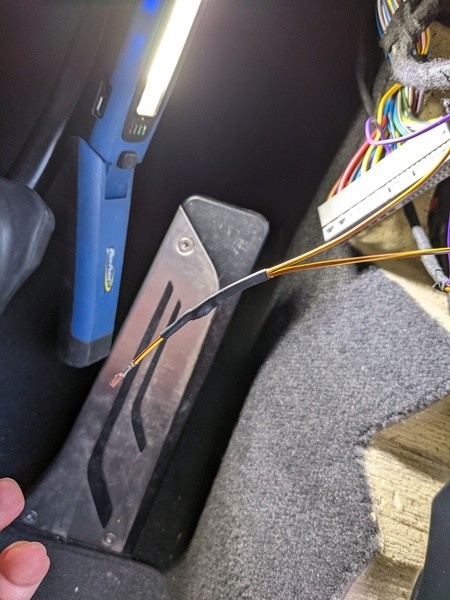
With all of the wiring in the passenger footwell (UK spec car), this then needed passing behind the dash into the drivers footwell towards the FRM. This was a bit of a struggle, but there is a channel along the back in which you can pass an electricians draw wire, and pull the looms through (I also took this opportunity to tape everything together to keep it neat and tidy;
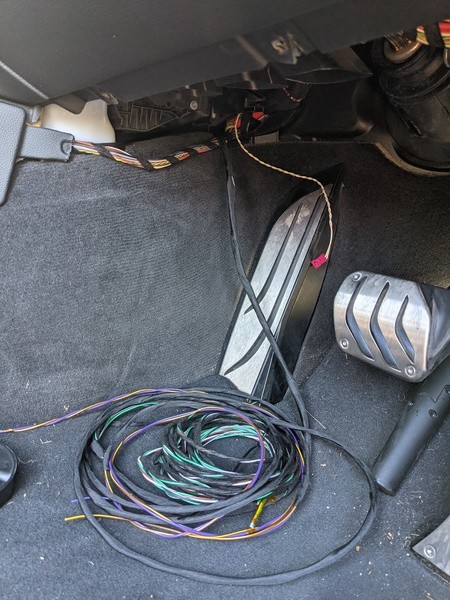
I don't have a picture, but you can then follow the loom up and over the pedals to reach the FRM;
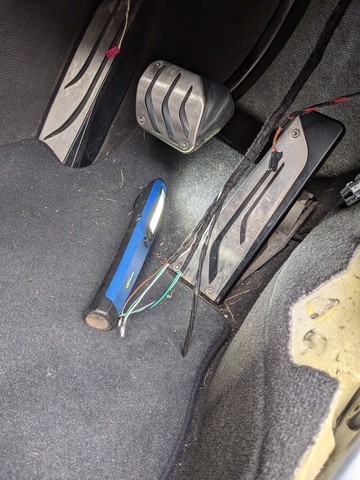
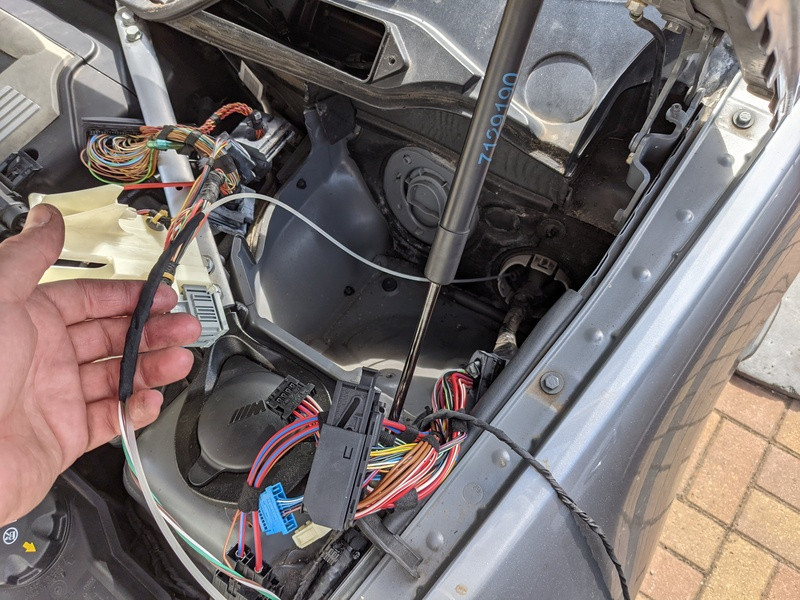
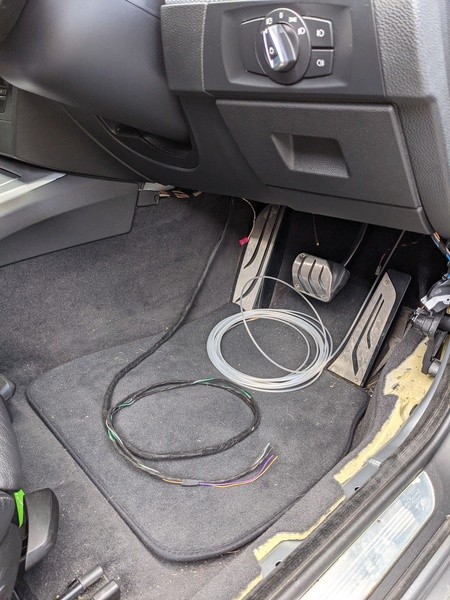
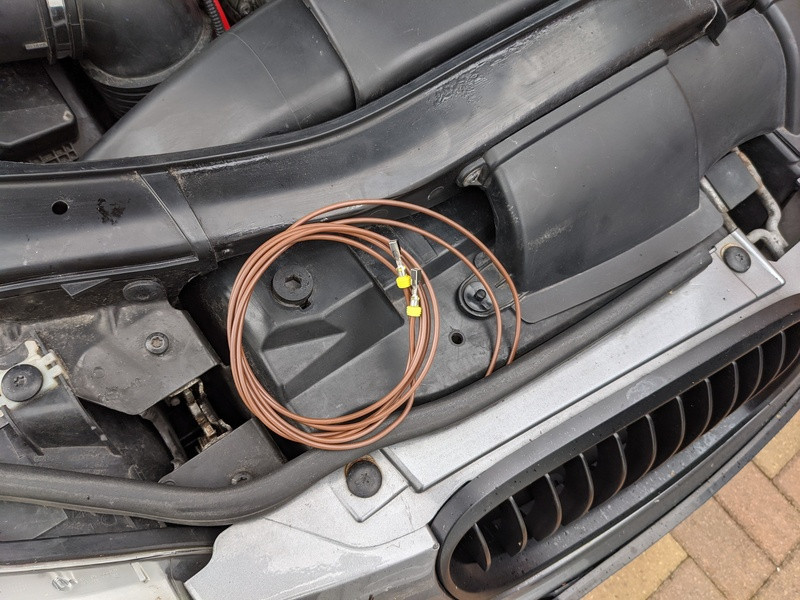
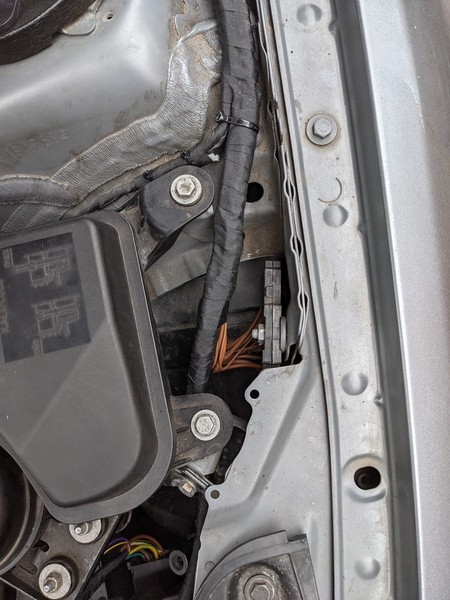
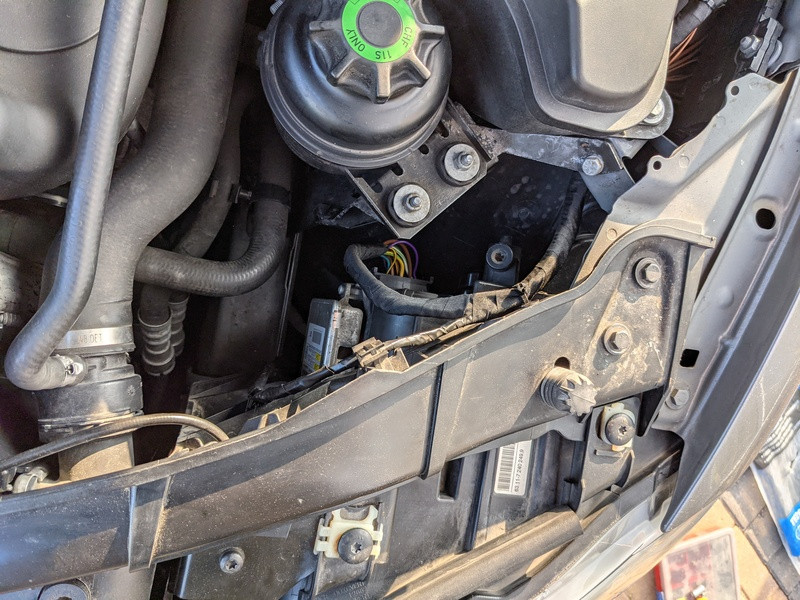
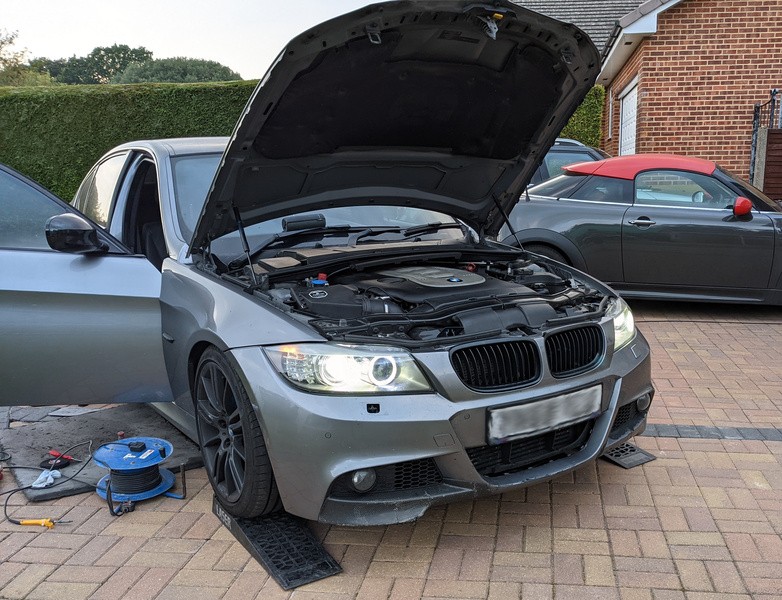
As for the drivers side wiring to the headlight, this can be run alongside the harness down this side of the car;
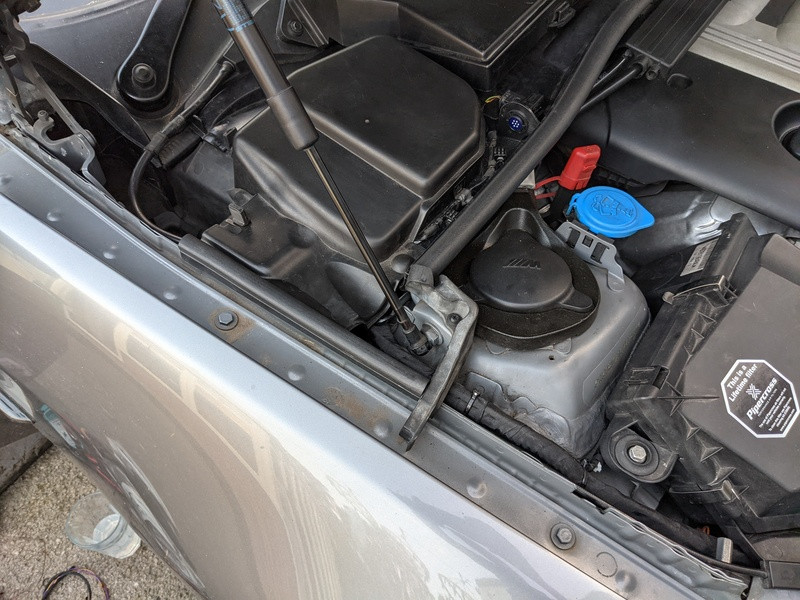
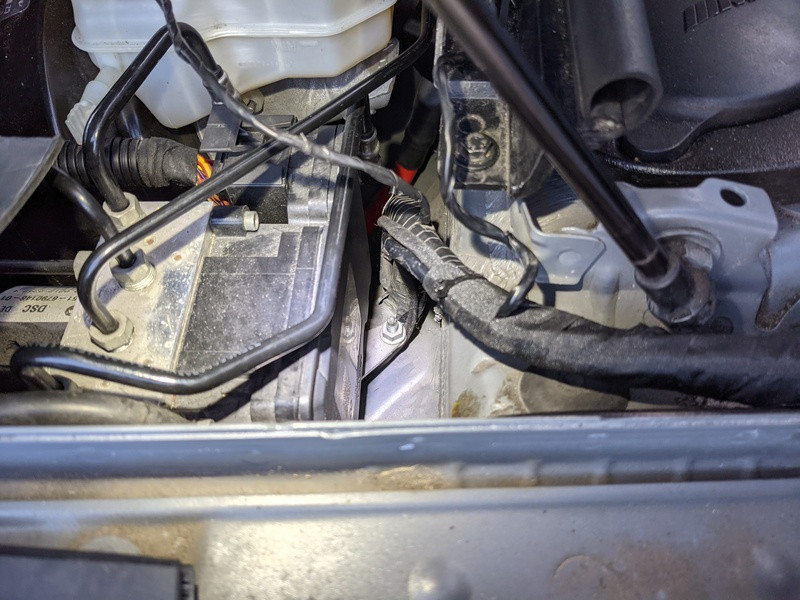
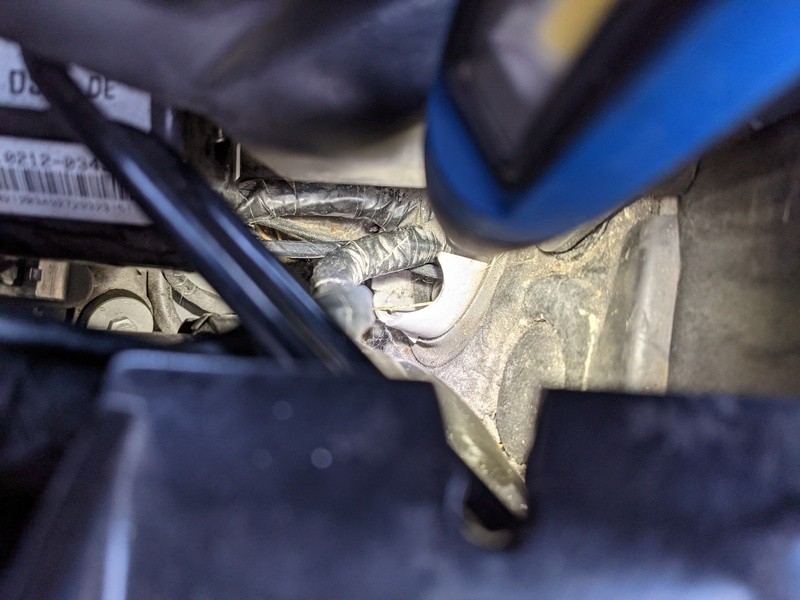
And then fed through the bulkhead behind the master cylinder/ABS pump (this was a struggle);
I left the wiring of the headlight connectors themselves to last, so that I could continue to drive the car in between wiring jobs (as it took a few days to complete in total).
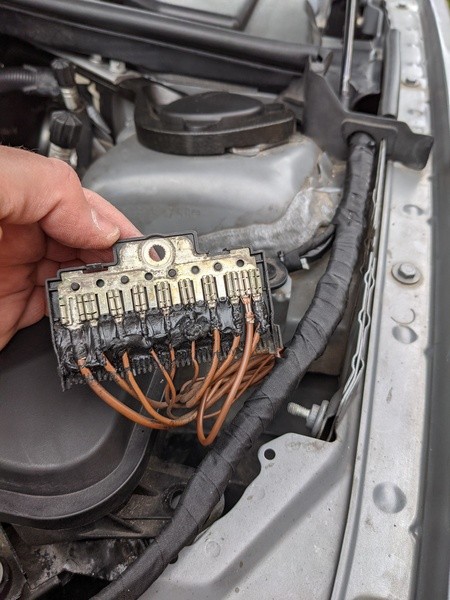
Wiring in the earths to the ground combs on either side of the chassis was a piece of cake;
The looms were then taped up to keep them as neat as possible;
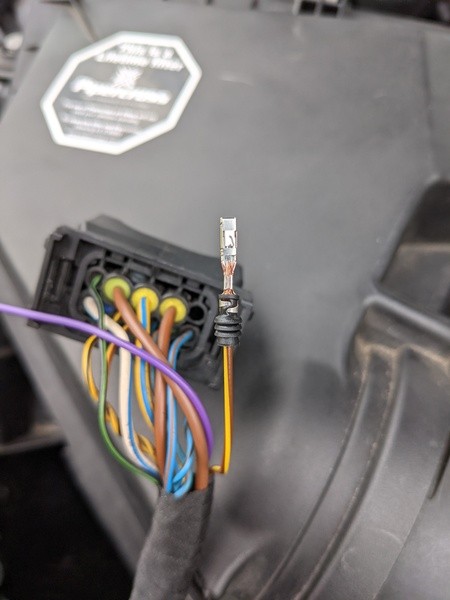
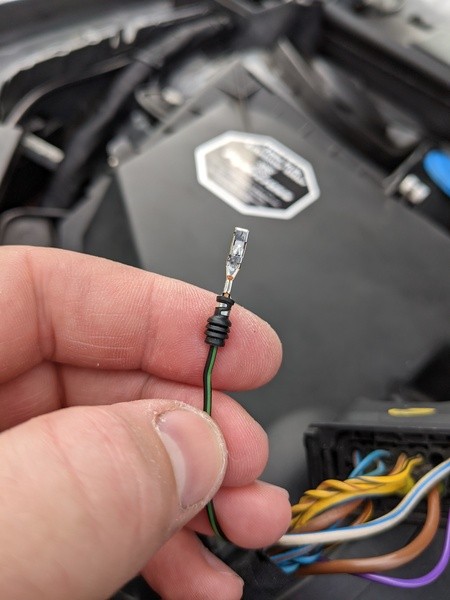
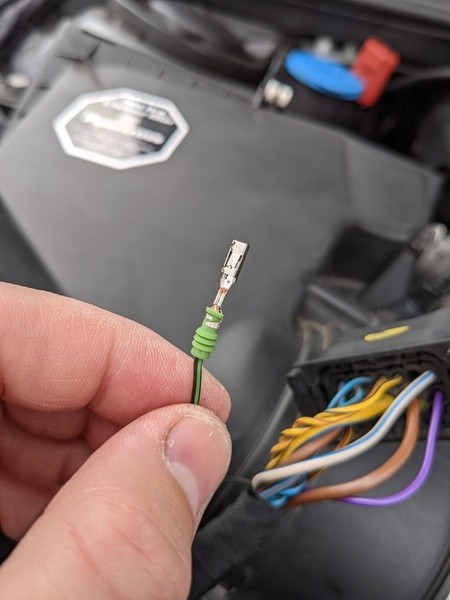
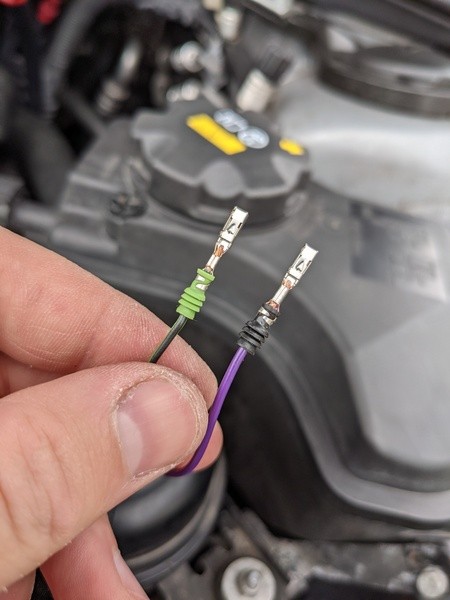
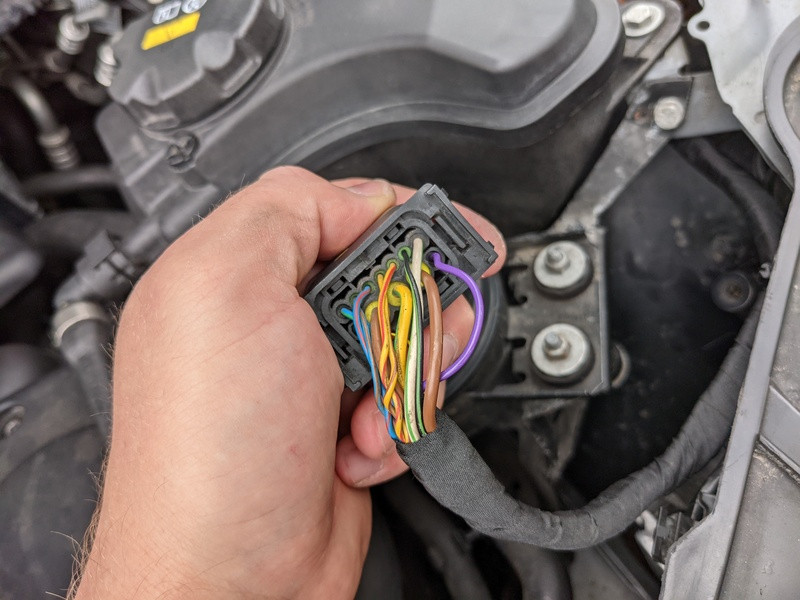
Lastly, the headlight wiring was terminated and plugged in (take care on this part to use the correct size seals (green/black)), as the green seals are smaller then the black ones.
Shutter;
Sidelight/halo;
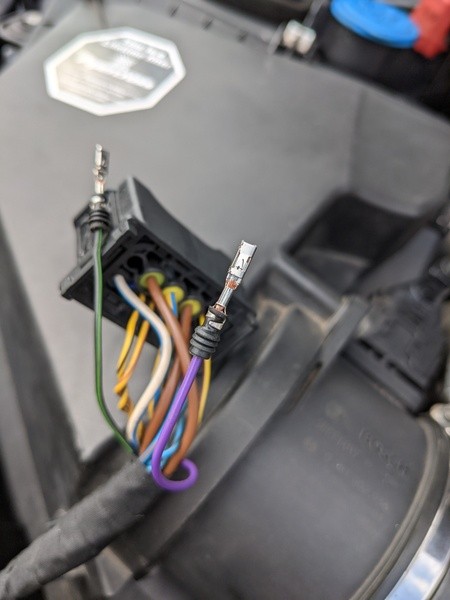
Re-terminated OLD sidelight wire (going to PIN 7) for the 3 LED's, as the black seal was too big for its new position, and needed a green seal;
Voila;
The easiest part of this retrofit was the termination and wiring of the connectors on the FRM (as per the above) - I found it easiest with the FRM removed;
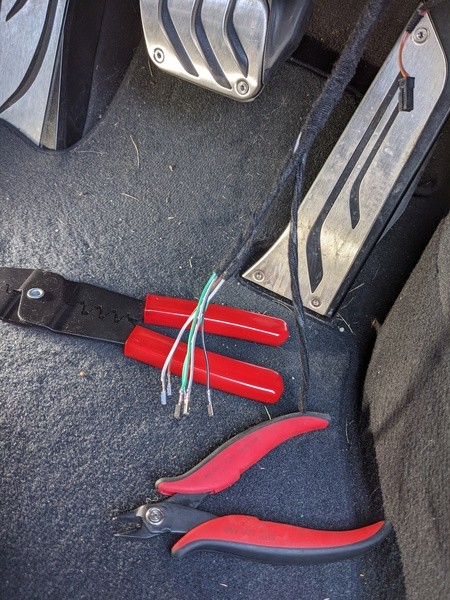
As for the two wires into a single connector for the Xenon shutter, I simply soldered them together, and then onto a small 'tail' which would then plug into the FRM connector;
Done;
I hope that helps anyone hoping to attempt this retrofit to this capacity.
It was rather difficult at times, I can't count on a single hand the amount of hours I was on my back in the drivers footwell staring up under the dash trying to run the wiring neatly.
I went through meters and meters of loom tape. I swore a lot. But it was definitely worth it.
Happy to answer any questions if anyone has any

EDIT: Lots more photos added.