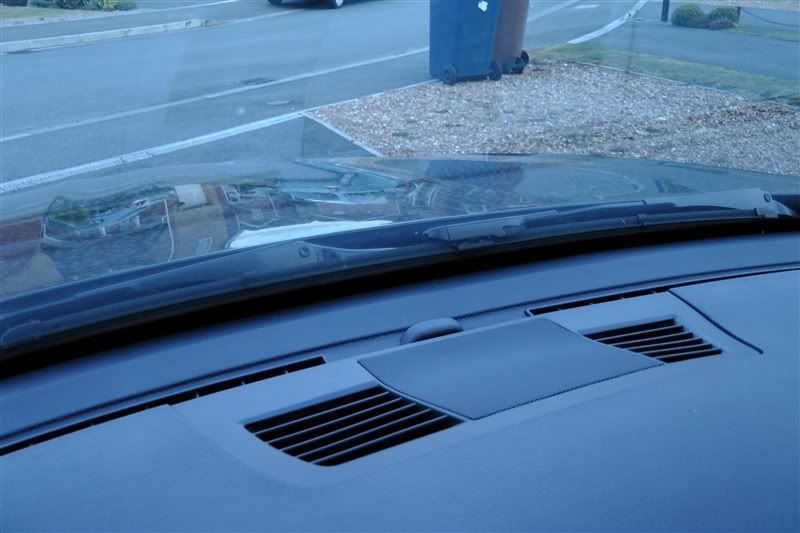
Centre Speaker and Technic Harness
Next I decided to tackle adding the centre speaker and fitting Technics harness. This is the part I was most apprehensive of as I couldnt find a guide specific to removing the latest LCI iDrive head unit. I just took it really slowly and carefully fitting both at the same time. It was actually far easier than I expected.
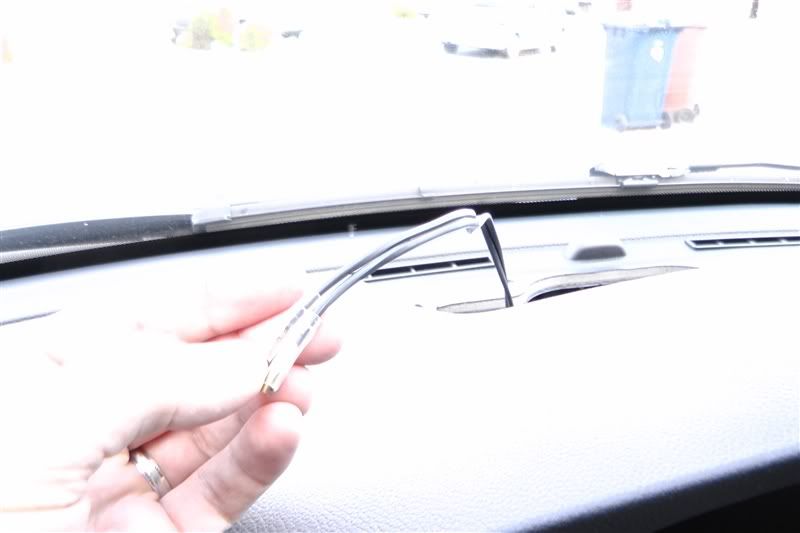
First I removed the metal trim piece by carefully prying the edge where it meets the passenger side door. This actually comes out really easily and it is merely push fitted into the green slots using metal type spikes on the metal trim piece.
Be careful as there are two clips which attach to the metal trim piece behind the centre vents. These attach to the hazard light switch and hot/cold blend switch. These just unclip.
There is one further clip which attaches to the rear of the Start/Stop button

Once these are disconnected put the metal trim piece some place safe so as not to scratch it. It feels expensive!
Now remove the heater controls which again pull out with little force.
I found that along the top edge of the heater controls where two plastic lugs which clipped into the dashboard itself.
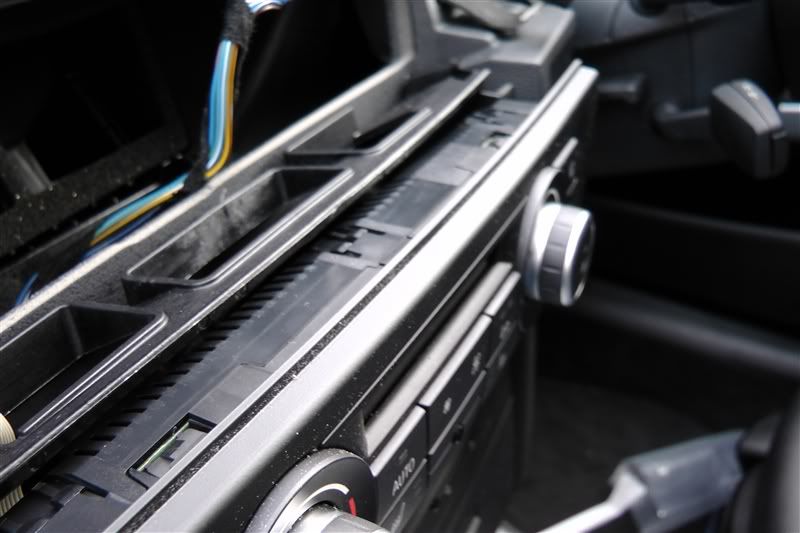
These didnt require any force to remove and in all honesty you can just get your fingers behind the unit and push it out uniformly.
On either side of the unit were two spring loaded clips that just popped out in this process. (I shouldve photographed these!) I wouldnt suggest pushing anything in from the sides of the unit as I have seen reference to on other guides, using a folded credit card etc. I had one of these to hand but it wasnt necessary with this method. It may be that the pre-LCI cars have a different fitment. Slight pressure was all that was needed.
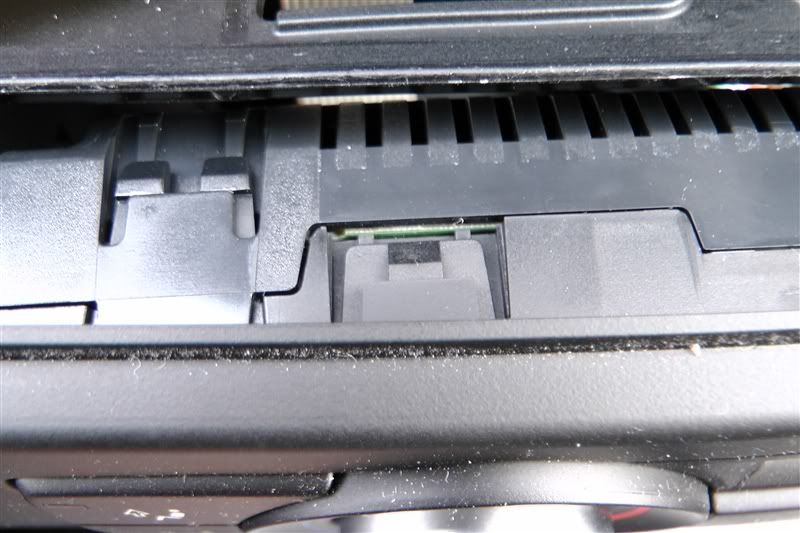
Once you have it out there are three multi plugs which simply unclip. The centre and right hand clips in the picture have a bracket which you unclip and hinge downward. It can be seen on the centre plug in grey against the black. You push this to the left of the picture and it releases the black clip.
Here with the unit removed you can see the hinge type clip in the background.
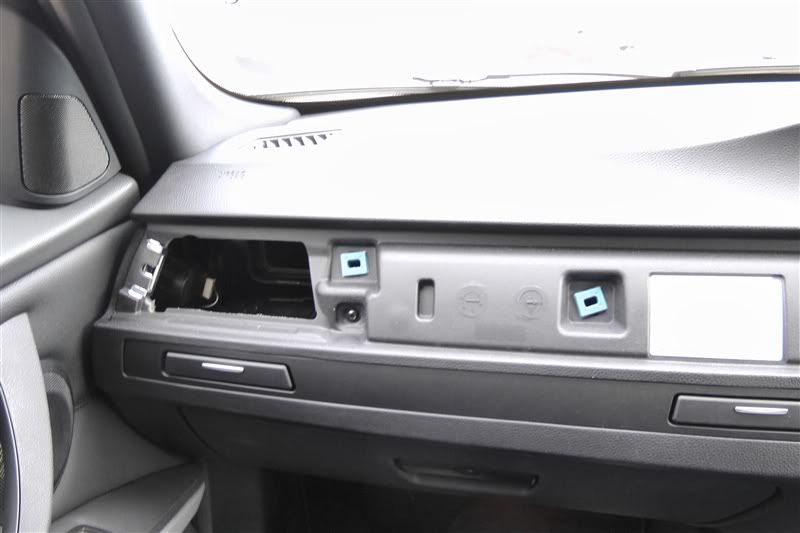
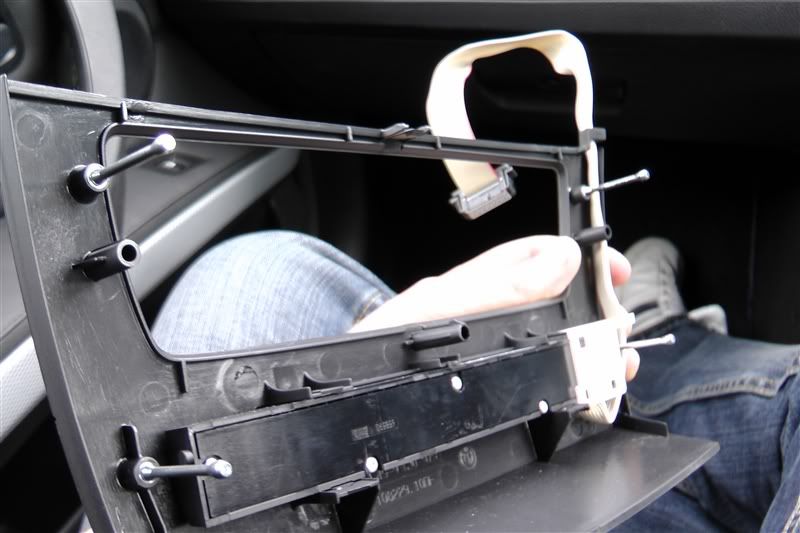
Once the heater controls are removed the outer plastic trim surround can be carefully pried off.

This is held in place by four long slim metal rods which again pull out with light pressure.

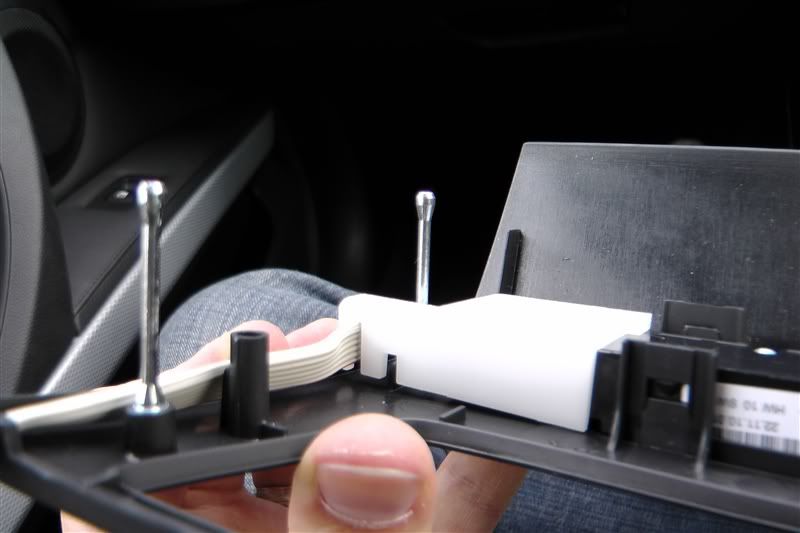
There is one multi plug which needs to be unclipped before freeing the surround completely.
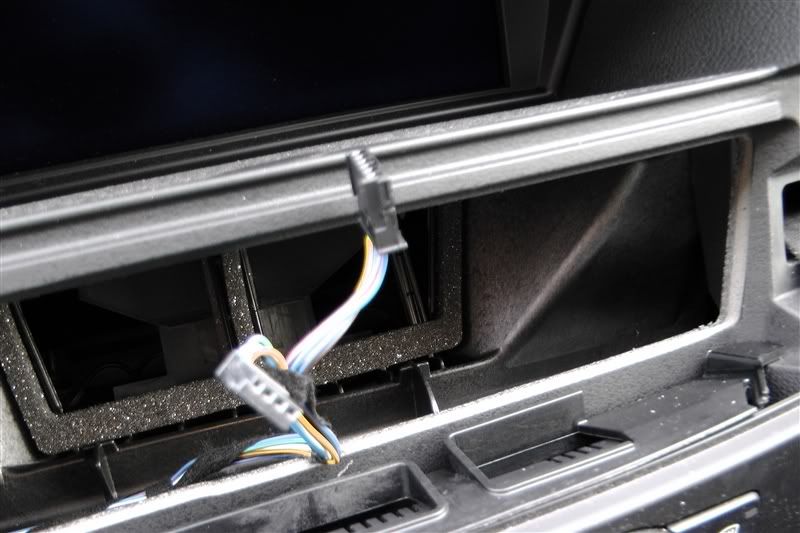
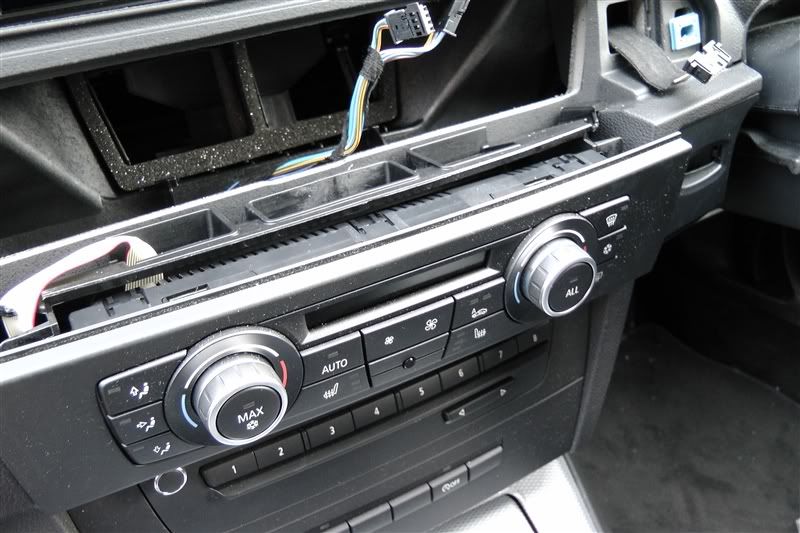
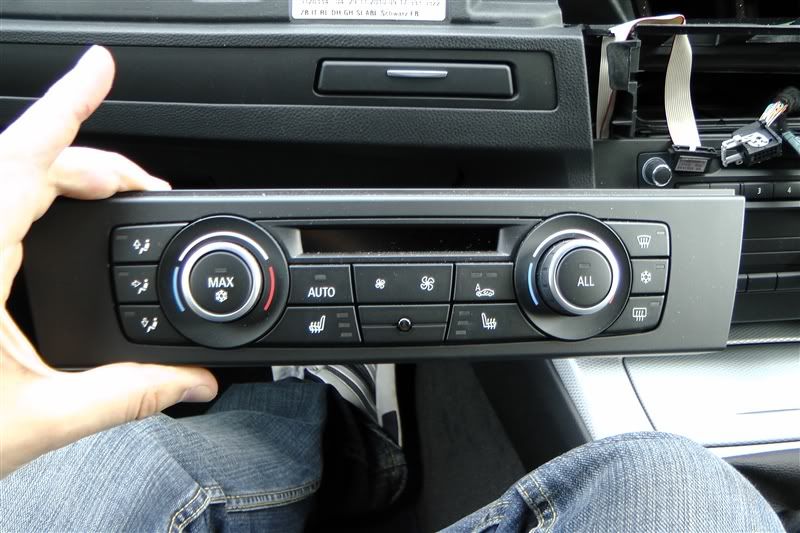
Next comes the removal of the head unit
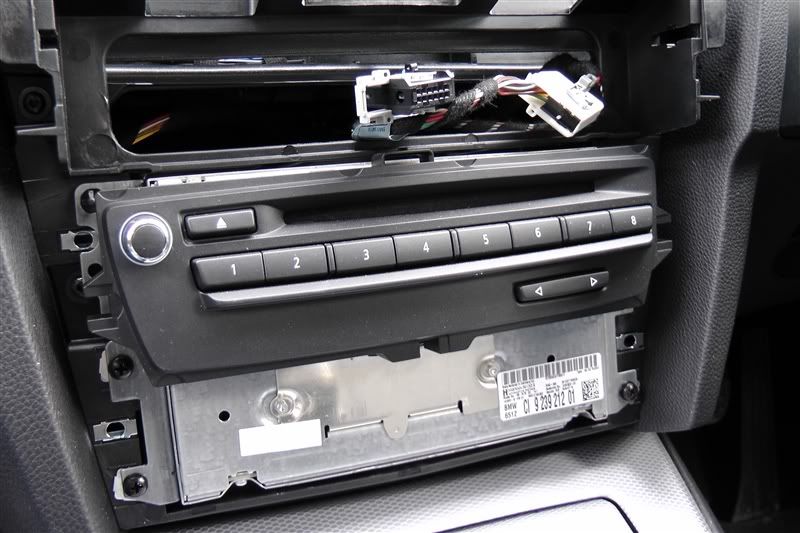
This is held in by four screws
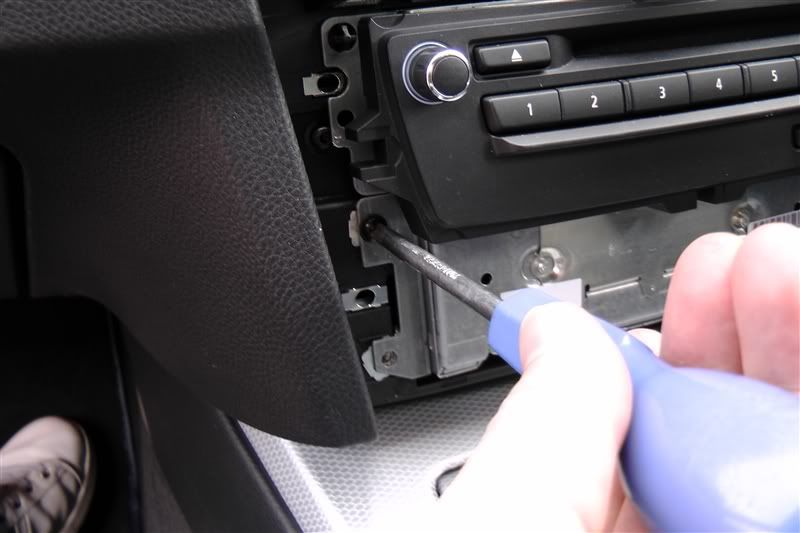
And simply slides out after theyre removed. I recommend placing a towel or similar onto the centre console to protect the metal surface from scratches as the head unit will rest here whilst youre fitting the centre speaker and harness and it has a metal frame.
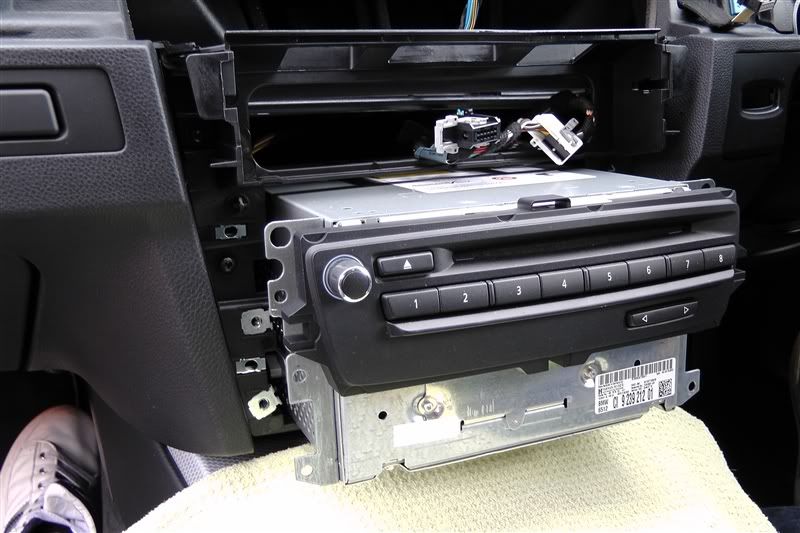
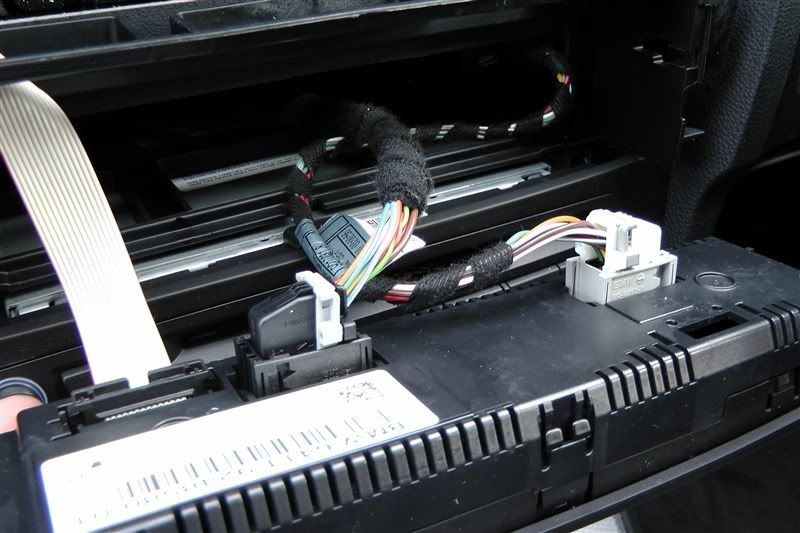
Once pulled out the connectors are visible at the bottom left hand side.
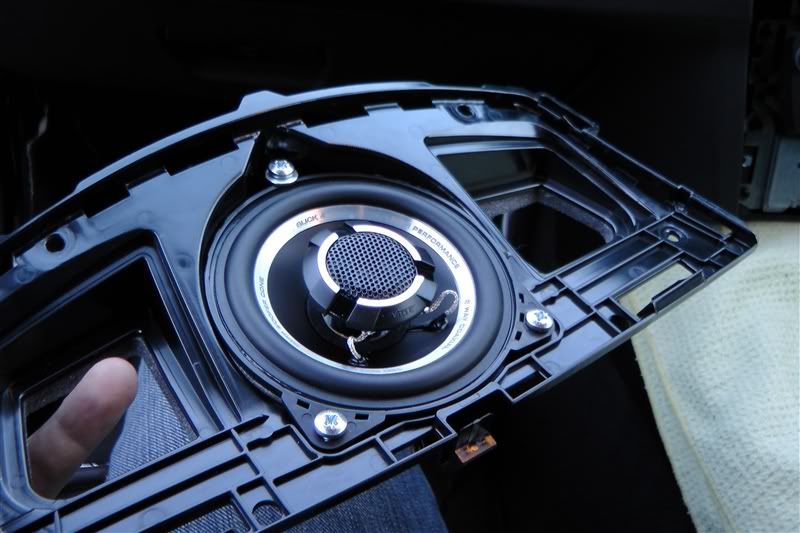
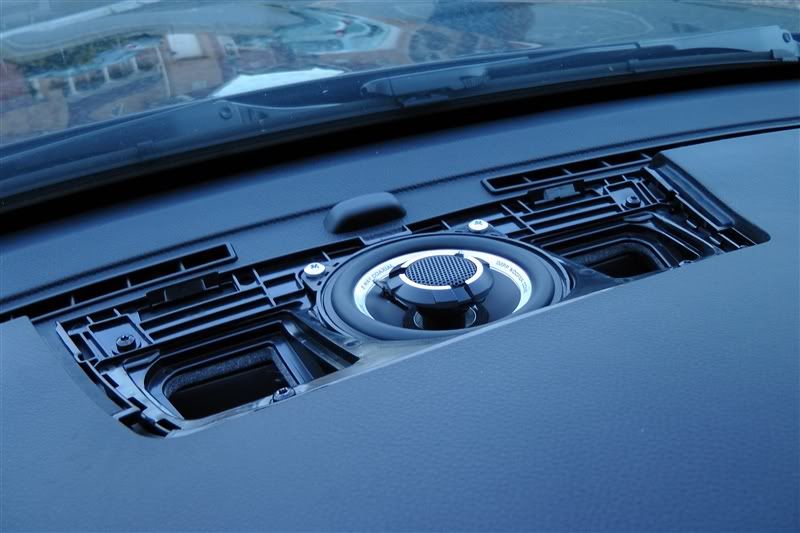
Once I had this clear I decided to fit the centre speaker. For this I used Technics guide which was a great help. As you can see the Base stereo has no centre speaker as standard.
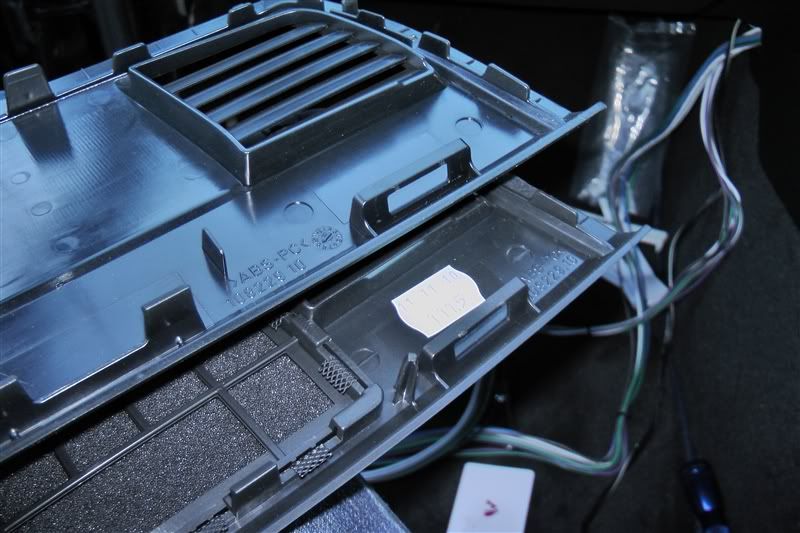
The grill itself lifts up by applying upward pressure at its edges, I suggest using a trim tool here to reduce the risk of marking the dash and starting at the corner nearest to the passenger seat. Once off underneath this is a plastic frame held in by four torx screws. In the centre of this is the space for the speaker.
After taking the frame out I mounted the Vibe speaker and set it aside so that I could feed the speaker wire through. Again, like with the rear speakers the Vibe speaker has four mounting tabs which can be clipped off and any rough edges filed down. I used three screws and the same method of placing a washer around the top screw to hold it firmly in place. I also used some foam rubber around the Vibe speaker itself to make a good seal and prevent any vibration.
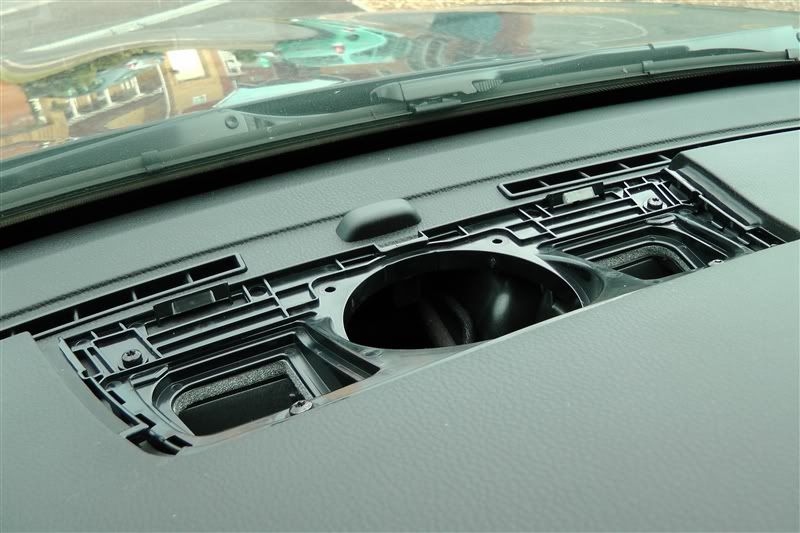
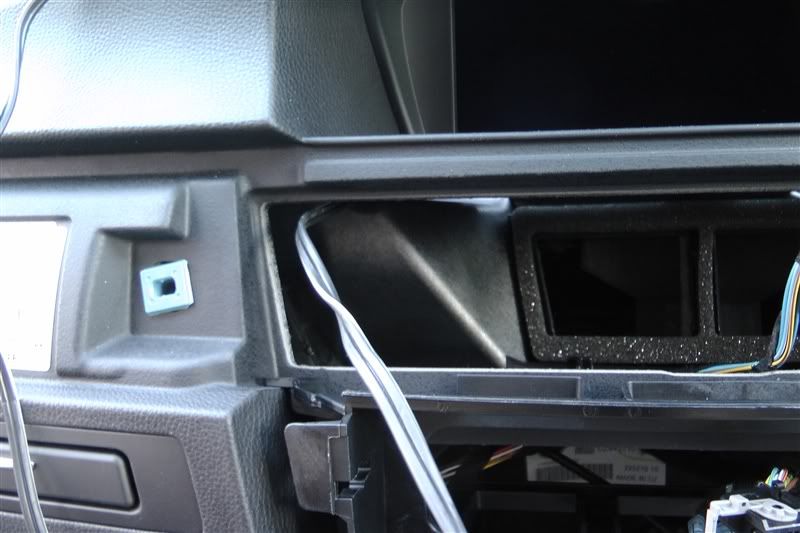
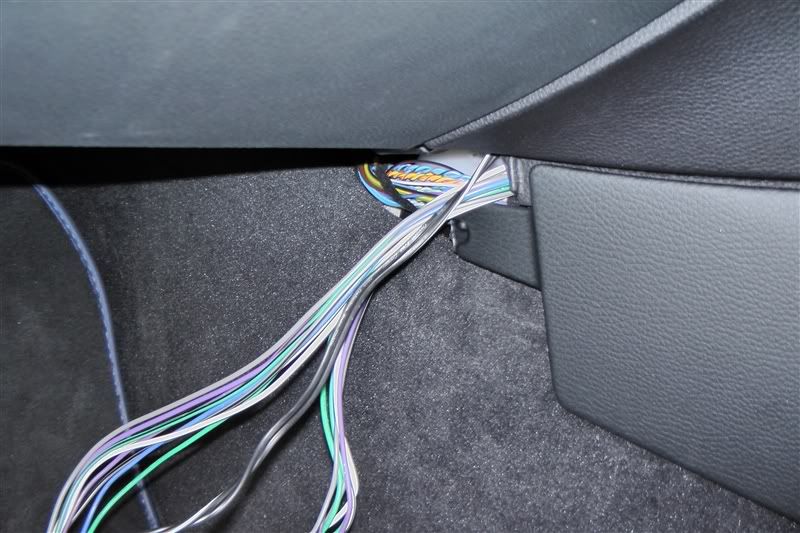
Before attempting to pass the centre speakers wire down through the dashboard I removed the trim underneath the glove box. This is held in by two Torx screws along the front edge and has two slot type fitments at the rear.
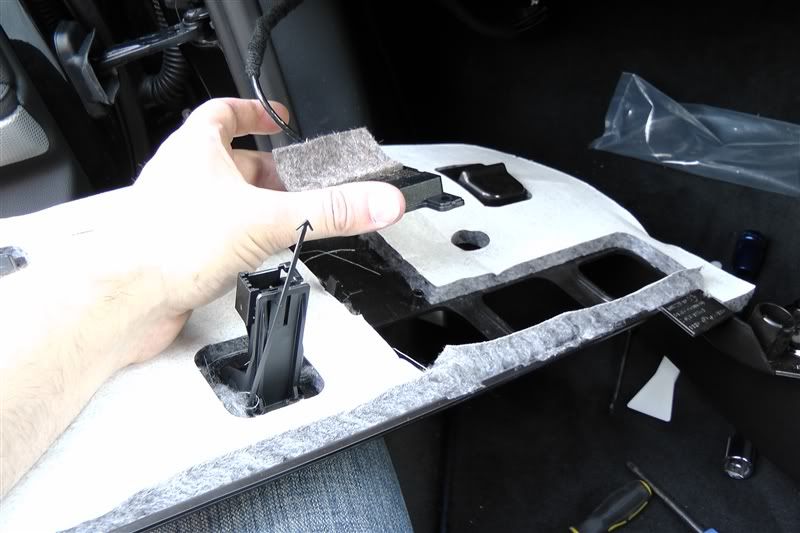
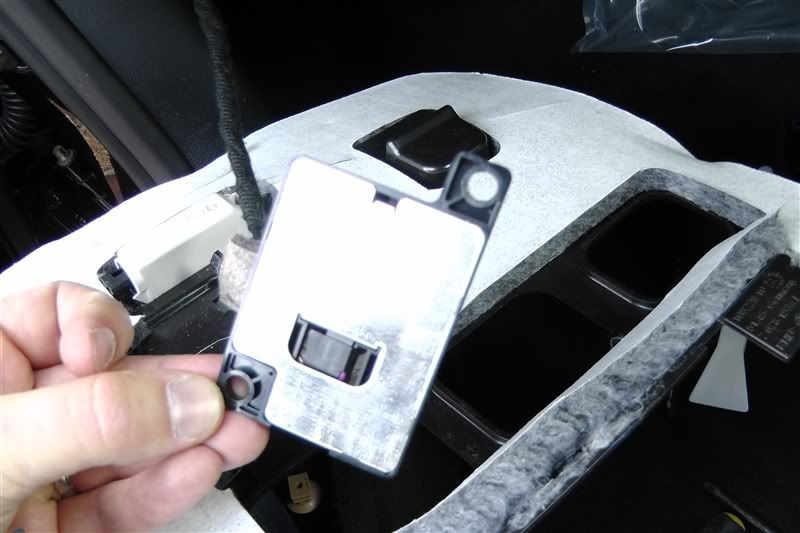
When this drops down there is a multi plug which goes into what looks like a diagnostic port and a transmitter/receiver or similar attached to the trim itself which needs releasing. It has two clips which need gently prying back and it then slides off two circular locators like this.
The speaker wire fed easily down through the dash
Dropping down nicely behind the head unit where I routed it through to the passenger foot well.
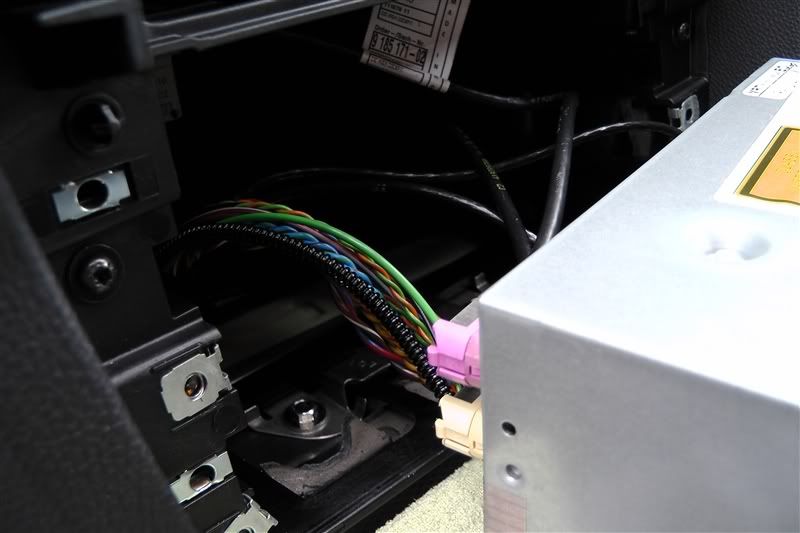
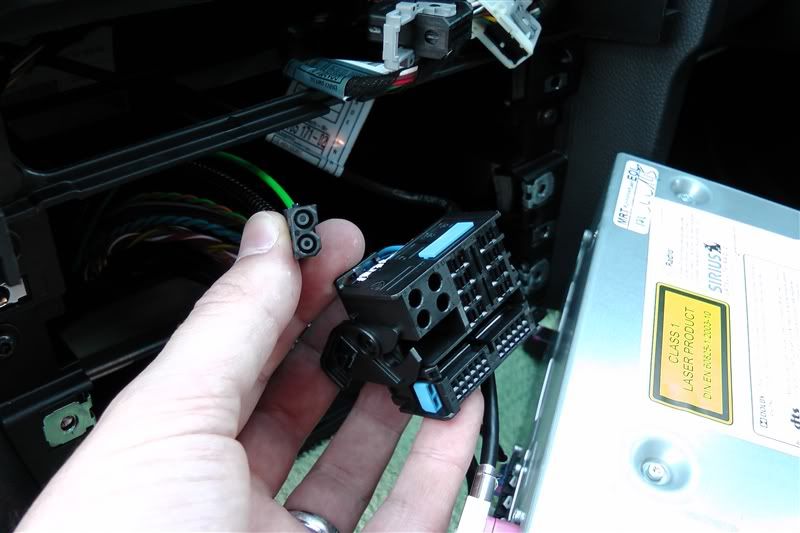
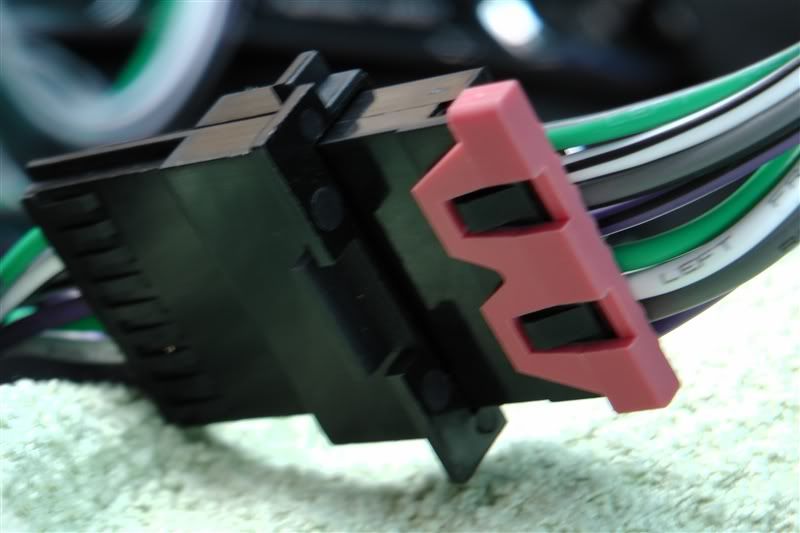
I then unplugged the cars harness from the back of the head unit. Be sure when you remove the original harness plug from the rear of the head unit and before plugging in Technics harness you remove the fibre optic cables (seen here with the green wire and circular pins) and transfer them into Technics or else none of your Nav/Telephone/Bluetooth etc. will work!
After this it was time to fit Technics harness
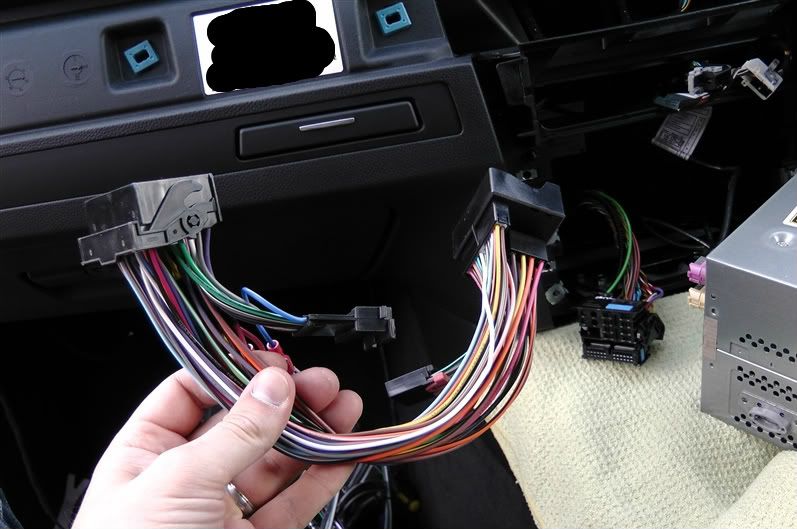
Technics harness simply fits in line between the head unit and the cars loom.
It has two plugs on it which connect to the long cables which go to the rear of the car.
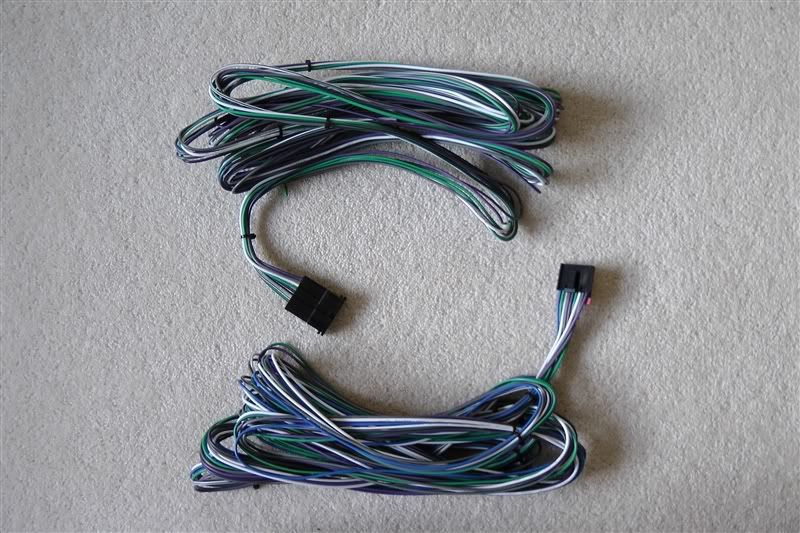
One of these cables is an output and one an input. The output runs from Technics harness behind the head unit to the rear of the car carrying the speaker outputs (sound signals) and remote turn on (for switching the amps etc. on and off) The input then takes whatever amplified signal configuration you chose from the rear of the car back to meet up again with the harness and into the cars original loom and onto the speakers.
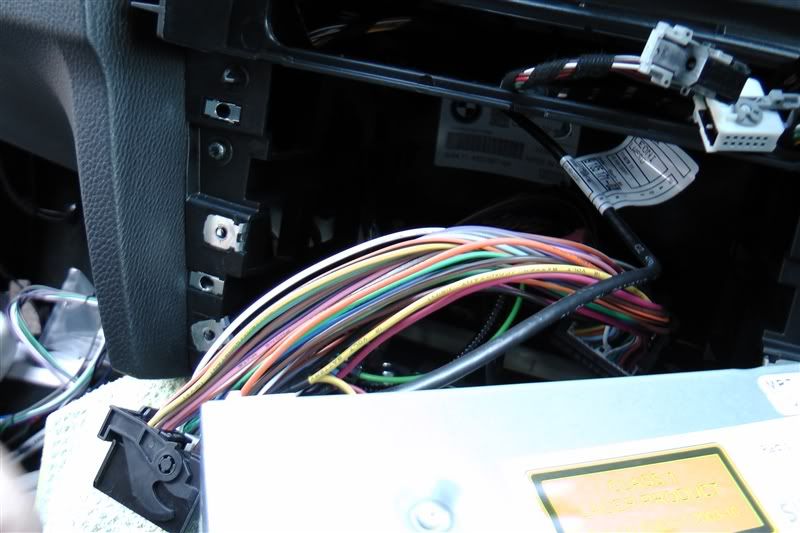
I ran all the necessary wires, including my additional centre speaker wire through a gap behind the centre console which was ran up underneath the passenger foot well and hidden from view after the panel underneath the glove box was refitted.
It was quite fiddly but with trial and error the new harness and additional cabling fitted in behind the head unit and it was slid back into place. It is quite a snug fit but it does fit. I found swearing at it allot helped. Be patient!

I then fitted the new centre speaker into the dash, which I think looks quite good.
To fit a centre speaker you will also require a new trim piece, part no 51457123750 for the iDrive version.
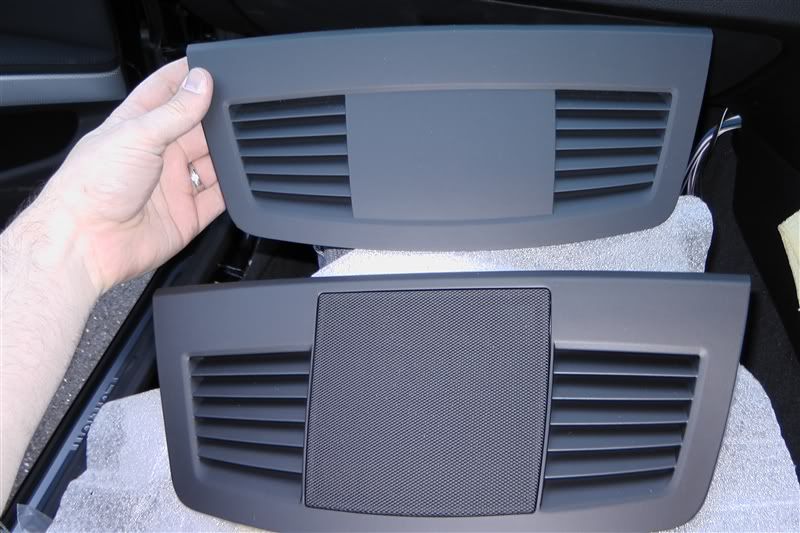
For some reason the new trim panel has additional long plastic lug (as below) which prevented it fitting straight away. I simply snipped this off and it fitted perfectly. Maybe this is something added by BMW to prevent this mod being done? Who knows?
New trim fitted