|
|
|
|
 |

|
 |
BMW Garage | BMW Meets | Register | Today's Posts | Search |
 |

|
BMW 3-Series (E90 E92) Forum
>
Lockman's E93 Matte Blue Metallic Build | Boot Build Complete!
|
 |
| 01-22-2016, 07:02 AM | #68 | |
|
First Lieutenant
 48
Rep 313
Posts |
Quote:
http://www.skinwrap.co.uk Great guys as well. It cost 1300 but that includes door shuts and satin black window trim. Without that it would have been about 1100 and if I had a coupe it would have been cheaper. |
|
|
Appreciate
0
|
| 01-22-2016, 02:06 PM | #70 | |
|
First Lieutenant
48
Rep 313
Posts |
Quote:
Not really mate. I go car wash once a week ( i used to do that with my e46 anyway) and get a normal wash. No wax though as that will ruin the wrap! I also go hand wash only! Its very very easy to look after you would be surprised. I think because its called a wrap it makes you think "How is this going to look" because when i think wrap i think of my terrible xmas present wrapping skills lol. but really if you go to a good place you cant tell its been wrappped at all. no bumps or anything just looks like its part of the bodywork if that makes sense? |
|
|
Appreciate
0
|
| 02-01-2016, 05:43 PM | #71 |
|
First Lieutenant
48
Rep 313
Posts |
update!
I haven't had much chance to make changes to car but this weekend gone I had a free Sunday so I finally managed to carry out a few mods I wanted to do.
Firstly I installed the Shifter from motive mods (http://www.motivemods.com/BMWRetrofi.../mm-sst-d3.htm) I was looking at both the bimmian and chromiumtech ones. I was originally going to get one of these but I had one in my e46 and remember it being plasticy and not feeling sturdy. The thing I like about the Motivemods ones is that it is an oem part with a custom PCB to fit this car. yes it is more expensive but I bought it the same night the person drove into the back of my car! lol! Anyways heres a few pictures of the install Original shifter  Next I removed the shifter and the baseplate 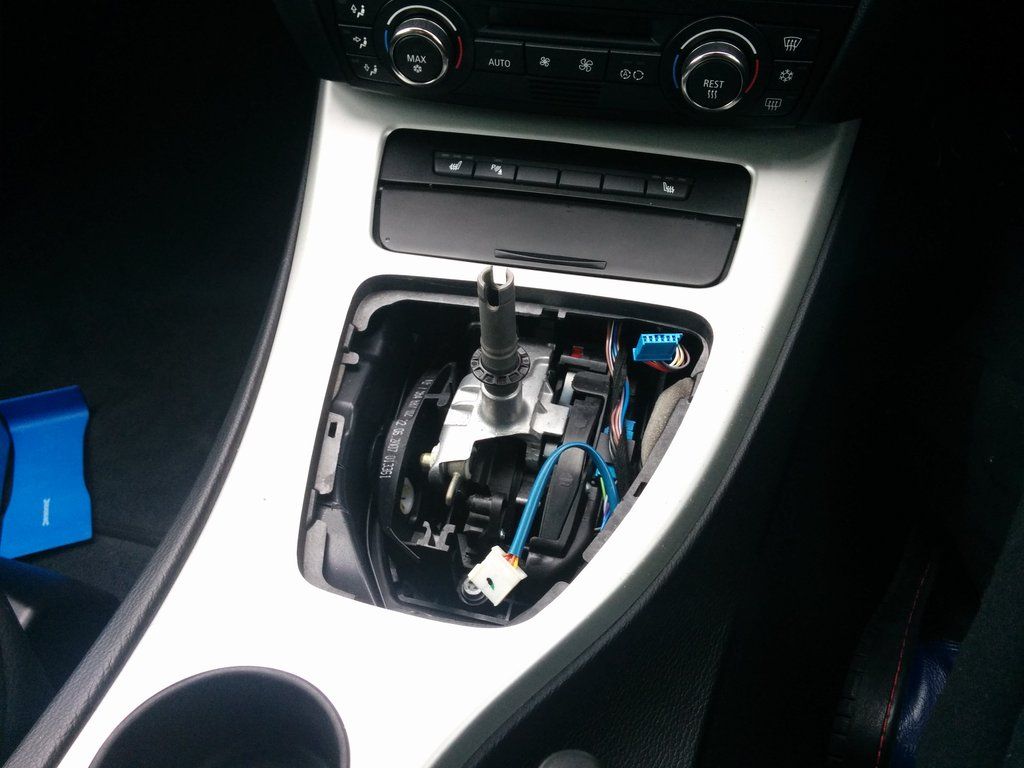 Then the next step is the part where you need to cut the shifter stalk. This is because the standard stalk is too long so if you just put the shifter on it sits too high and doesn't look right. If you are planning to change it to something else one day then this mod isn't for you! But I don't think there is another auto shifter that I would want! So I went for it. I used a hacksaw blade and it took for ever! I should have bought a disc drill attachment for my electric cordless drill. would have been done in seconds! 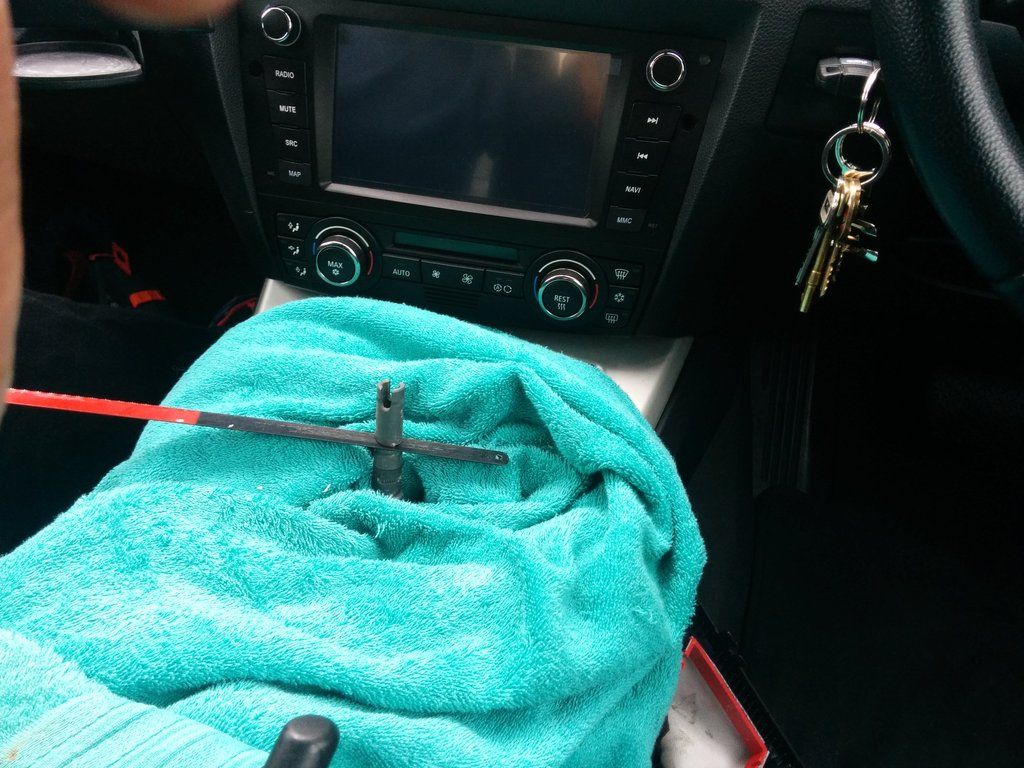 No going back! 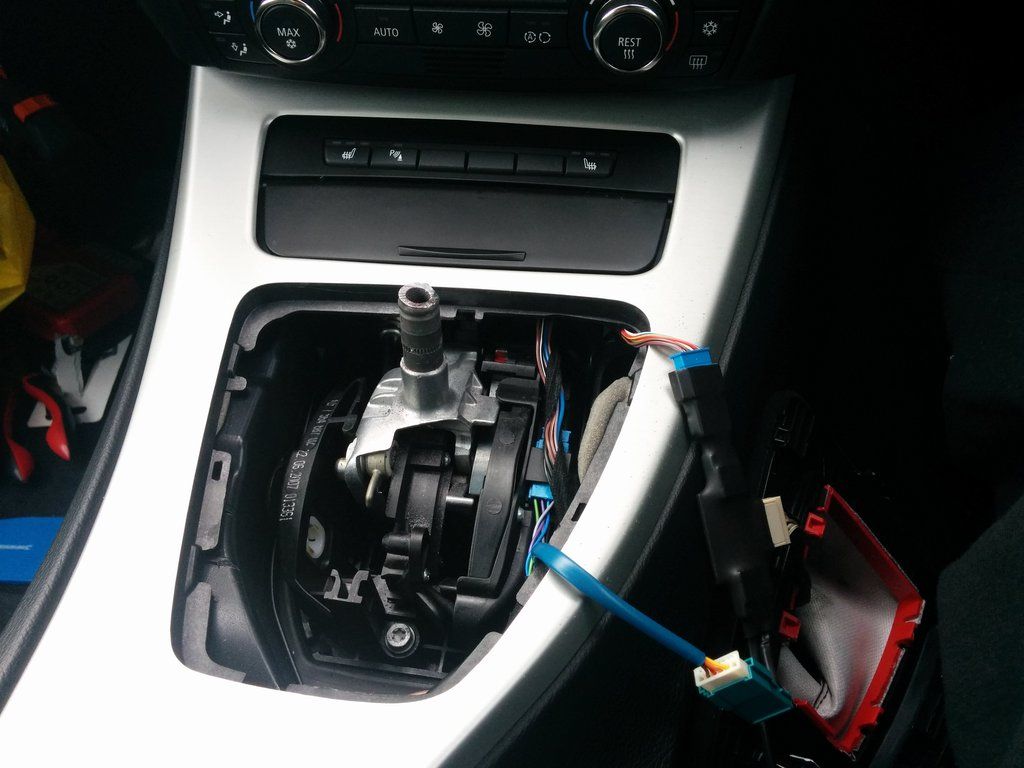 Next I screwed the shifter into the stalk and connected the baseplate and put it all back together and here is the finished result! Much better than the stock shifter! 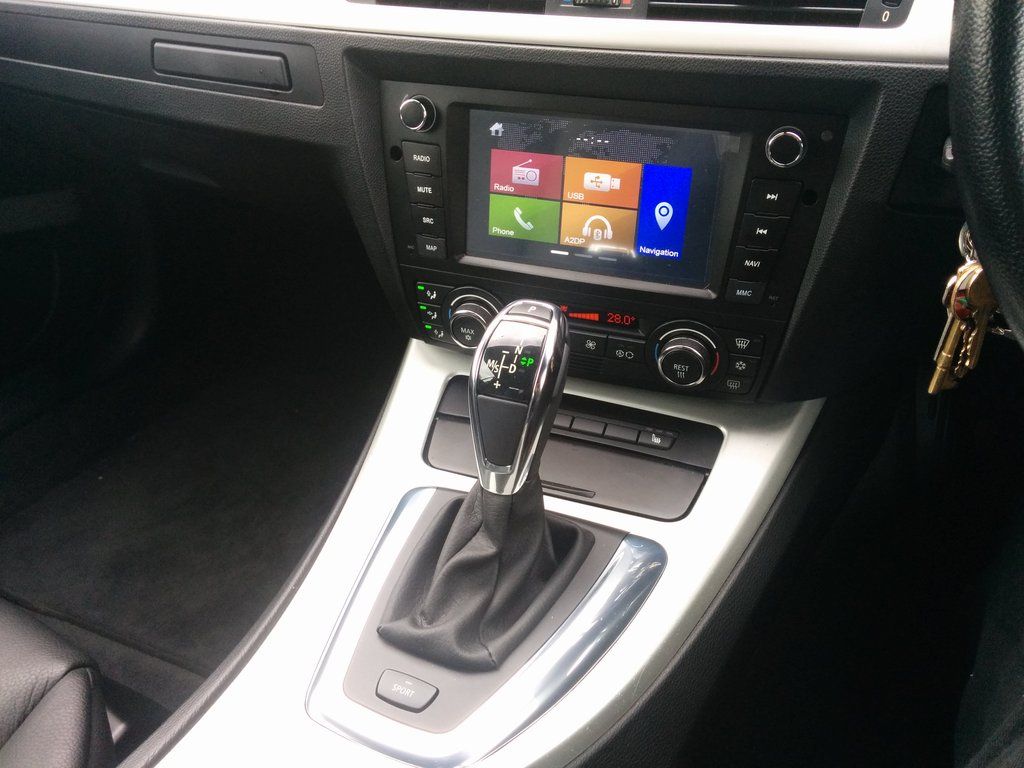 Next was the reverse camera. When I installed my subwoofer and dynavin, I fed a camera video wire from the headunit to the boot so all I needed to do was remove the boot trunk handle, attached the new handle with camera, plug in the video RCA and get power to the camera. Firstly I removed the boot lid liner. I didn't take it off completely just the top part. Reason for this is that I cant feed the wires through that wire tube as I have a vert.The tubing is slightly different between the two cars so there was no need to take the liner of completely. Anyway here is the camera ready to be put in place after the wires are fed to it. 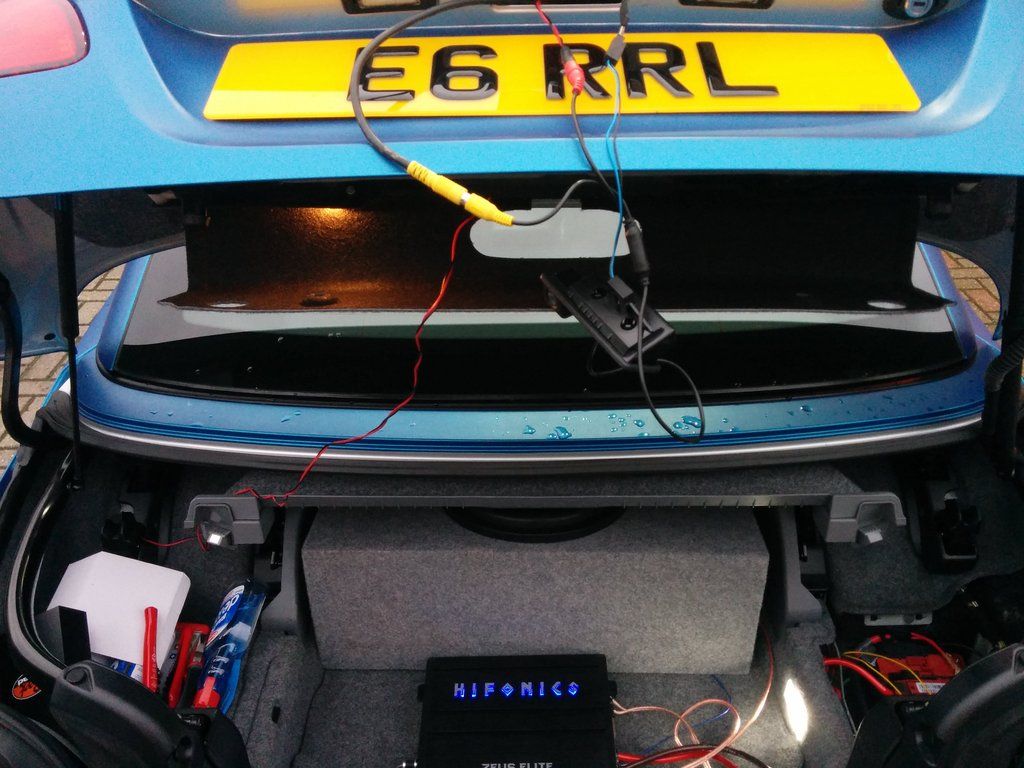 The eagle eyed amongst you will see that the part of the boot where the handle sits has not been wrapped. This is because I asked the wrapper to do it after I installed the camera as I didn't want to try prying out the trunk handle and end up scratching it! Here is the handle installed. you can hardly see the camera  Next I grounded the camera why near a bolt near the battery. I then spent AGES trying to find out which wire on the rear light connector was related to positive. In the end I decided to tap into the 12v power lead which is running from the dynavin to the head unit. . Don't do this. Apparently if you do that it will have constant power. To be on the safe side I added a relay with the trigger being the head unit (I tapped into the amplifier remote wire). The camera works flawlessly I didn't get any decent shots though as by the time I had finished it was dark. Anyway here is a shot of the reverse camera. This is me using the camera mode which shows the camera whenever you press the camera button on the dynavin (plus side to running constant power to it). The camera also engages when I put the car into reverse. 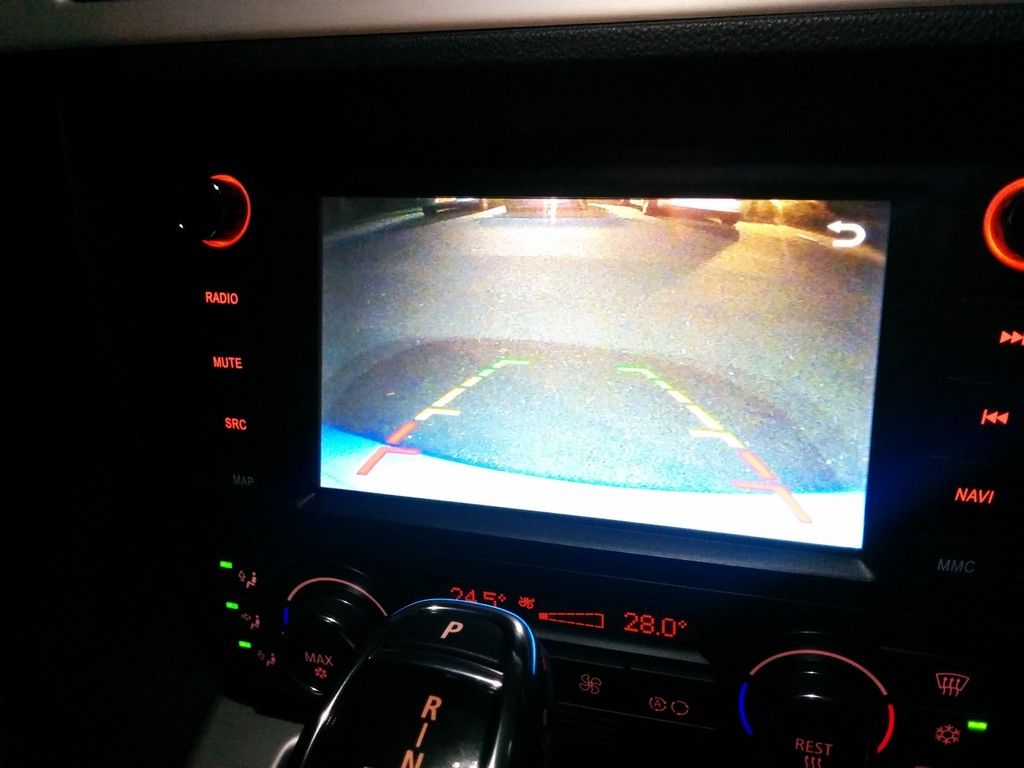 Next for mods are the steering wheel, speaker upgrade and a drop!! Still thinking about all black kidneys and lci tail lights! Last edited by Lockman_321; 02-02-2016 at 05:44 PM.. |
|
Appreciate
0
|
| 02-02-2016, 05:45 PM | #73 | |
|
First Lieutenant
48
Rep 313
Posts |
Quote:
|
|
|
Appreciate
0
|
| 02-04-2016, 02:21 PM | #75 | |
|
First Lieutenant
48
Rep 313
Posts |
Quote:
I would much rather have an android based unit so I could use things like Google music on the head unit itself rather than have to always connect to Bluetooth but really thats not really a deal breaker. Its a great unit and would definitely recommend it for those who don't have idrive. |
|
|
Appreciate
0
|
| 02-09-2016, 08:24 AM | #76 |
|
Captain
65
Rep 670
Posts |
Cool. Thanks. I take it there is no Android equivalent available hence going with the Dynavin?
Do you know how it would work if I already had Bluetooth? Can I have the car's factory BT override anything the Dynavin provides? |
|
Appreciate
0
|
| 02-10-2016, 02:45 PM | #77 | |
|
First Lieutenant
48
Rep 313
Posts |
Quote:
 |
|
|
Appreciate
0
|
| 03-13-2016, 09:50 AM | #78 |
|
First Lieutenant
48
Rep 313
Posts |
The next mod I carried out was the e93 tail light upgrade. Compared to all the other things I have done this was quiet easy. It sounds quite daunting removing rear lights but it's really a 2 minute job per light.
First thing I did was source a set of LCI lights for an e93. I have seen loads of different part numbers on different forums but some are relating to us versions of the lights. After some research I found the part numbers I needed for my car were: TAILLIGHT OUTER PART L.-SIDE -- 63217252091 TAILLIGHT OUTER PART R.-SIDE -- 63217252092 TAILLIGHT INNER PART ON THE TRUNK LID L.-SIDE --63217252783 1 -- TAILLIGHT INNER PART ON THE TRUNK LID R.-SIDE -- 63217252784 1 -- RETROFIT CABLE SET, FACELIFT LIGHTS -- 61122181311BMW The first two parts are the Euro spec version (amber indicators). If planning to order for your car just double check you get the right one. I ordered from schmiedmann and in less than a week they turned up.  Retrofit harness 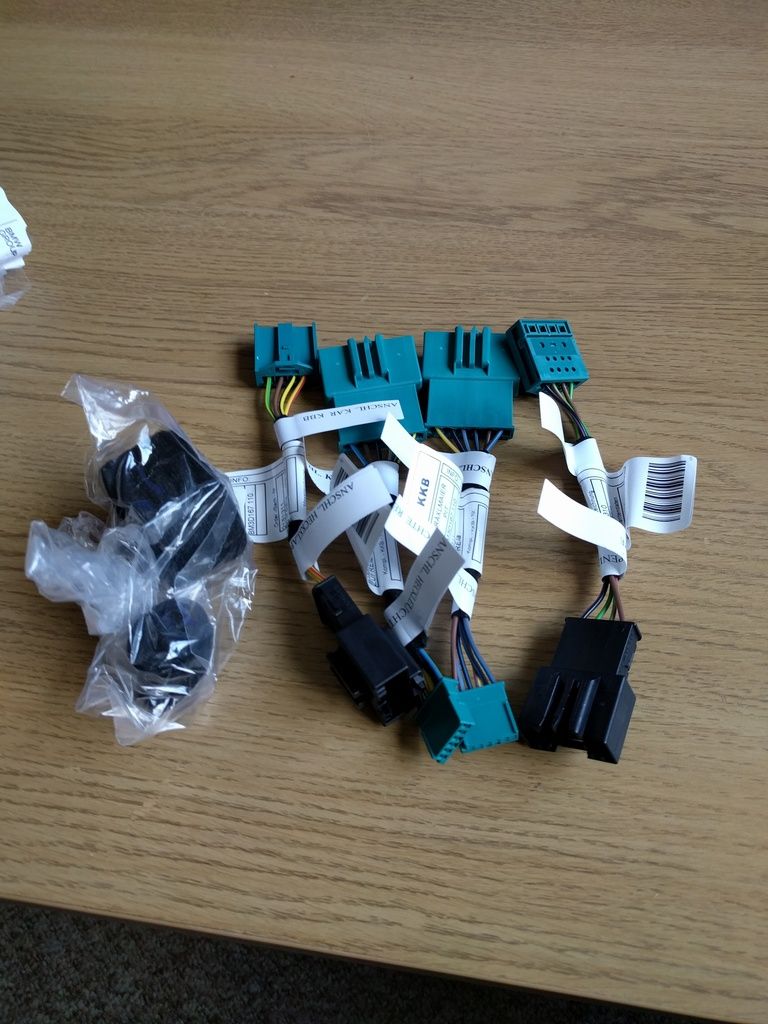 Now to fit them! For the existing lights the outer ones have 3 bolts and the boot lid ones have one bolt. Unscrew these and the lights just pop out. Lower 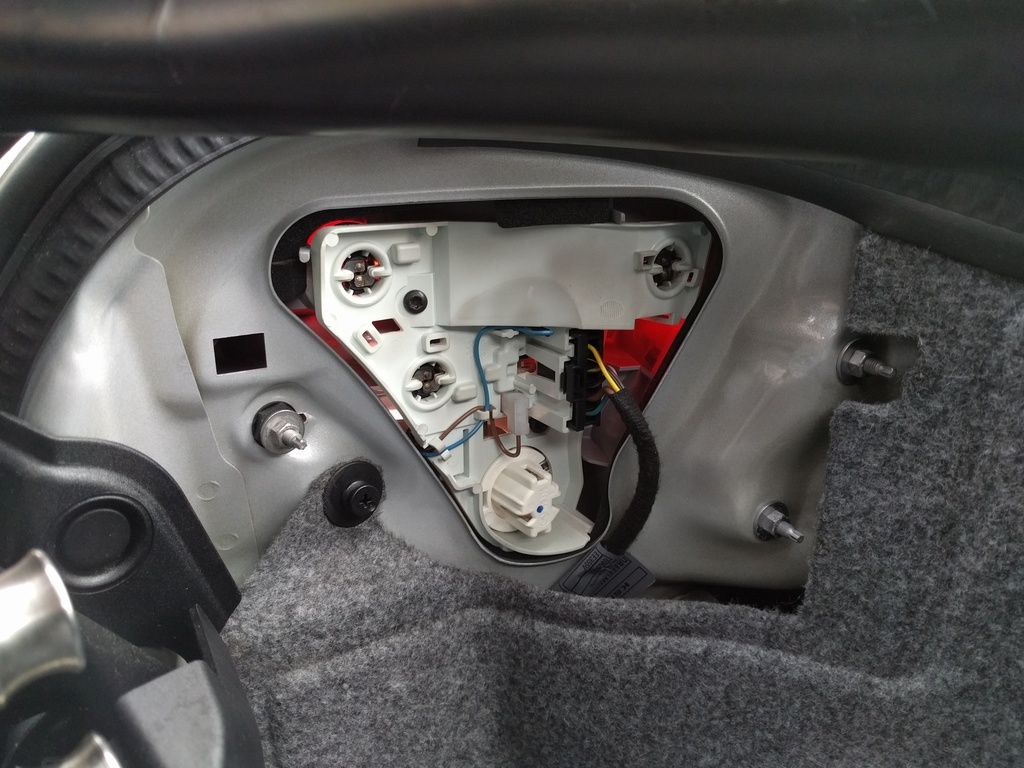 Boot lights  Once the lights have been removed you just put the new lights in plug the harness in and screw the nuts back in Removed 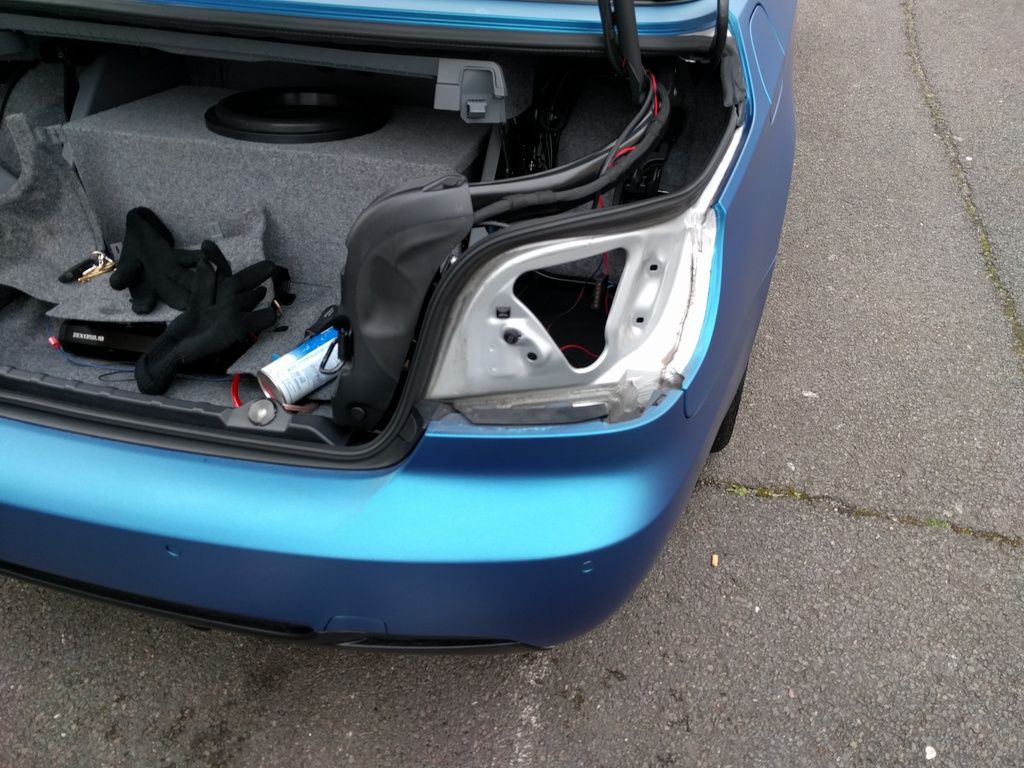 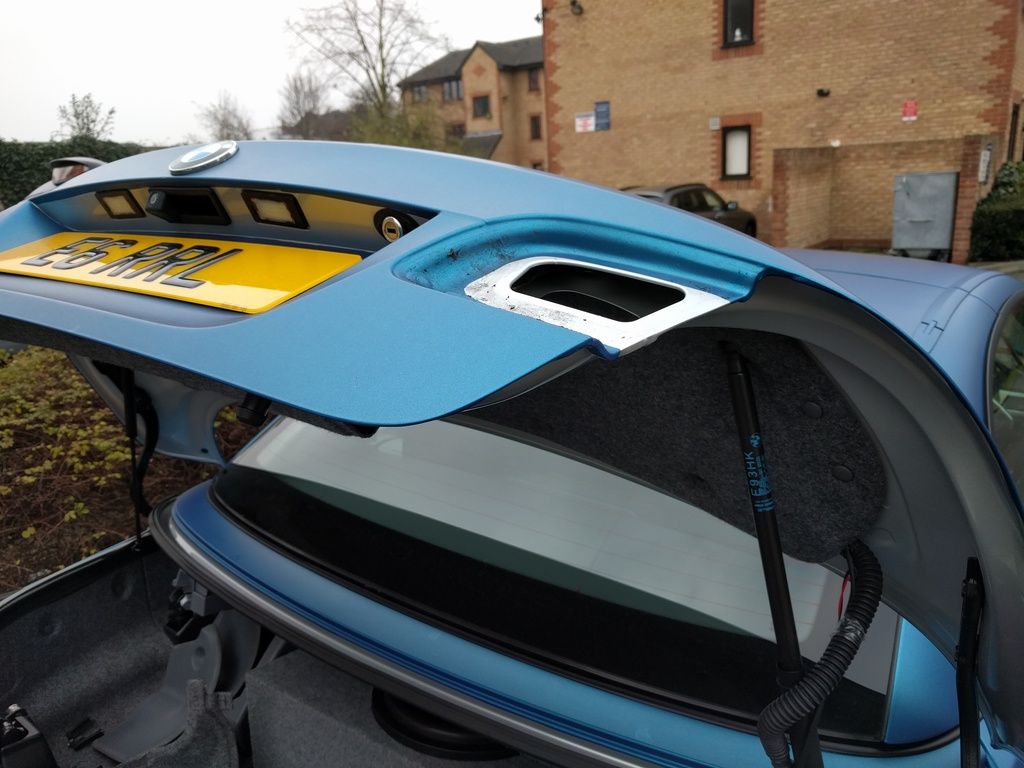 New lights in place 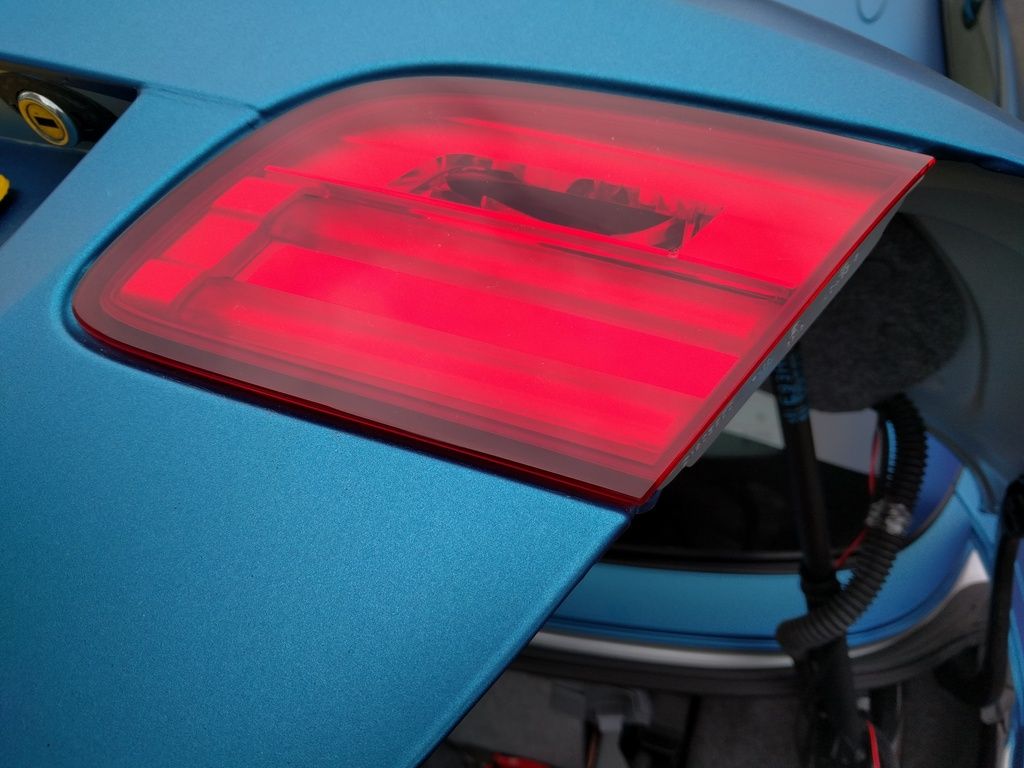 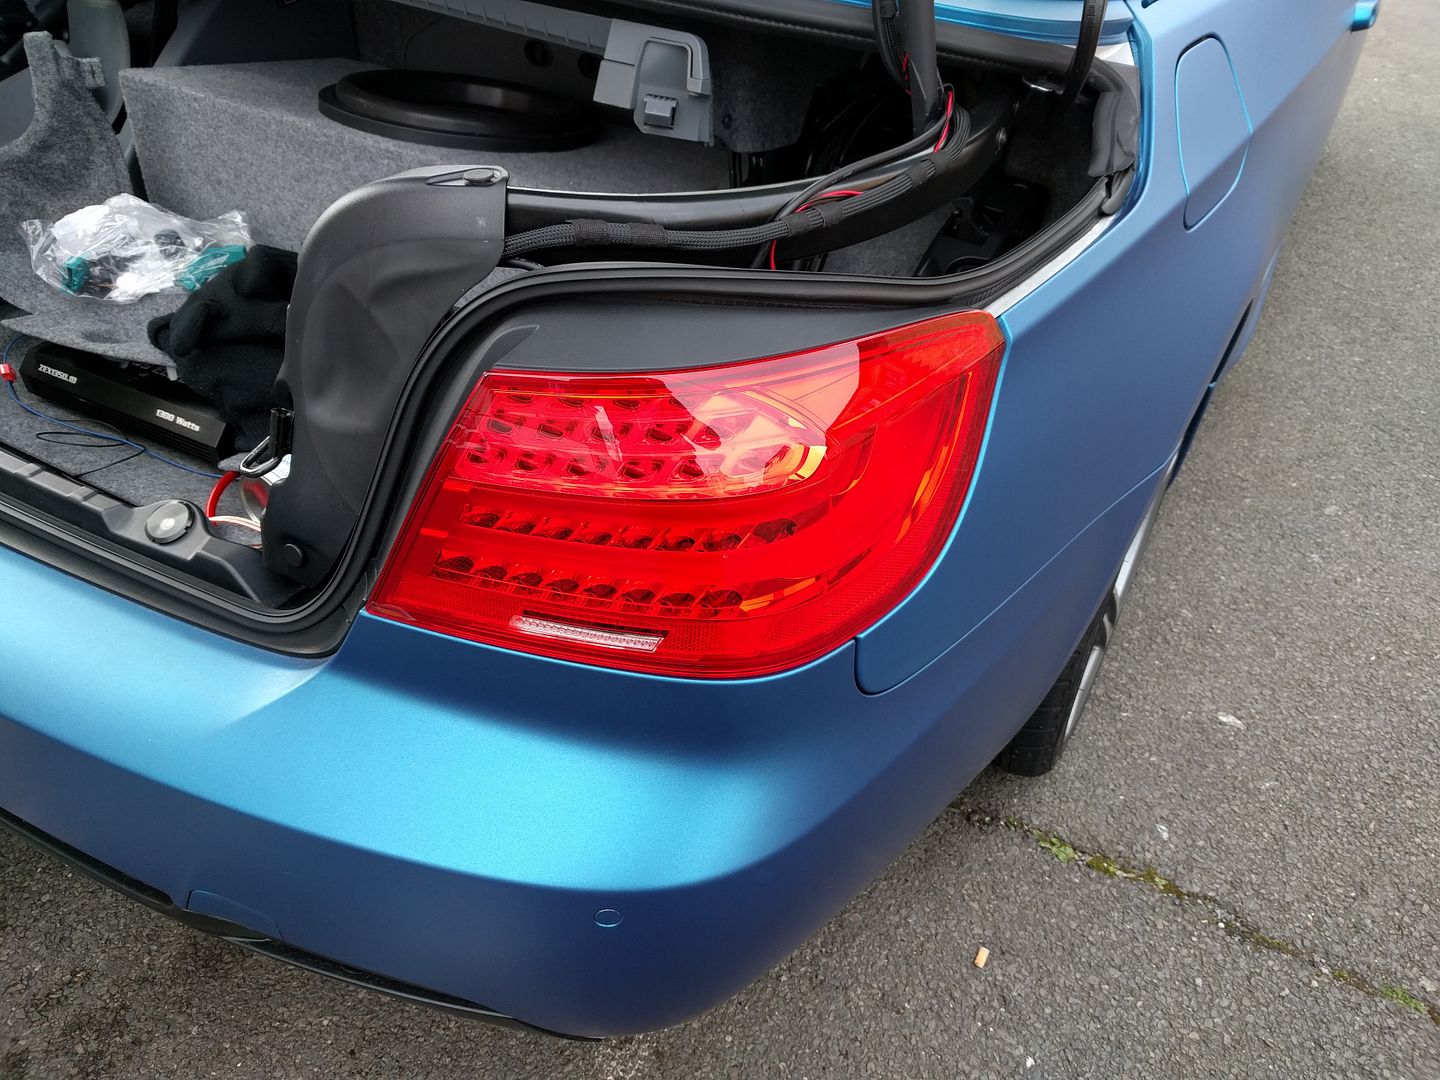 Finished job 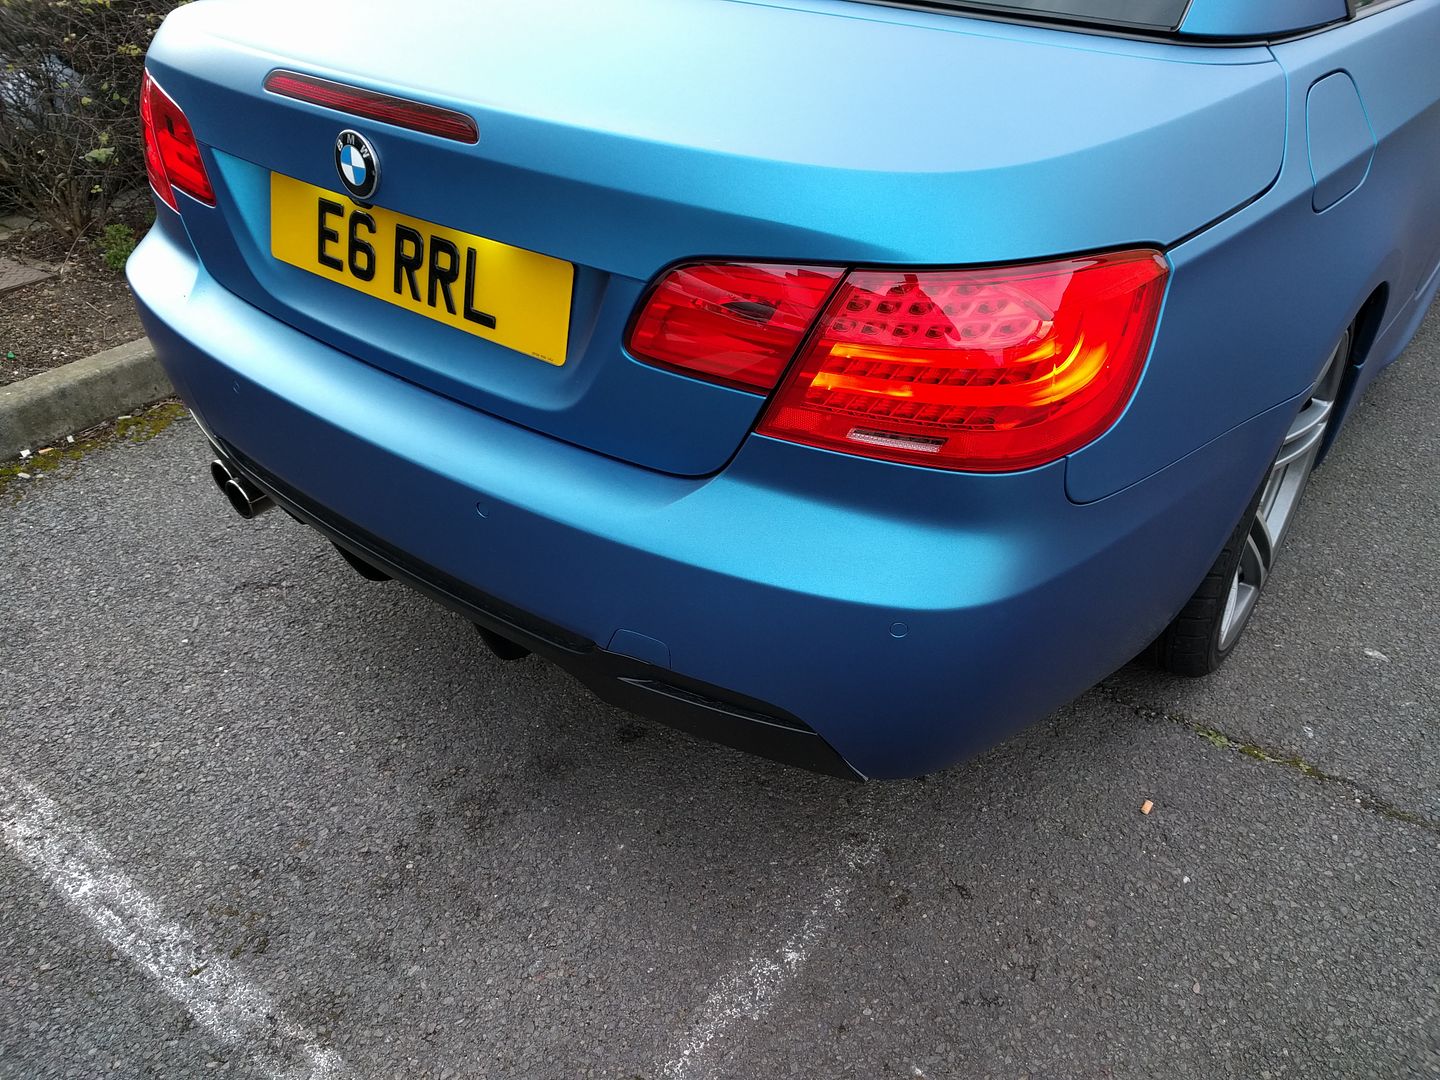 Comparison 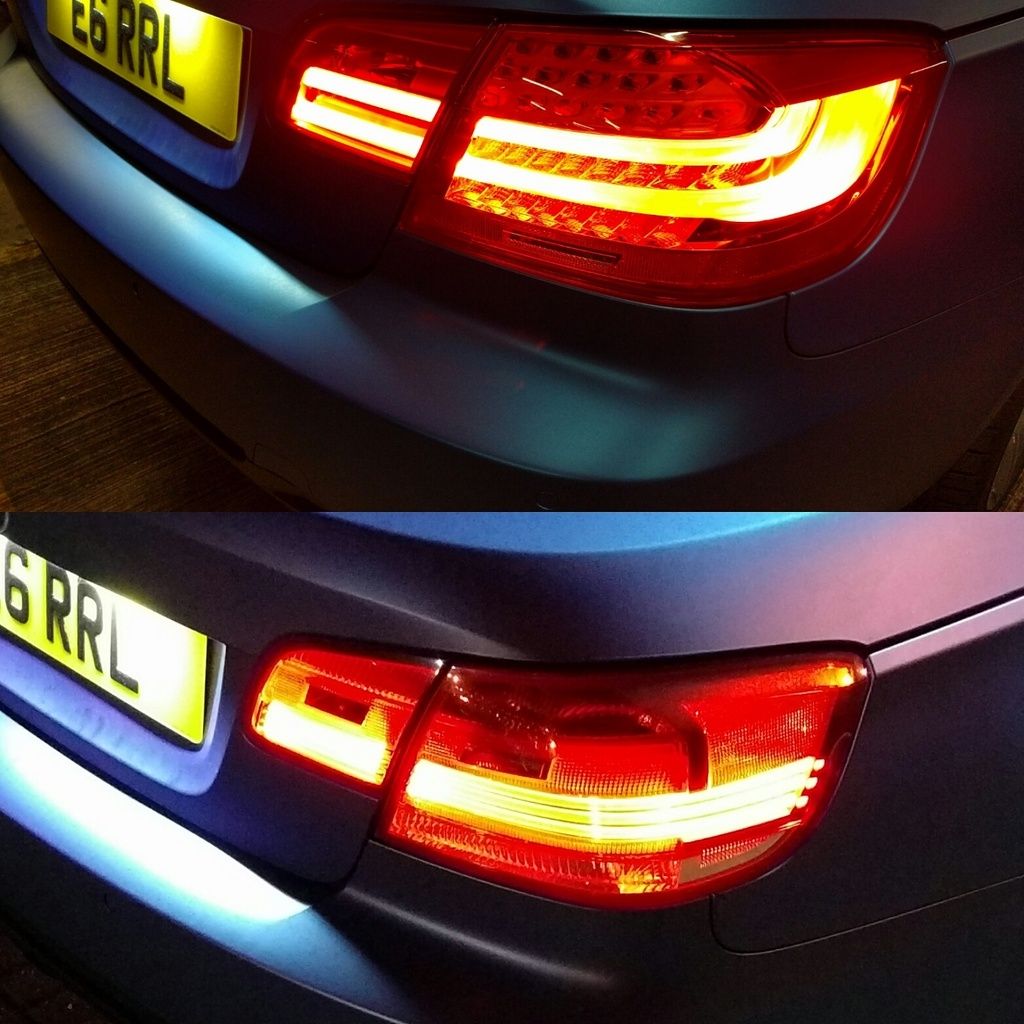 After I finished I had to code out some dash errors and the indicators as they were blinking double time!!. I used the Carly app for this and only needed to use four codes.these where. Turn signals rear voltage monitoring 1/2 Not active Turn signals rear voltage monitoring 2/2 Not active Brake lights voltage monitoring 1/2 Not active Brake lights voltage monitoring 2/2 Not active No more dash errors and the indicators are now blinking at the correct speed! I think the back end looks so much better now the LCI lights really make it look so much better! 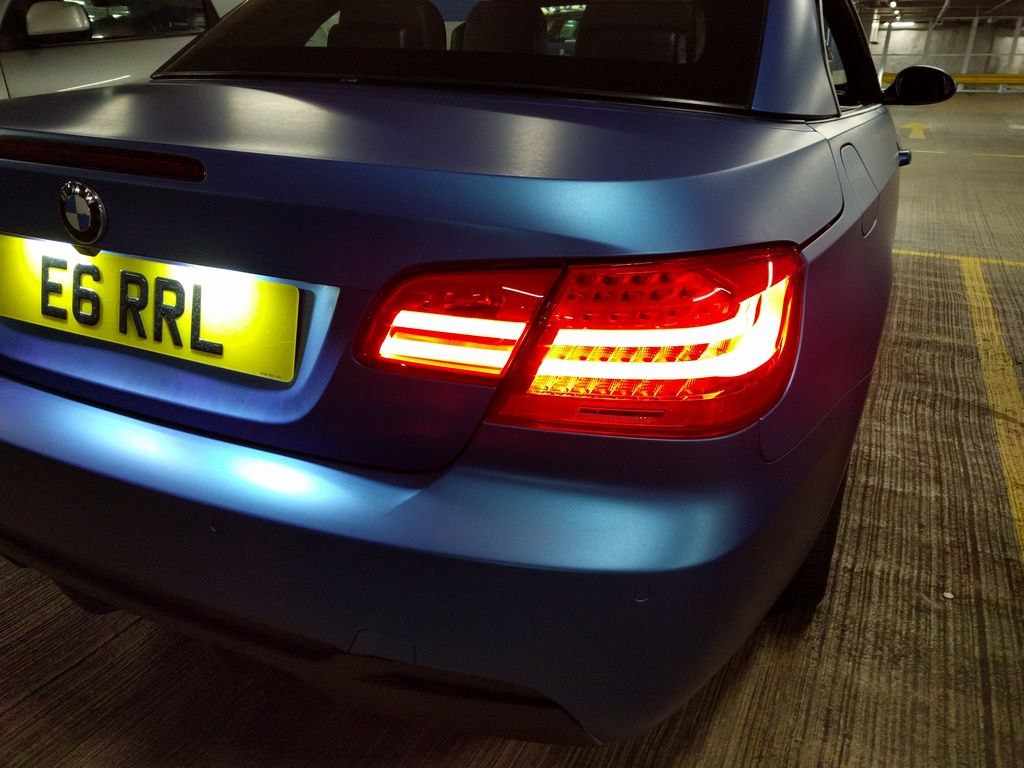 Now it's time for a drop!! |
|
Appreciate
0
|
| 03-13-2016, 10:39 AM | #79 |
|
Major General
 
2032
Rep 8,339
Posts |
Nice. When's power time?
I did mine in stages. 1. jb4, hardwire laser hammers and radar. 2. wheels and tires and tint, halos, clear reflectors 3. brake rotors and pads 4. M3 steering wheel, zhp knob, Msport rear bumper and skirts, carbon fiber trunk spoiler 5. Kwv2 lowered, lsd, 7" FMIC 6. M3 front control arms and m3 shock tower brace 7. Vargas 2+ turbos, cat less dp, inlets, outlets, fuel rail, stage lpfp, mhd, charge pipe & bov, clutch, subframe bushings, transmission mounts, LSD lockdown. Waiting on this to be done now. 8. M3, 1m, or M4 front bumper replica, carbon fiber skirt extensions, cf front bumper lip, lci taillights, avant-garde m590 19x9 front, 19x11 rear wheels in brushed antique bronze 9. Cf m3 hood, wrap in Chrome burnt orange exposing hood middle, cf kidneys with m stripes Done. Few other things along the way but you get the just. #7 is basically done. It's in the shakedown phase. Love the wrap. Can't wait to do mine. Last edited by Fundguy1; 03-13-2016 at 10:57 AM.. |
|
Appreciate
0
|
| 03-14-2016, 08:40 AM | #81 | |
|
Major General
2032
Rep 8,339
Posts |
Quote:
|
|
|
Appreciate
0
|
| 03-14-2016, 06:46 PM | #85 | ||||
|
First Lieutenant
48
Rep 313
Posts |
Quote:
 Quote:
Quote:
http://royalsteeringwheels.com/ Im going to go for this style trim.(the same style trim i had done on e46 steering wheel) 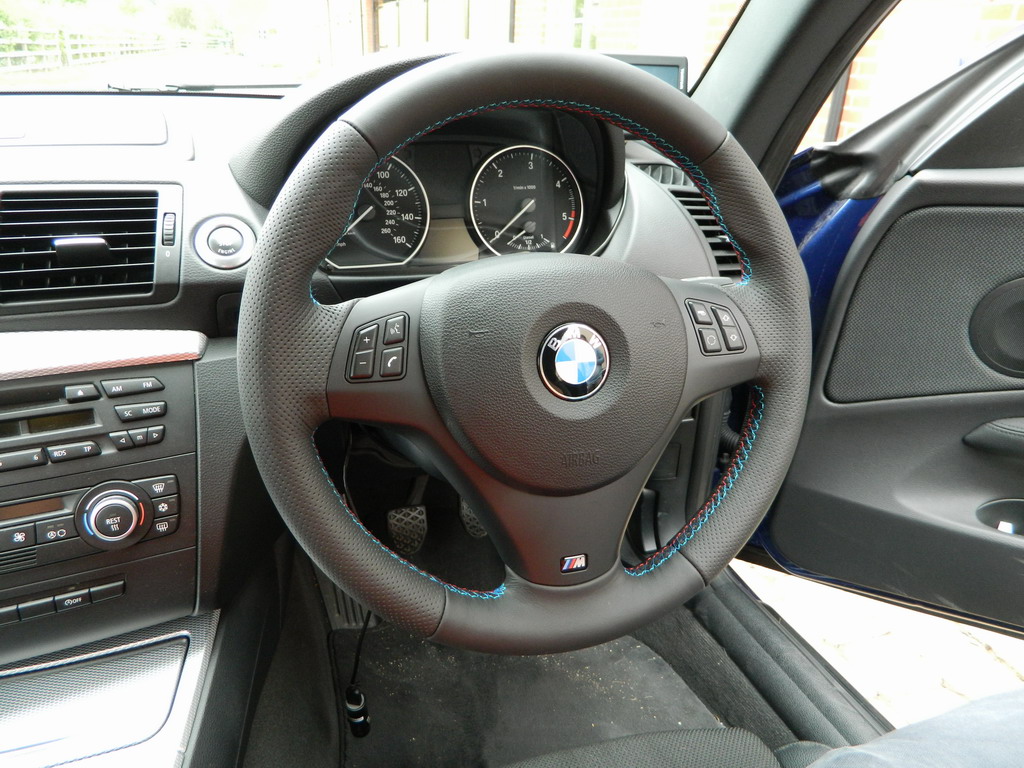 |
||||
|
Appreciate
0
|
| 04-04-2016, 07:04 AM | #86 |
|
First Lieutenant
48
Rep 313
Posts |
The next thing i plan to do is fit this speaker set.
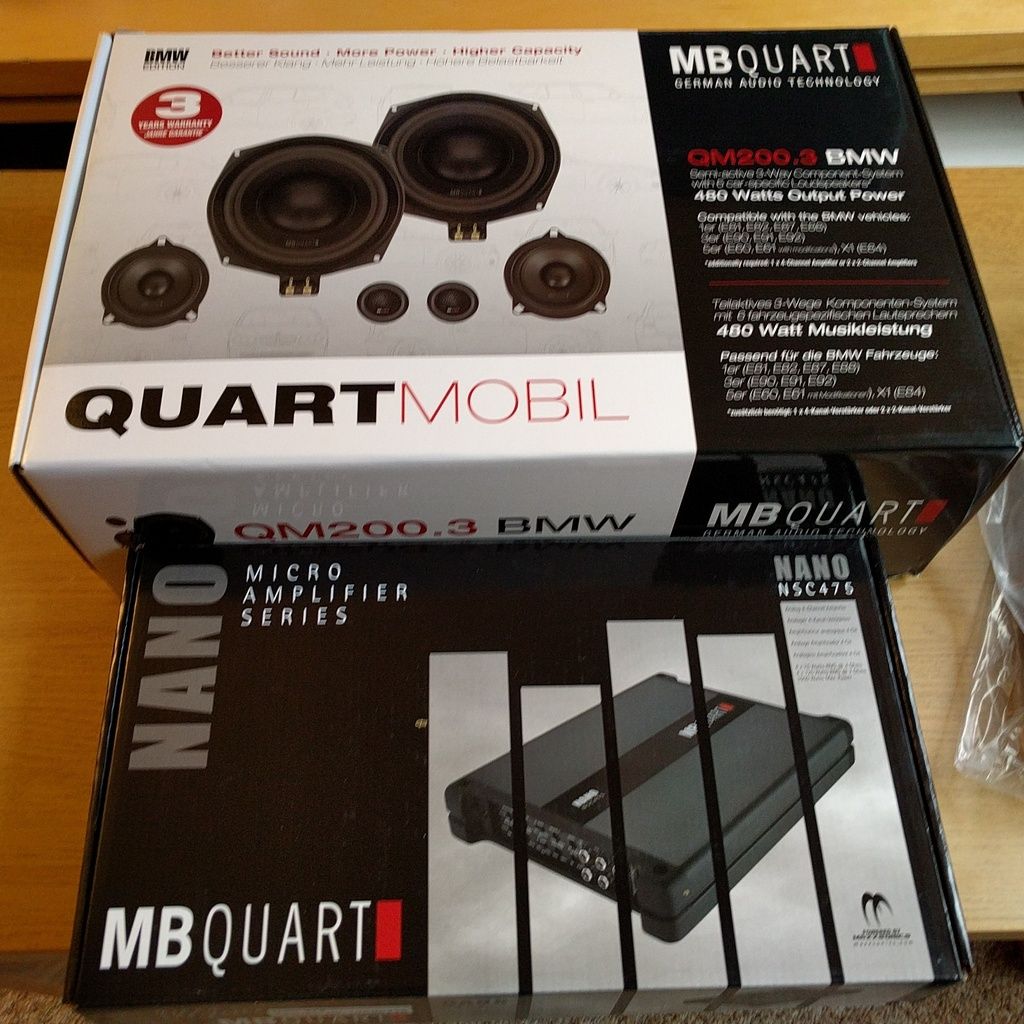 This missus bought this speaker and amp set for me for my birthday and I haven't had any chance to fit it! Although the sub woofer I fitted sounds amazing and can handle high volumes, the current speakers start to distort. Hopefully fitting these and running them off of amp will sound so much better. Finally the weather is starting to get better so I got some nice shots of the car with the top down! 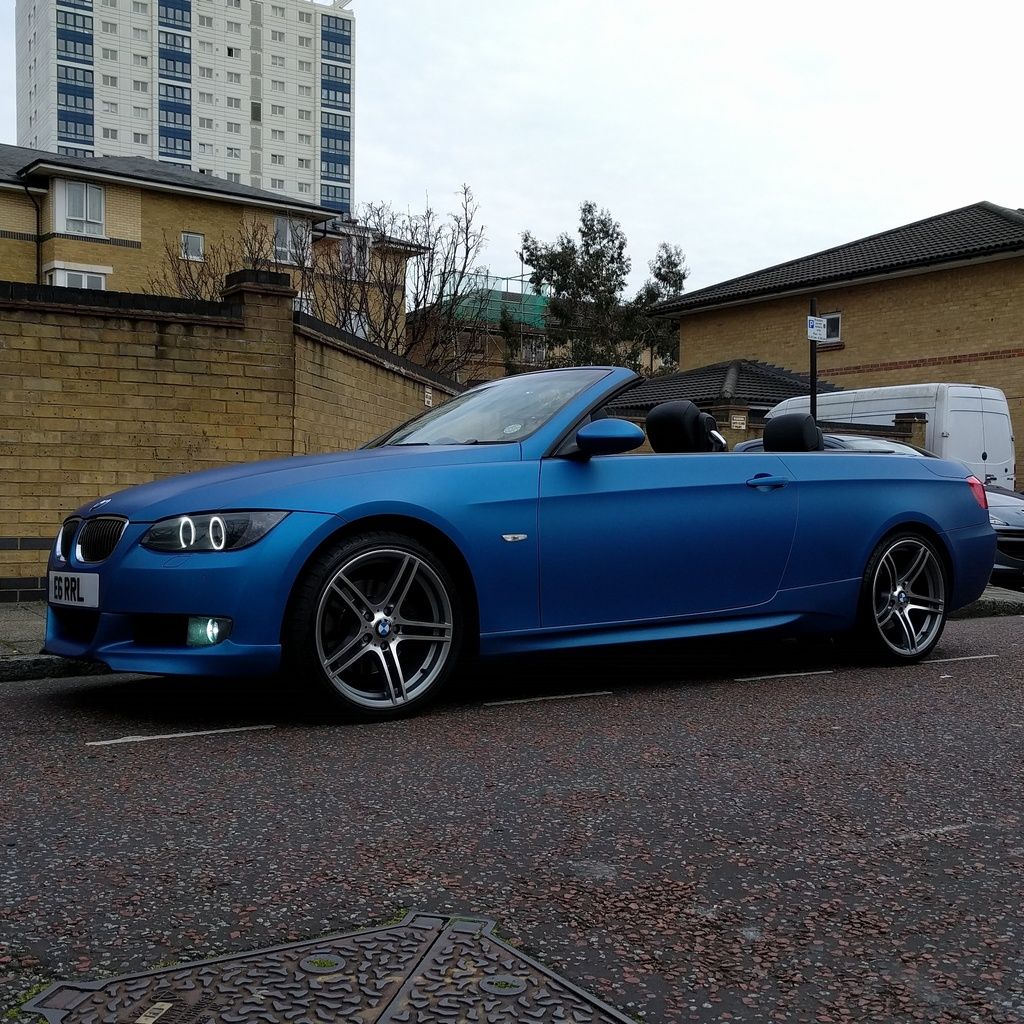 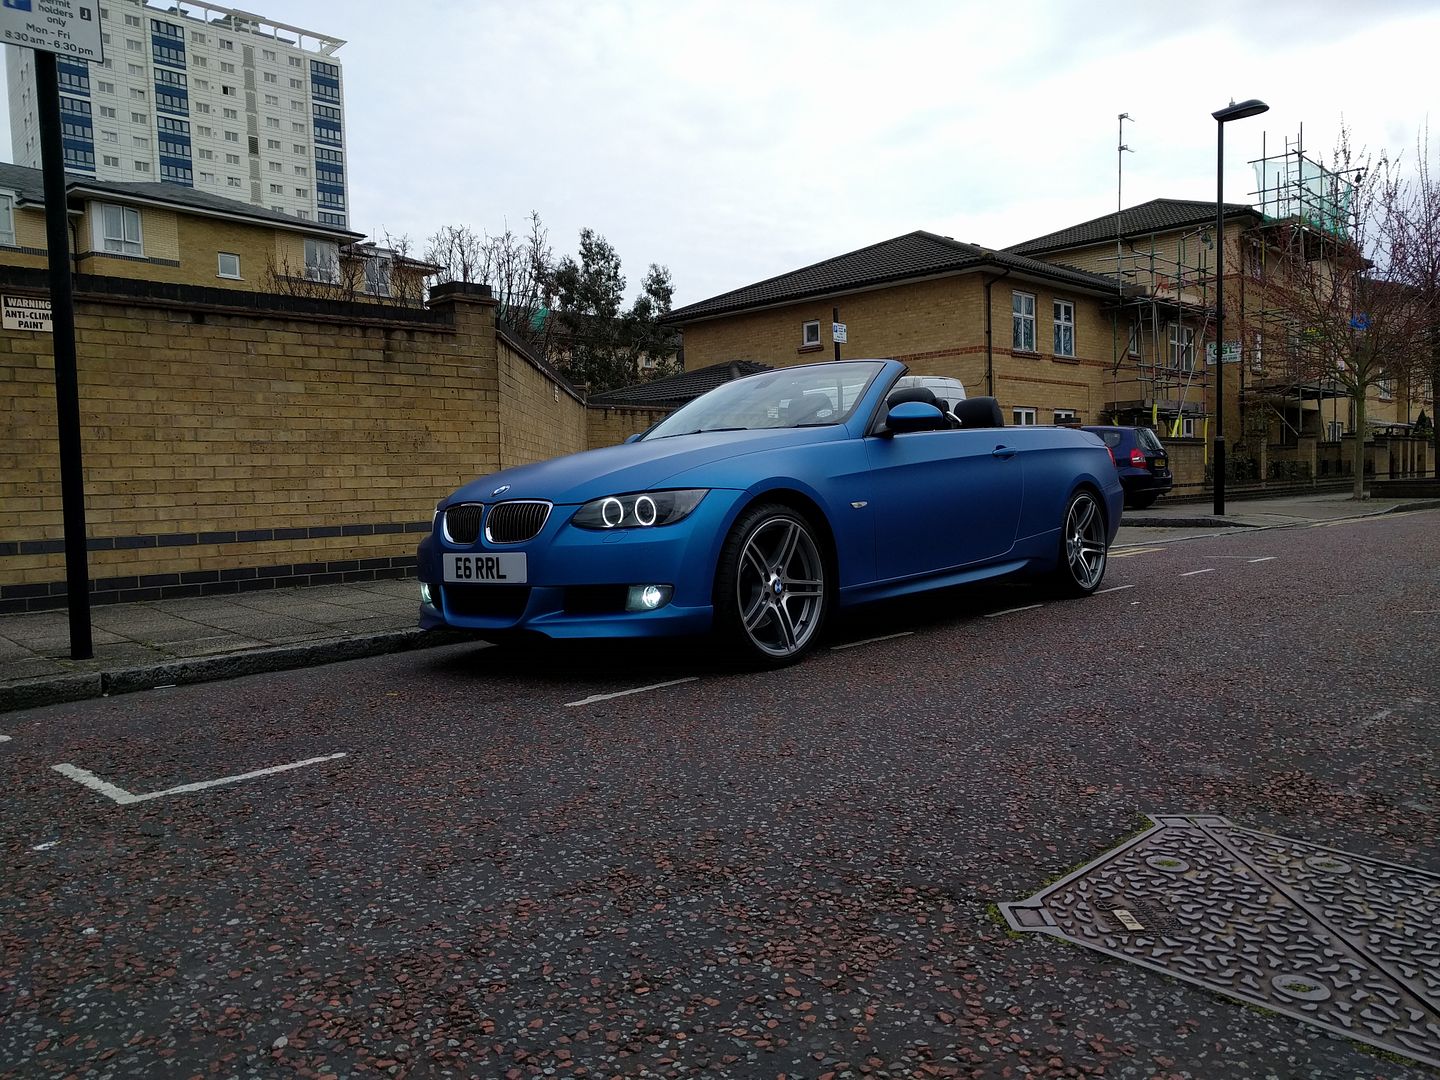 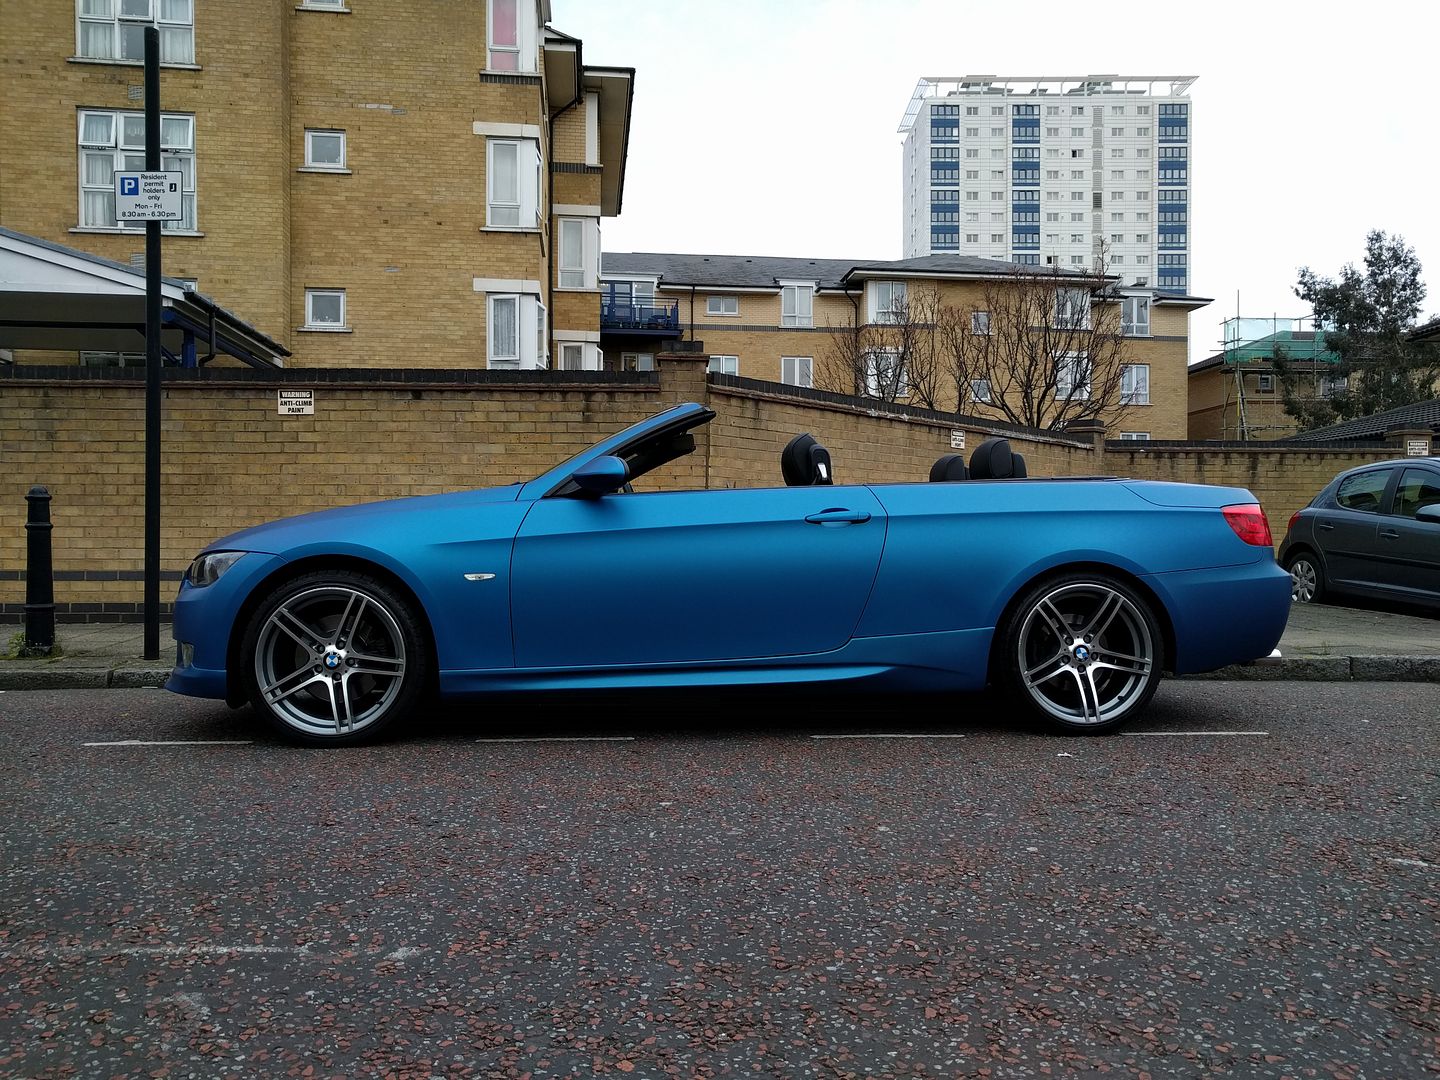 |
|
Appreciate
0
|
| 04-04-2016, 03:57 PM | #87 | |
|
Brigadier General

448
Rep 3,312
Posts |
Quote:
__________________
|
|
|
Appreciate
0
|
| 04-04-2016, 03:58 PM | #88 |
|
Brigadier General
448
Rep 3,312
Posts |
Liking the MB quart speaker set. I've gone with the Gladen 201 extreme at present but may upgrade again lol.
__________________
|
|
Appreciate
0
|
 |
| Bookmarks |
|
|