|
|
|
|
 |

|
 |
BMW Garage | BMW Meets | Register | Today's Posts | Search |
 |

|
BMW 3-Series (E90 E92) Forum
>
DIY: Finishing Rod Delete
|
 |
| 02-26-2011, 01:34 PM | #1 |
|
Second Lieutenant
 40
Rep 259
Posts |
DIY: Finishing Rod Delete
I had previously painted my finishing rods but they were still bothering me. Just not clean enough looking. Well, I had to remove the front bumper last night to fix a minor issue with the newly installed Depo P90's and thought I would experiment with the finishing rod delete I have been planning in my head for a while.
This is on a pre-LCI E90. However the concept from this DIY should cover other models. Materials needed: 1/2" Raised Aluminum expanded metal (I have a TON of this left if anybody local would like to buy some. Metal supply house could only sell a minimum of 4' X 4') Small black zip ties Flat black spray paint of choice Tools needed: Appropriate tools for bumper removal (see other DIY) Angle grinder with cutting wheel Tin snips/shears Hack saw blade File First remove the front bumper following the DIY posted in this forum. 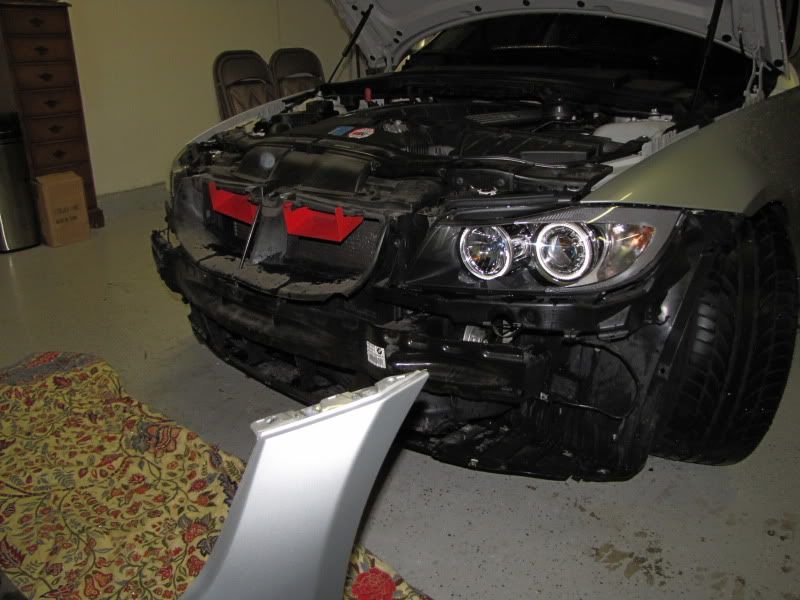 Next remove the lower bumper inserts by un clipping them from the back side of the bumper. Then cut pieces of expanded aluminum to match the shape of the bumper inserts. You can use an angle grinder or tin snips for this process. Be careful with your measurements and cuts to ensure a snug fit in the bumper opening once installed. File edges smooth with a file. Bend the pieces slightly with your hands to match the curve of the bumper inserts. 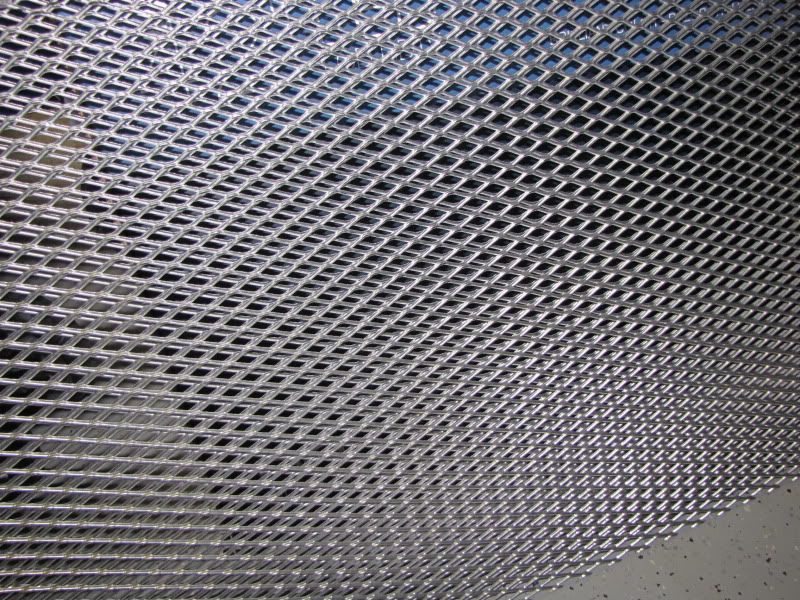 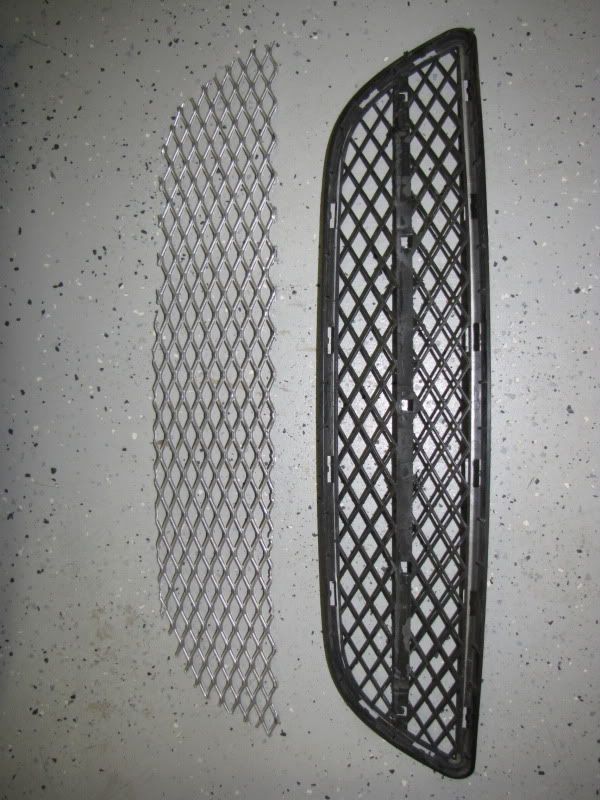 Next cut out the finishing rod mounting brackets from each bumper insert using a hack say blade or cut off wheel. You will get cleaner cuts from the hack saw blade because it does not melt the plastic like the cut off wheel will. 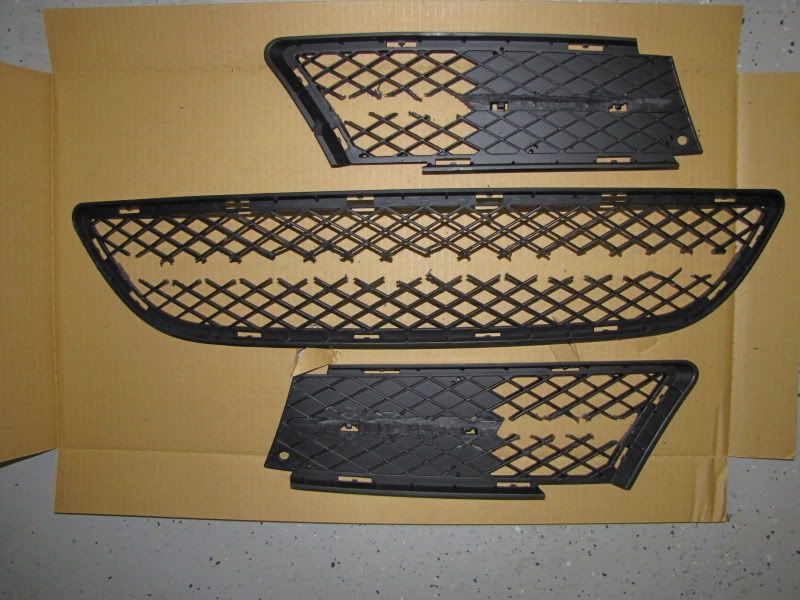 Now paint the bumper inserts and your cut pieces of expanded aluminum flat black. Allow them to dry completely before proceeding. 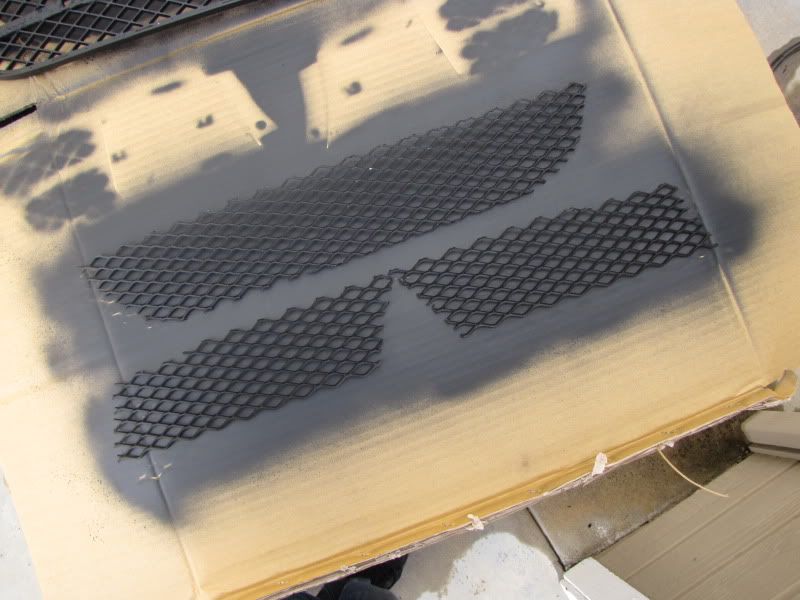 Re-install bumper inserts to back side of bumper. Now lay your cut pieces of expanded aluminum over the front of the bumper inserts and attach to bumper inserts with small black zip ties (it is very difficult to see these once installed). If you measured and cut correctly the expanded aluminum will fit snugly. 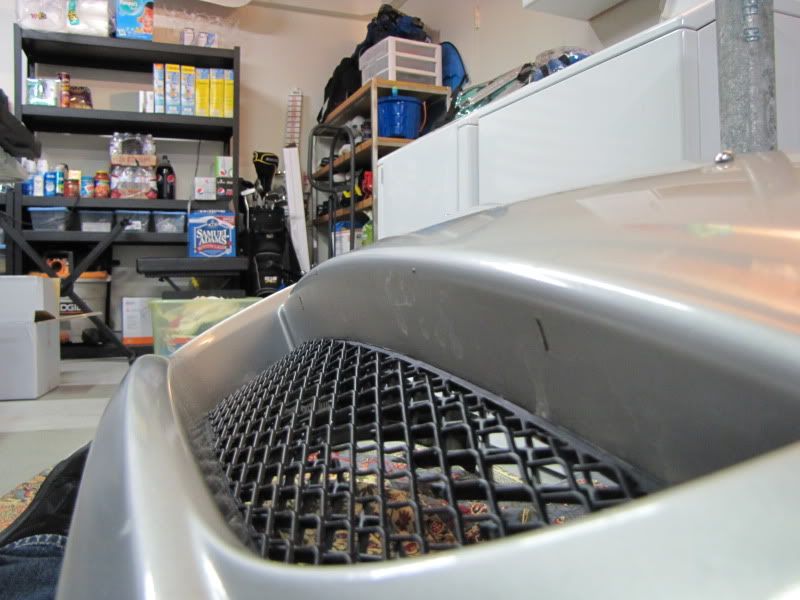 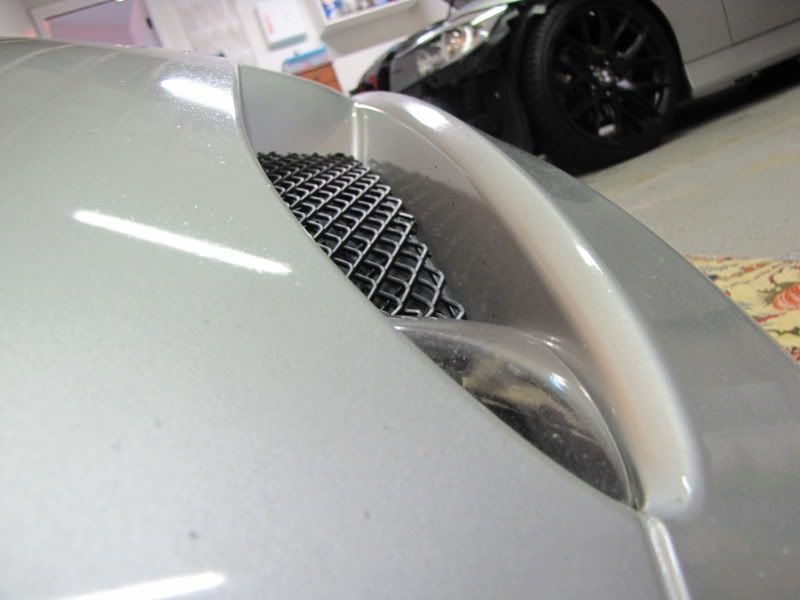 Finally re-install the front bumper and stand back to admire the new AWESOME look of your stock bumper! 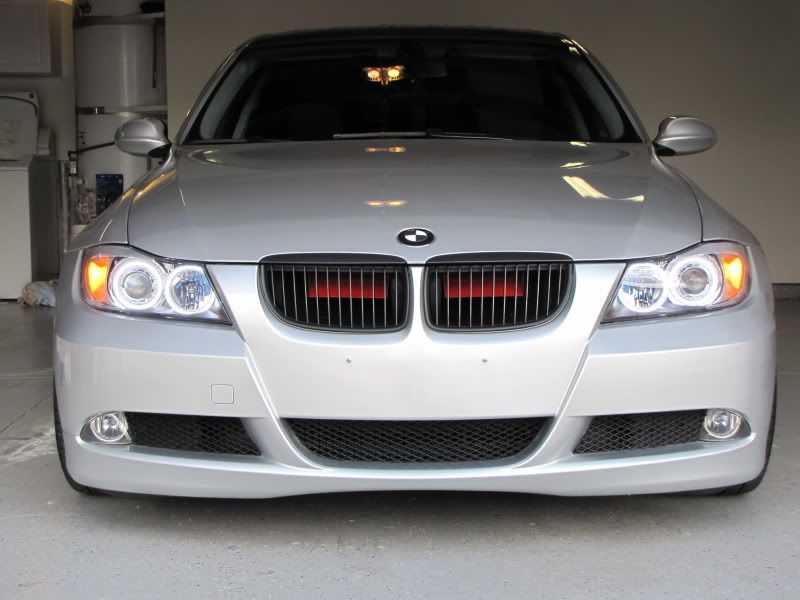 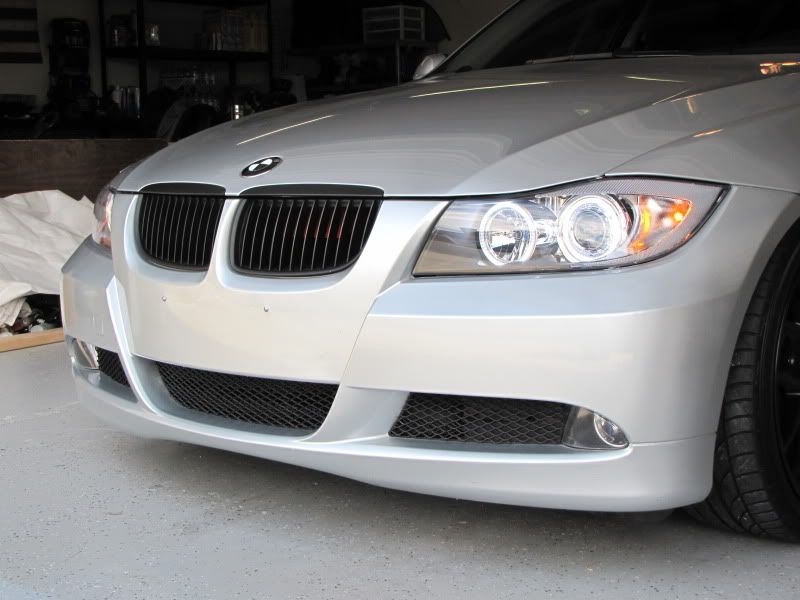 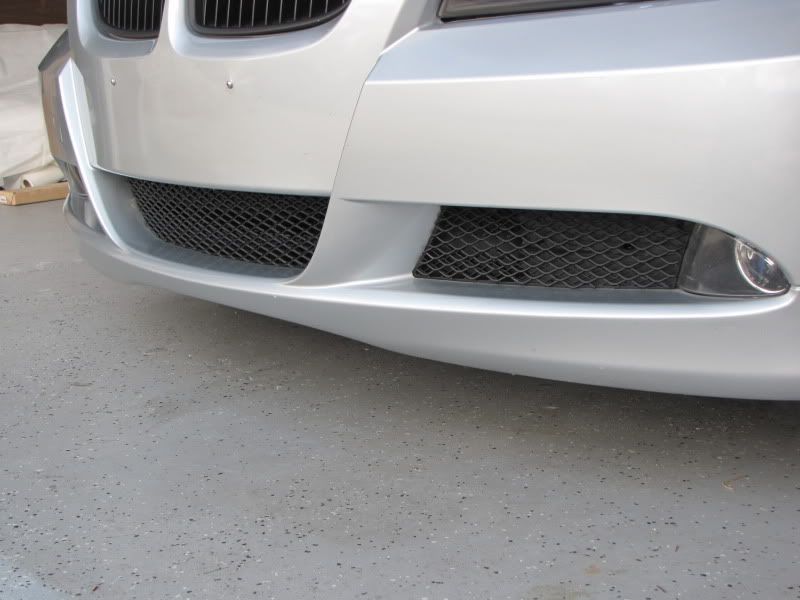 Last edited by dirte90; 02-26-2011 at 01:59 PM.. |
| 02-26-2011, 03:42 PM | #2 |
|
Brigadier General
 
205
Rep 3,523
Posts
Drives: 2015 F23 M235i/2008,E90,335xi
Join Date: Aug 2008
Location: The County, Maryland
|
KUDOS for a professional looking job!
 |
|
Appreciate
0
|
| 02-26-2011, 03:58 PM | #3 |
|
Professional Moose Racer

316
Rep 7,509
Posts |
That looks great!
__________________
Visit my blog anytime: http://www.sfpayments.com
 BMW Dream Team PNW Chapter, member #1  |HP Autowerks | AR DESIGN | BMW PERFORMANCE | STOP TECH | Volk Racing| AMS | ARKYM |
|
Appreciate
0
|
| 02-27-2011, 03:28 PM | #5 |
|
Lieutenant
117
Rep 557
Posts |
I did the same mod a while back, looks so much better. I took a different approach to installing the grill though. First, I used a powder-coated mesh from customcargrills.com. This should be a much more durable finish than spray paint which tends to rock chip easily. I've yet to notice any chips in my grill after about 6 months of driving. Also, I completely removed the tabs that hold the OEM mesh on using a Dremel and didn't reuse the OEM parts. This is more work but created a cleaner look - no "double grill." Once it was all removed I cut my new grills with about 1" overlap around the edges then folded the edges over and used Loctite PL construction adhesive - super strong and should last a lifetime. Here are a few pics.
|
|
Appreciate
0
|
| 02-28-2011, 02:14 AM | #7 |
|
Enlisted Member
 
2
Rep 31
Posts |
Great DIY
Both version looks great! I've been thinking of doing this for a while already, but haven't got around to it. Have you guys consider combining the two methods. Keep the OEM parts, but saw out all the plastic meshs, keeping only the outer edge with the clips. then glue the new mesh to the plastic.
Advantages: 1. no need to cut the tabs in the bumpers 2. can switch back to OEM (just get the plastic parts again) the more i think about this, a vendor SHOULD take this idea an mass produce it! then it'll be like buying aftermarket blackout grills, snap in to fit! (or do this already exist???) Cheers, Kit Last edited by kitson306; 02-28-2011 at 07:26 PM.. |
|
Appreciate
0
|
| 02-28-2011, 11:31 AM | #8 | |
|
Second Lieutenant
40
Rep 259
Posts |
Quote:
|
|
|
Appreciate
0
|
| 09-06-2011, 11:31 AM | #10 |
|
Captain


34
Rep 661
Posts
Drives: 2007 E90 328i AW
Join Date: Mar 2010
Location: Toronto
|
can the metal mesh be bought from home depot or lowes?
|
|
Appreciate
0
|
| 09-06-2011, 01:59 PM | #11 |
|
Lieutenant

71
Rep 486
Posts
Drives: 320i Ε92 M-Sport
Join Date: May 2011
Location: Thessaloniki, Greece
|
Looks pretty clean and awesome to me brother
__________________
GP Thunder 8500k AE | Yellow Fogs | Plasti Dipped Badge | Matte Grilles | LED Interior | Carbon/Black Emblems | ///M Sport Package
|
|
Appreciate
0
|
| 07-16-2014, 05:54 PM | #12 |
|
Private First Class
 
10
Rep 130
Posts
Drives: 2008 328i Sedan Sports
Join Date: Apr 2014
Location: Atlanta
|
Thanks man, this is what I am going for.
__________________
2008 E90 328i Sport Sedan
335 189 wheels/Eibach Pro-Kit/H&R 10&12mm/K&N/Charcoal delete/LED Past:2012 R56 MINI S/1992 E34 525i/1989 E30 325ic |
|
Appreciate
0
|
 |
| Bookmarks |
|
|


 N u know thats the cleanest shit uve seen...