

|
|
|
|
 |

|
 |
BMW Garage | BMW Meets | Register | Today's Posts | Search |
 |

|
BMW 3-Series (E90 E92) Forum
>
Had a look at plasti dip
|
 |
| 03-09-2014, 10:15 AM | #23 |
|
Major
 

140
Rep 1,445
Posts |
Plastidipped the chrome surrounds on my last car.Looked great until at 70mph on the motorway It came off and was flapping about like an airsock!Ended up doing them again in Matt black normal paint.
|
|
Appreciate
0
|
| 03-09-2014, 03:26 PM | #24 |
|
Colonel
 
680
Rep 2,444
Posts
Drives: 2018 630iGT sport
Join Date: Aug 2013
Location: Caloundra, Australia
|
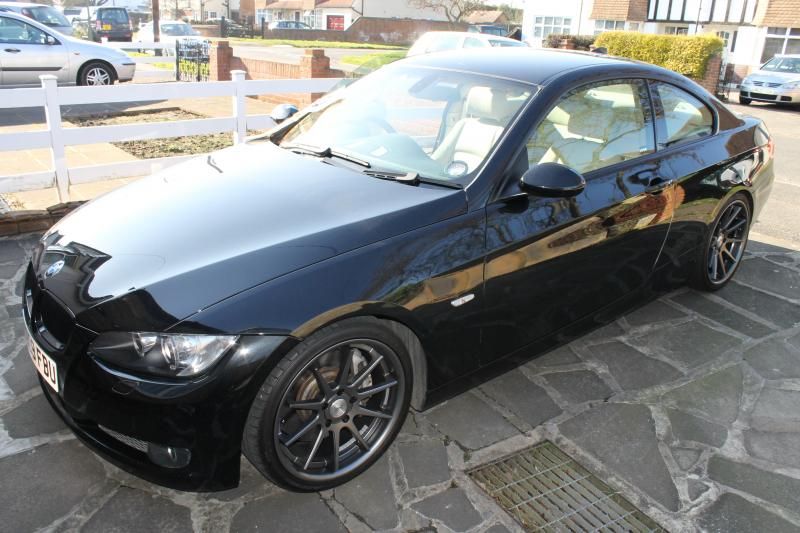
So, this weekend's project (courtesy of the first decent bit of sun for months!) was the plastdip coating of the brushed ally window and door trims, and fitting of BMW Performance black grilles.
 I've done a write up that I"ll make a downloadable PDF of, incase anyone else wants to have a crack at it. You will need: - At least 2 rolls od blue detailers tape (www.cleanyourcar.co.uk) - Genuine black Plastidip (www.frost.co.uk) - Genuine Plastidip Glossifier (optional) It goes without saying, your car needs to be clean, dry and dust free before you start any of this. You will want to wear a mask if youre doing this in a garage read the safety notes on the spraycans. It does stink, and even though I was outside, I tried not to breathe too much when spraying it!  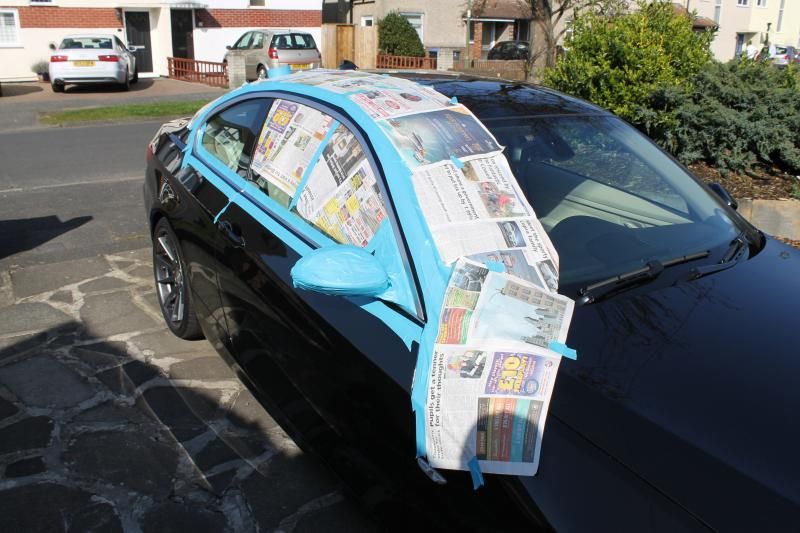 Mask all around the windows, leaving a good 1 (or more ) gap from the trim. You need this so that the plastidip will have a good bit of overspray that you will then peel back youll see what I mean later. The wingmirror is the trickiest part, but take your time and youll be fine. The next bit I did differently from what Ive read elsewhere, as I didnt much fancy trying to remove the Plastidip from the rubber of the window trims. So, there is a gap in between the window/rubber and the metal trim. If you break off strips of masking tape, you can keep it taught and gently slide it into this gap and stick it down into place. 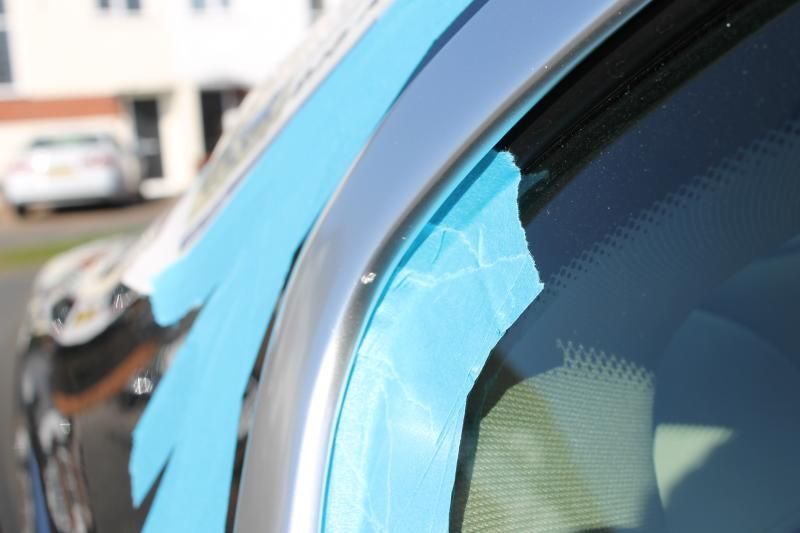 I only did this on the rear window, the front wasnt quite the same.and it looked like if I put tape right up into the trim like I did at the back, it would pull the plastidip out when I tried to remove it which wouldnt be good. So here is one side all masked up. I folded newspaper over the edge of the window, then shut the door. 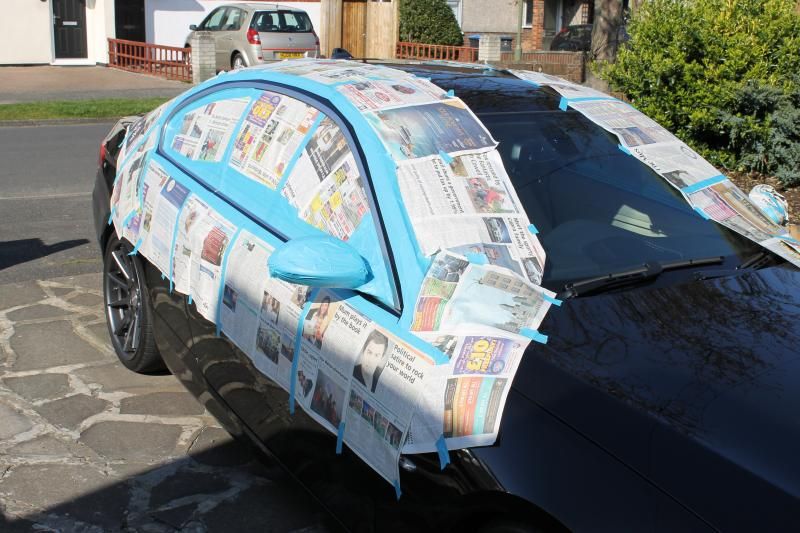 The actual spraying part is no different from using a normal rattle-can. I would strongly suggest you try spraying some other things first, just to get an idea of how the stuff goes on and how fast to move the can and at what distance. The first coat should be light. It wont cover the trims silver look hardly at all but dont be tempted to spray more on. Let it dry and then go over it again. Heres the first coat: 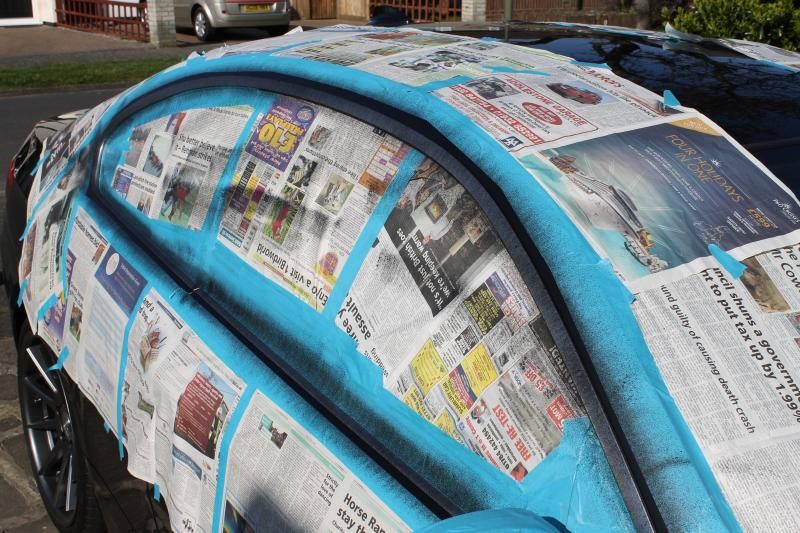 In the sun today each coat was drying in minutes, so it was quite a quick and continuous process, as Id do the other site whilst one was drying. 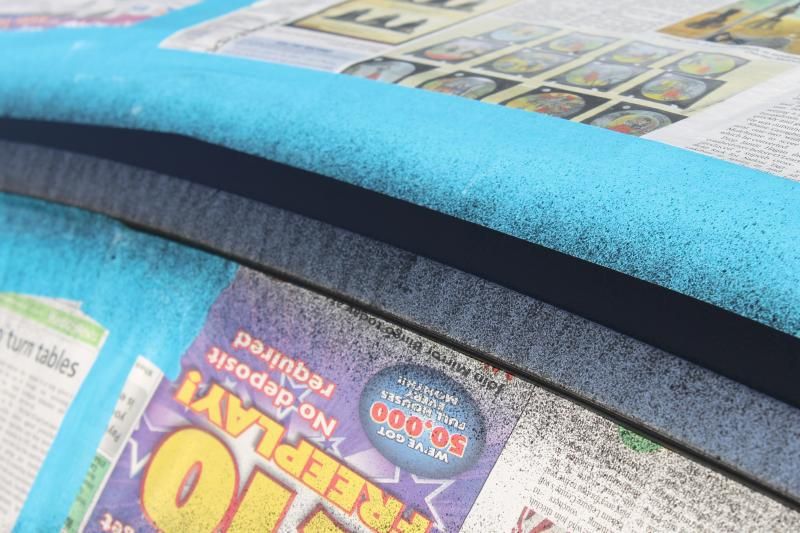 You must move the can at a constant speed at a distance of about 15-20cm - and, like with paint, dont linger in one area for too long or youll end up with runs in the plastidip. 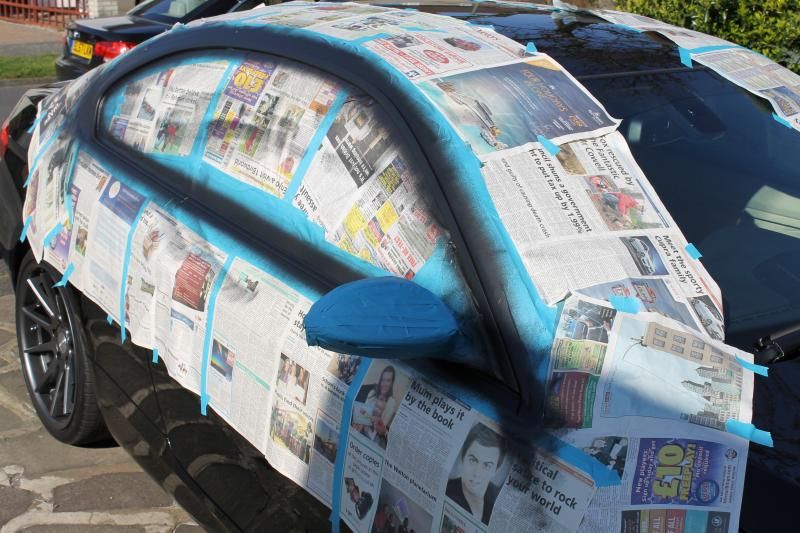 Heres some closer shots of the finish after about 4 coats. 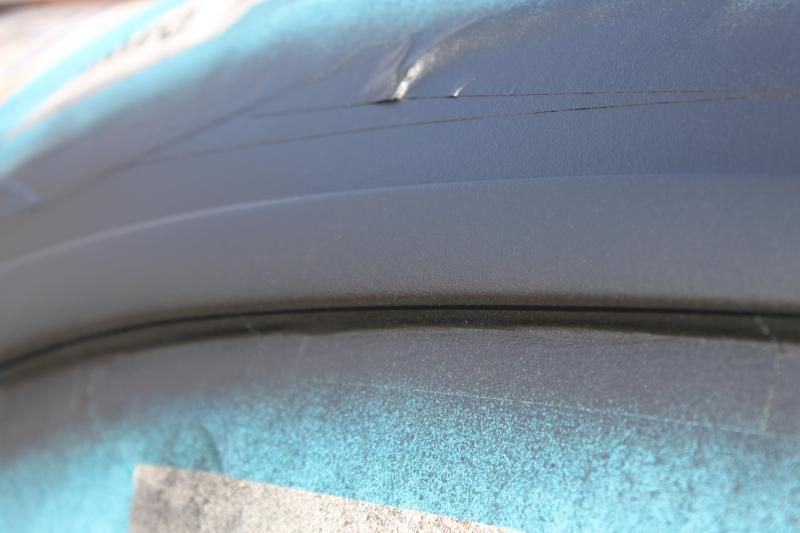 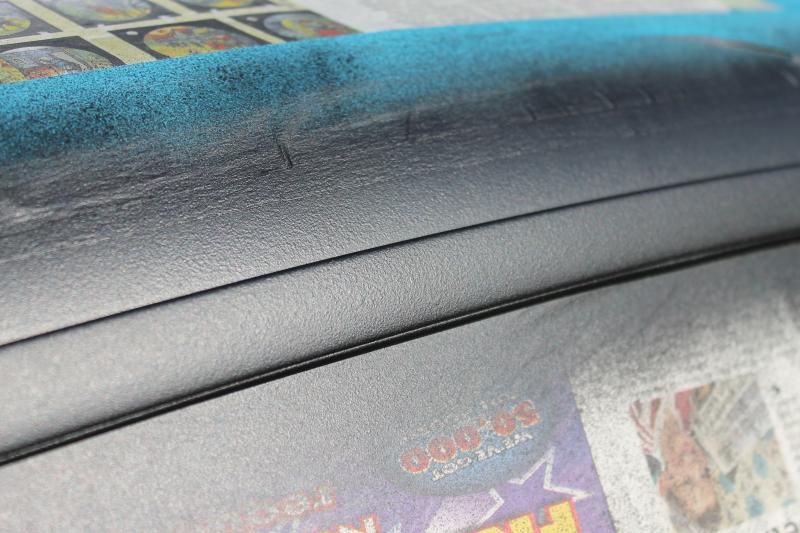 I must have put on about 5-6 coats, do get a good, thick coat as I didnt want it to be thin and easily snagged or something. Make sure you have the can at different angles to the car, so you can get a good coat all around the edges.. Once youre happy with the black, you can use the glossifier to give the black a shine. Dont be expecting it to give a smooth, gloss finish, because it wont . What it does leave is a nice sheen to the black though, which does look better than just matt black, in my opinion. Heres after one coat of the glossifier. 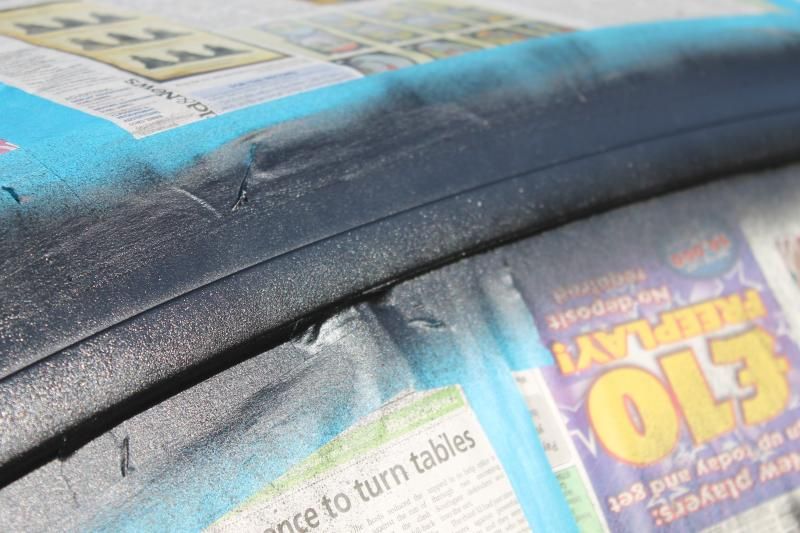 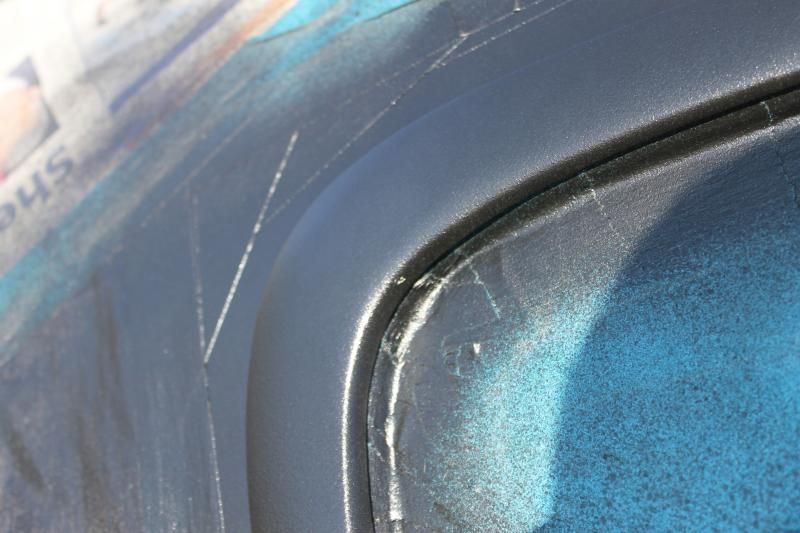 Again, I gave each trim a good 4-5 coats of glossifier. I left the car to dry for a good 30 minutes or so. Now its time to take of the miles and miles of masking tape. Do this very carefully, as you dont want the plastidip to start peeling with the tape. Its ok if the edge of the overspray starts to peel a little, as this will help you pull off the plastidip anyway. With the tape off, the plastidip overspray can be peeled off. You need to pull it away at 90 degrees to the trim. This will let it tear neatly and snap back to the underside of the trim. 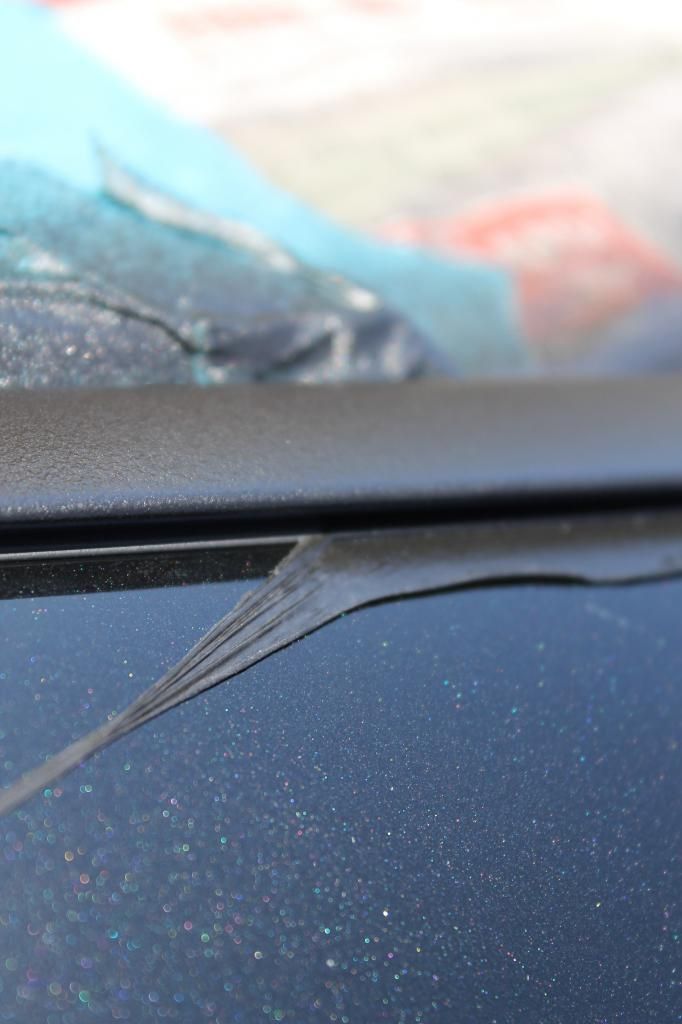 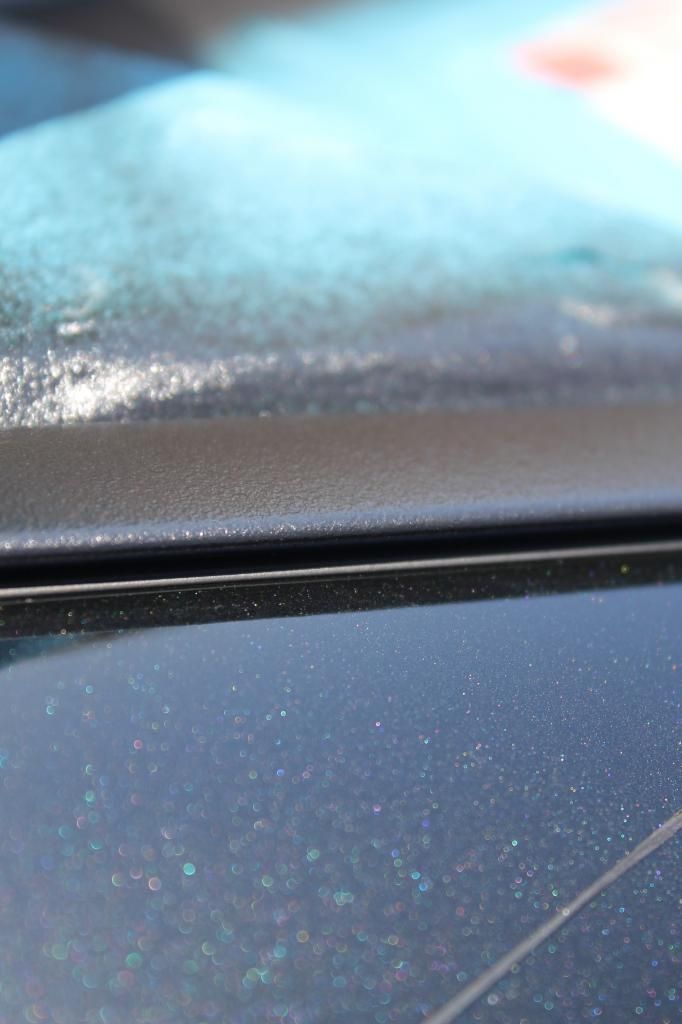 The edges around the rear quarter peel very neatly indeed, as there is a small gap (as you can see) between the trim and the car, so that the plastidip can adhere all round the trim edges. With the tape that you tucked behind the trim, peel the tape off from the top edge nearest the middle of the window down, until you can lift the tape out. If youve sprayed the coatings nicely around all the edges, youll be left with a neat finish and no plastidip on the trim rubber thanks to the tape. 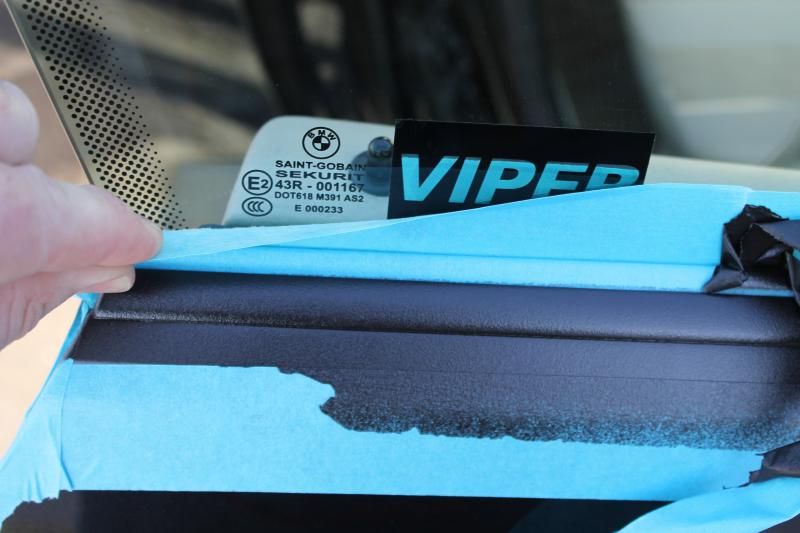 Heres some finished pictures: 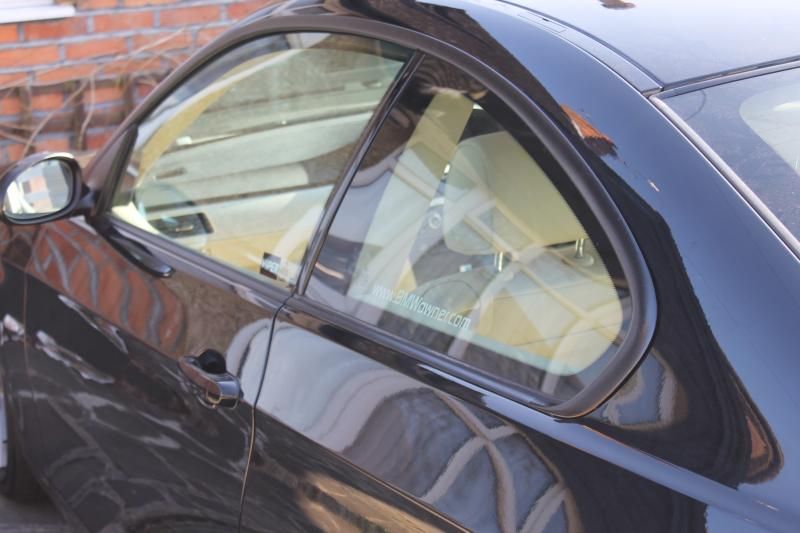 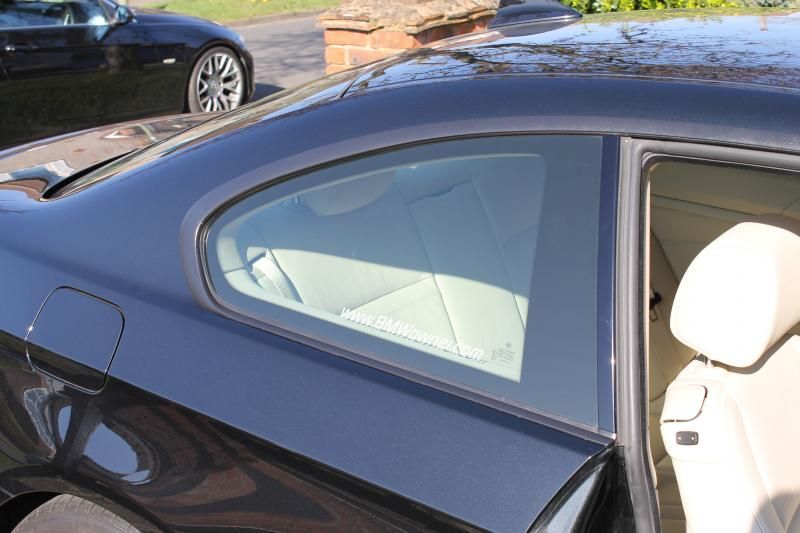 I did have one bit round by the wingmirrors that was a pain. As I peeled the tape off, the plastidip came off the metal trim, rather than snapping back around like it had done everywhere else. A bit of a nuisance, but no major drama. I simply masked that small area up again and re-applied the coatings. 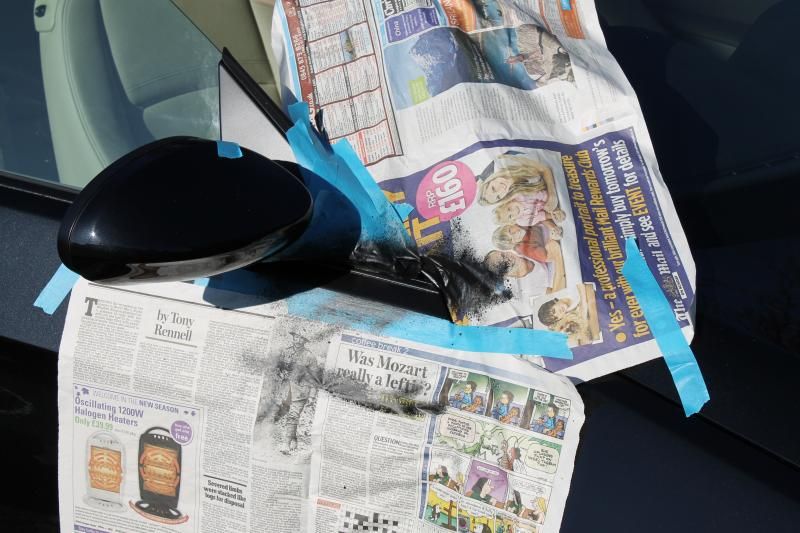 As I said, this was the same on the passenger side. So, the second time I removed the masking take, I was very careful as to how I did it. At one point it looked like it was going to pull off again, so I stopped and carefully ran a sharp knife (scalpel type) along the trim on the underside of the mirror, just to ensure it stayed stuck. To be honest, youd never notice that bit under the mirror anyway, but itd annoy me knowing it wasnt right, so hence I was making sure it was! Heres the final result: 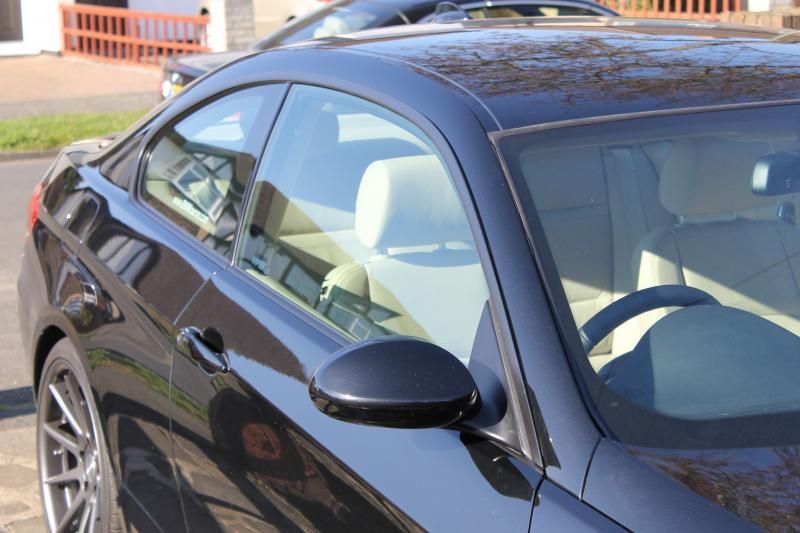 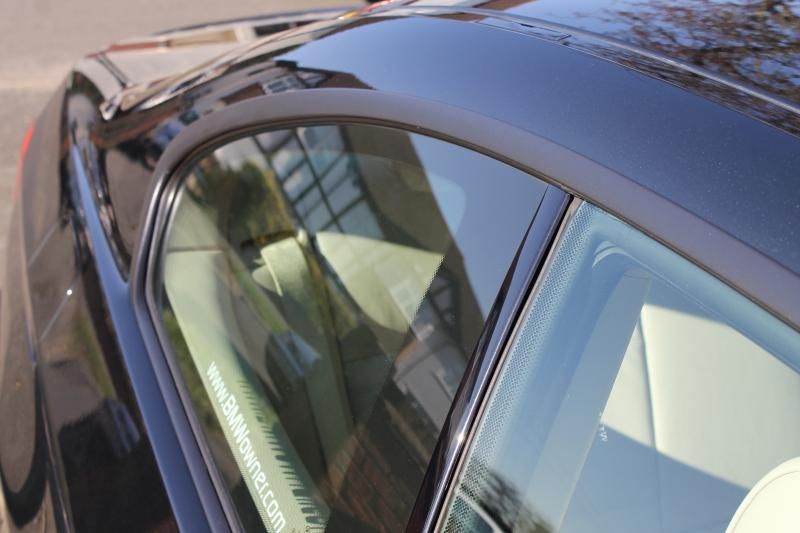
__________________
 |
|
Appreciate
0
|
| 03-09-2014, 04:04 PM | #26 |
|
Brigadier General
 676
Rep 4,260
Posts |
Looks great Russ, top job

__________________
OG M2 7sp DCT Masata FMIC - Masata Boost Pipe - Cobra Catless DP - Powervalve Exhaust - Devilsown Methanol Injection BM3 Stage 2
|
|
Appreciate
0
|
| 03-09-2014, 04:13 PM | #27 |
|
Colonel
680
Rep 2,444
Posts
Drives: 2018 630iGT sport
Join Date: Aug 2013
Location: Caloundra, Australia
|
cheers buddy
__________________
|
|
Appreciate
0
|
 |
| Bookmarks |
|
|


