

|
|
|
|
 |

|
 |
BMW Garage | BMW Meets | Register | Today's Posts | Search |
 |

|
BMW 3-Series (E90 E92) Forum
>
First Paint Project: Pontiac GTO front bumper repaint, paint gurus chime in!
|
 |
| 07-13-2010, 07:21 PM | #1 |
|
New Member
1
Rep 16
Posts |
First Paint Project: Pontiac GTO front bumper repaint, paint gurus chime in!
BEWARE: VERY LONG POST
I did a paint project on my previous car and i was hoping some paint gurus can chime in. the project came out fine but i was still dissapointed. I want to see what i did wrong. im pretty sure i had the spray gun set wrong. The metallics didn't come out much and the clearcoat had some bad orange peel. I ran out of basecoat, so i wasn't able to do the "spray mist" for the metallic. I bought a pint of each: Clear Coat, Base Coat, and Primer of the factory color. I know now that this may not be enough for a front bumper. I also had a quart of jet black paint from pepboys. This was just for practice but i decided to use it on the grills. I also bought a quart of clear and primer from pepboys. I made a paintbooth, bought the paint, borrowed a compressor, and got my an hvlp spray gun kit. Repainted the front bumper and also the grills. Before everything, lets start with the facts My previous car was a 2006 Pontiac GTO. I bought the car about 3 years ago and recently traded it in for an e92 335i. The car was bought around the "Pave 80" project, which northern california folks should know about. Well the project gave me a load of gravel chips on the front bumper due to all the construction of the freeways... heres some pics of the damage, including damage from someone backing into my front bumper. 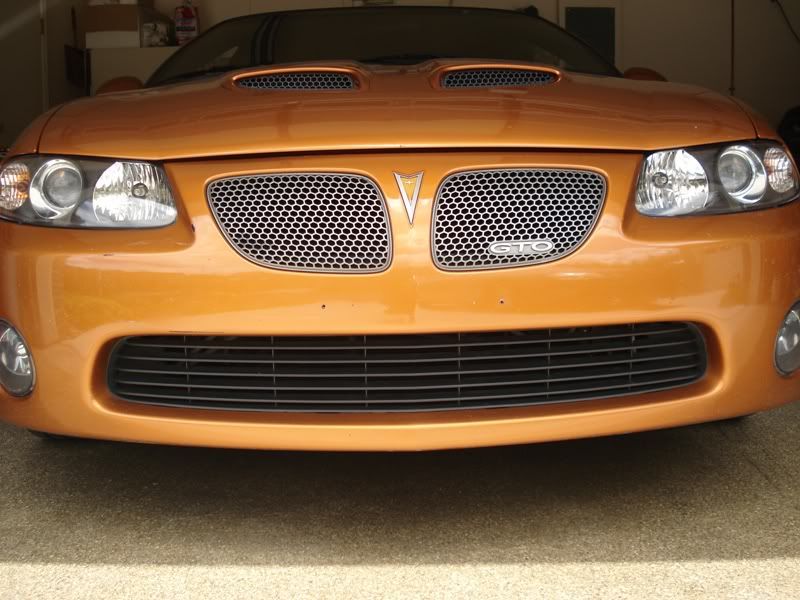 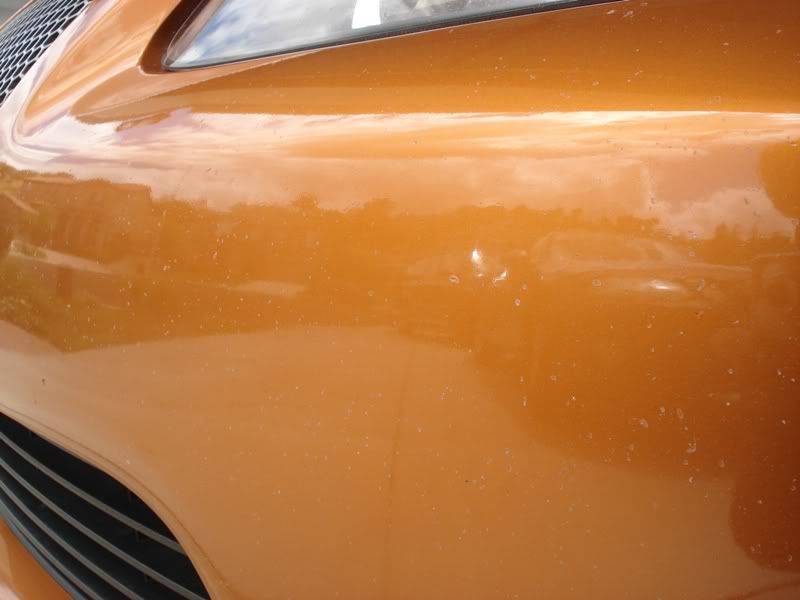 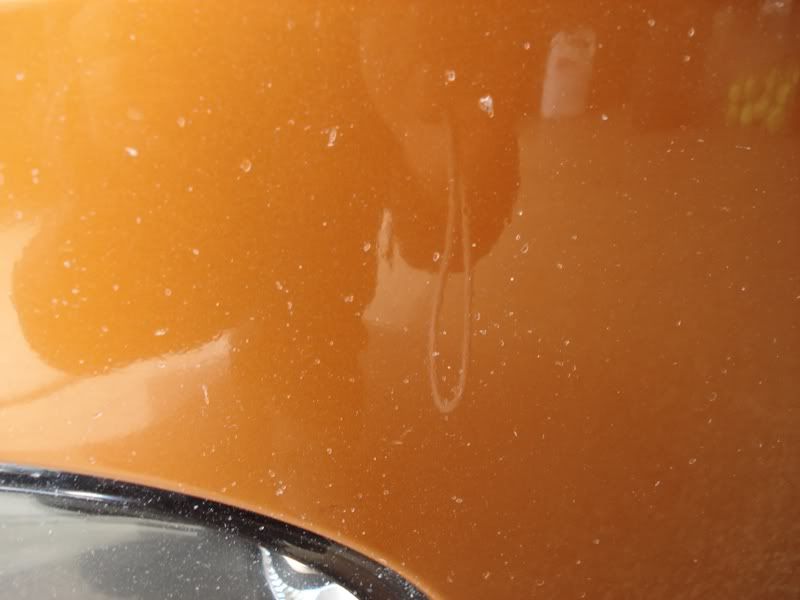 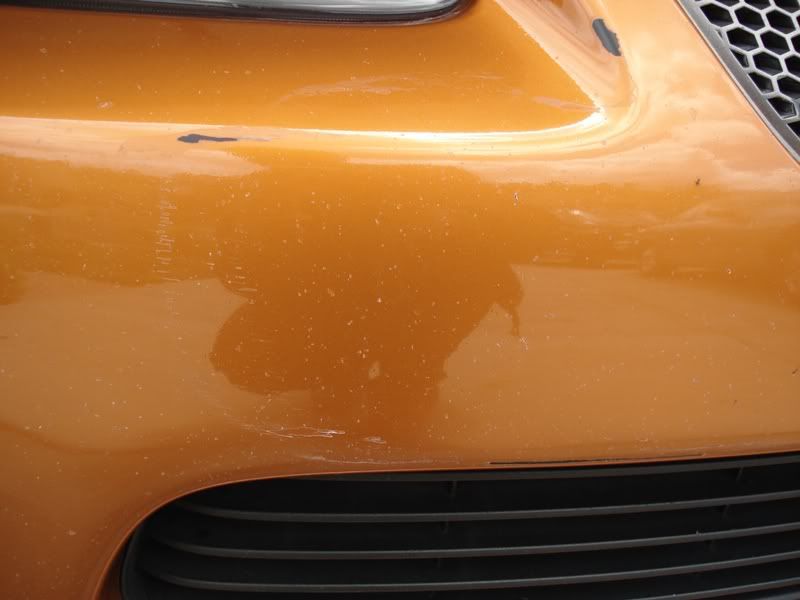 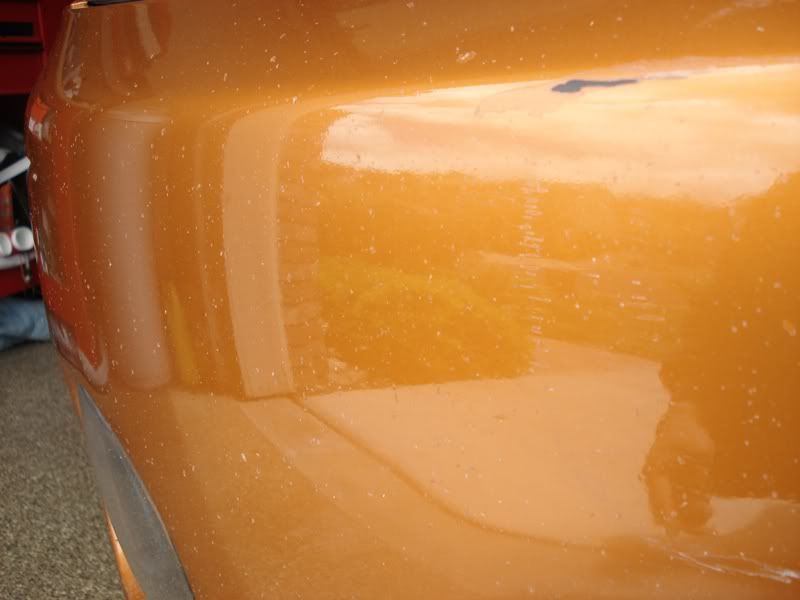 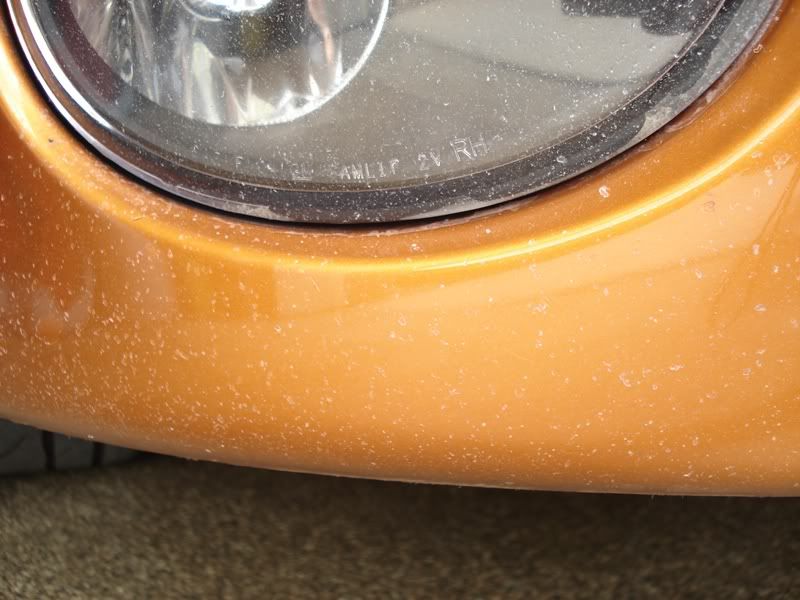 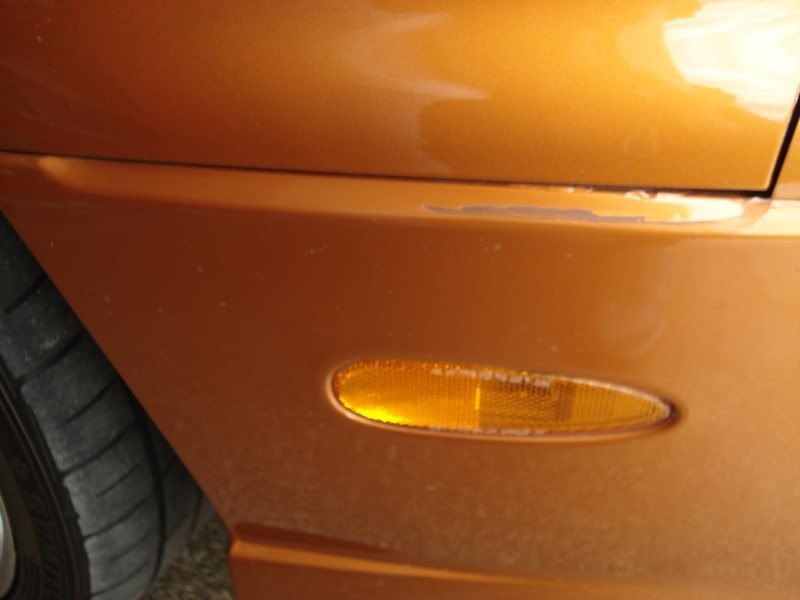 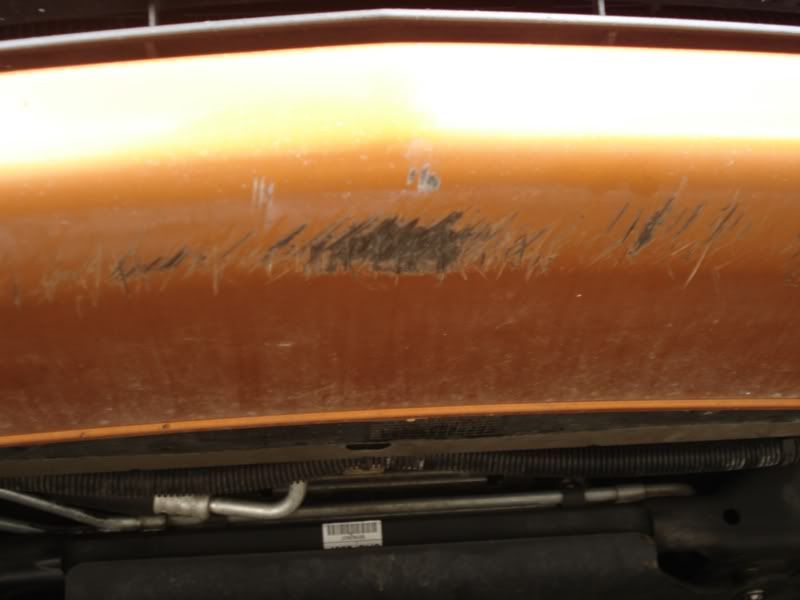 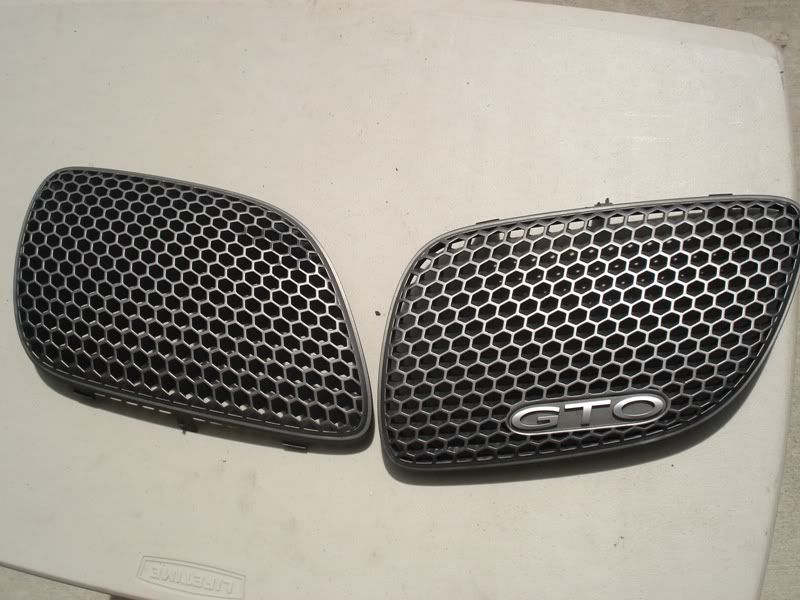 You can see some clearcoat peeling off in some areas. the area on the passenger side is damage from somebody backing into me. anyways, heres the prep pics. I used an orbital sander with 180 grit to remove the clearcoat. I used glazing and spot putty to fill in the gravel chips and driveway scrapes. While I was at it, i decided to get rid of the license plate screw holes by sealing it with plastic epoxy and covering up with the glazing and spot putty. 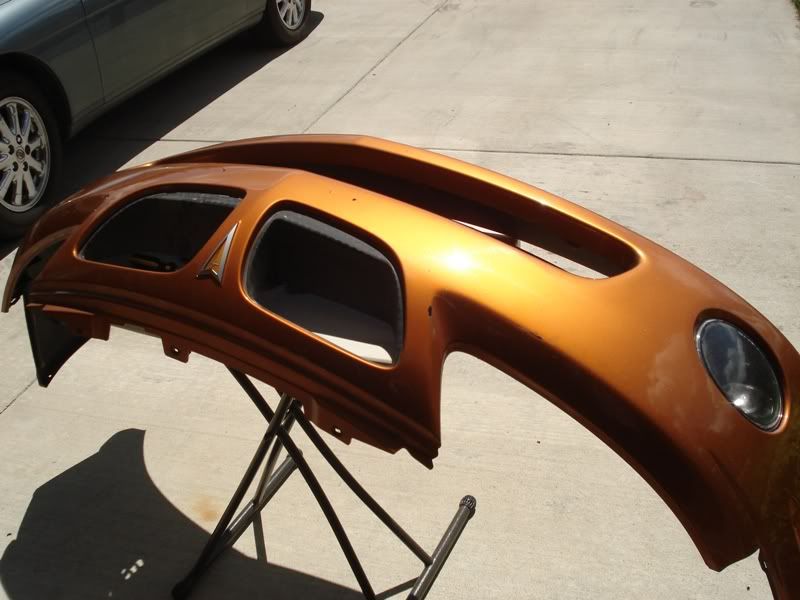 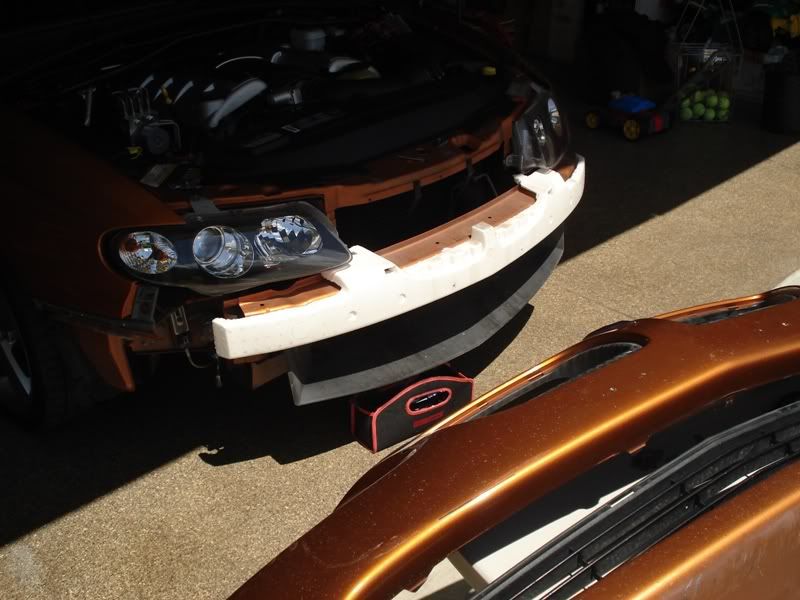 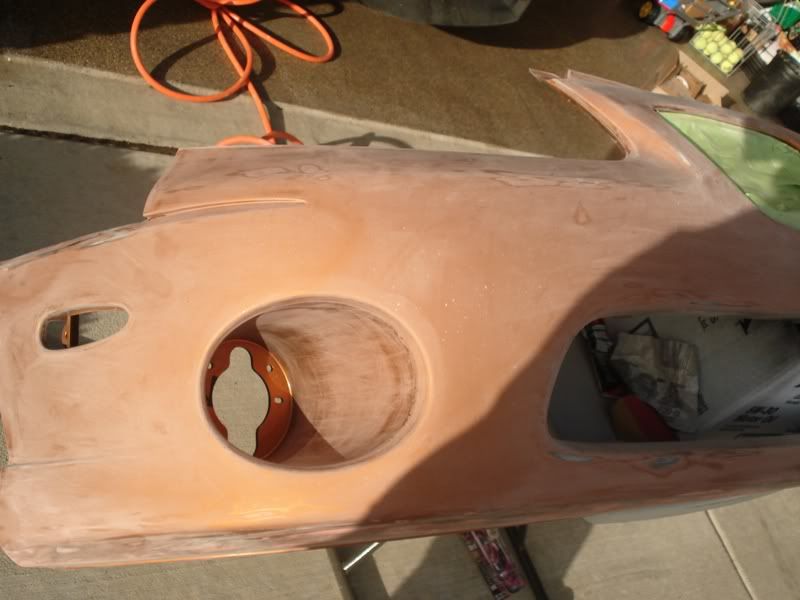 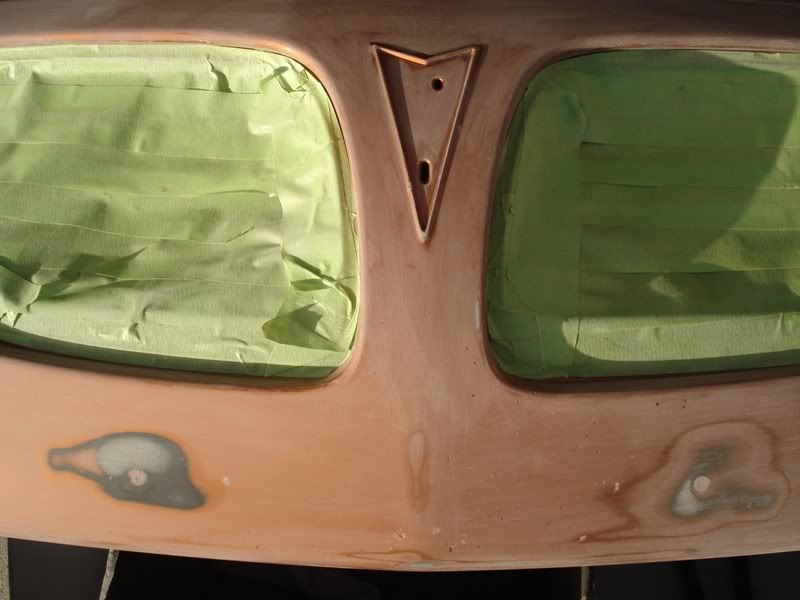 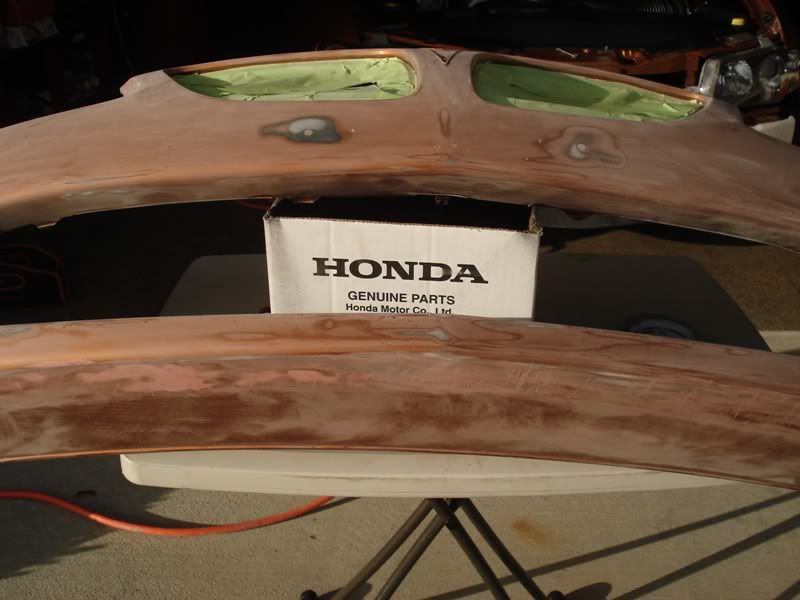 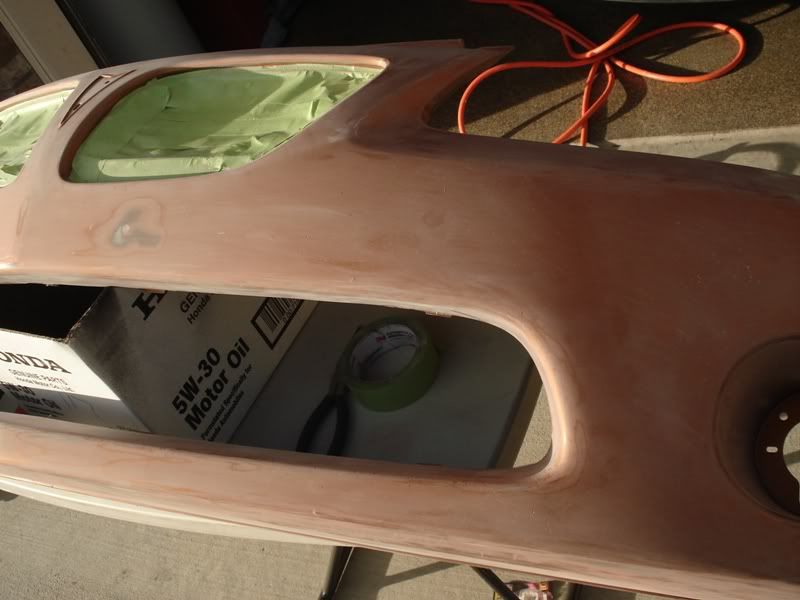 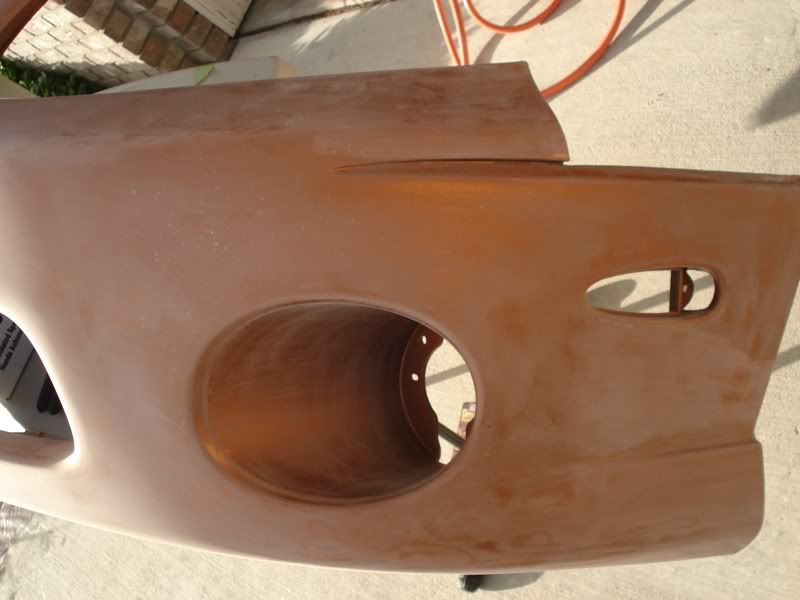 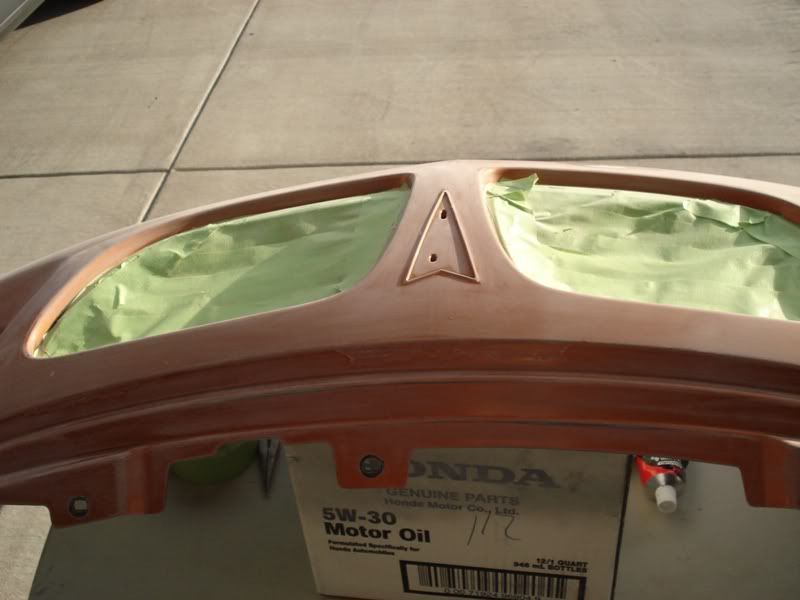 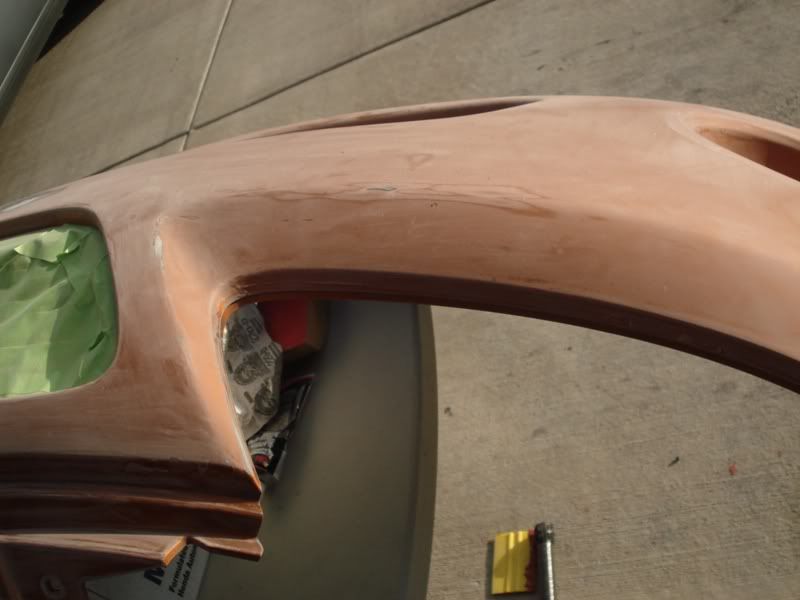 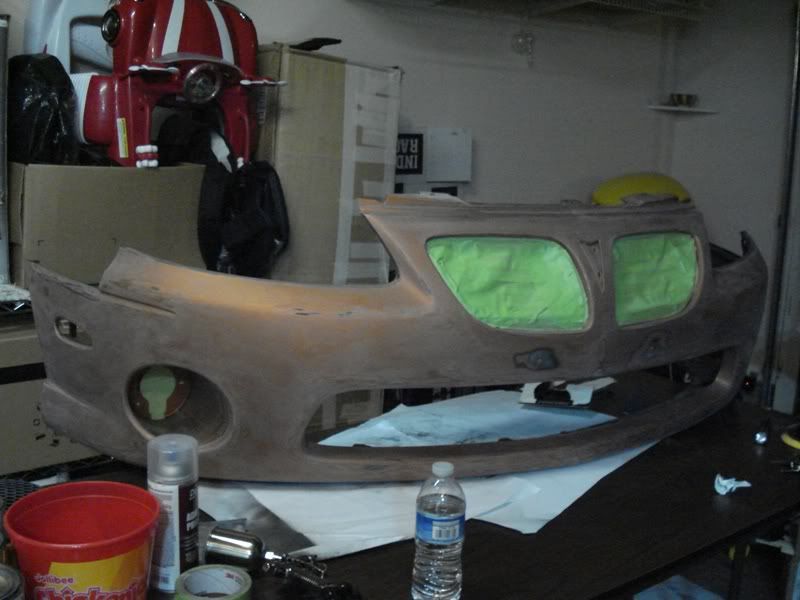 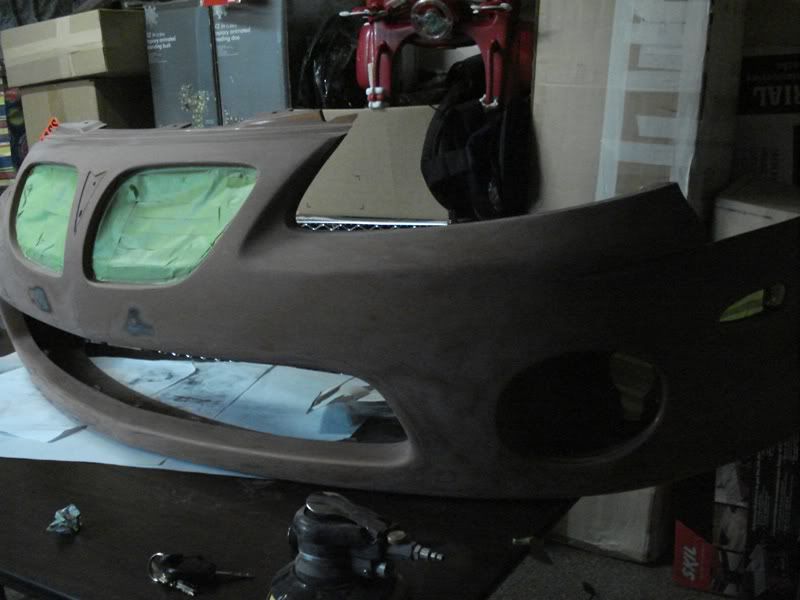 Now i was initially goin to do the project in my garage, but i decided the backyard would probably offer me more ventilation. I set up the booth with plastic sheeting bought from home depot and used strings to hold up the front bumper. 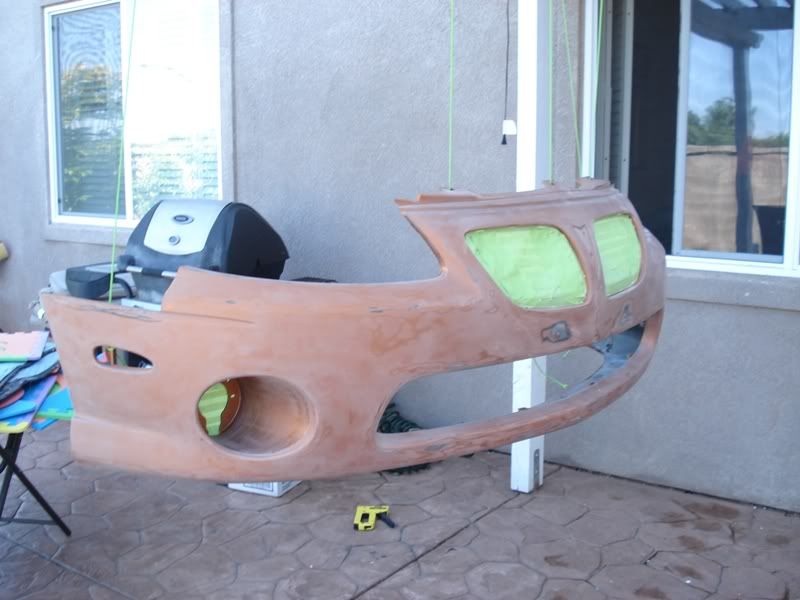 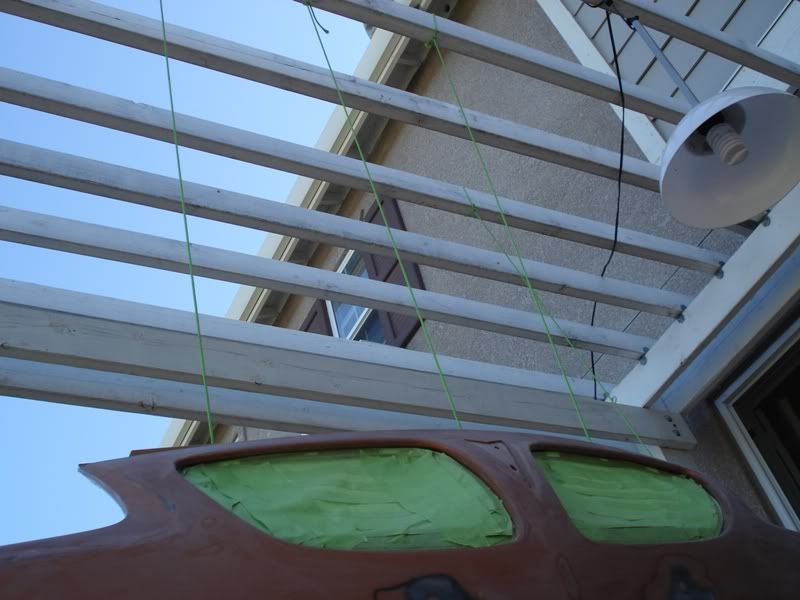 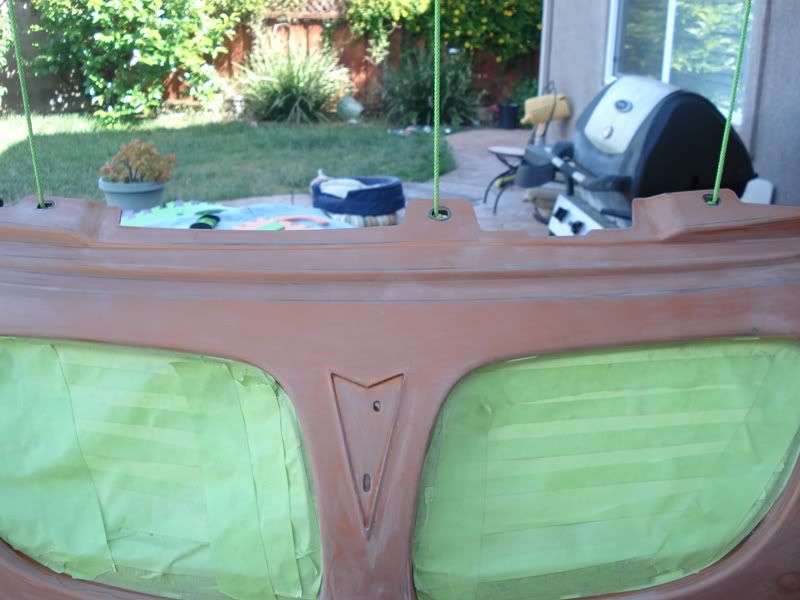 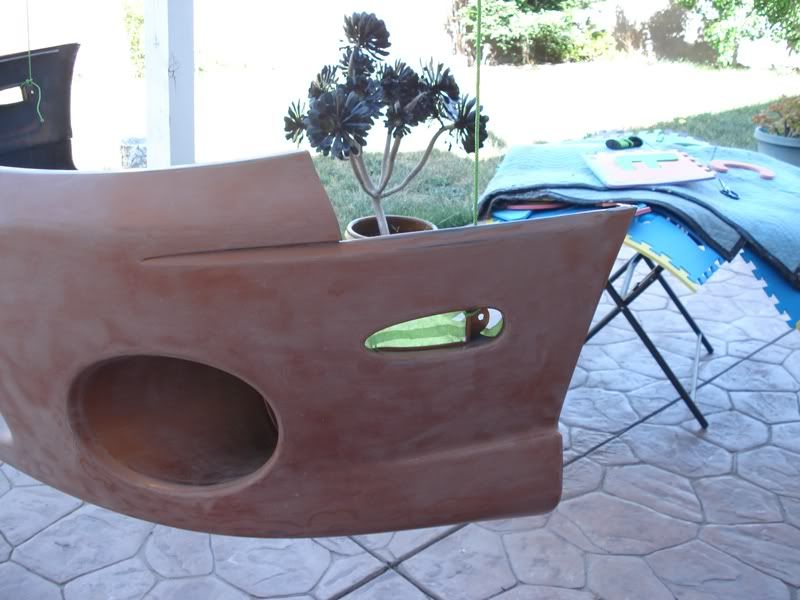 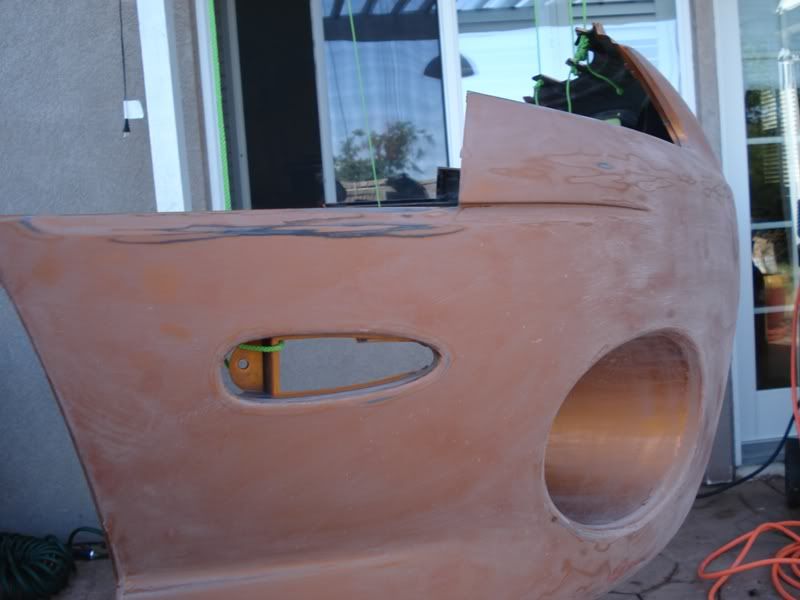 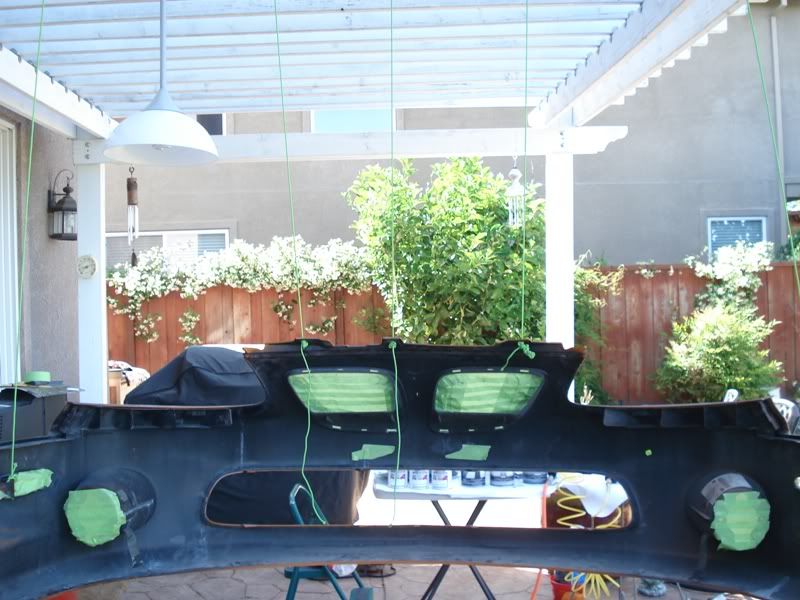 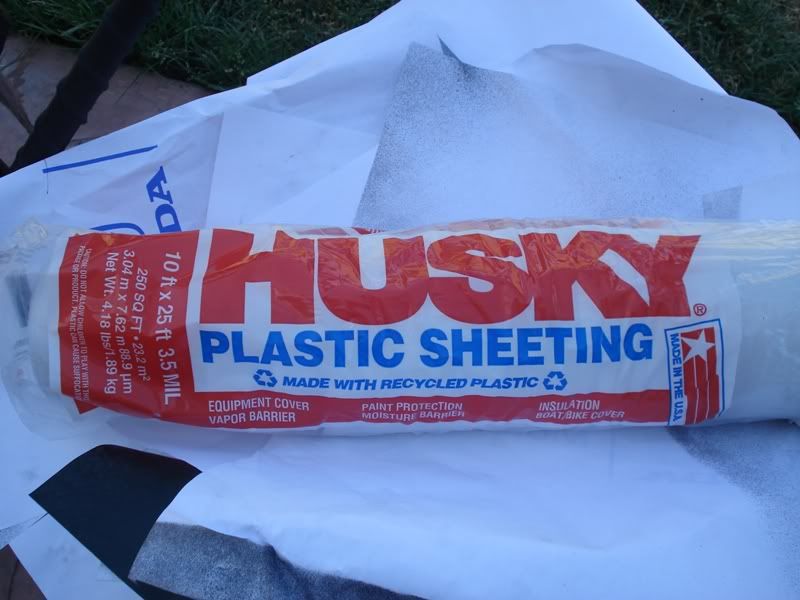 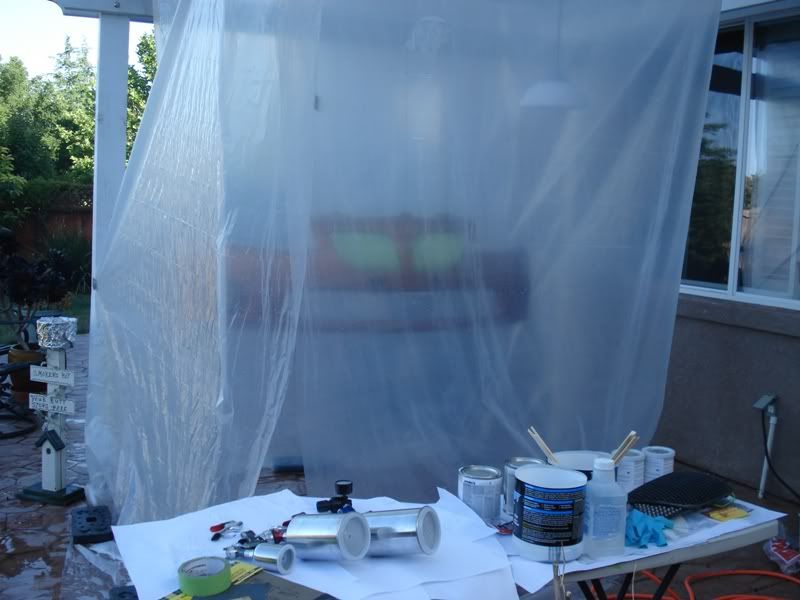 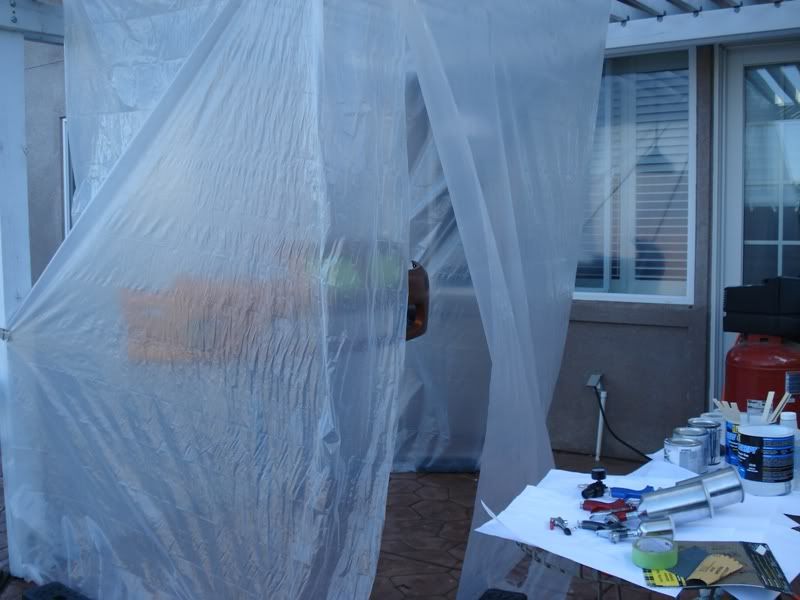 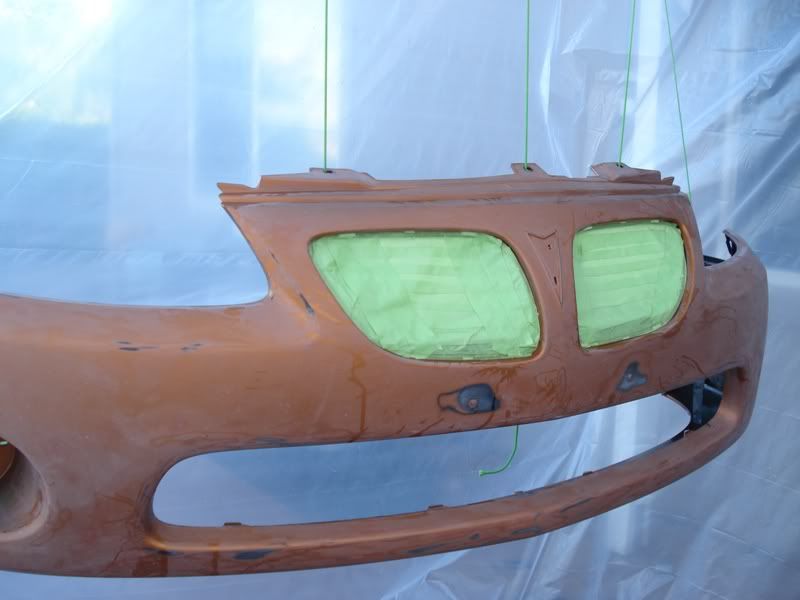 heres the paint + setup. Compressor with a moisture trap bought from home depot. the moisture trap then has a hose connecting to the spray gun with a pressure regulator set at, i believe, 40-50 psi at the inlet. 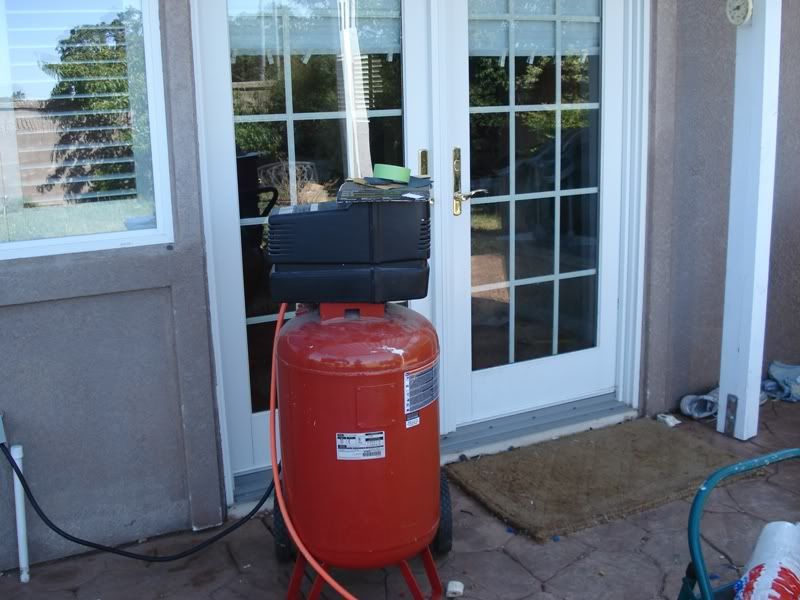 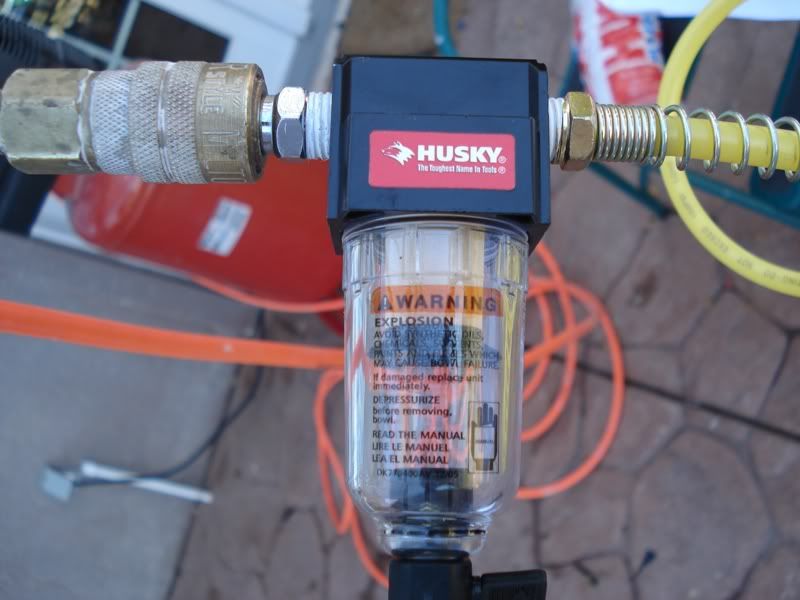 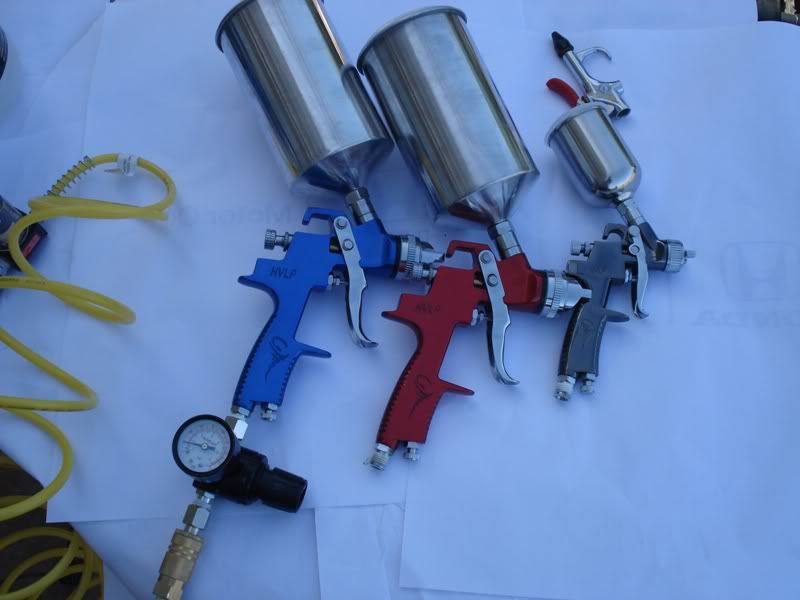 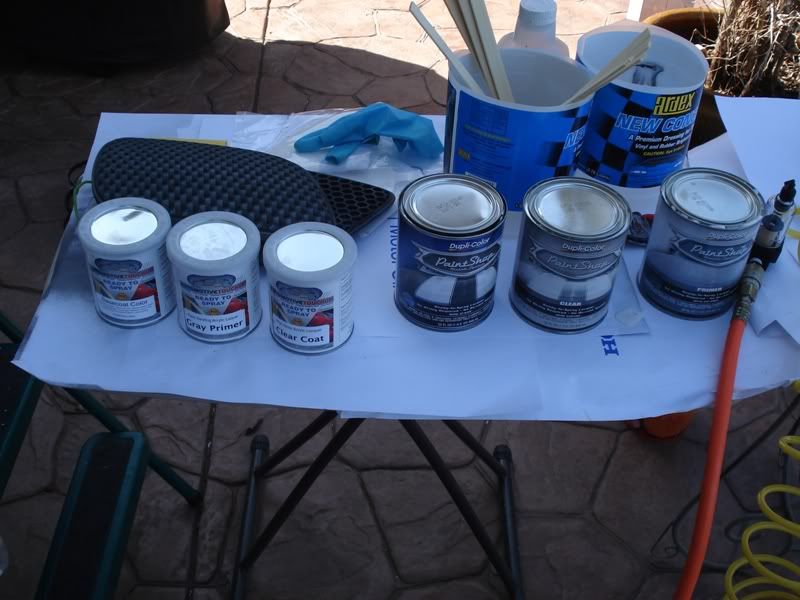 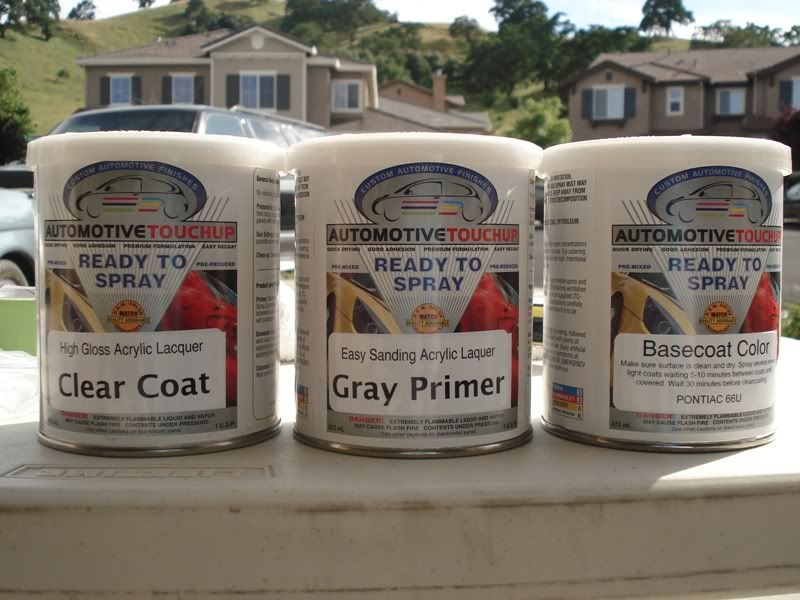 Heres the Primer. Did about 4 coats. Basically used the whole pint. Wetsanded after cure. 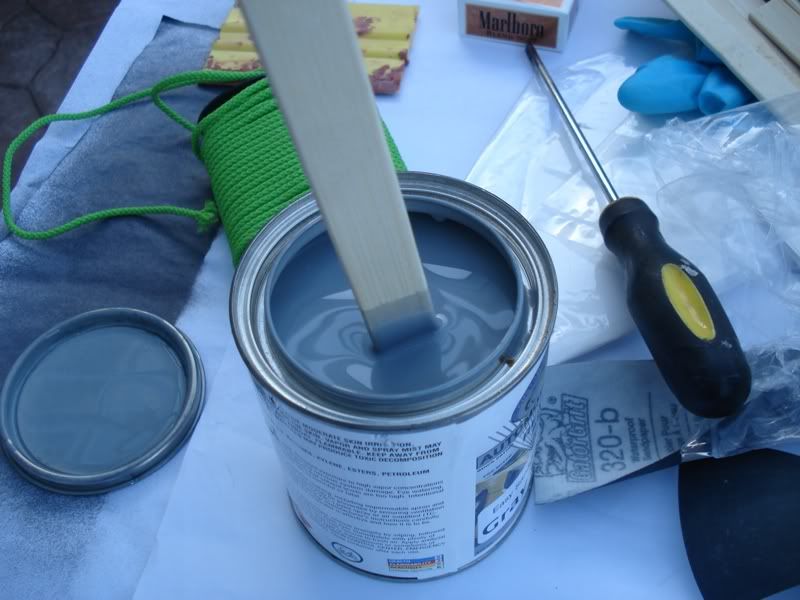 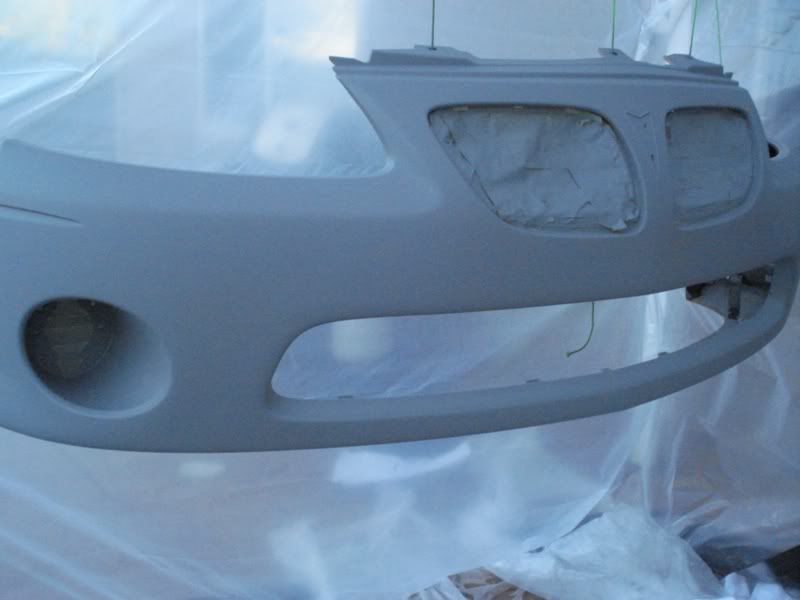 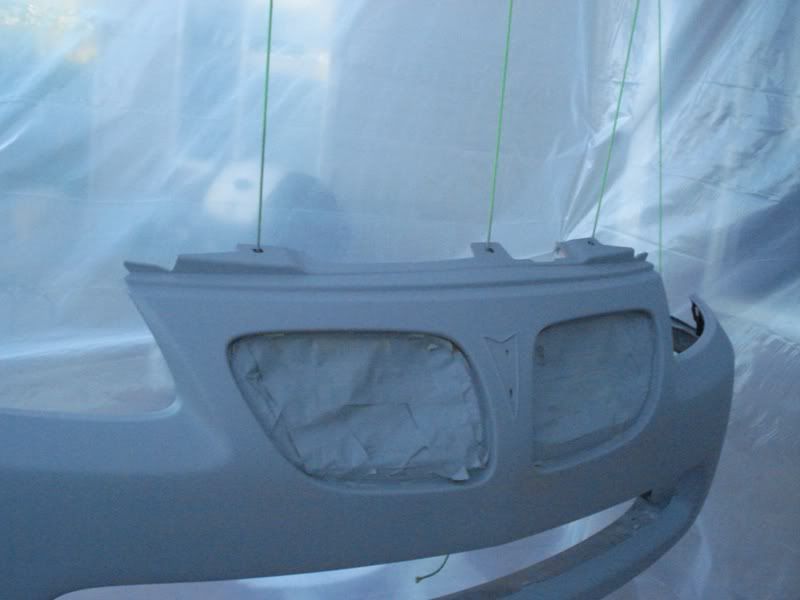 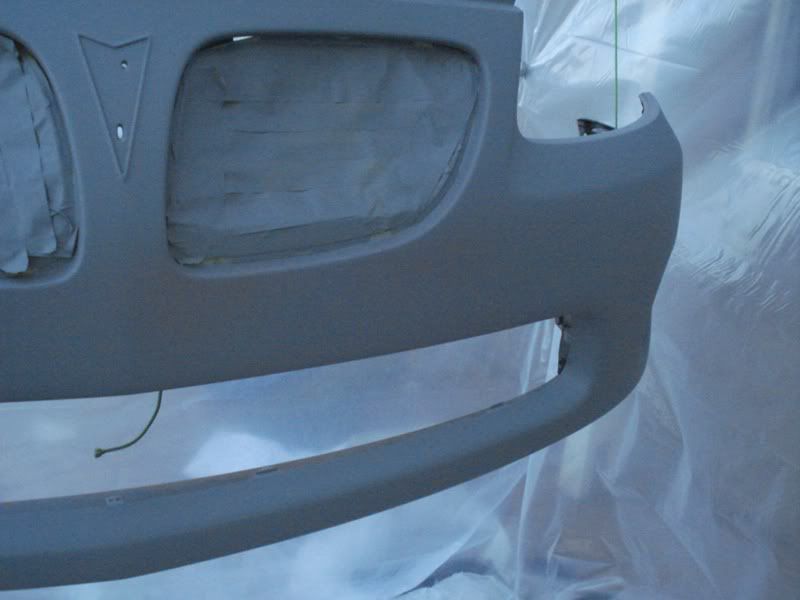 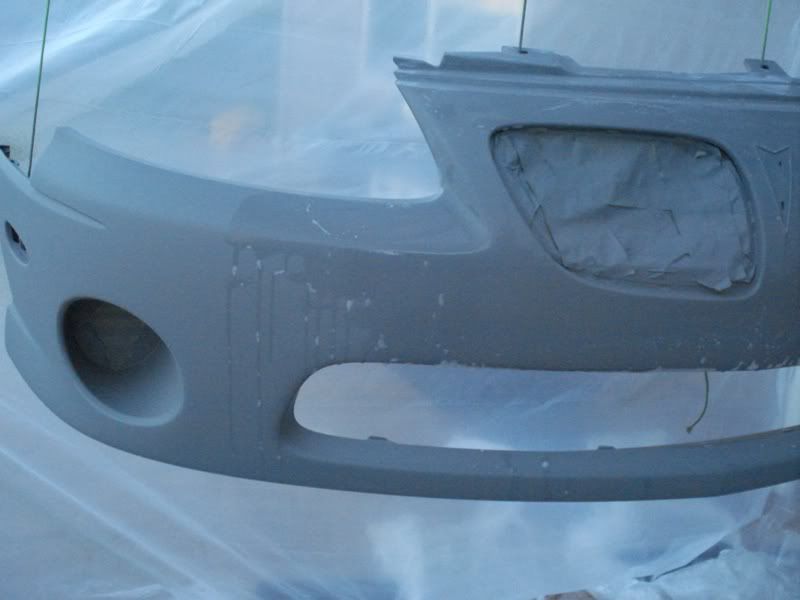 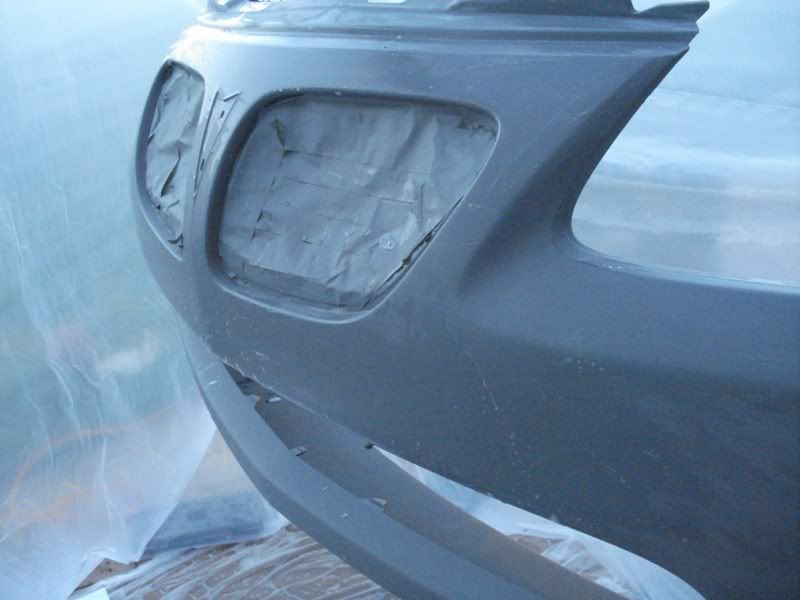 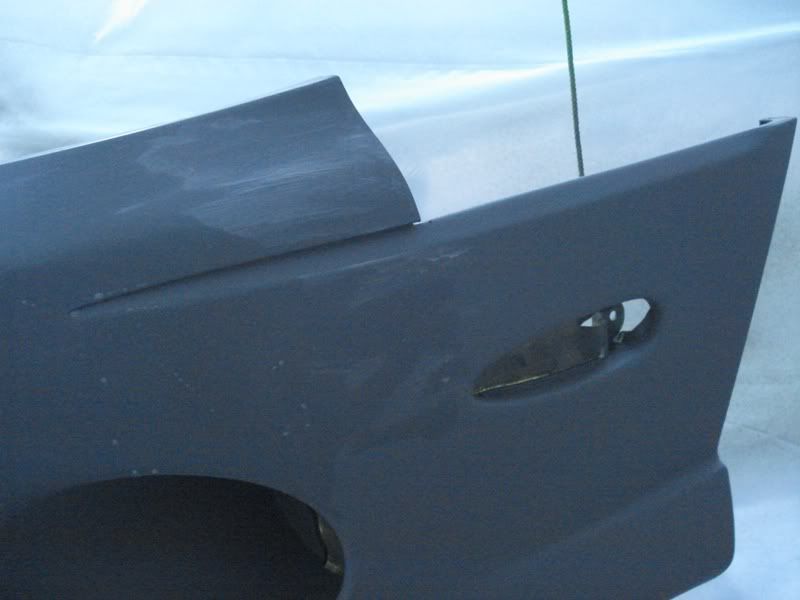 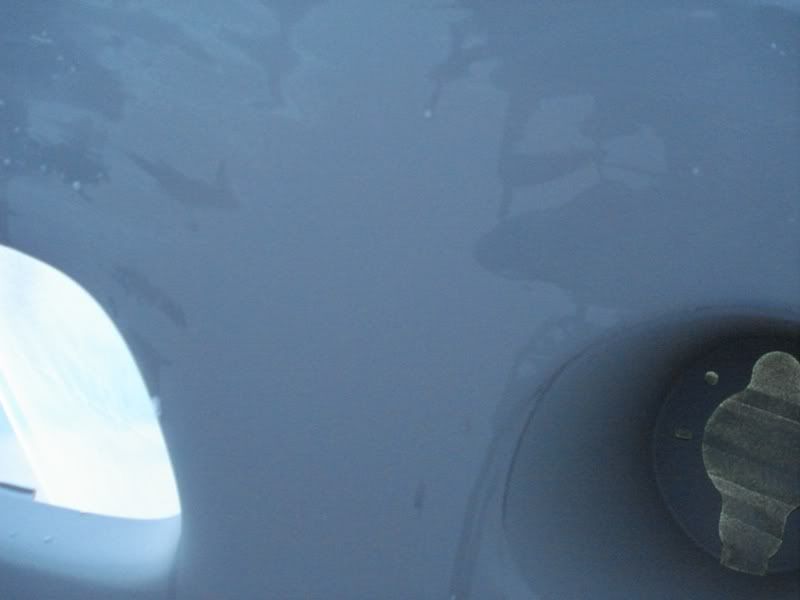 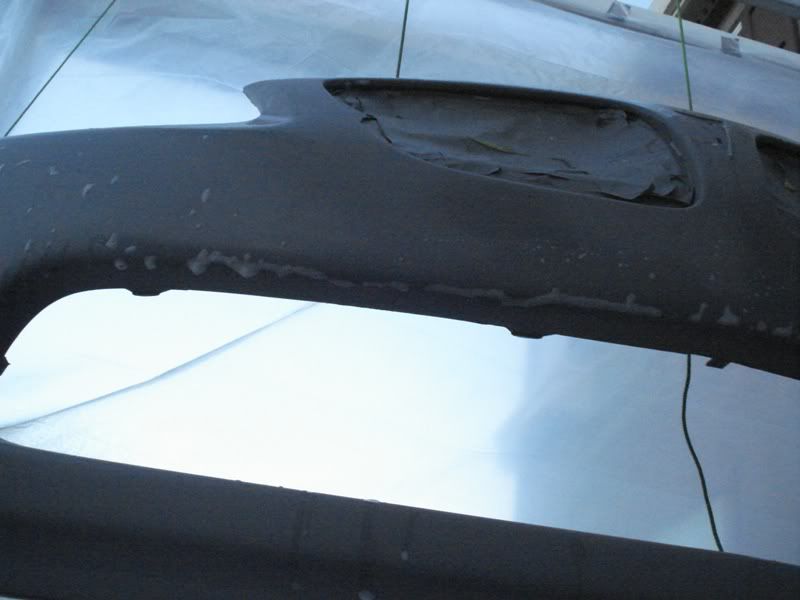 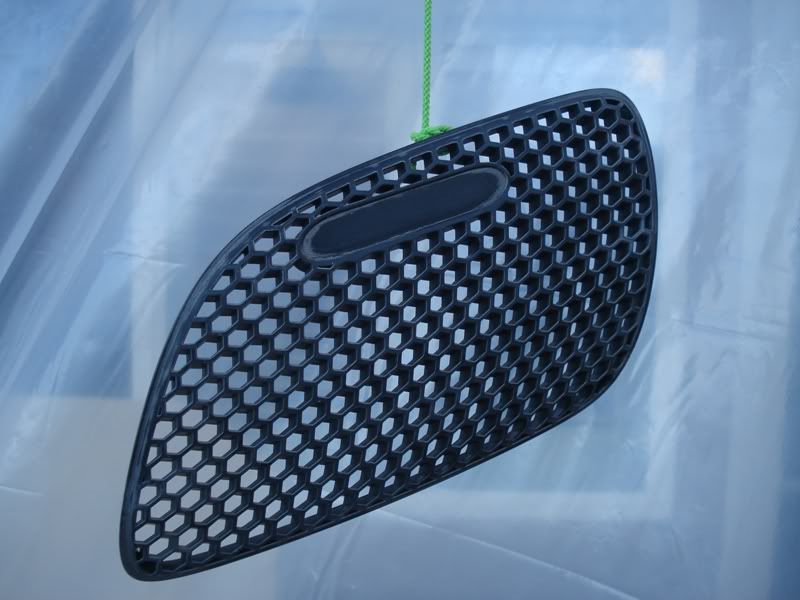 heres the first coat of the basecoat. 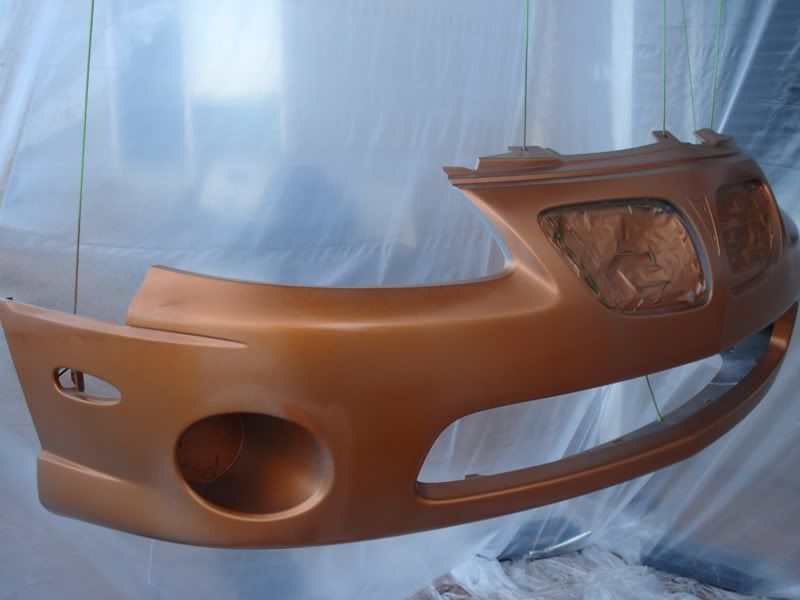 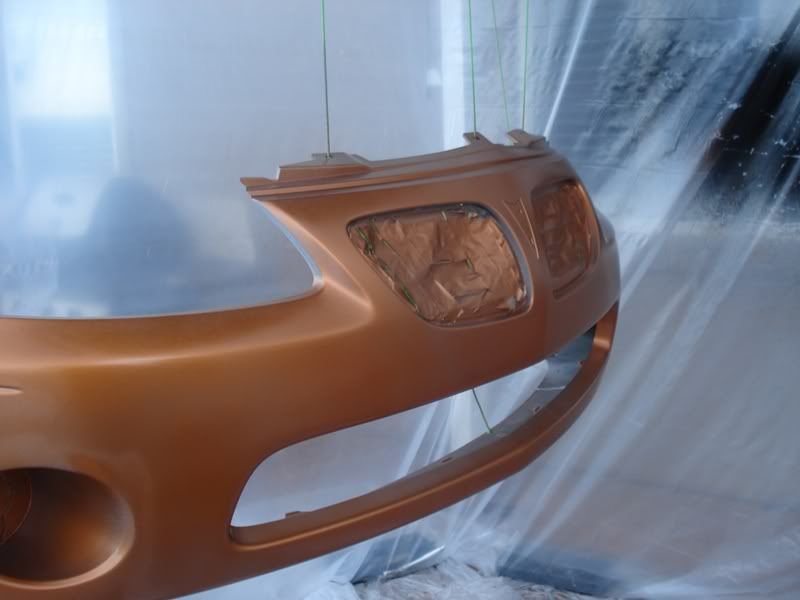 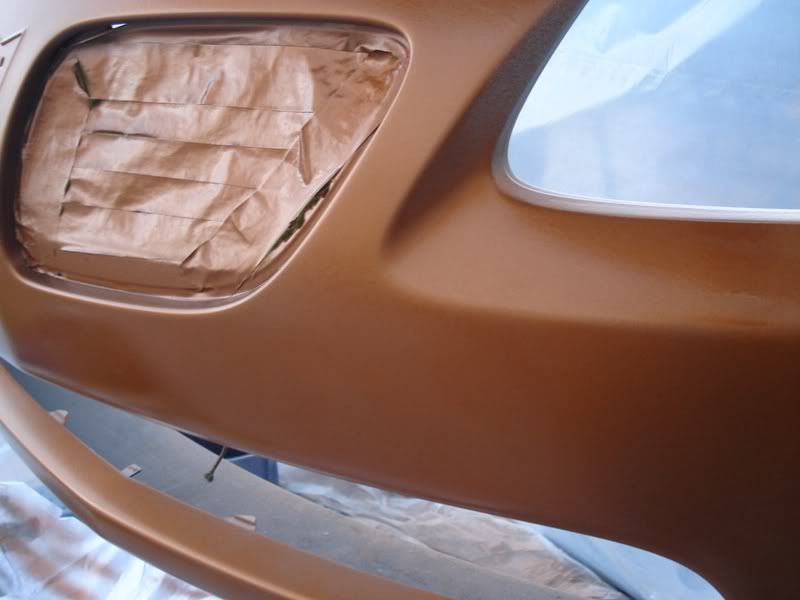 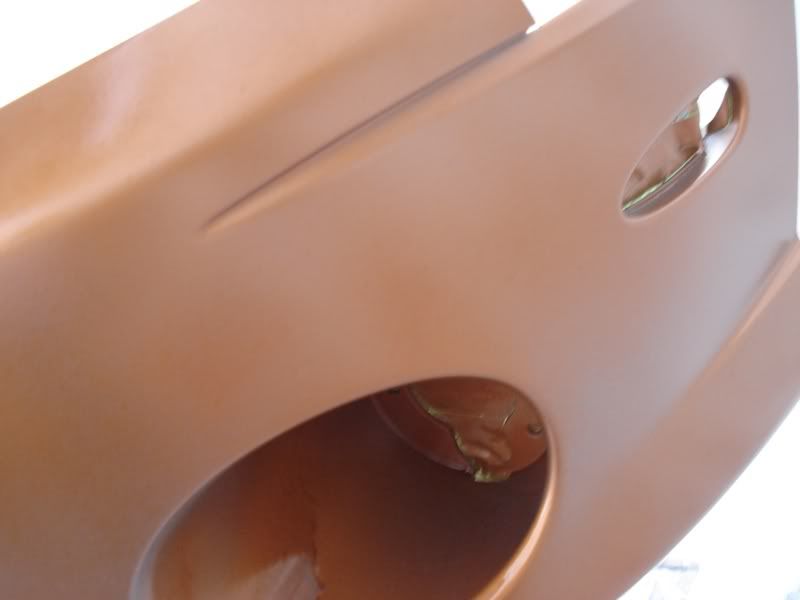 heres the 2nd 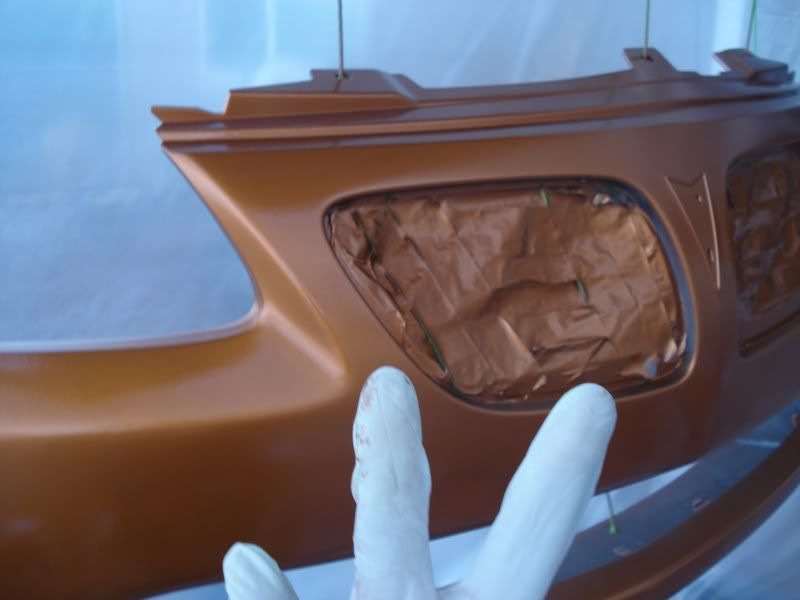 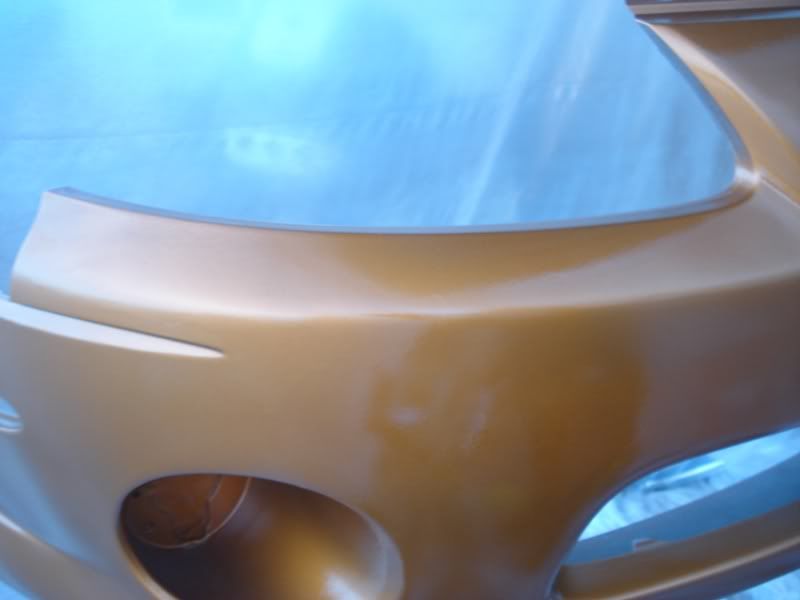 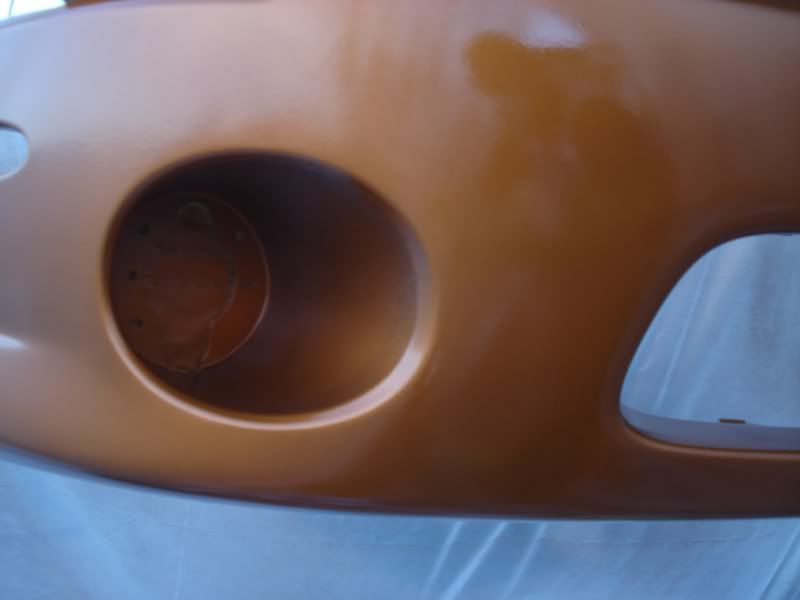 then the rest (base coat + clear coat), sorry i lost track of the pictures and the coat number. I believe i did about 3 coats of basecoat then about 4 coats of clearcoat. 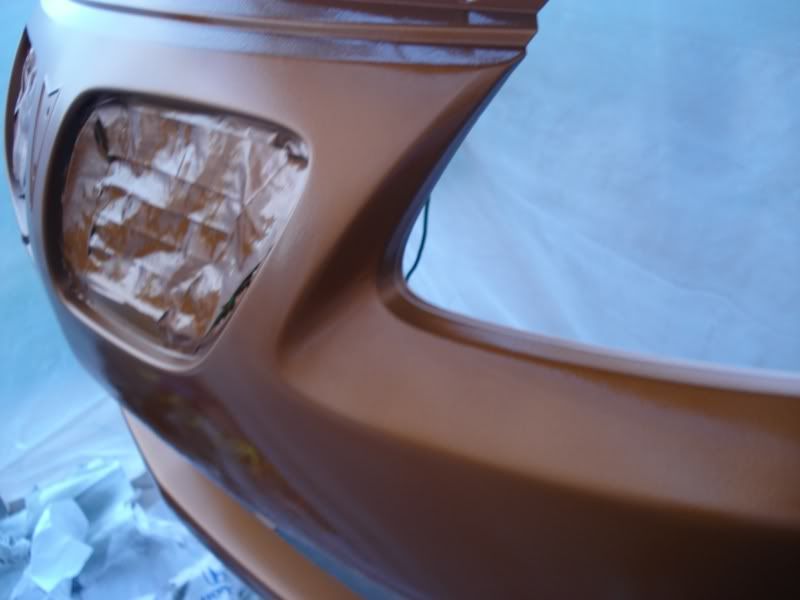 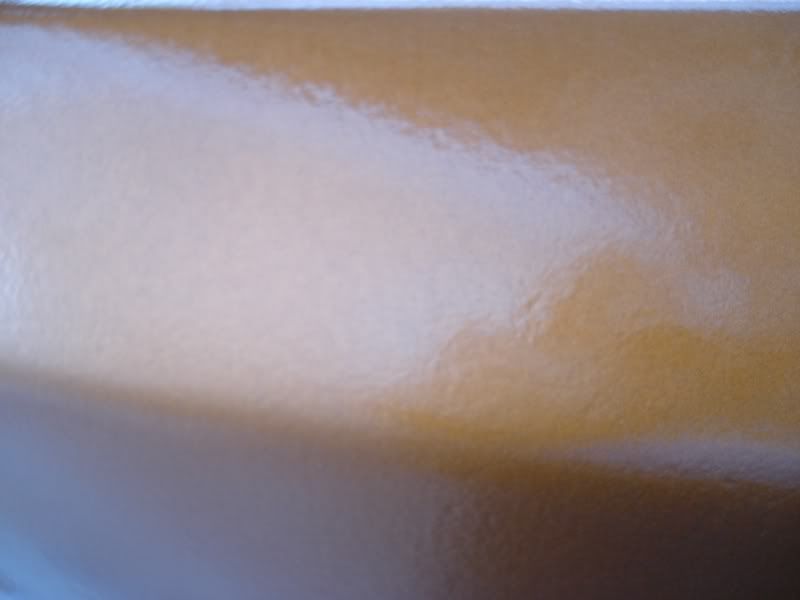 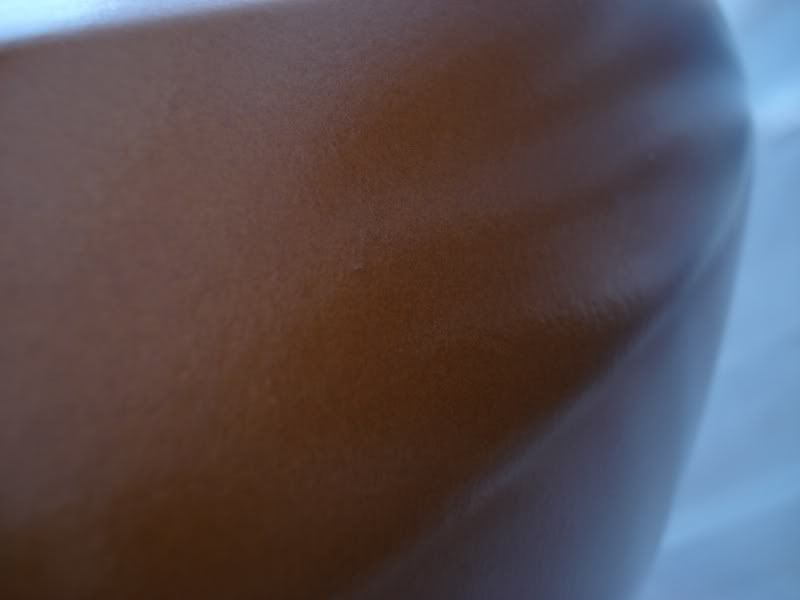 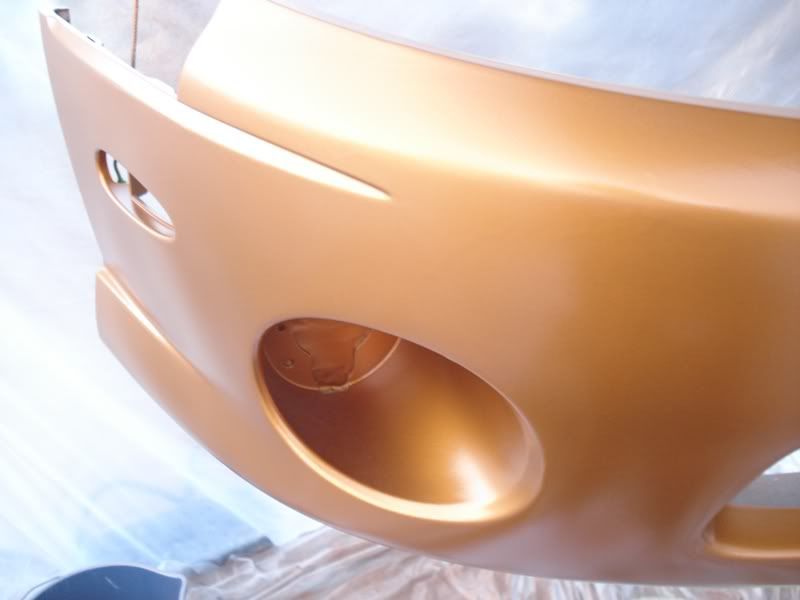 This is where i messed up like a dumbass. I set the spray at a horizontal pattern because i was doing the top flat area. Then when i started doing the front area, i forgot to set the spray pattern to VERTICAL. this led to a huge run of the paint, but which is weird, this is the only area where the metallics are showing very nicely. paint gurus please chime in. 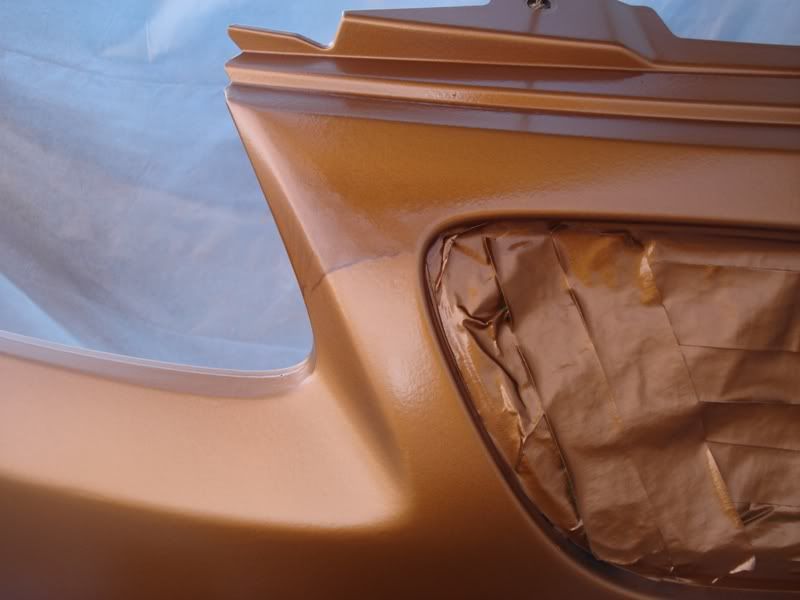 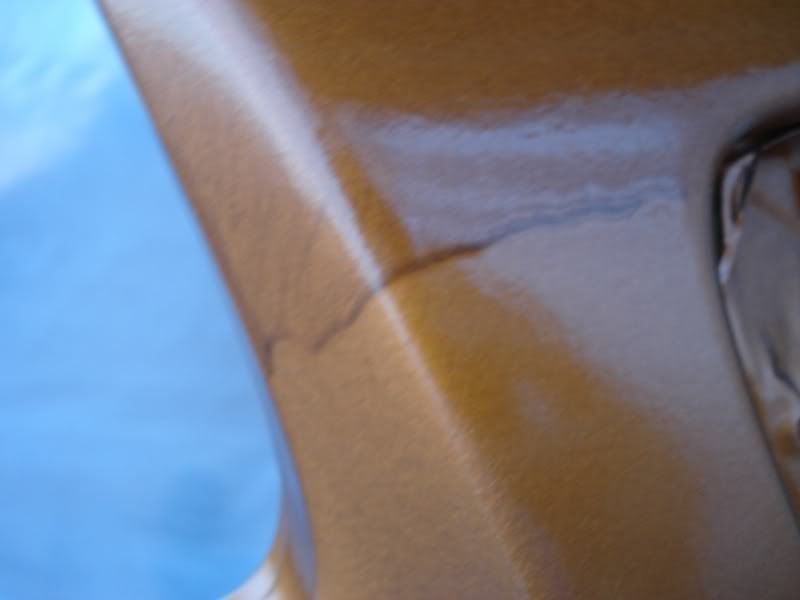 then the rest 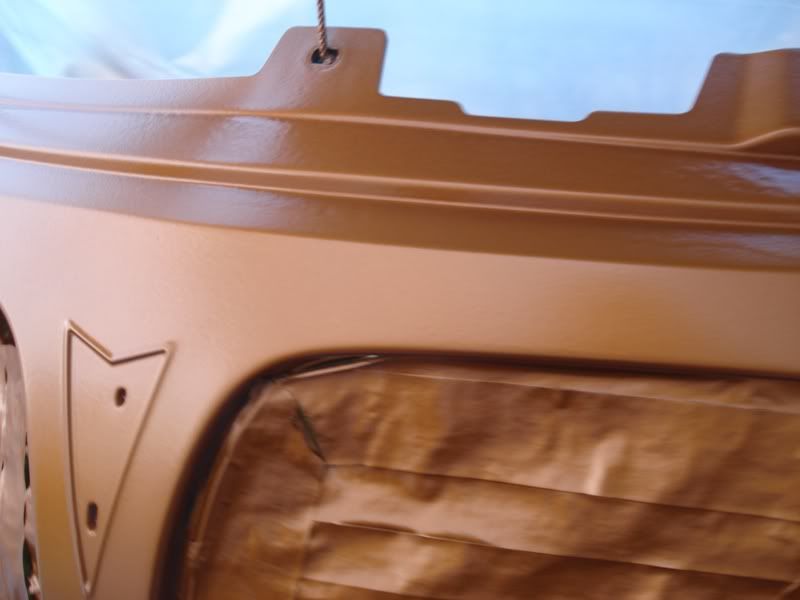 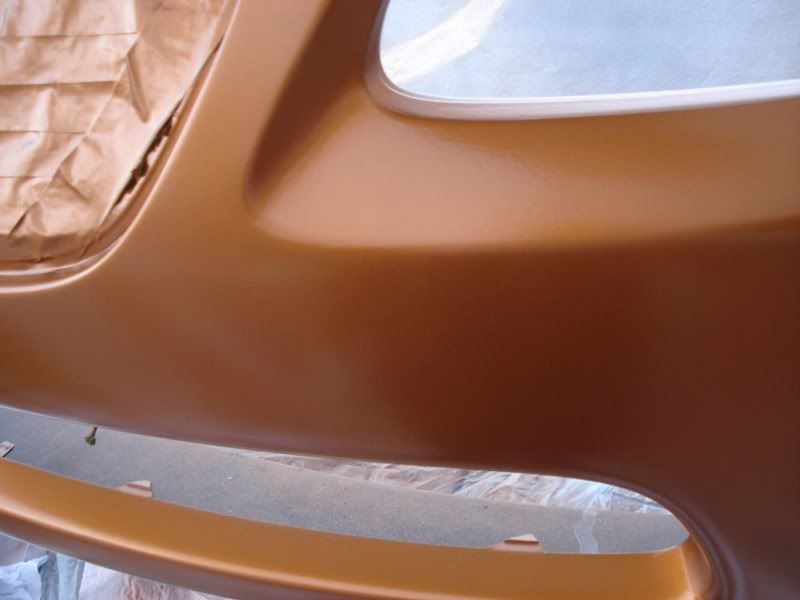 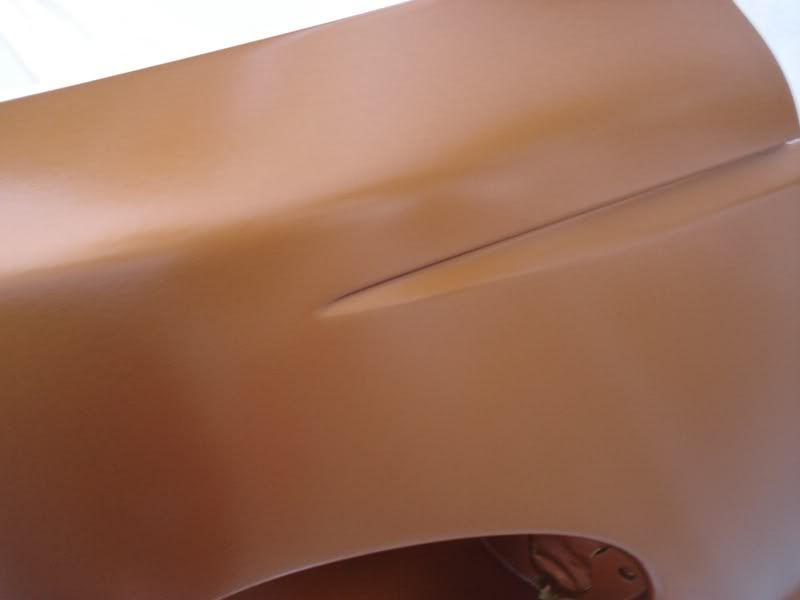 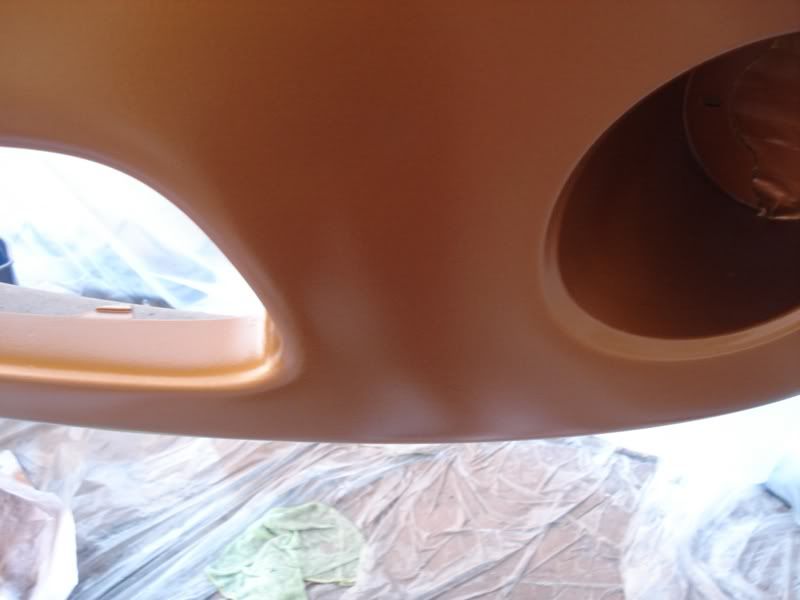 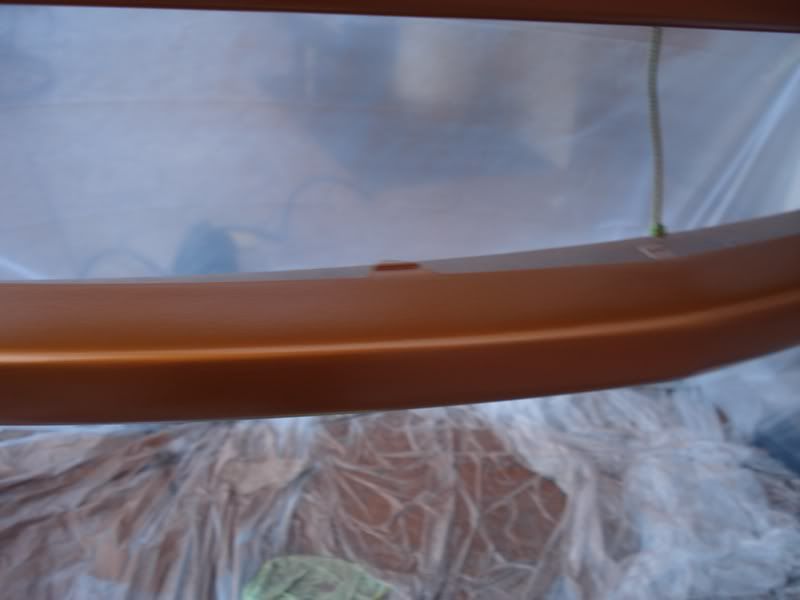 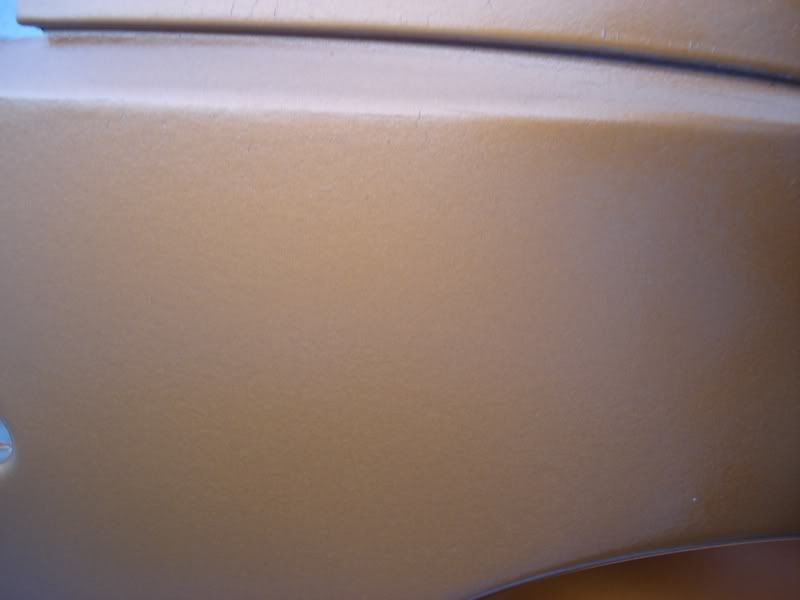 After all was done, i let it cure for about 2 days. I brought the bumper to work (i work at Honda) and wetsanded the bumper, buffed, then polished. Started with 1000 grit, and worked my way up to 2000. heres the final results with the grills, which were painted black, were also installed. 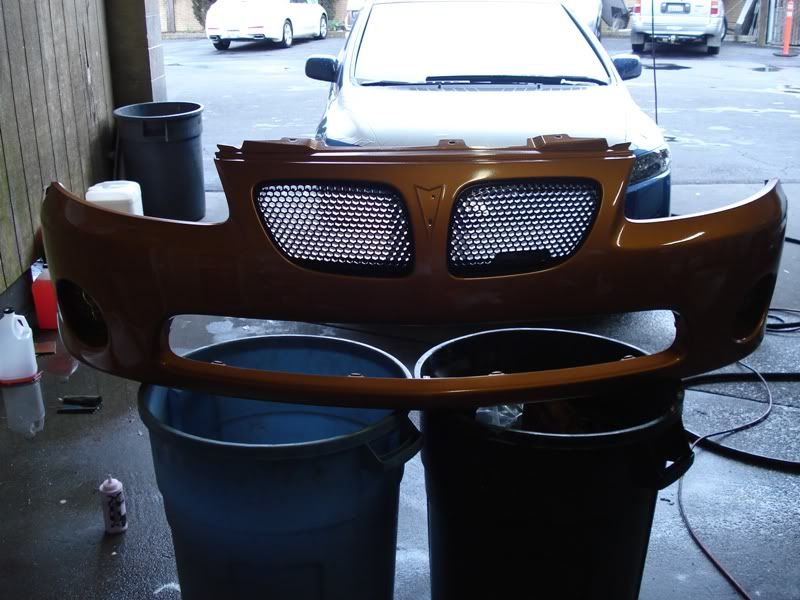 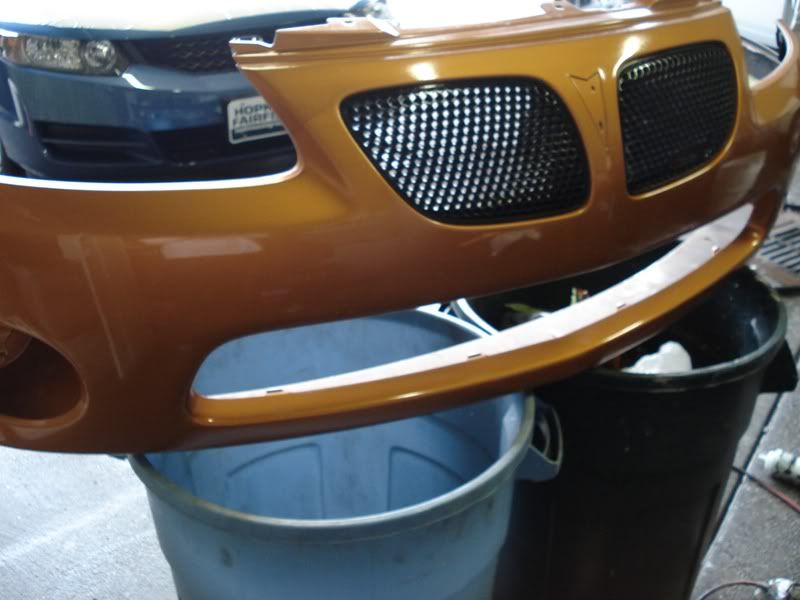  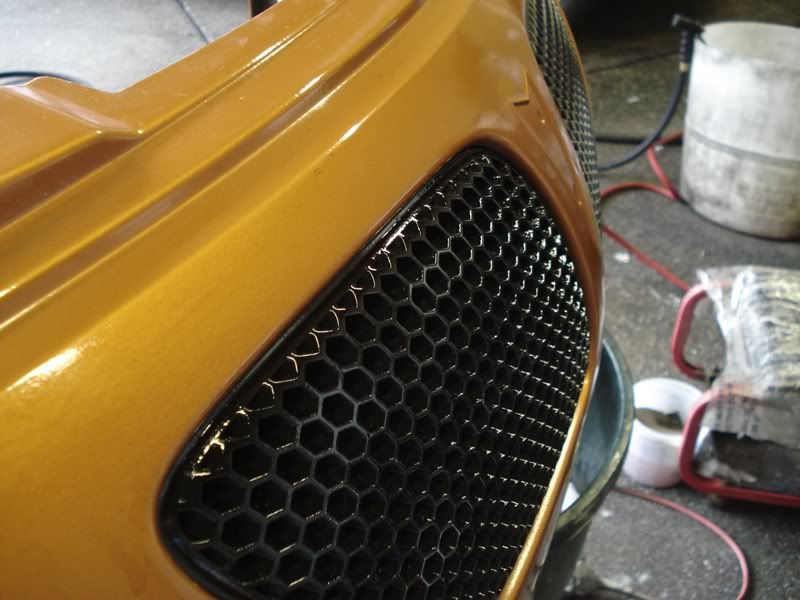 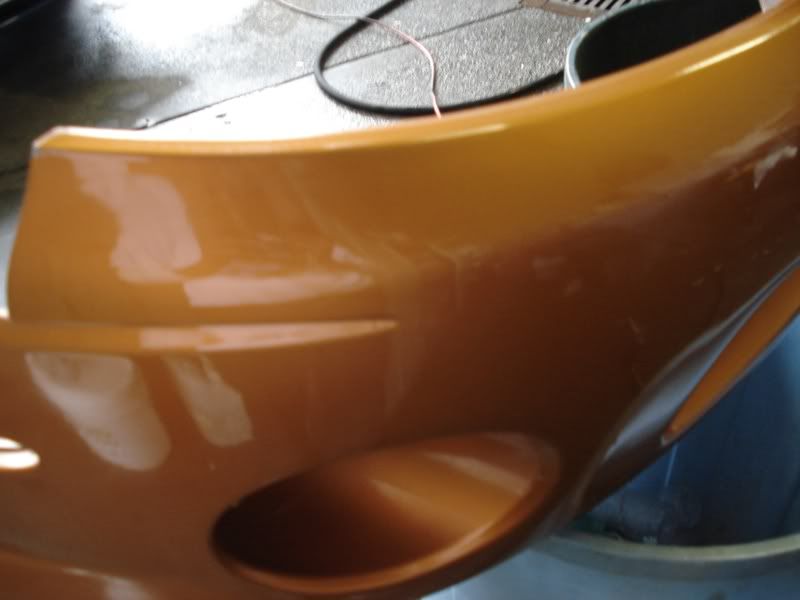 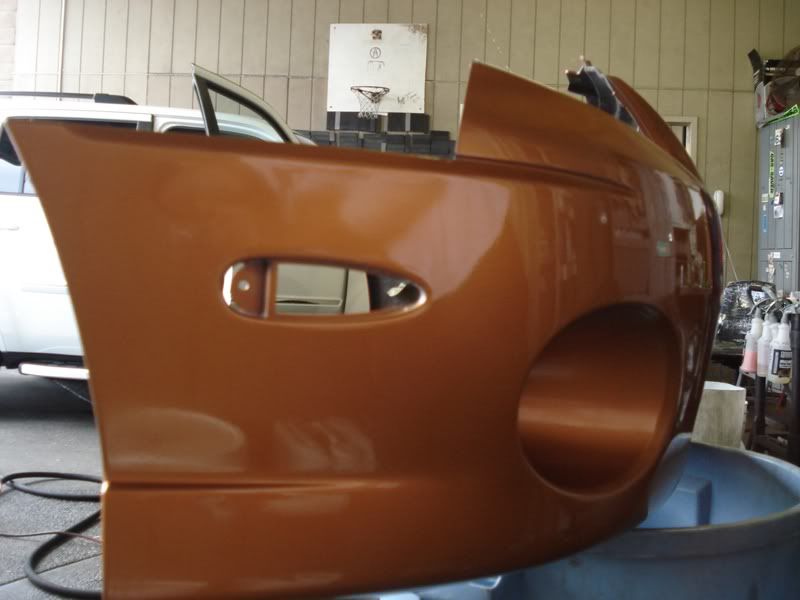 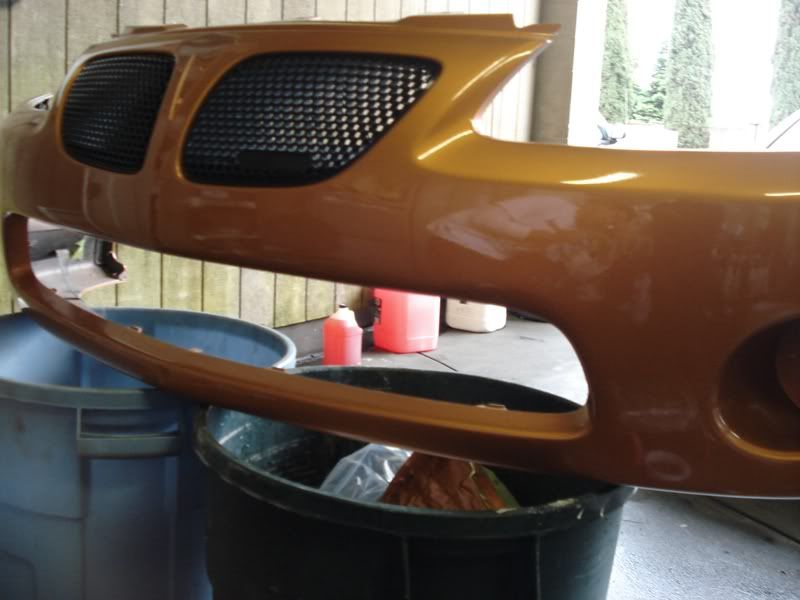 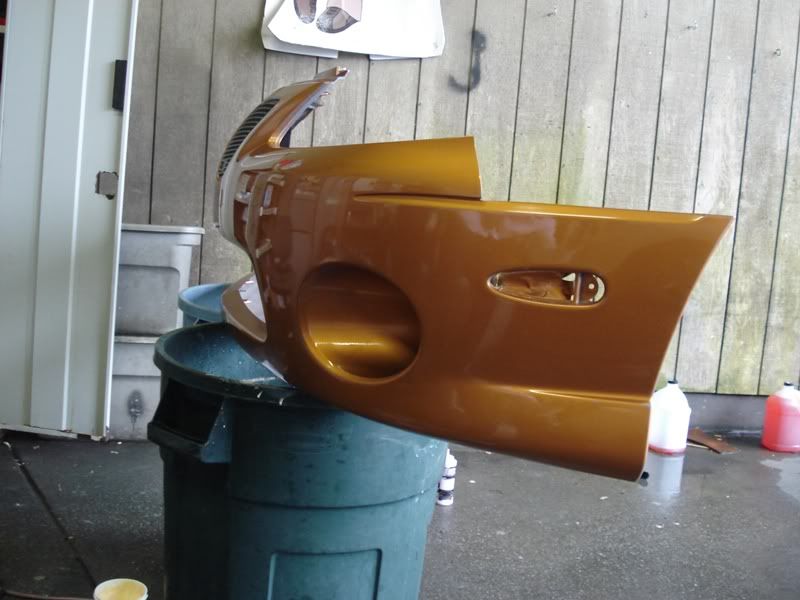 and the picture of the bumper installed 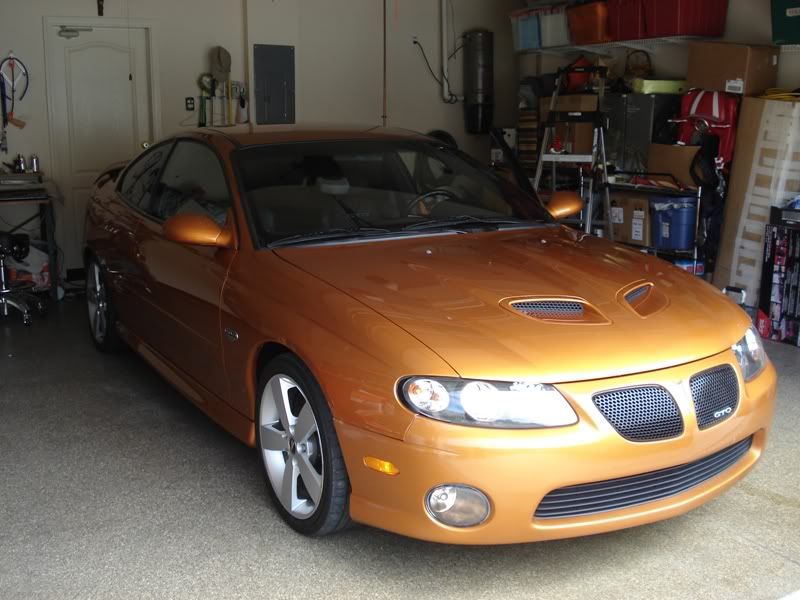 the paint matched great. that last picture might not have reflected this because of the angles, but the it was a very good paint match. i wouldn't say 100% because i might have messed up on my part anyways, paint gurus. heres my question What did I do wrong? Why are the metallics not showing as much except for in the "run" area? Was my gun adjustment the reason for the "Orange Peel", or was it the quality of paint? |
| 07-13-2010, 08:01 PM | #2 |
|
Major General
 
122
Rep 6,594
Posts |
I'm no painting guru, but that looks great even despite the run area. Looks like you did a thorough job and really took your time with it.
__________________
X7 LCI // Incoming C7 ZR1 ZTK // Sebring + TRX // Hydro + Raptor Gen1 Roush // Tuxedo |
|
Appreciate
0
|
| 07-14-2010, 12:04 AM | #3 | |
|
New Member
1
Rep 16
Posts |
Quote:
|
|
|
Appreciate
0
|
| 07-14-2010, 11:11 AM | #4 |
|
165
Rep 2,184
Posts |
WOW!!! Looks like you did a great job!
 |
|
Appreciate
0
|
| 07-16-2010, 10:20 AM | #6 |
|
New Member
1
Rep 24
Posts |
Overall that came out great! Most of your problems are caused by orange peel which stems from improper spray gun setup. You succesfullu buffed most of it out in the clear coat but there isn't much you can do about the color coat at this point. Next time see if you can lay your hands on a high quality gun and some good quality paint (I.e. What a body shop uses and is willing to warranty). You'll be amazed by the difference. There is a saying that with a properly setup gun, even a blind man can paint a panel smooth as glass. All in all, not too shabby for a first attempt.
|
|
Appreciate
0
|
| 07-16-2010, 10:43 AM | #7 | |
|
Major
 254
Rep 1,391
Posts |
Quote:
 |
|
|
Appreciate
0
|
| 07-18-2010, 12:42 PM | #9 |
|
General

663
Rep 26,878
Posts
Drives: 2-325 330 2-335 2-Z4 2-135 X5d
Join Date: Mar 2007
Location: Huntington Beach, CA
|
Pretty impressive.
|
|
Appreciate
0
|
 |
| Bookmarks |
|
|


