

|
|
 |
 |
 |

|
 |
BMW Garage | BMW Meets | Register | Today's Posts | Search |
 |

|
BMW 3-Series (E90 E92) Forum
>
2006 330i N52 Oil Pan Gasket Replacement w/N54 information
|
 |
| 07-15-2015, 11:02 AM | #1 |
|
Private First Class
 
50
Rep 161
Posts |
2006 330i N52 Oil Pan Gasket Replacement w/N54 information
I just completed a 2006 330i oil pan gasket replacement. It was pretty straight forward. Below is an outline of the process and some pictures of the work. The N54 oil pan gasket will be similar, just a few differences which ill try to make note of. Also, sorry i didnt take the best pictures of the pan coming out or down, on the next one i do i may insert some better picture steps.
So first thing you will want to do is pull the car in and get the car situated. Pop the hood and remove the top mounting bolt for the engine mounts. You'll want to remove the front accessory belt if your doing a N54/N55 as you have to undo the power steering pump to remove the oil pan. But for the N52 you dont have to do either. Pictures below show the bolt removed and the subframe lowered. 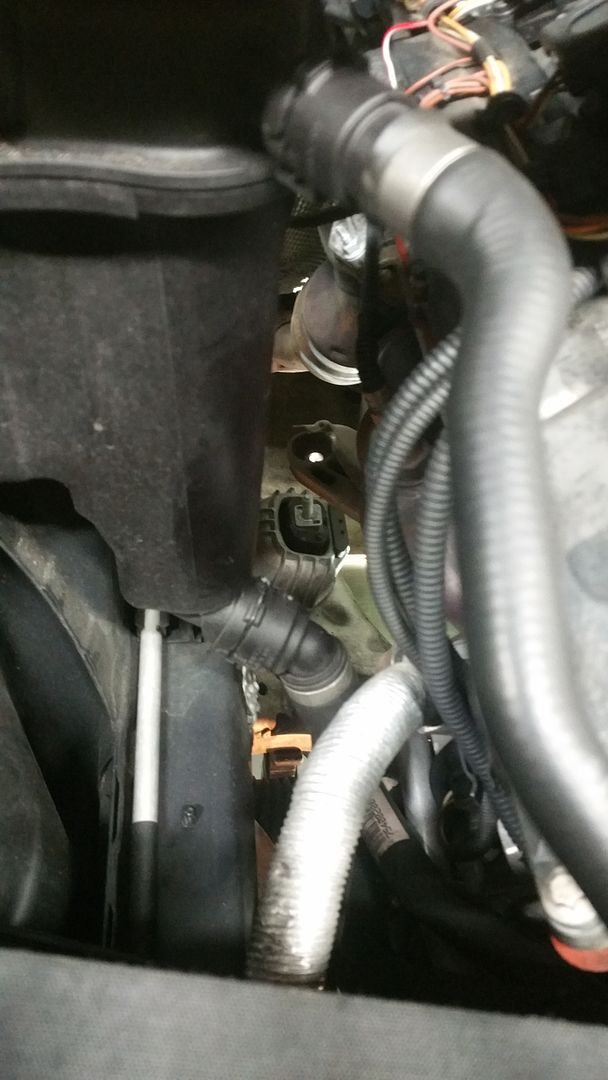 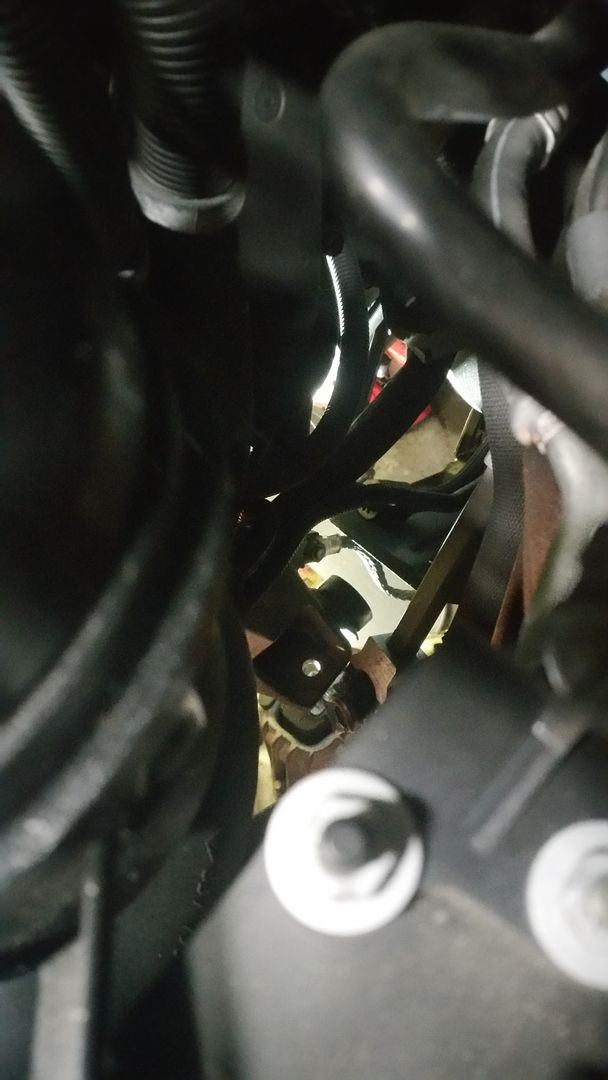 After you get the top bolts off (the drivers side can be accessed from the top, using long extensions and a swivel). Its a 16mm, then remove the plastic engine cover (you may have to remove the cowl to remove the cover, but i didnt have to). Retrieve the tow hook from the trunk and install it in the engine support hole. I like to tape both fenders tops around the area the A-frame support will be placed, using 2-3 layers of tape. Just helps as setting up the A-frame support is big and takes a little bit to get situated. I havent had any issues with deforming the fenders or anything using the standard universal A-frame support. BMW specific engine support has support feet in different locations than the universal support - but I havent had any issues. I like to use a chain wrapped through the tow hook and a second support rod as a back up to the primary support rod. After that is all set up, i put a heavily folded towel on top of the support rods, so if the hood ever fell, it would minimize or prevent any damage. Be sure to put the support rod under some tension so when undoing the subframe nothing settles downward. you want the A-frame to hold everything. 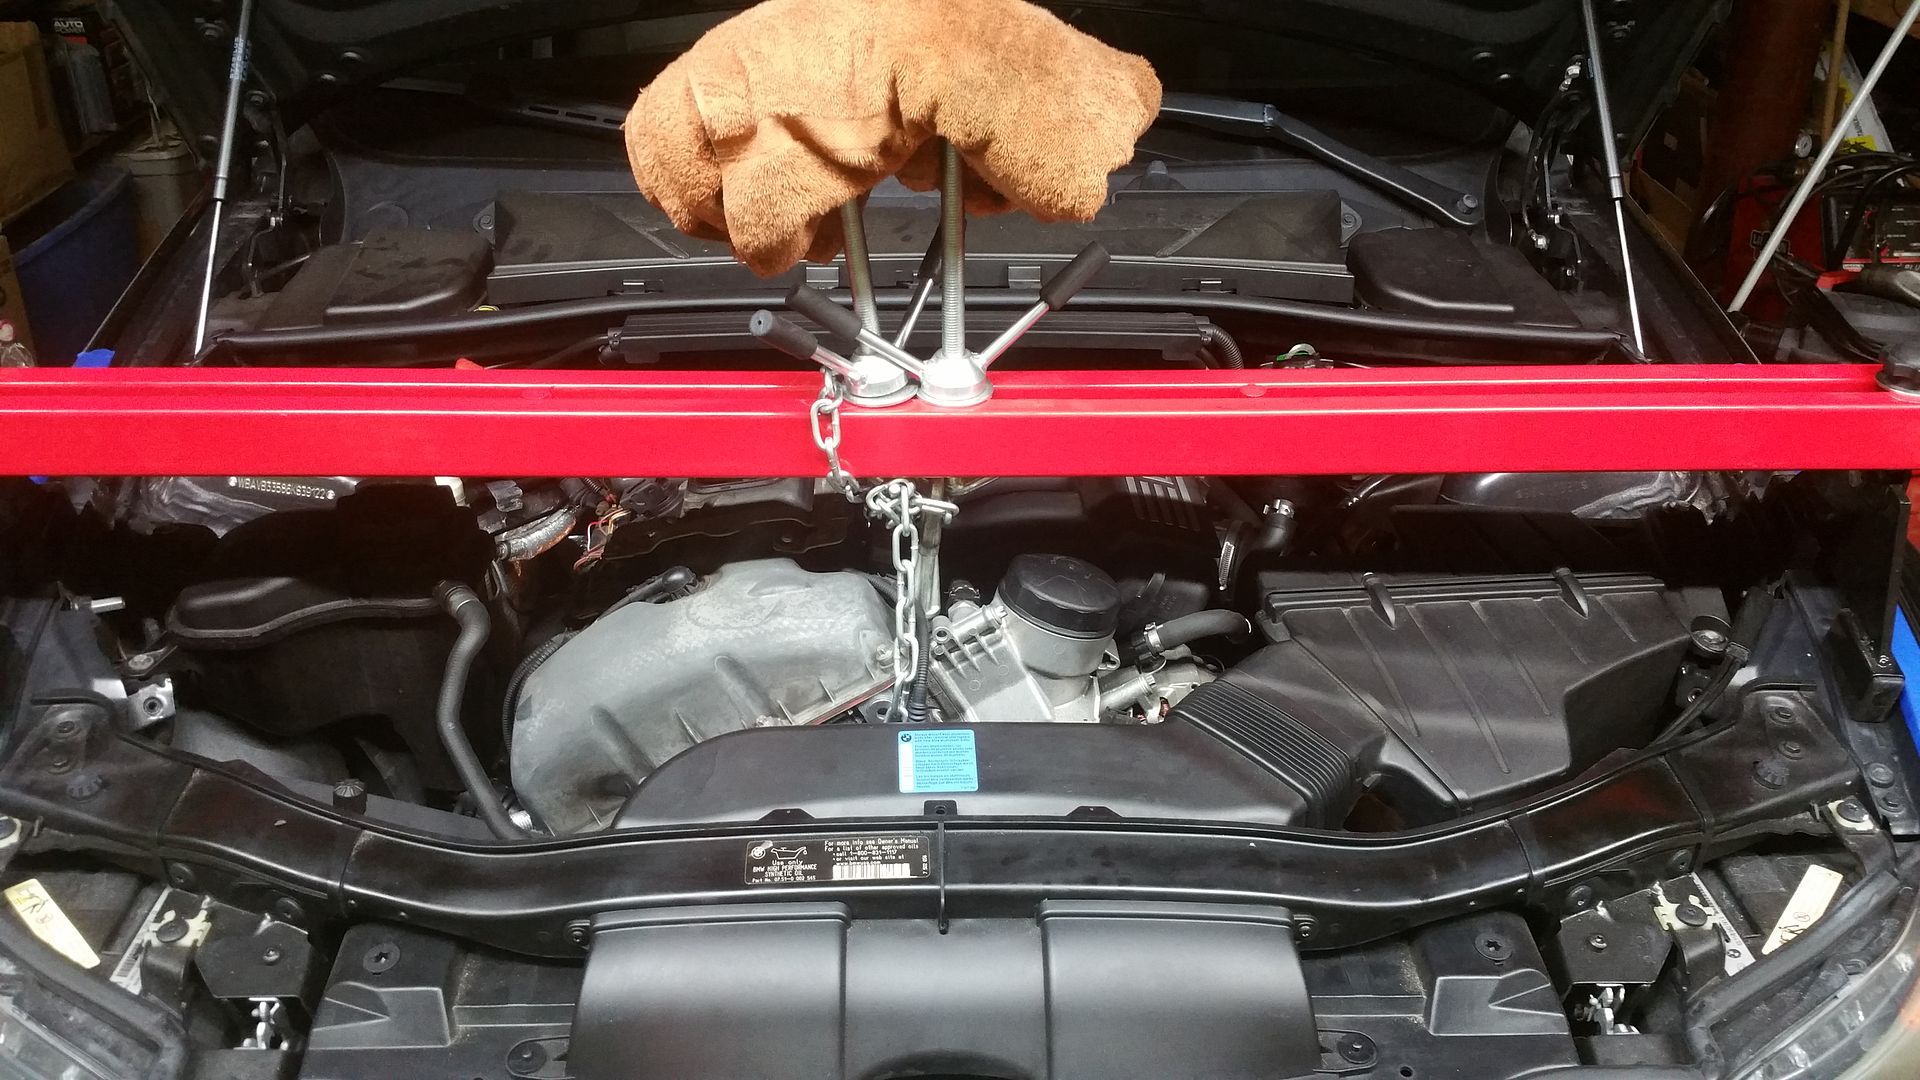 So that's pretty much everything from the top. Go ahead and center the steering wheel, and extend the column as far out as you can and move it so it is as straight as possible (basically up as high as possible), then elevate the entire car, and remove both front wheels. This will help give you clearer access to the car thru the wheel wells. If your car doesnt lock the front wheels you can use the seat belt to hold the steering wheel from spinning as you will be disconnecting the rack as shown below. I like to disconnect the battery here as well. 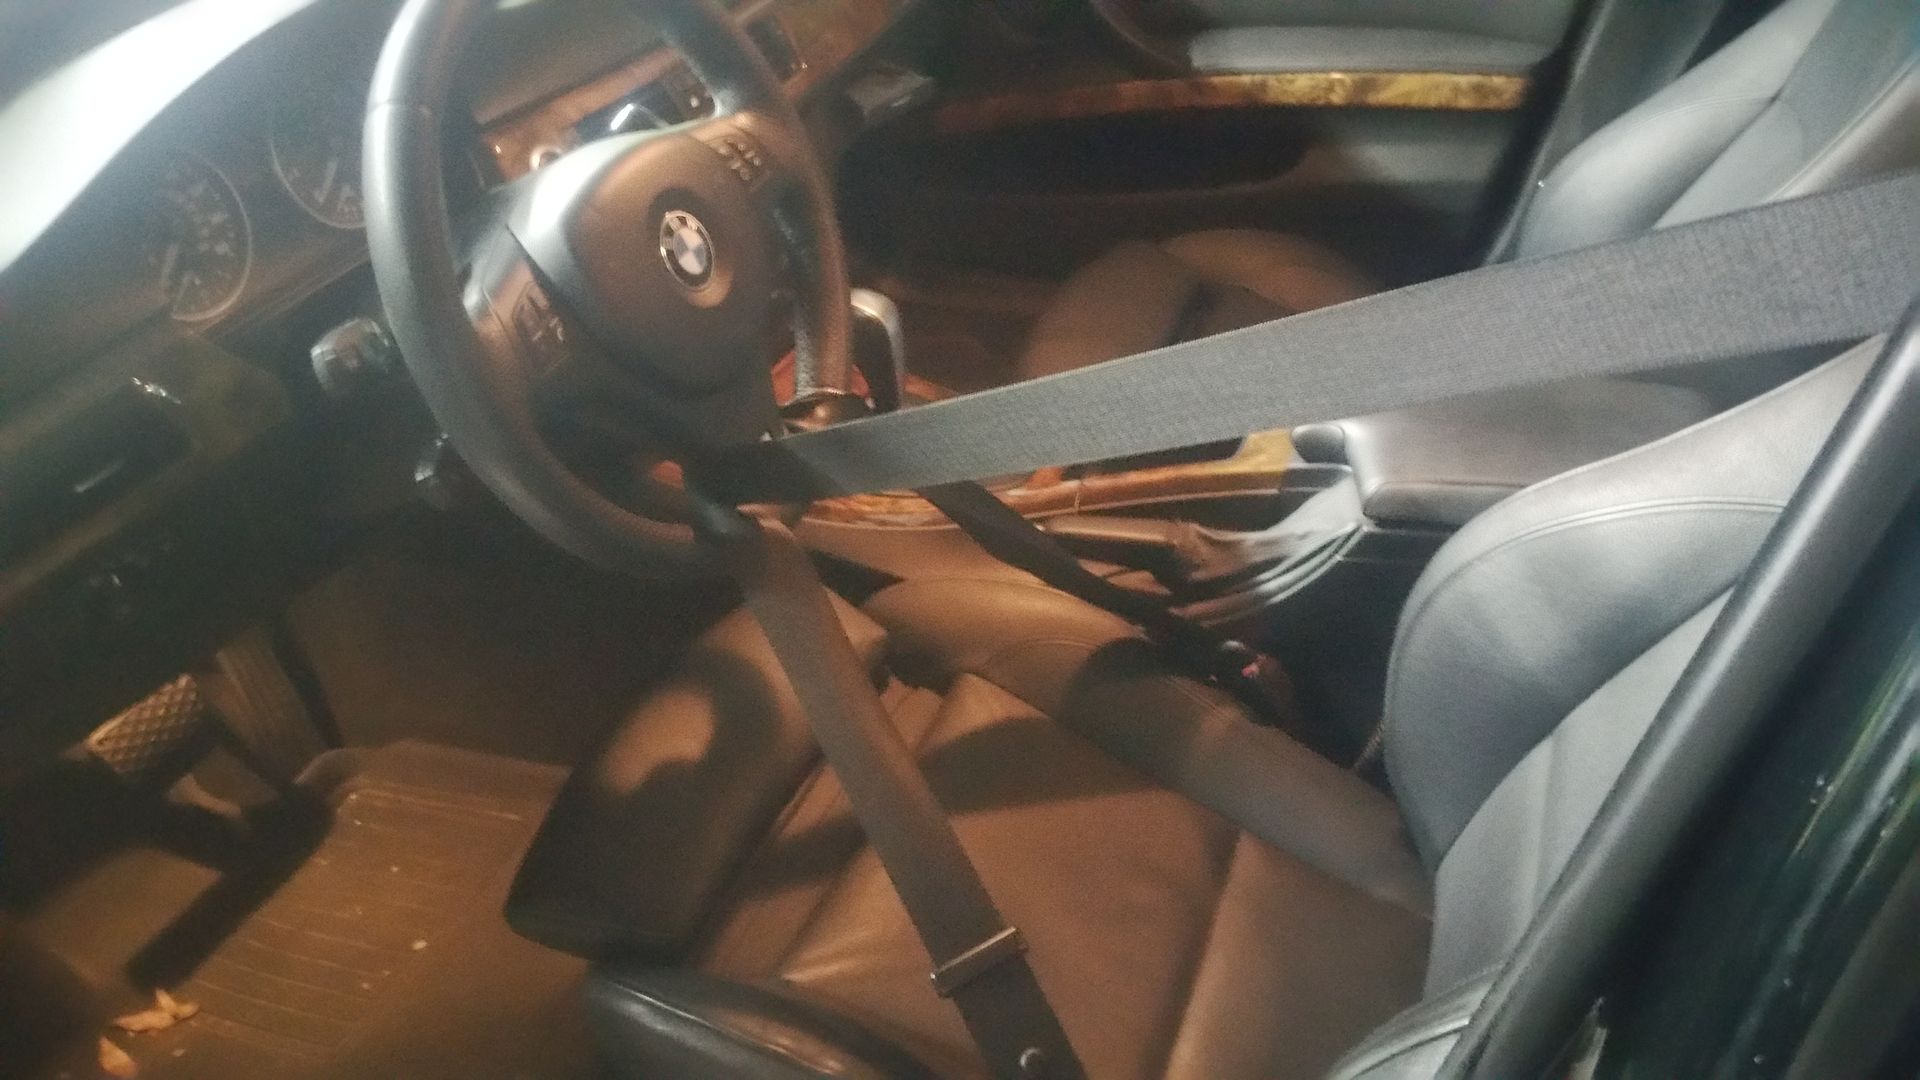 Remove all the plastics from under the car including the front belly pan, the two smaller plastic covers behind each front wheel, and the transmission plastic cover. You can go ahead and remove both rear 02 sensor plugs from the clips they are retained in. Unplug the oil level sensor from the harness. I removed the front sway bar from the lower endlinks and undid the sway bar mounts, and remove the entire bar. I then removed the black brace that attaches to the bottom of the subframe (6-16mm bolts) and slide it out of the way. The black brace and 02 sensor clips are in the picture below. Remove the 3 bolts that retain the power steering pump if you have a N54/N55. 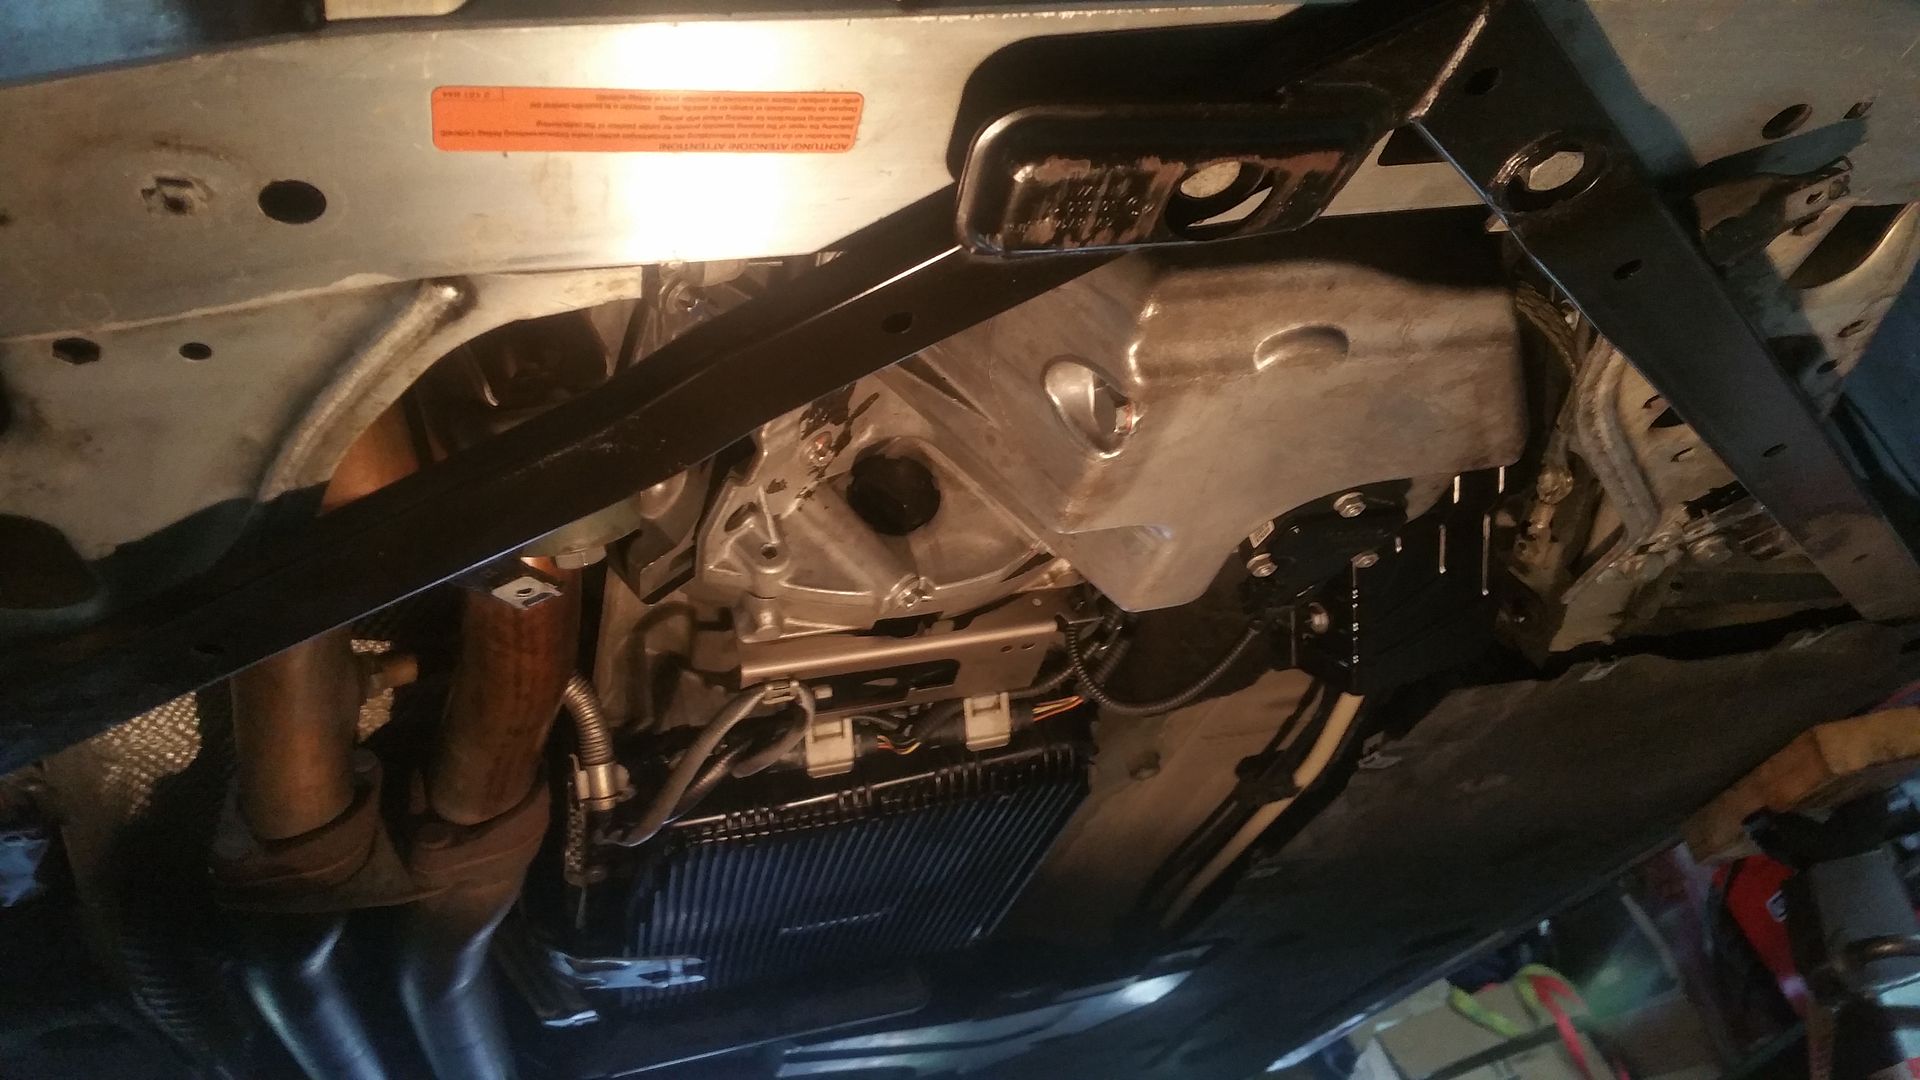 Then remove the bolt that attaches the steering rack to the column, its a T-10, and its a one time use bolt as well, so have a new one ready. Then carefully separate the column universal joint from the rack itself. After that remove the 3 bolts that hold the lower coolant pipe to the front of subframe. On this car they were T-30 screws, but on N-54's they are 10mm. two are centered on the front and the third is on the drivers side. It can be a pain to get to. If you have an automatic, remove the torx that holds the tranny cooler to the electric fan, and pull that free. The coolant pipe is in the top of the picture below 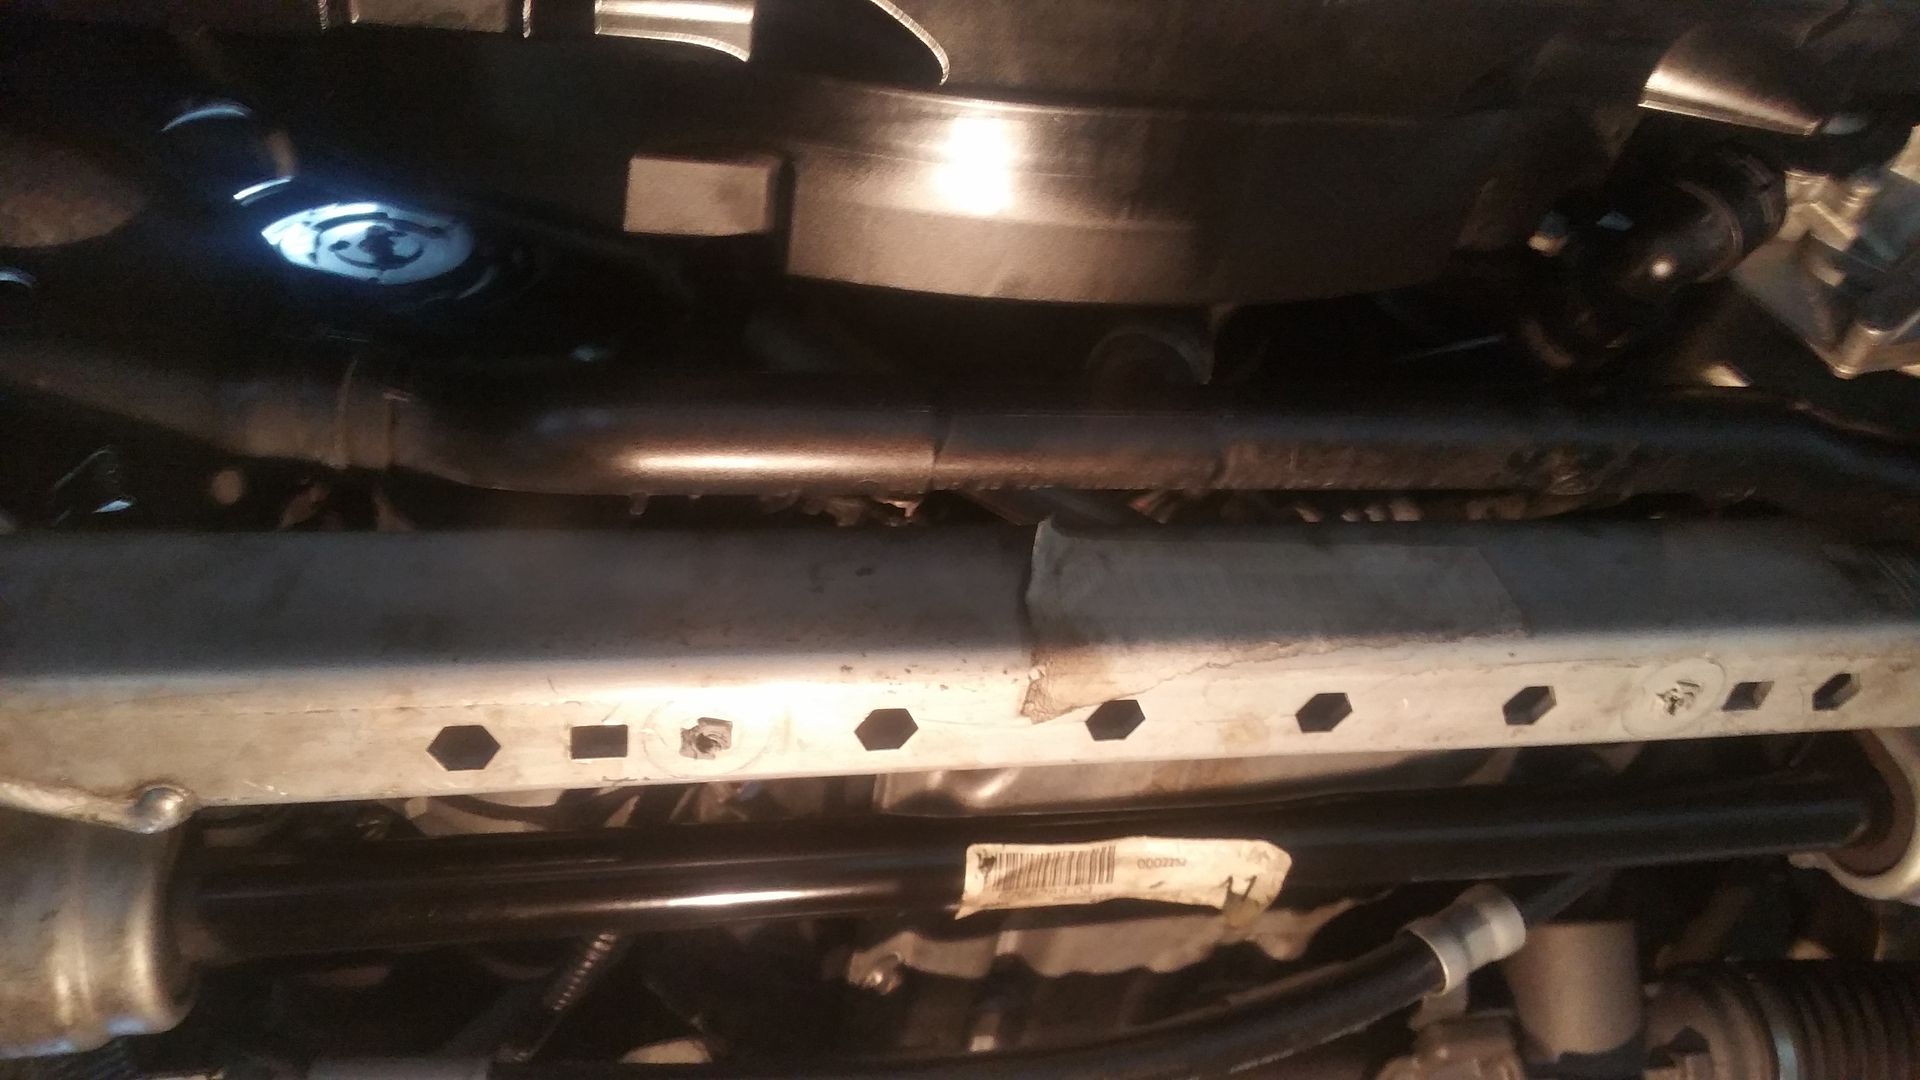 After that is all done, remove the front level sensor from the control arm and undo the electrical plug. You can then begin pulling the 6-18mm bolts that hold the subframe to the chassis. Using jack stands to support the subframe, remove the 6 bolts, and then slowly work down the subframe checking the entire time to make sure you didnt miss anything. 4 inches is the maximum working clearance and its all you really need, but you can go further as long as nothing is getting pulled down (power steering lines keep an eye on them here). 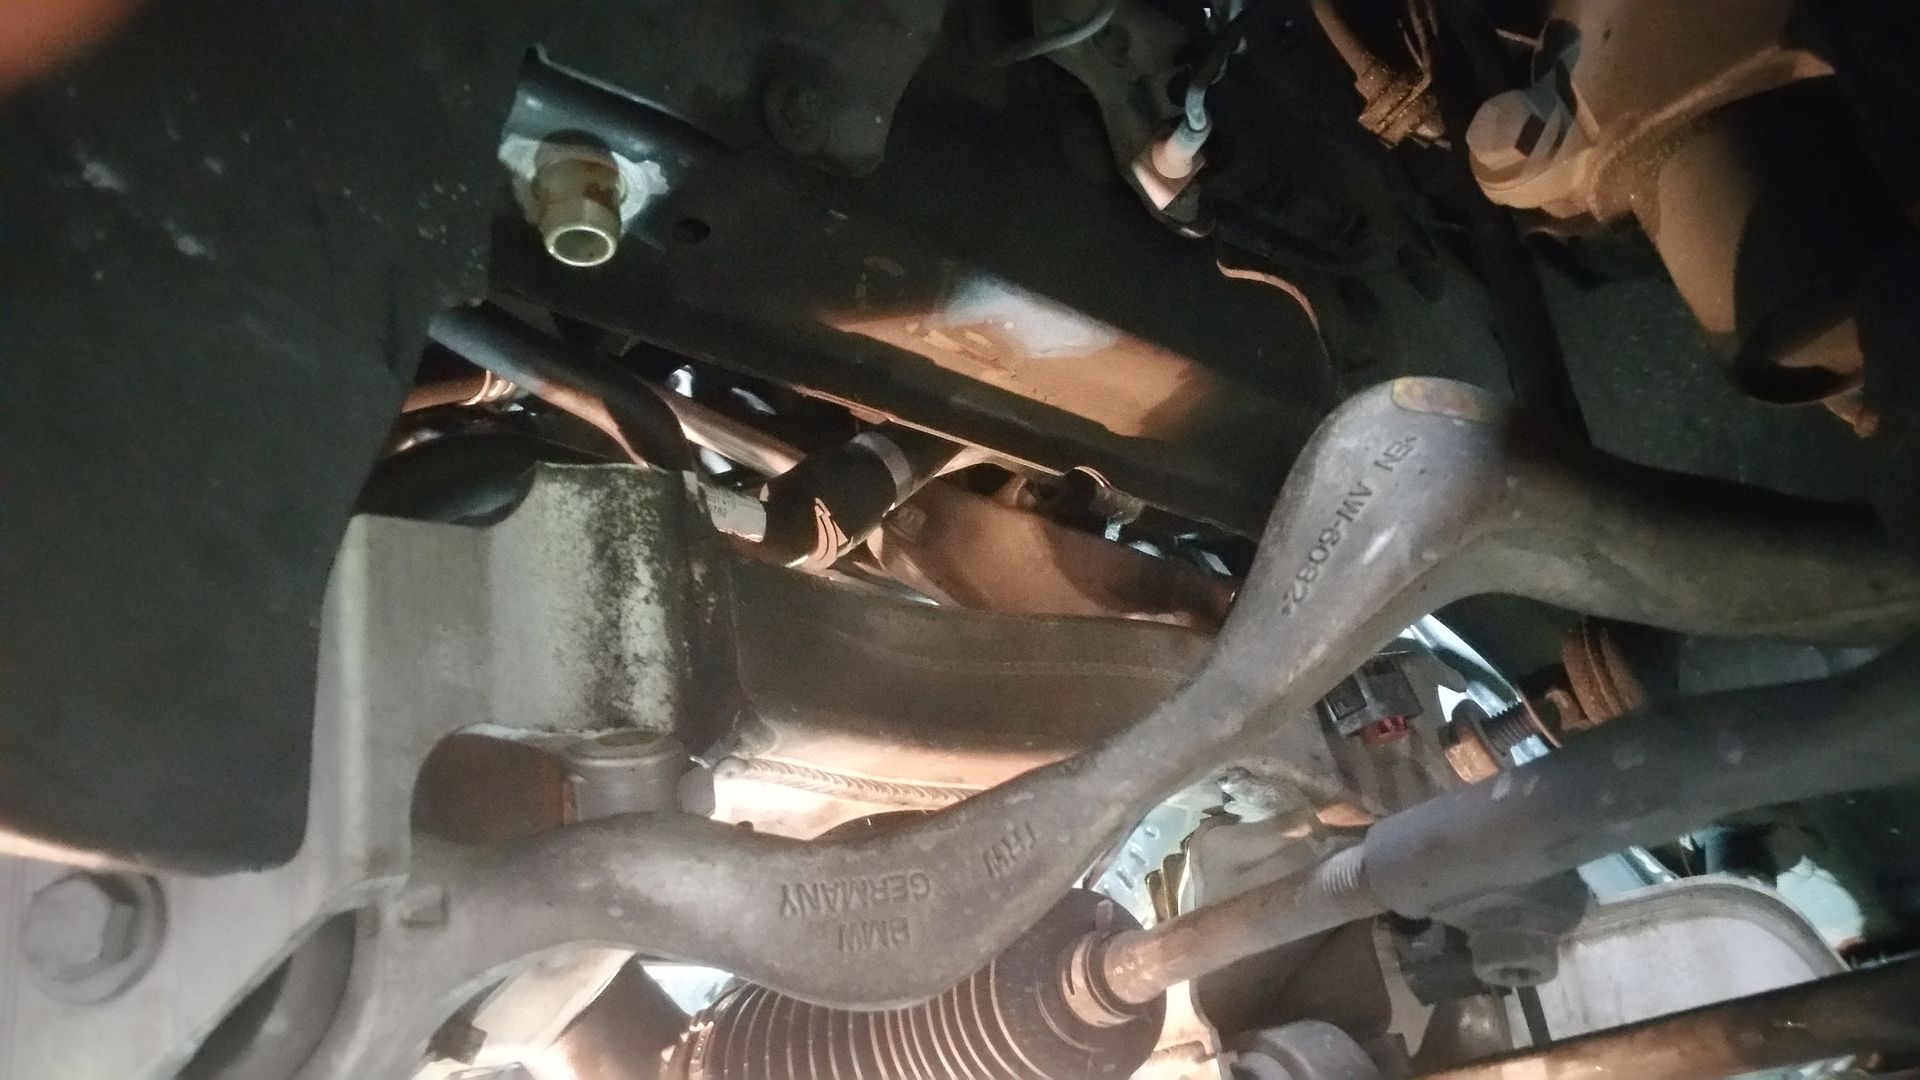 With that down and out of the way drain the oil and undo the transmission line brackets that attach to the side of the pan - drivers side - 2-10mm. You may also need to undo the ac line that is clipped to the side of the engine here as well. Here is where i break out a can of brake clean and compressed air and clean the entire split between the engine girdle, the oil pan gasket and the oil pan itself. we want to minimize dirt especially for going back together. Then you should be free to undo all the oil pan bolts and the 3 bolts that go horizontally from the transmission into the oil pan. Those bolts also hold the bracket for the 02 sensor clips we removed earlier. Getting the pan down on a N52 can be a trick, pop the front down past the AC line and then work the tranny cooler lines around the lip of the pan, and then move the pan forward slightly to clear the rear and then drop the rear out and down. The pan comes out towards the rear of the car. Clean the pan, all the mating surfaces with a new razor blade, and replace the seal on the oil level sensor. 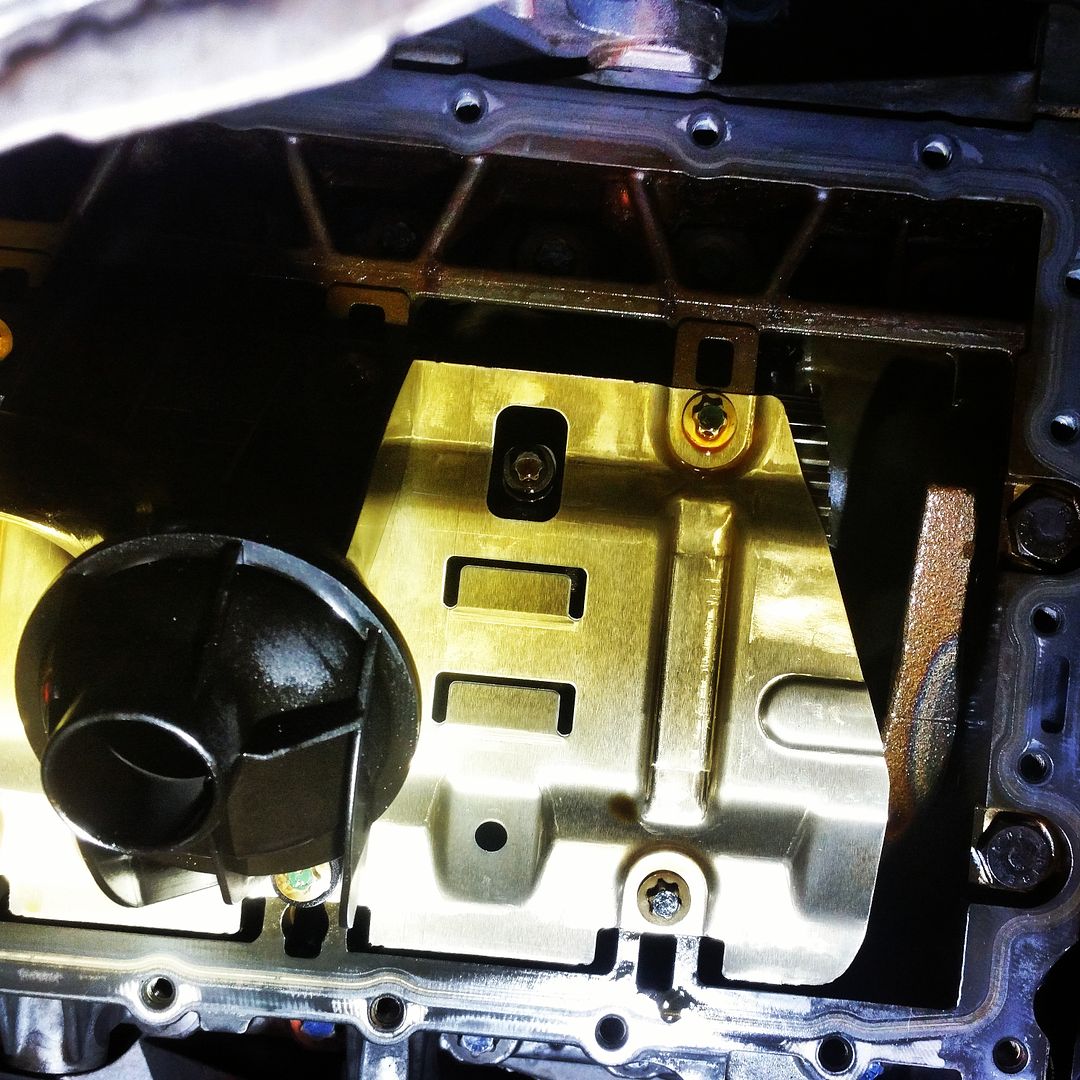 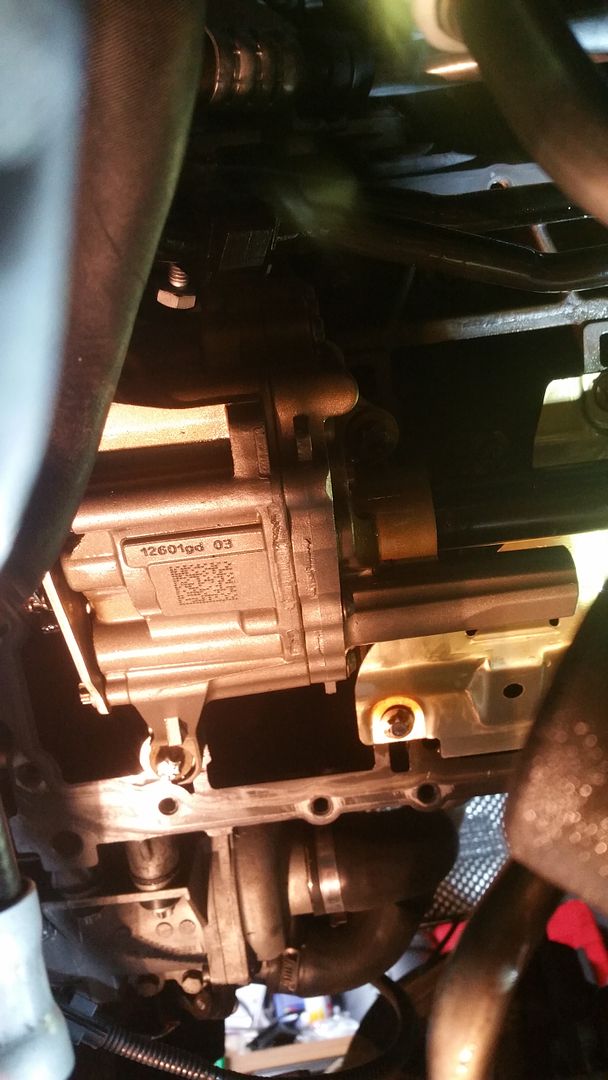 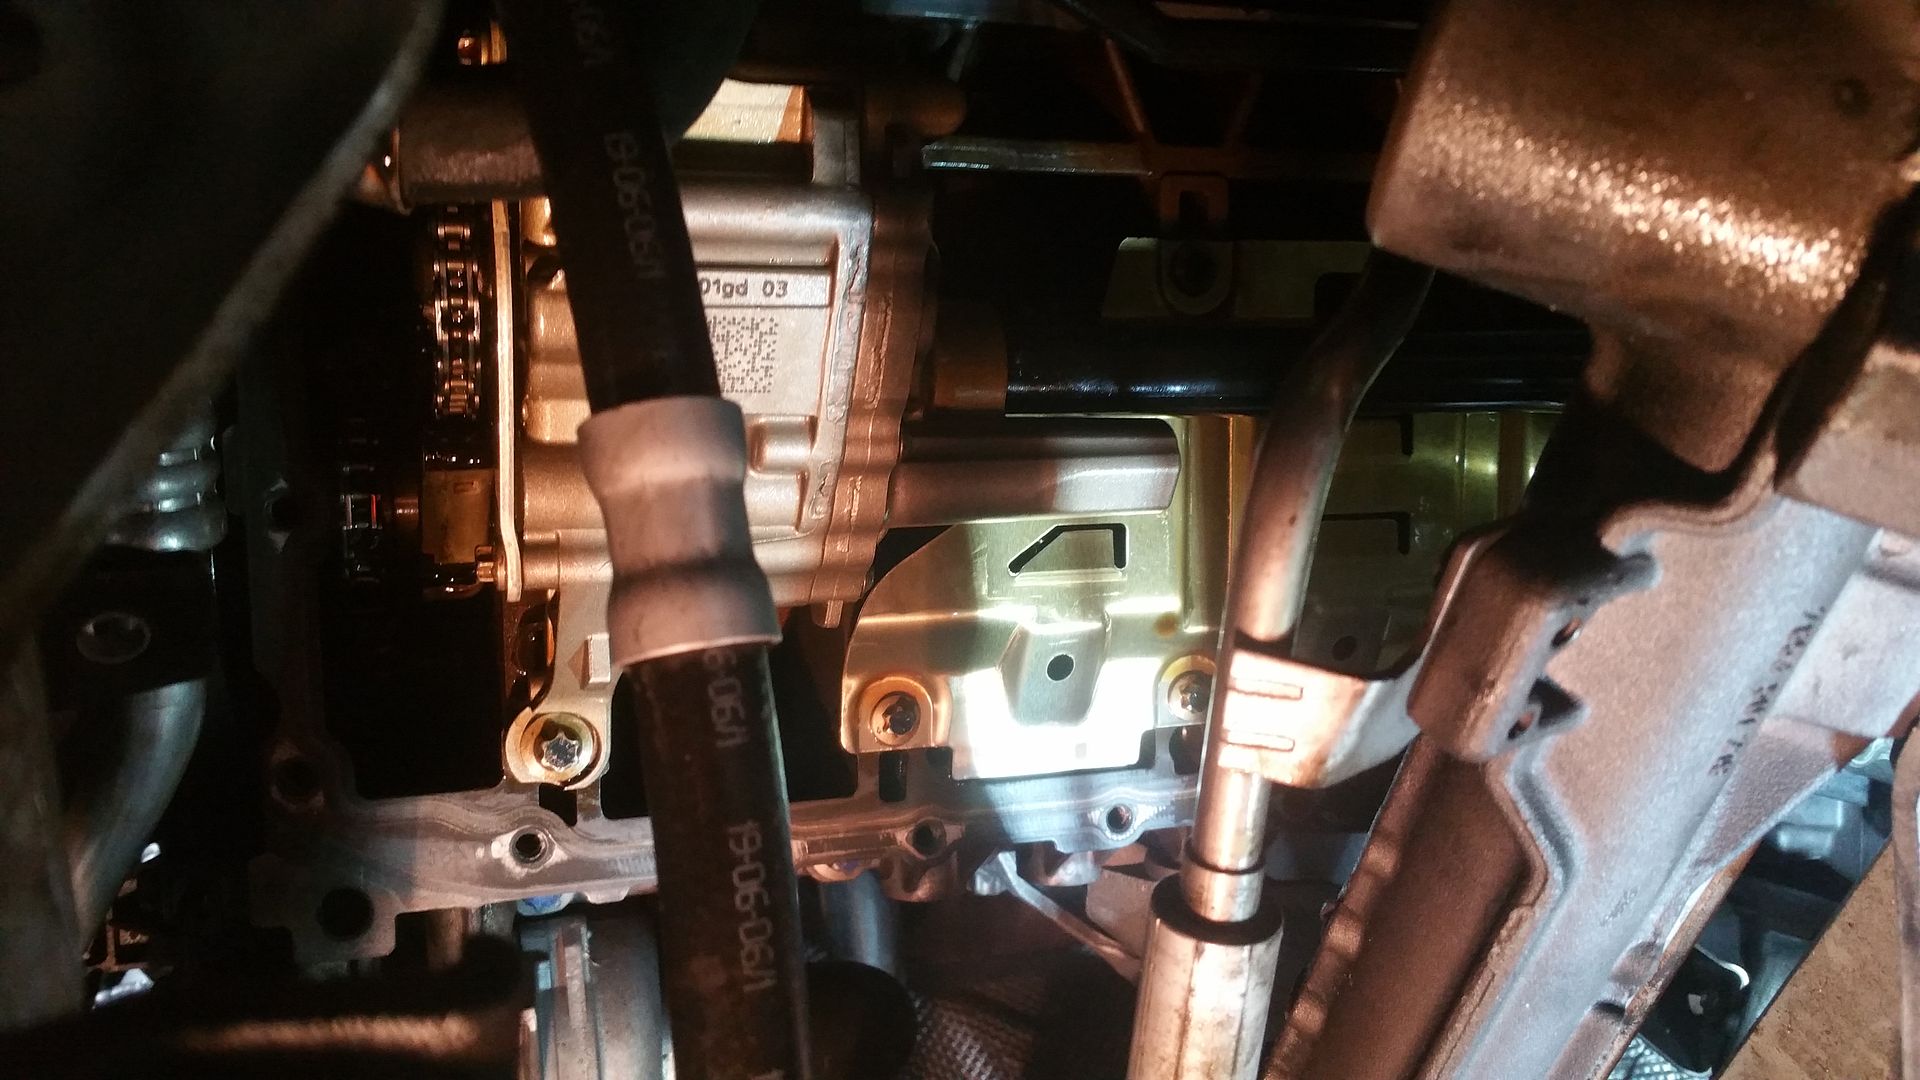 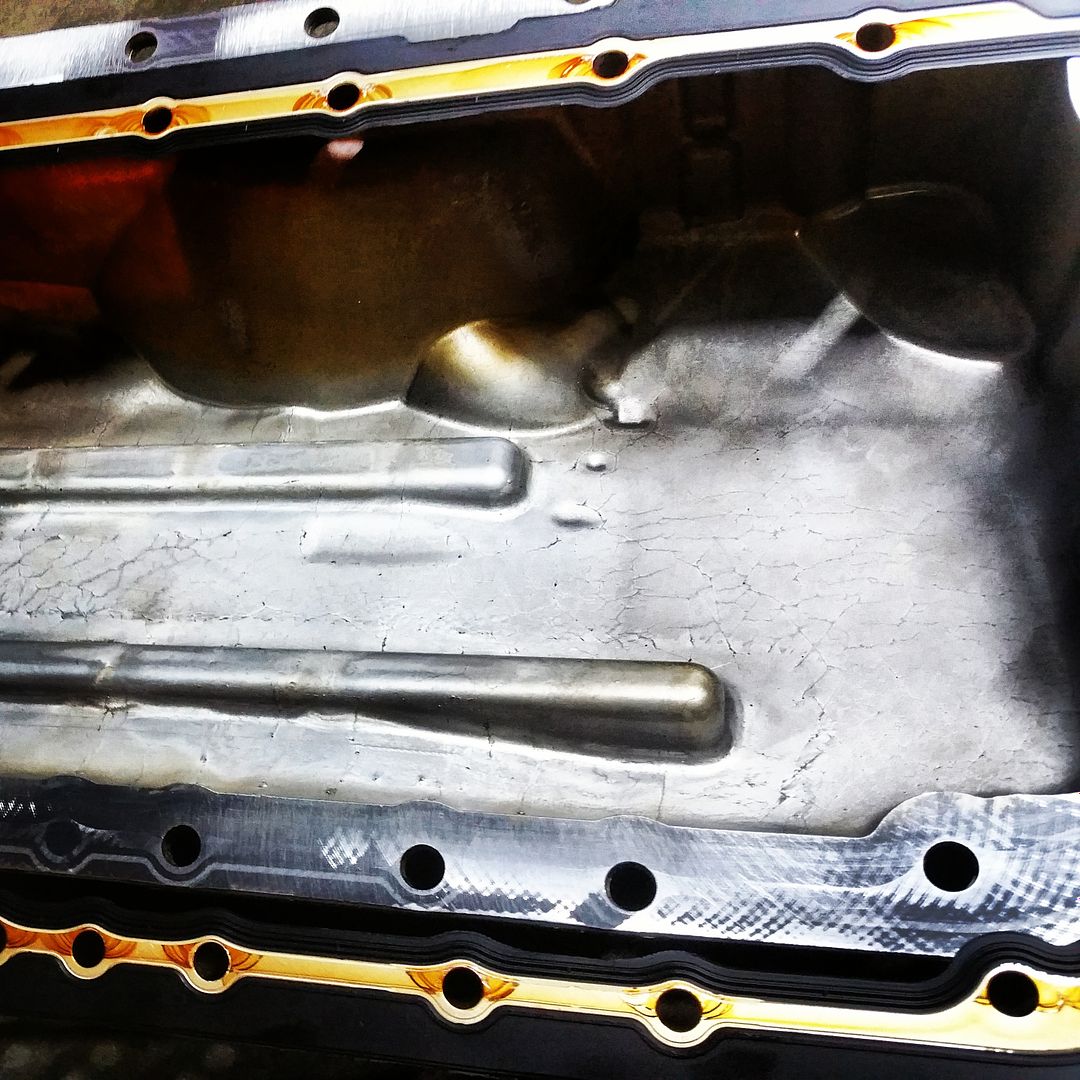 Double check everything is clean, all the surfaces are clean, and no dirt made its way onto the oil pump or timing chain. Get the new gasket in place and work the pan back into place. This is easier said than done especially on the N52, and a second pair of hands/eyes is helpful here. Install the new aluminum bolts and torque per specs. Refer to the manual here as there are some nuances here. Pretty much a reverse of reassembly here and make sure to double check everything fill with oil and youre all set. Some completed shots: 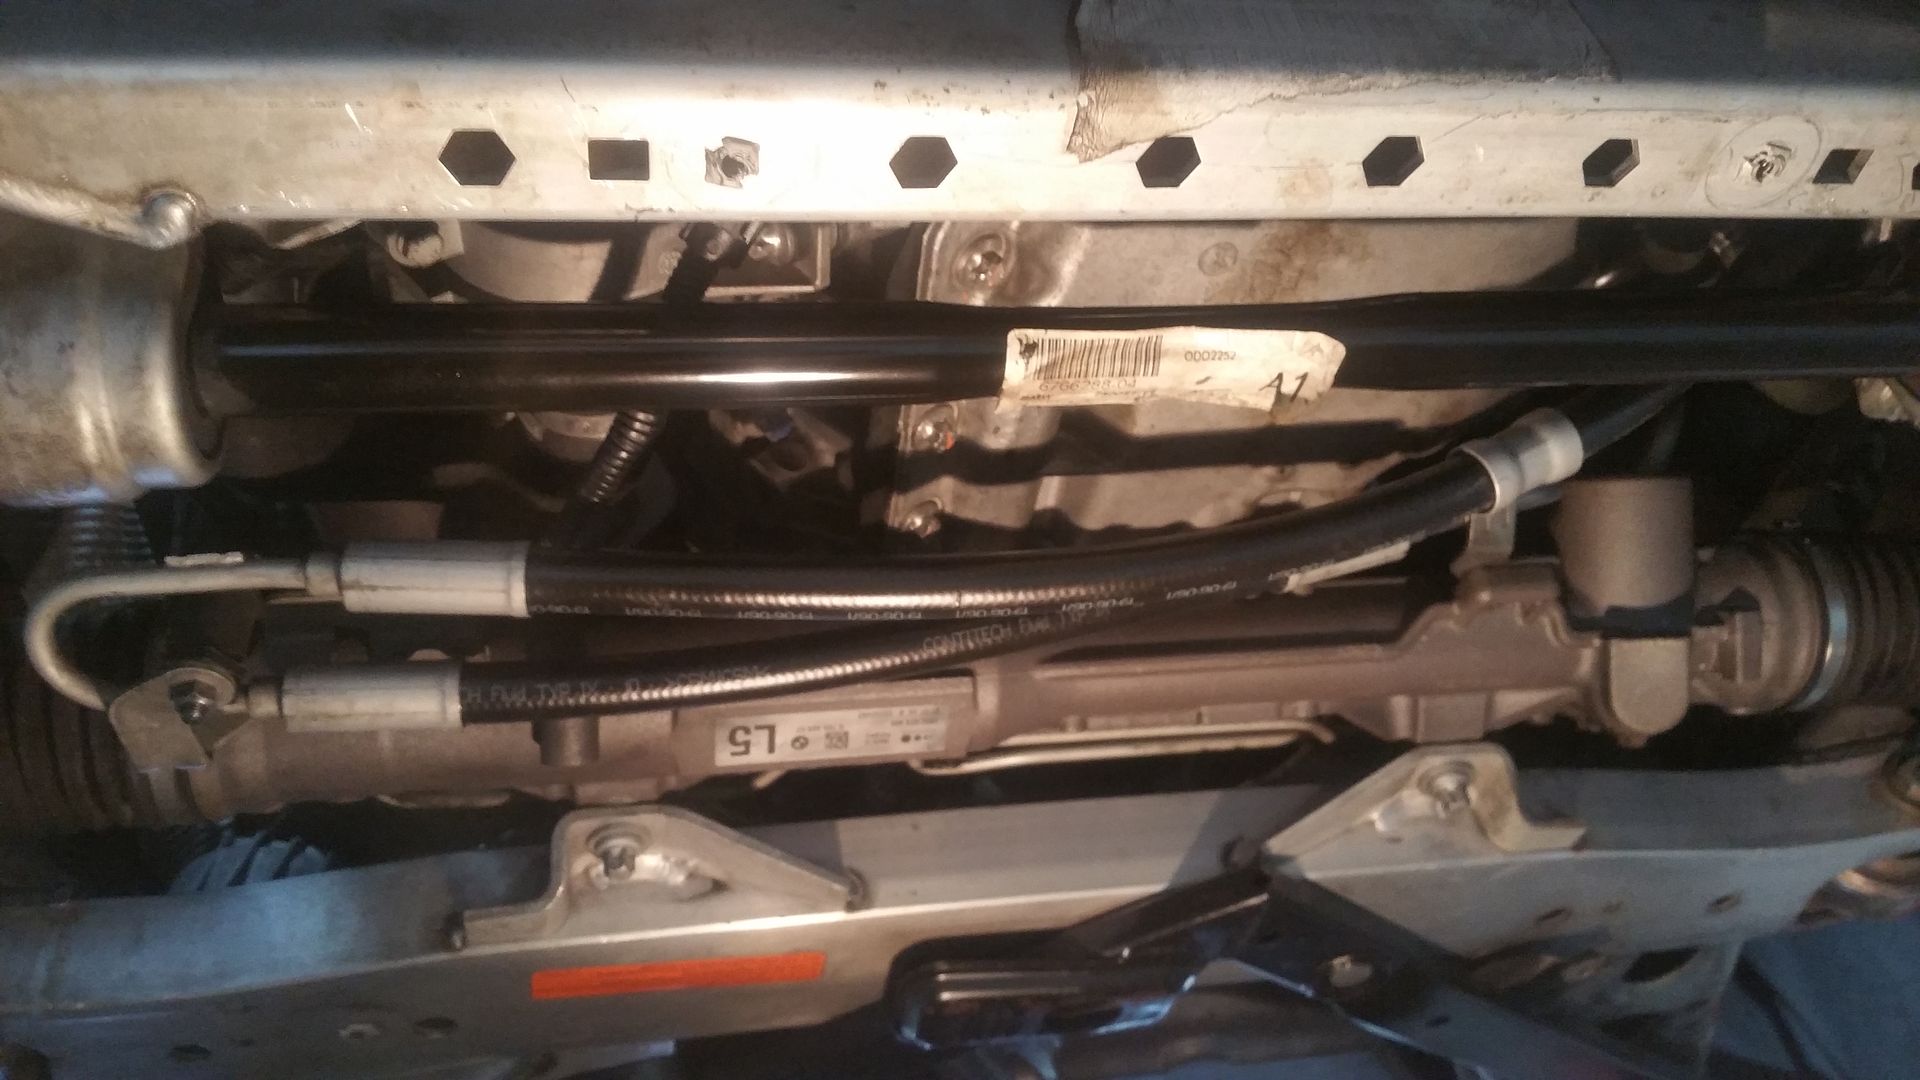 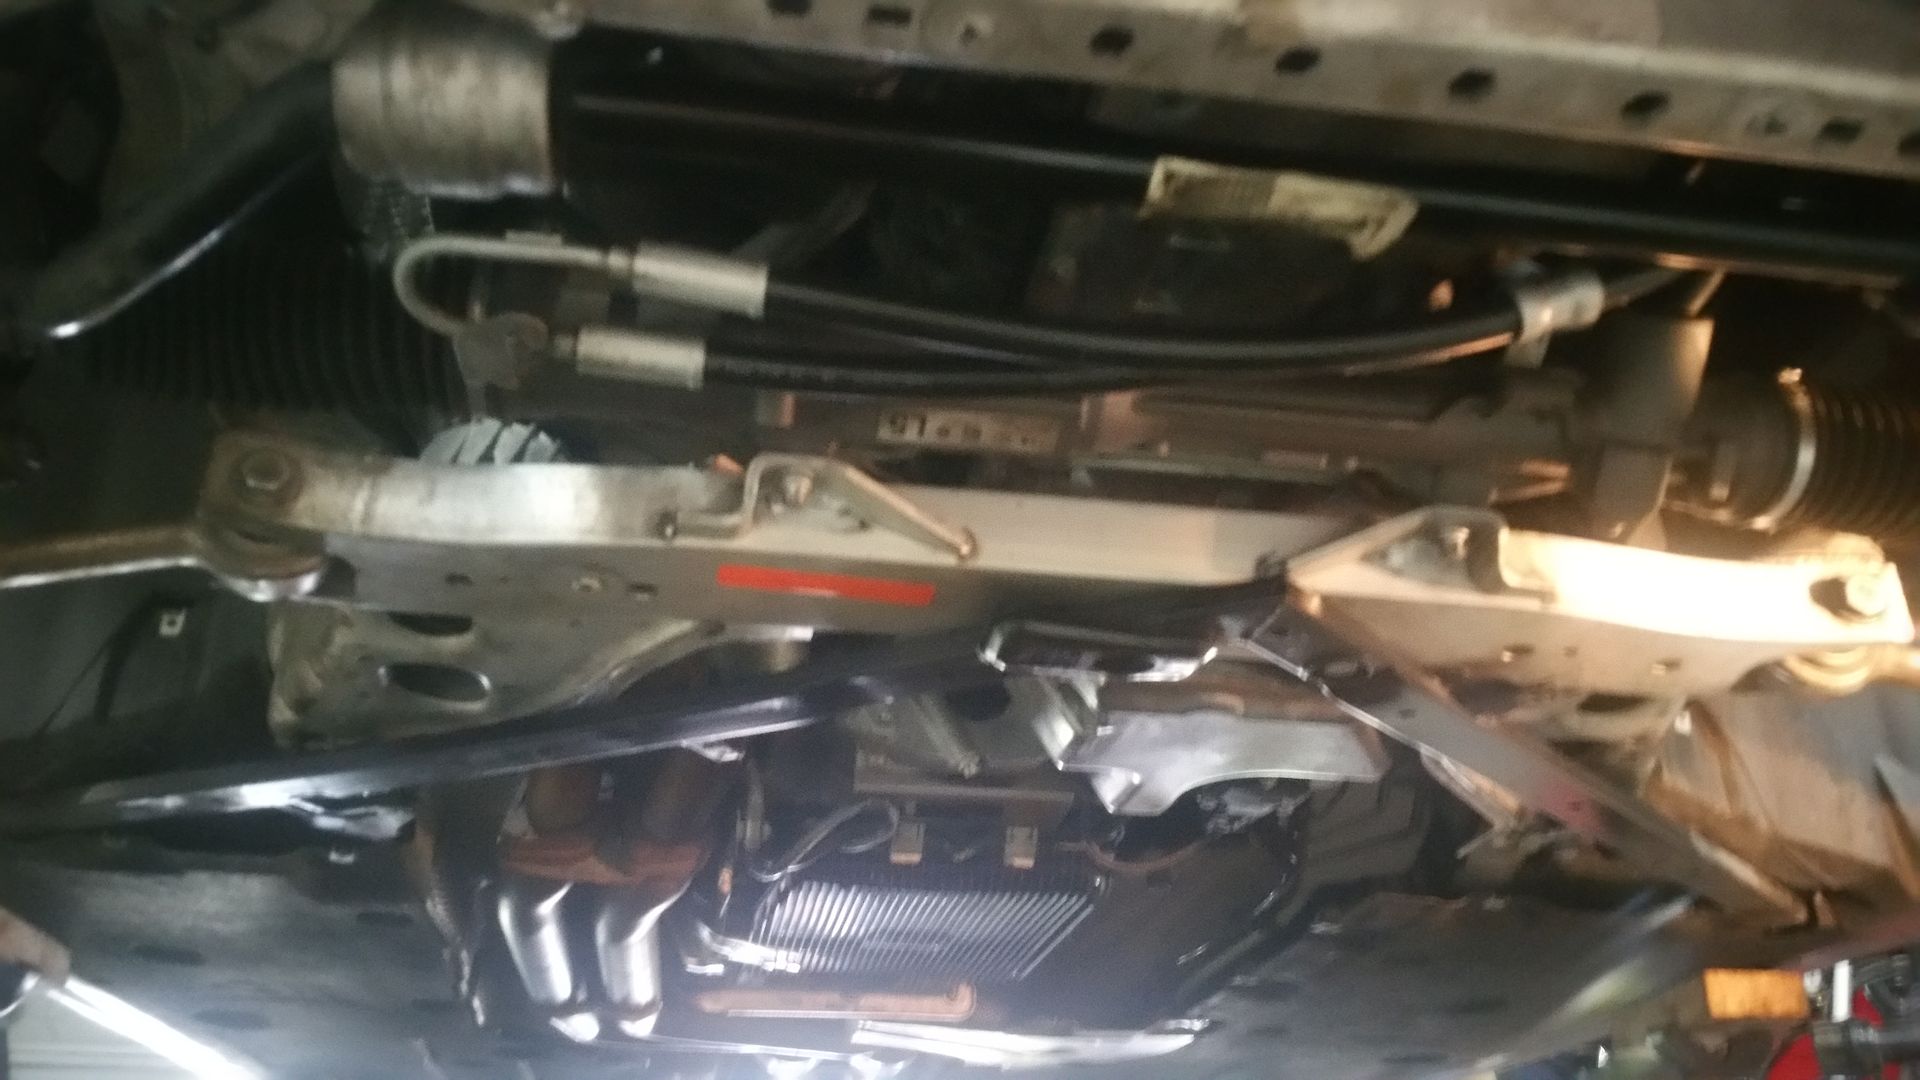 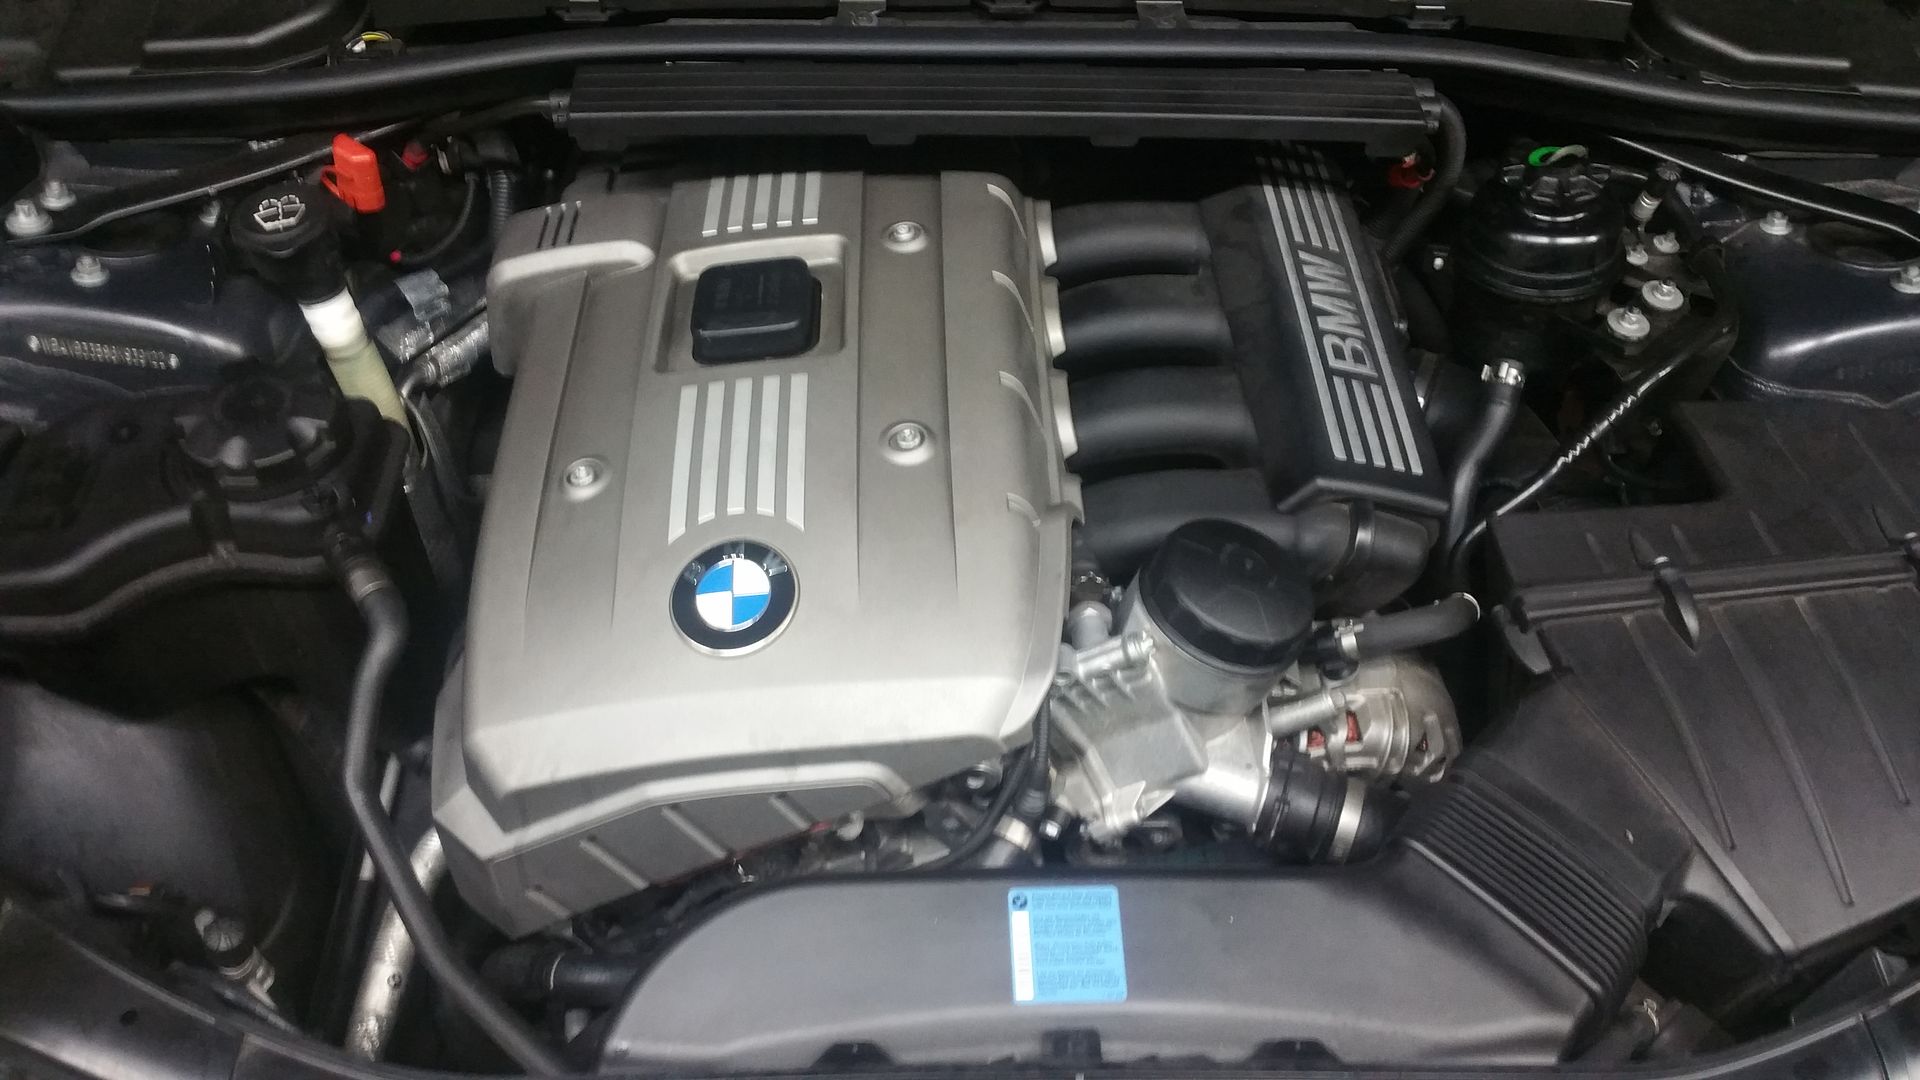 |
| 11-05-2015, 08:21 AM | #2 |
|
Maximus Decimus Meridius

1130
Rep 4,584
Posts |
Does that black triangular shaped brace actually hold anything up or is it just there for support..??
__________________
F30 335i Melbourne Red Metallic M-Sport Package |
|
Appreciate
0
|
 |
| Bookmarks |
|
|