

|
|
|
|
 |

|
 |
BMW Garage | BMW Meets | Register | Today's Posts | Search |
 |

|
BMW 3-Series (E90 E92) Forum
>
2008 E93 335i Audio Build
|
 |
| 01-30-2011, 05:43 PM | #1 |
|
First Lieutenant
 23
Rep 375
Posts |
2008 E93 335i Audio Build
I know I'm new here... but I'm not new to car audio, only to the world of Bimmer. Happy to be hear and I hope to be able to contribute and help others here.
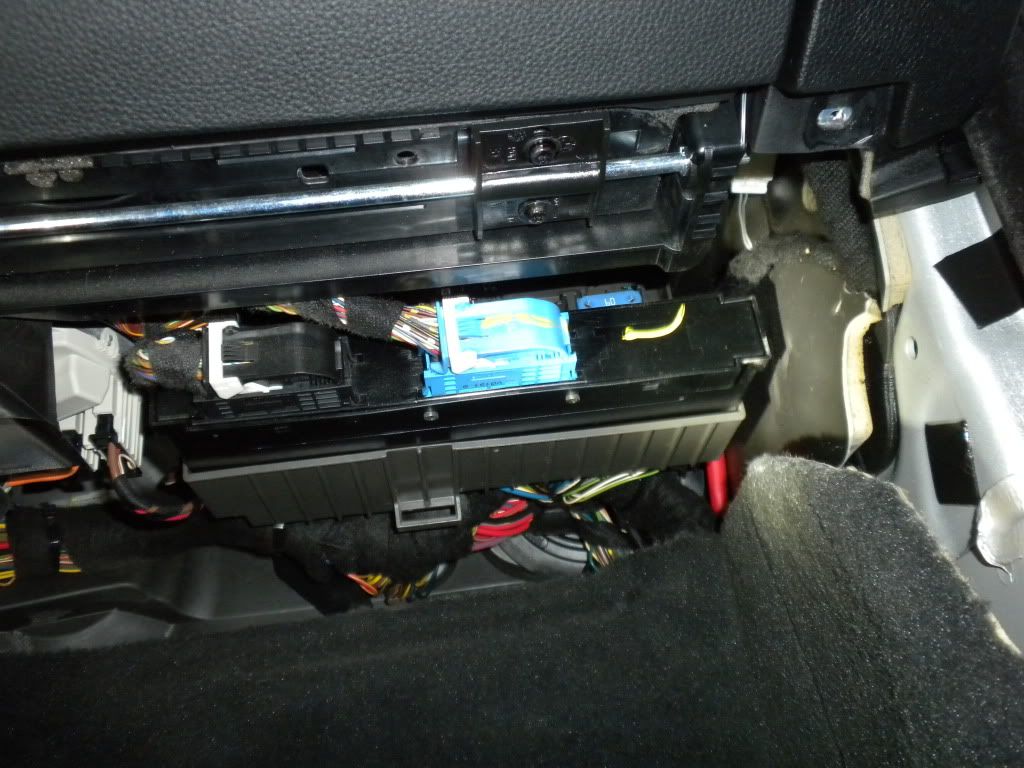
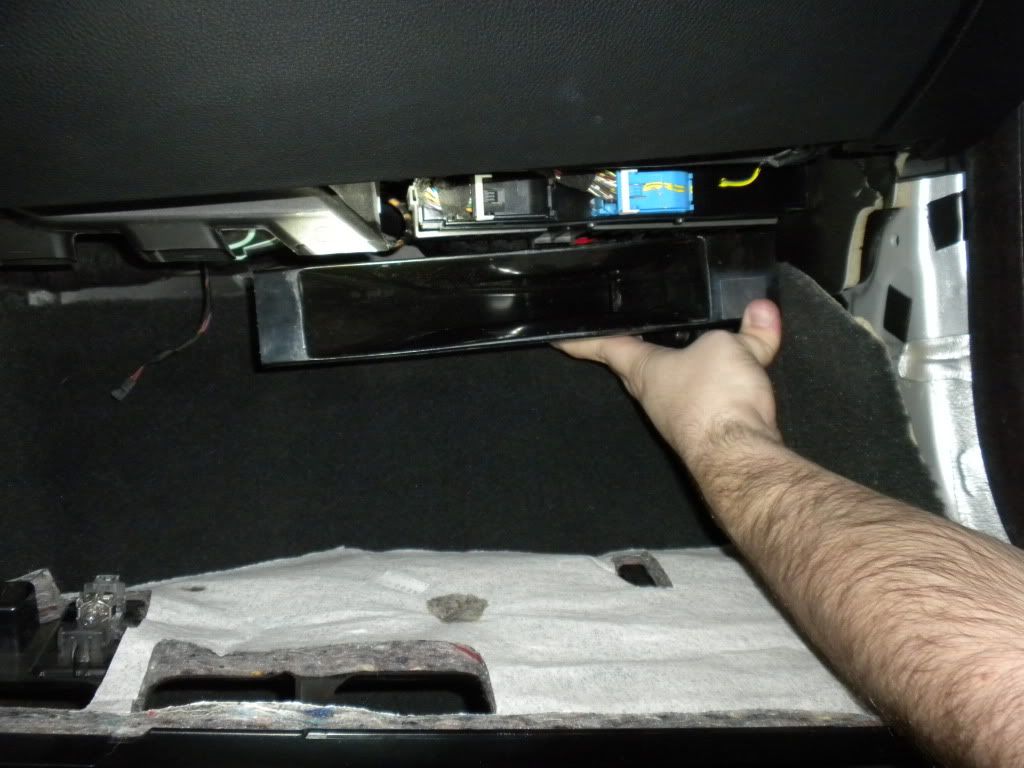
I recently picked up a 2008 E93 335i, and absolutely love it. Even the Logic 7 system was good quality for a factory set up, probably the best I've heard this side of aftermarket systems. With only 3 weeks of Bimmer ownership I have planned a build and started tearing into the car... I'm cross posting from DIYMA.com... hope that doesn't bother anyone. If you have questions, feel free to ask. __________________________________________________ ______________ Well, after some careful consideration and discussions with my better half I have come up with a good system plan and am ready to start digging in. Initially the goal was to increase the SQ marginally and continue to have great staging by utilizing the stock speaker locations and a MS8 with upgraded speakers. As time went on in the last few weeks, I considered this more and more of a compromise to satisfy my wife (keep it all stock) and have a better quality experience with my audio. However, it was a compromise on my new found love of Horns and Pro Audio, and this was something that continually nagged me. After some discussions with a few key people on this board (you know who you are and thank you!), I knew that I couldnt turn my back on HLCDs now and go back to conventional drivers. I would be unsatisfied with the results, want to tear it all out and start all over again. I decided to move forward but to be mindful of opportunities to keep a stock looking appearance. This is normally difficult as the need for larger higher efficiency drivers requires larger drivers in general. I dont think my wife would go for 10s in the kickpanels, so this install and my wifes restrictions have put some extreme challenges to overcome. The following is the start of a plan that I think will make both parties happy, and have some awesome tunes with the top down. System Goals: -Stock Appearance -Minimal to no cutting of interior -Clarity at high volumes, decent SQ all around and great staging -Maintain all useable space in the trunk Source: Stock IDrive HU with Nav, Bluetooth, CD,IPOD, etc Preamp: MoBridge DA1000 (converts BMWs MOST signal into an optical digital output) Processor: Alpine H700 Combo (comes with the RUX Controller) Amps: 2 Vibe Audio Litebox 4 / 2 Vibe Audio Litebox 1 Highs: B&C DE500 Compression Drivers mated to ID Mini Bodies Mids: ID XS65 Midbass: ID XS65 (3 per side) Subs: 2 Stereo Integrity BM MKIII As you can see, the above plan presents a tough challenge in and of itself. How do you fit so much in such a small car? I did some digging around today in the car, and started tearing it apart to give me an idea of where everything is going to go. 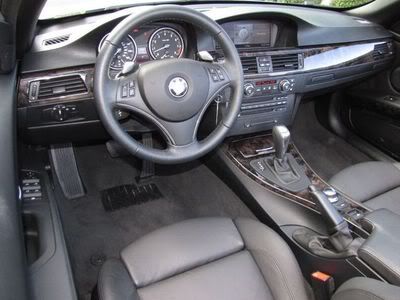 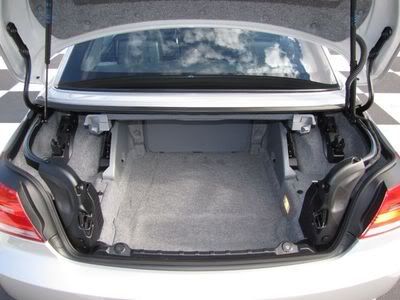 It took me about 20 minutes to get to the battery, and all the panels you see in the trunk are necessary to remove in order to get to it 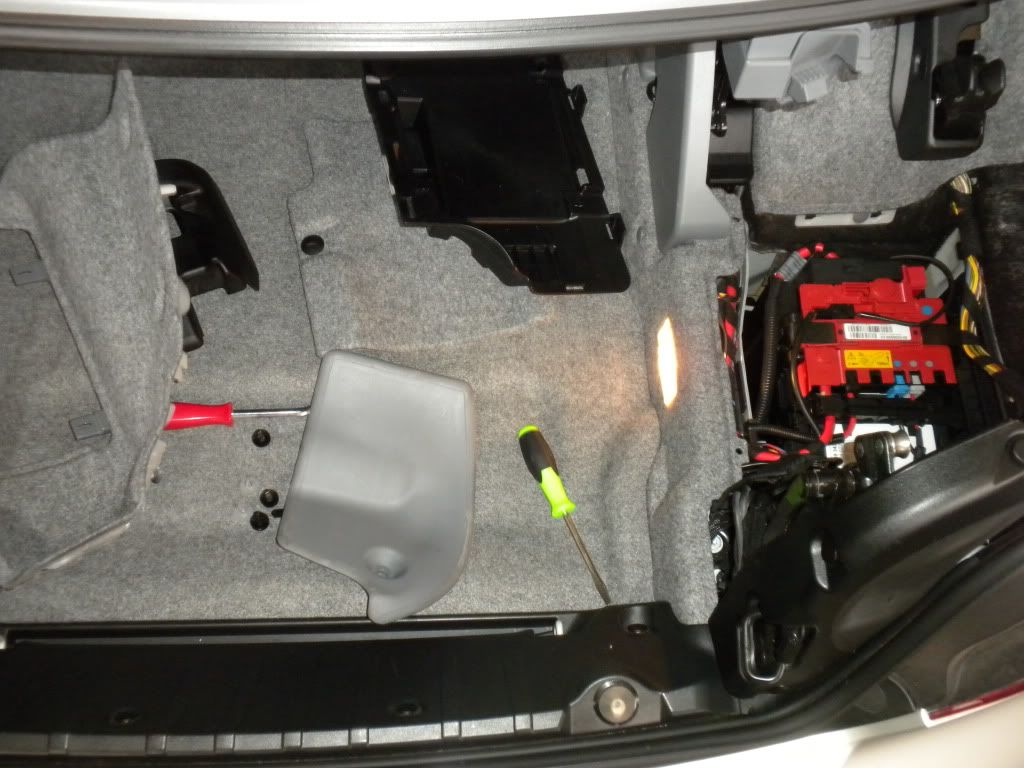 Likewise, another 20 minutes later on the other side and we see what we have for the stock amp location: 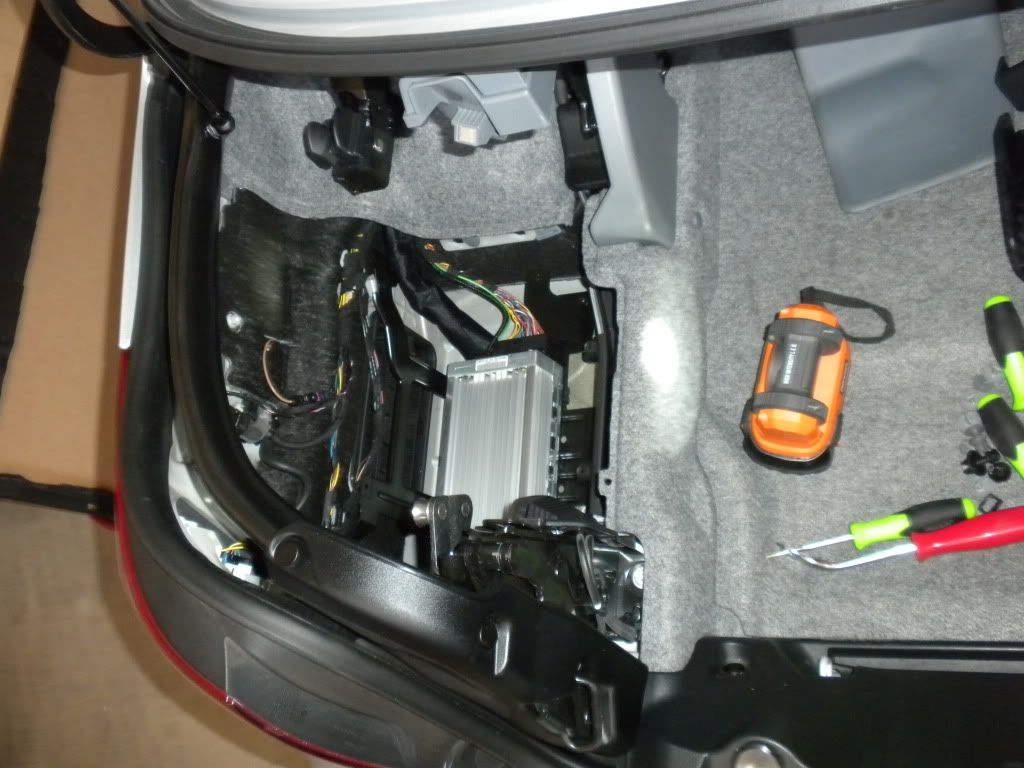 With the amp removed: 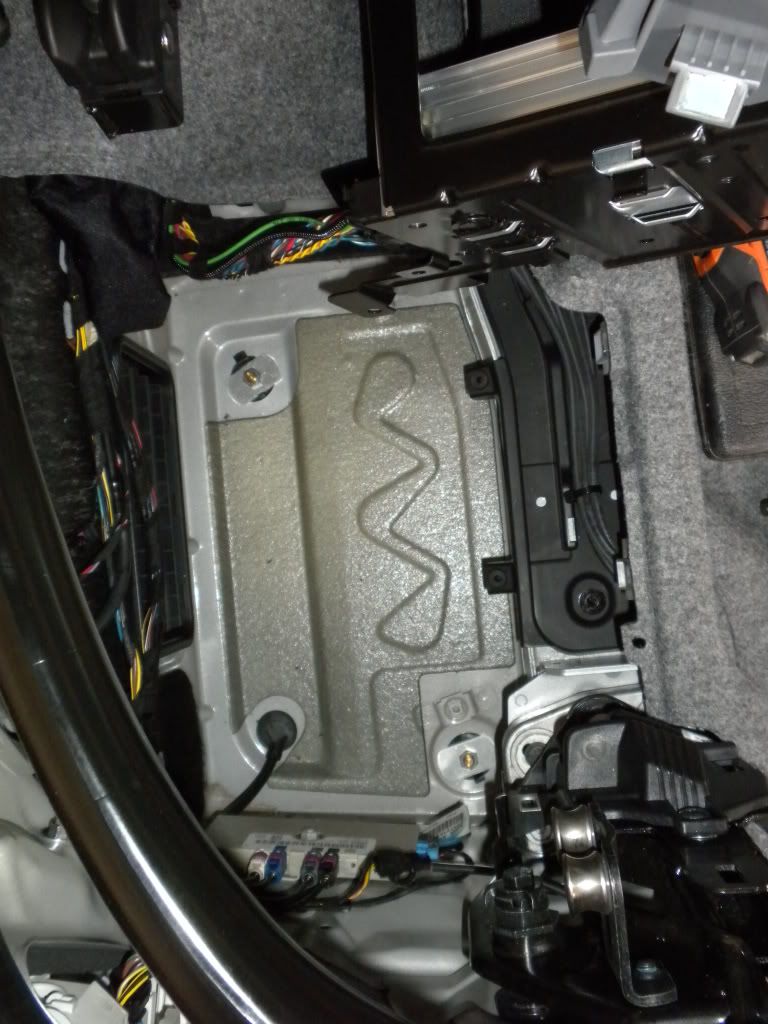 Looks like Ill be able to get all my amps in here under the stock panels  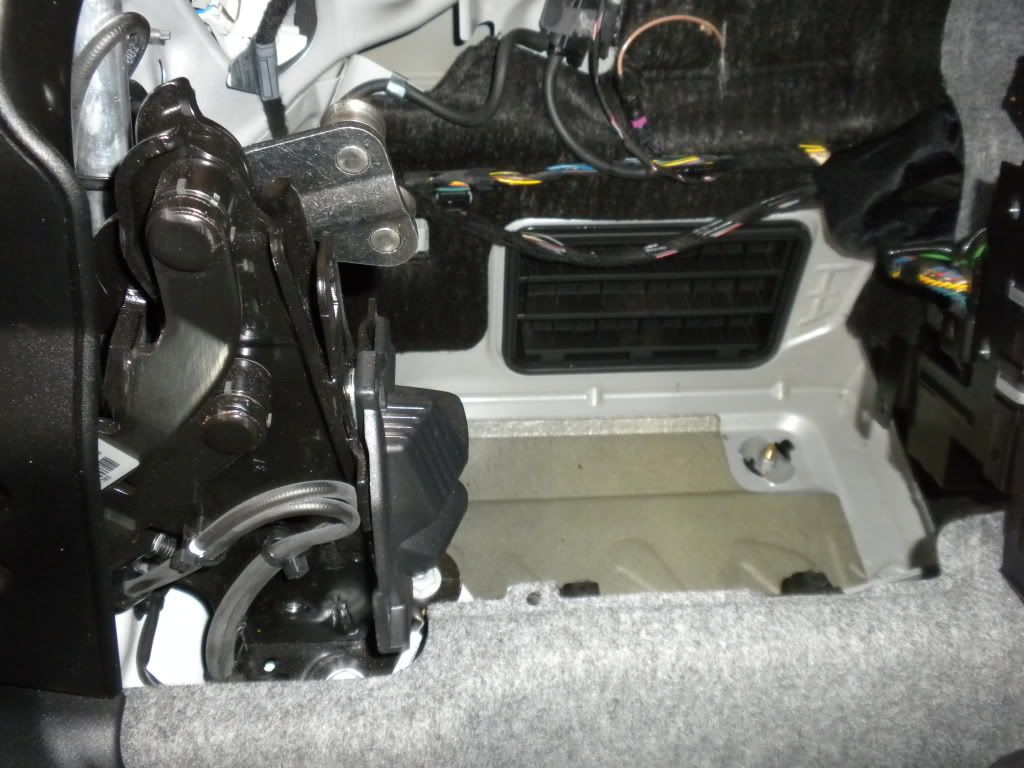 There is no spare tire in these cars they make us put on runflats that will be changing later down the line when I put on some rims Under the main floor this is the limited space I have to work with 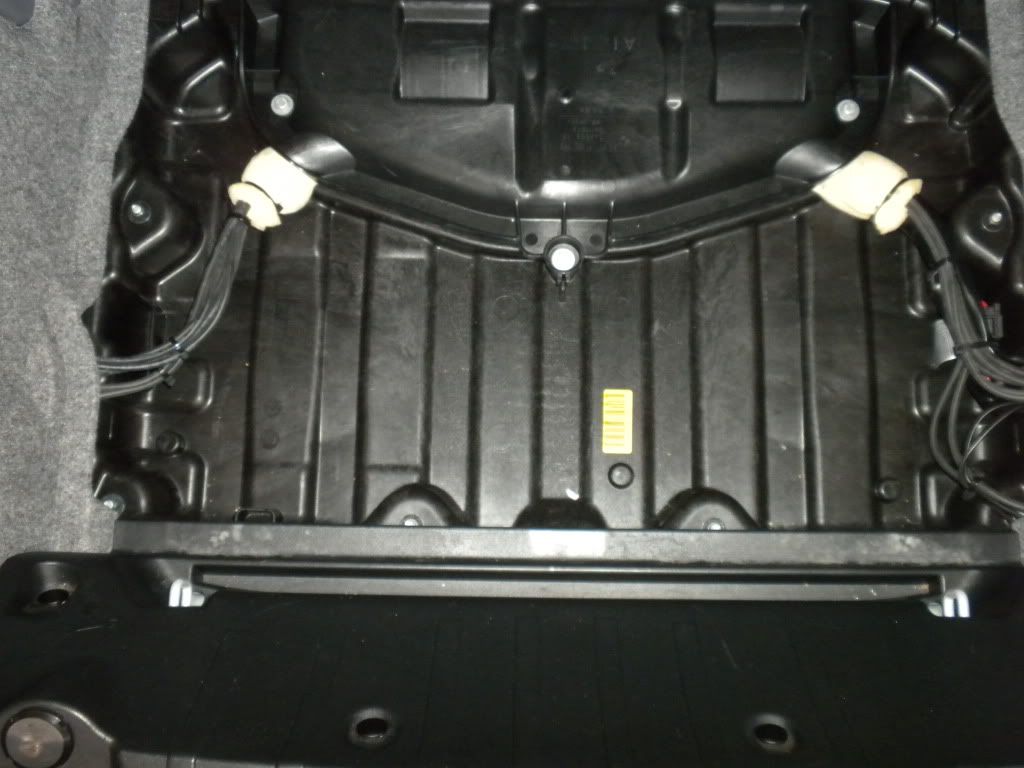 |
| 01-30-2011, 05:44 PM | #2 |
|
First Lieutenant
23
Rep 375
Posts |
Ill be using the skipass for the subs
sealing it off so there is no rattling in the trunk but everything will be firing straight through to the cabin. What I build here needs to be removable for our trips to the mountains for snowboarding
Stock skipass with the door: After removal of the plastics: 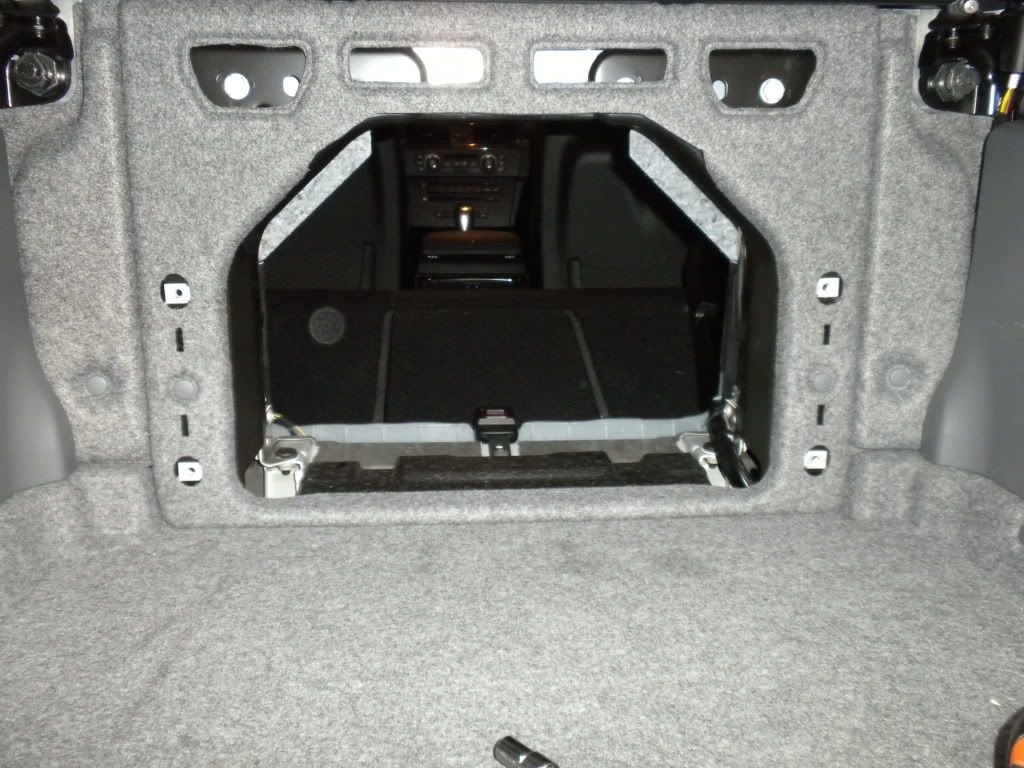 And a shoddy mock up: 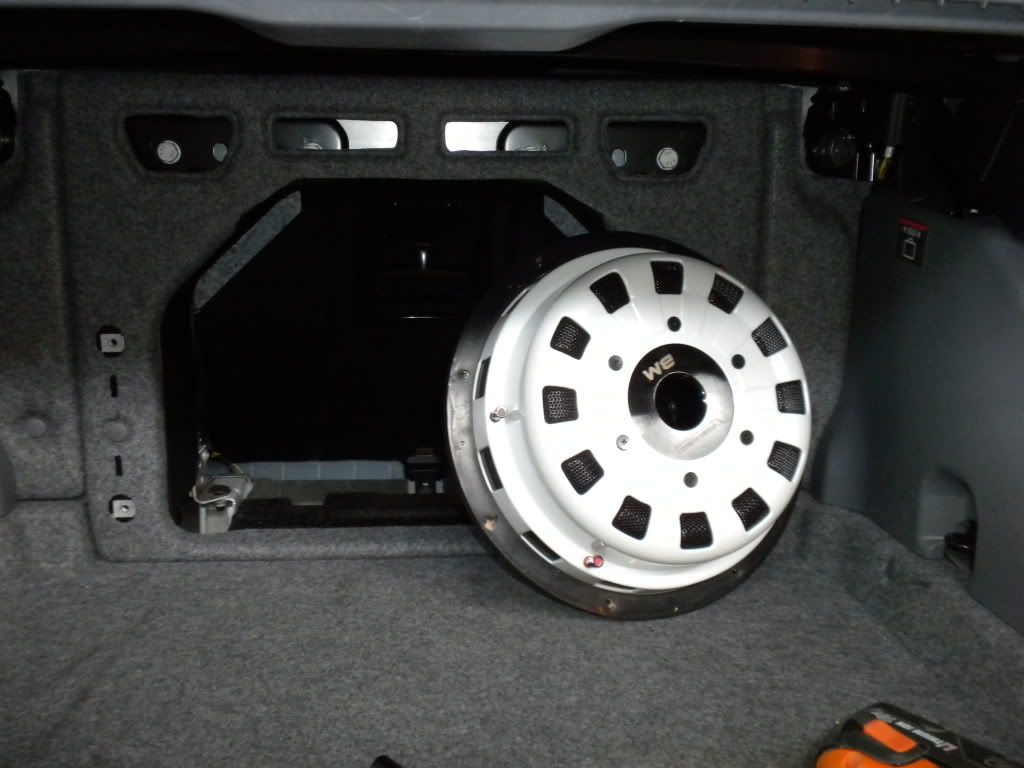 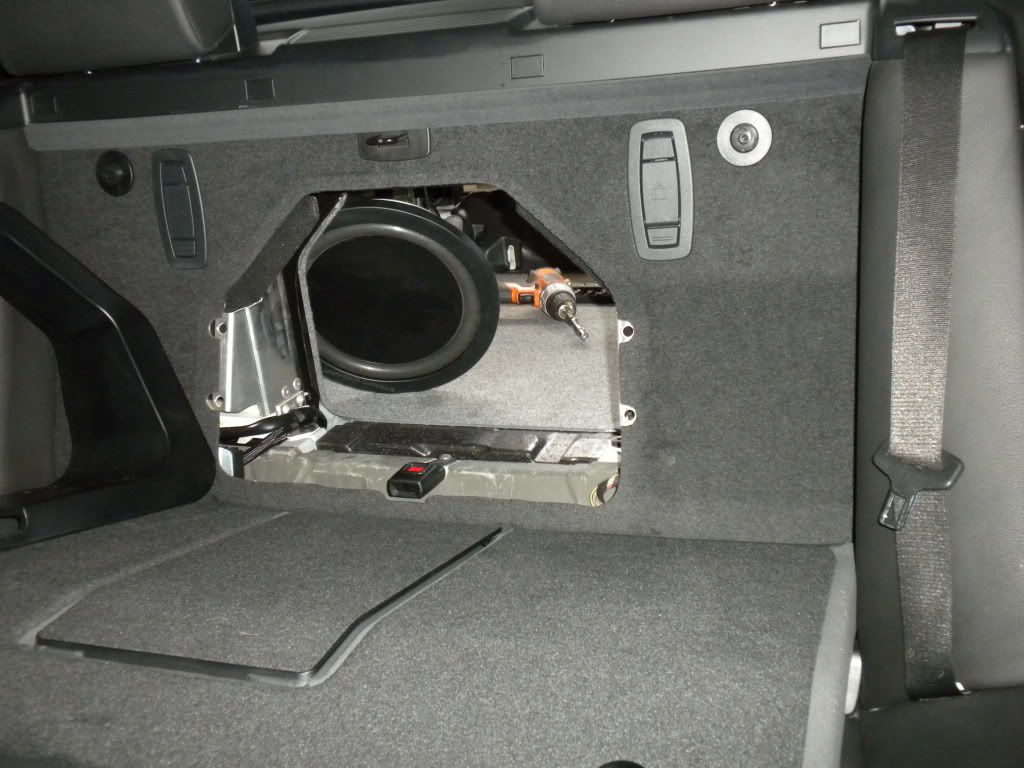 I took the back door of the skipass off, this way it doesnt get in the way when I build my box and secure it with the stock locations: 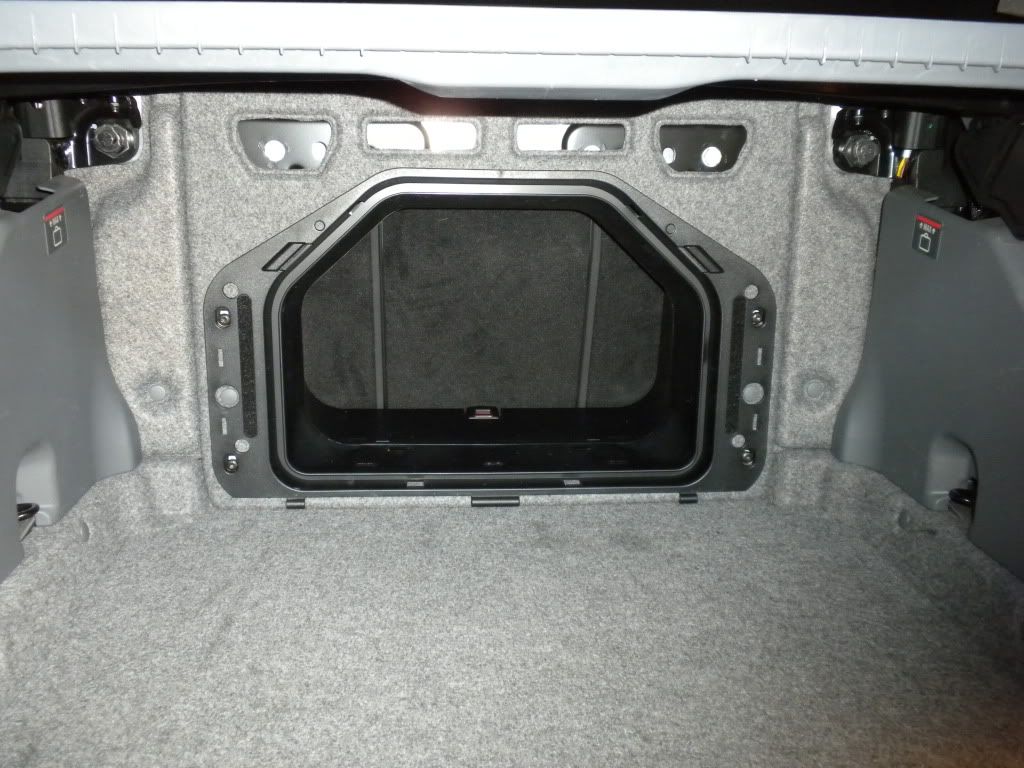 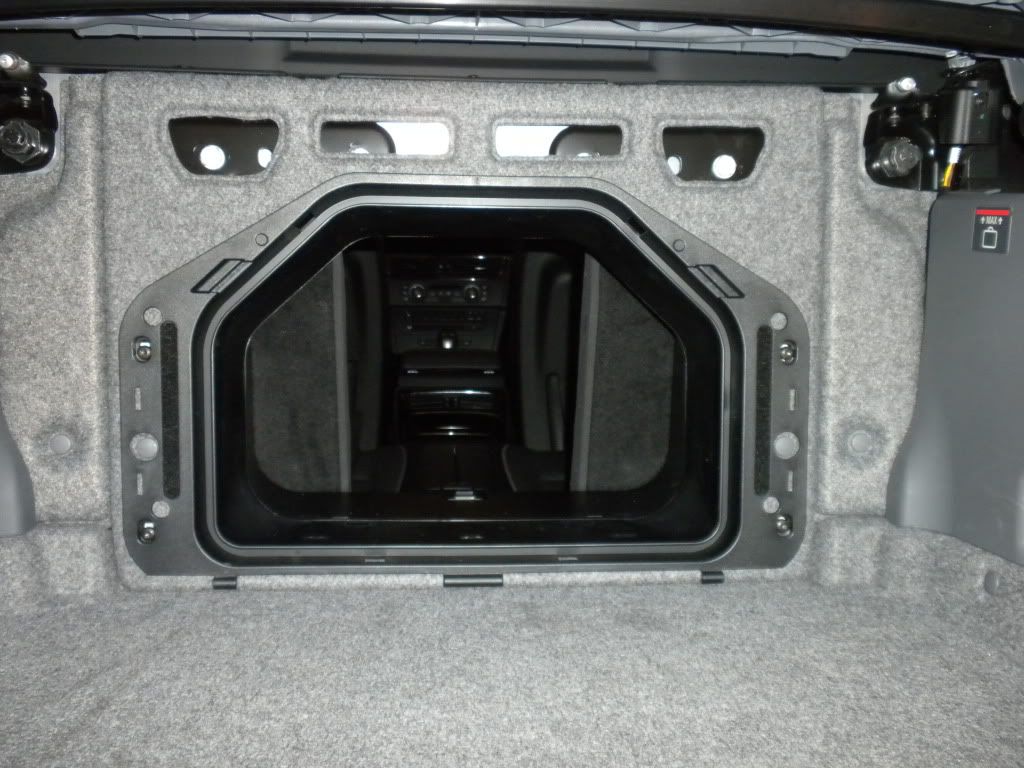 Having the top down provides another level of difficulty in building the box:  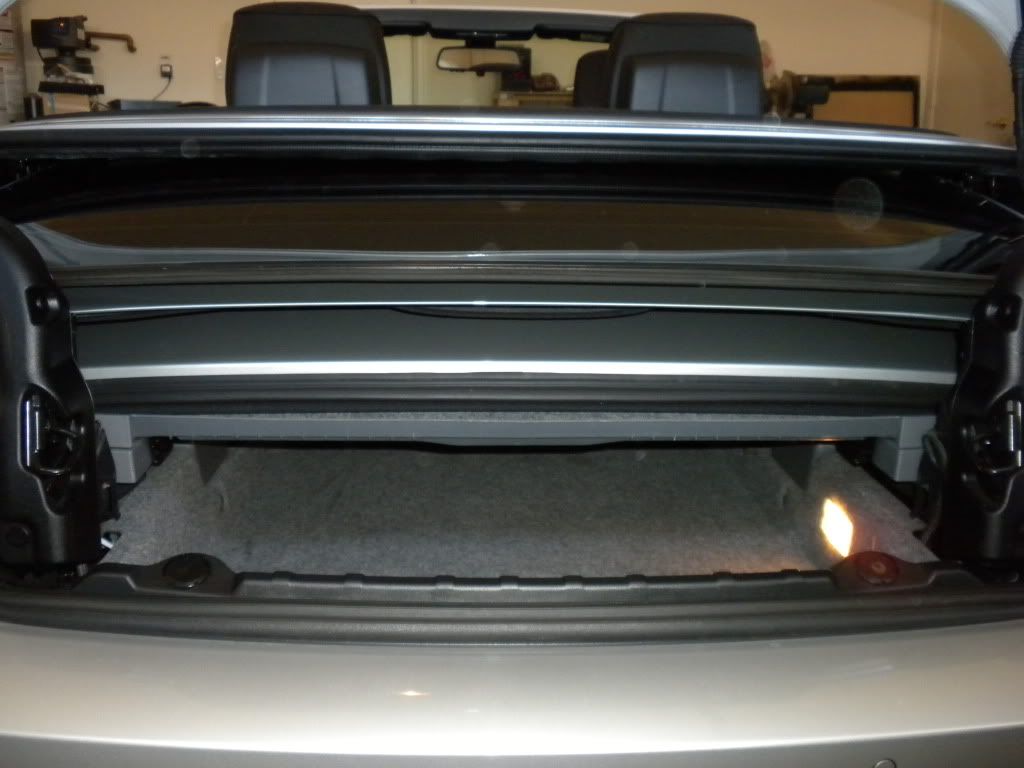 |
|
Appreciate
0
|
| 01-30-2011, 05:44 PM | #3 |
|
First Lieutenant
23
Rep 375
Posts |
Horn location up front being impeded by the main ECU:
   Possible location for the midrange: (right front kick panel, venting to the outside) 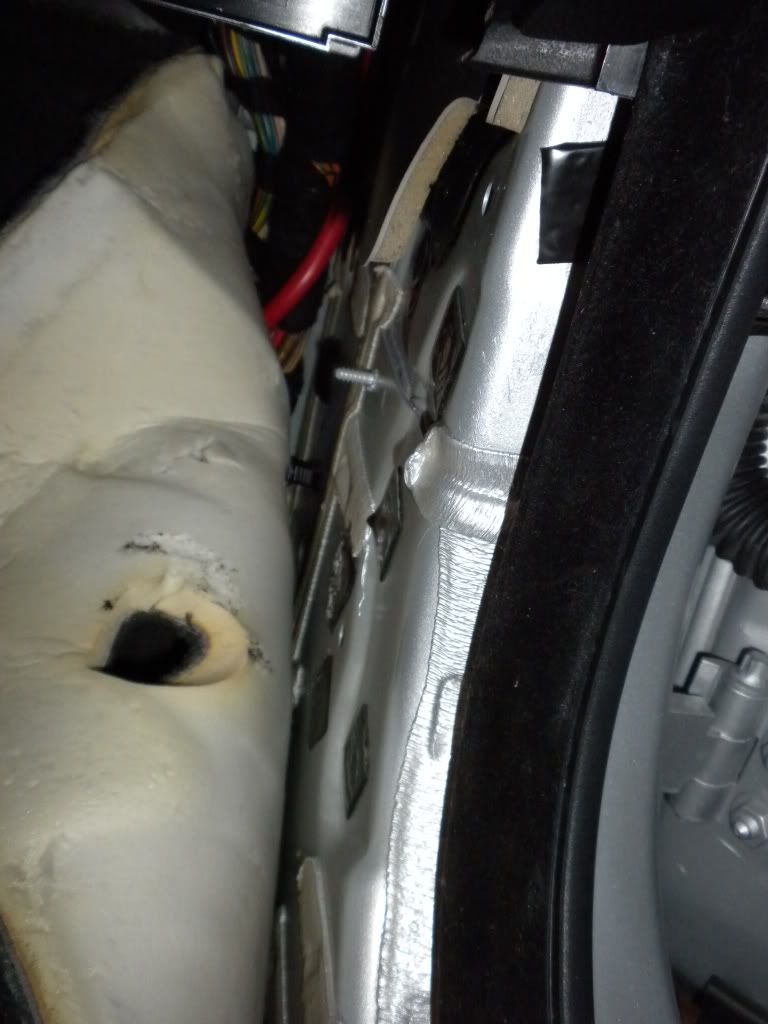 Location for the midbasses: 3 per door  The RUX controller will get a special home in the armrest: 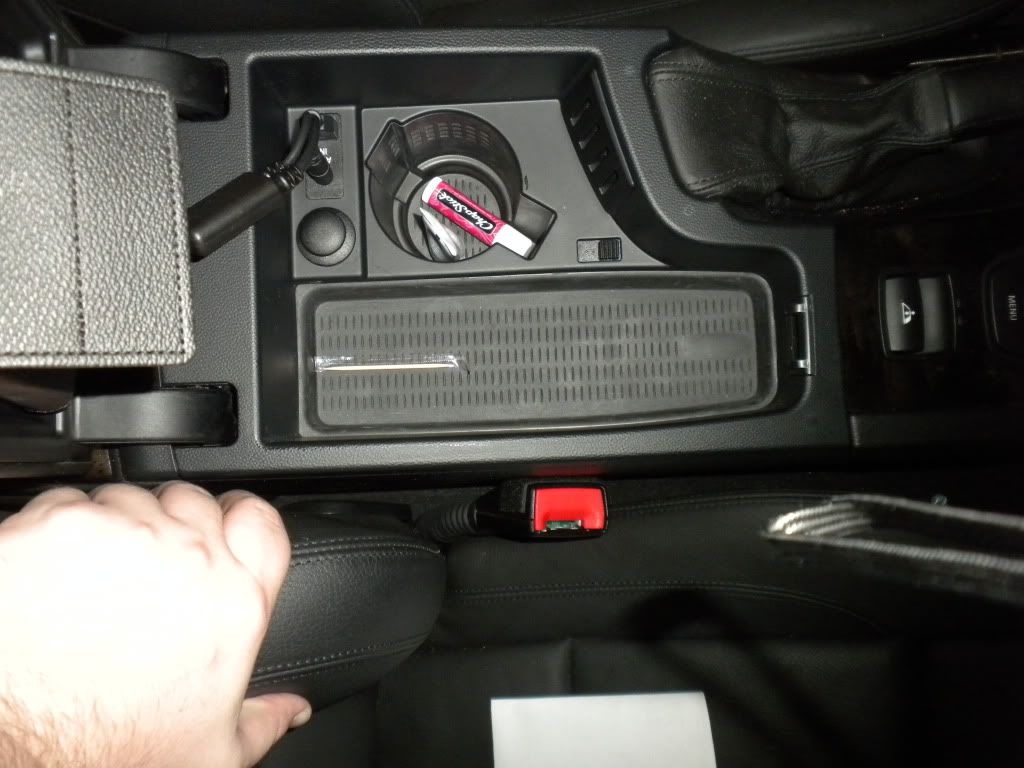 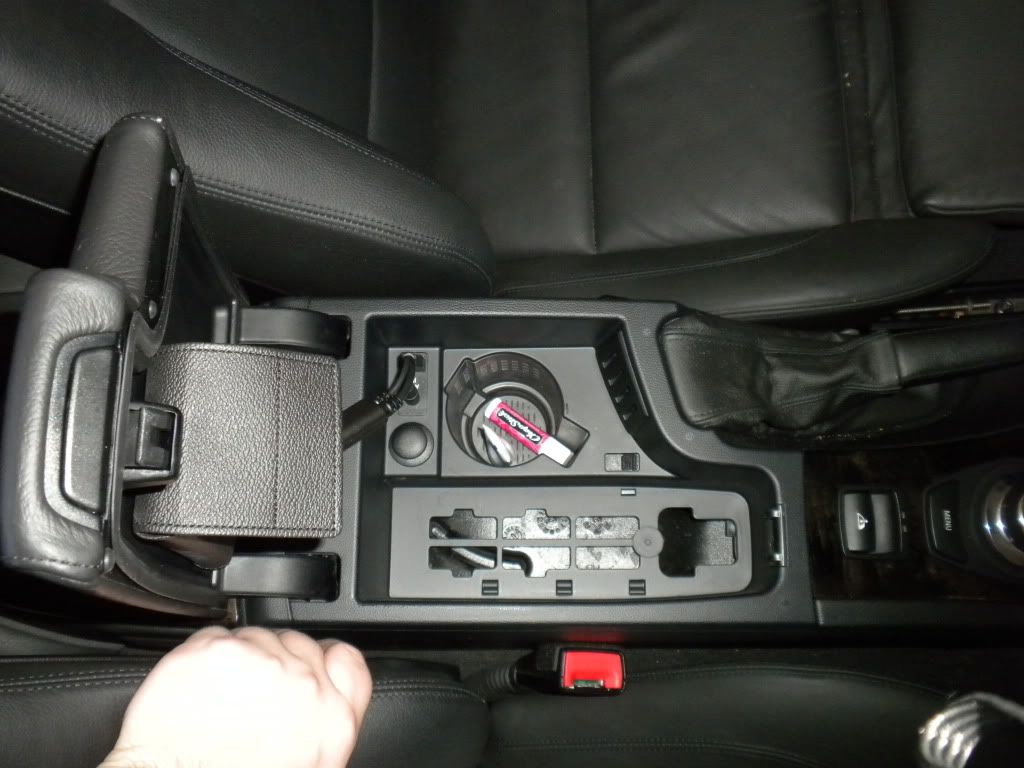 While I didnt start building anything today, I feel like I got a lot accomplished. This prerequisite exploring will give me the ability to plan out this project effectively and in a timely manner. Stay posted for updates and a detailed build log! |
|
Appreciate
0
|
| 02-02-2011, 11:04 PM | #4 |
|
Lieutenant
34
Rep 502
Posts |
Niiiiccceeee!!
Thanks for posting. I have a 2007 E93 and almost EXACTLY the same goals as you in a buildout. Unfortunately, the difficulty of the task and lack of aftermarket choices for a head unit has discouraged me. Maybe you will give me some ideas. Looking forward to the rest of your buildout!!
|
|
Appreciate
0
|
| 02-03-2011, 12:37 AM | #5 |
|
Brigadier General
 
289
Rep 3,201
Posts |
I see an Ipod cable. If you use a USB stick you will be remaining digital all the way to the H700, while if you use an iPod (unless you update your iDrive HW) you will be using the analog AUX input, which can be problematic.
Looks like your plan has changed since we last corresponded |
|
Appreciate
0
|
| 02-06-2011, 09:00 AM | #7 | |||
|
First Lieutenant
23
Rep 375
Posts |
Quote:
Quote:
As far as changed plans, the more I thought about the compromise, the more I realized I would be changing everything out in a few months anyway, so I decided to go one step further and stay satisfied with horns. Thanks for your assistance though, especially while you were so busy. (P.S. the S8 looked fantastic!) Quote:
|
|||
|
Appreciate
0
|
| 02-06-2011, 09:01 AM | #8 |
|
First Lieutenant
23
Rep 375
Posts |
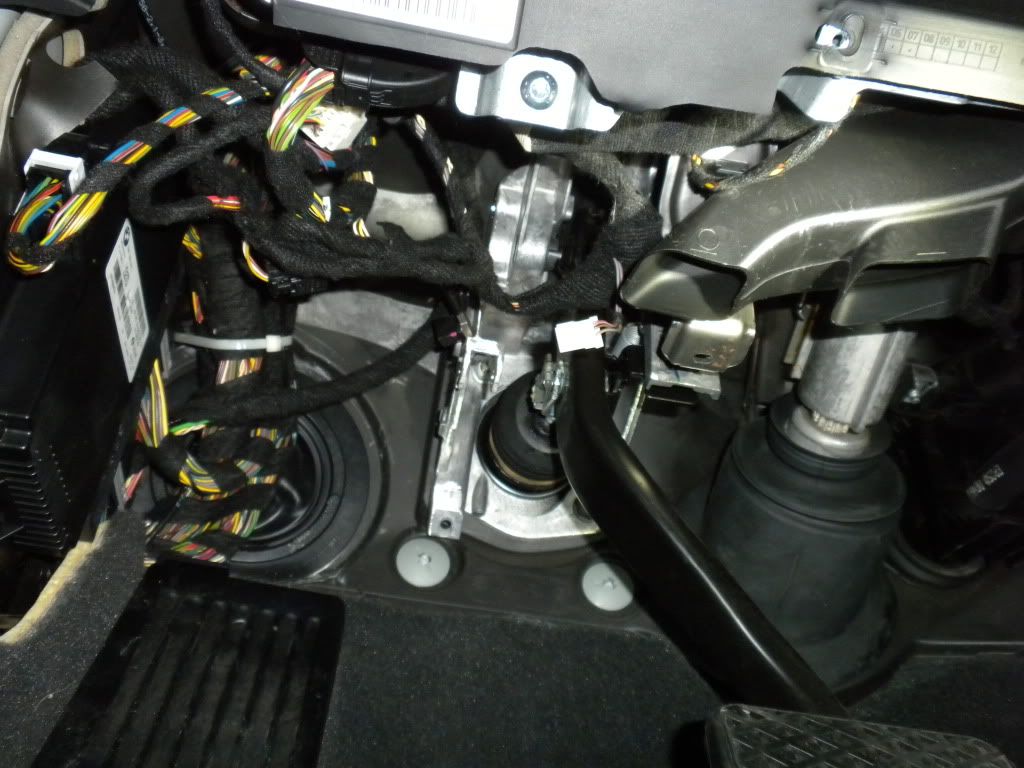
man, work has been busy busy lately so no time to dig in until today.
today, this was a day of destruction for the bimmer. i can now say with complete consideration that I hate working on bimmers. everything is well engineered, but the process is so much different than the "regular" cars I've worked on. more screws and less clips, and in some area, more clips and more screws... anyway, on to the progress. so, for my midranges I have given some consideration to cutting the metal and venting into exterior. I have decided against doing so as structural integrity and resale value would be in question. so, I will be doing semi axis kick panels, and here's an idea of what I'm working with 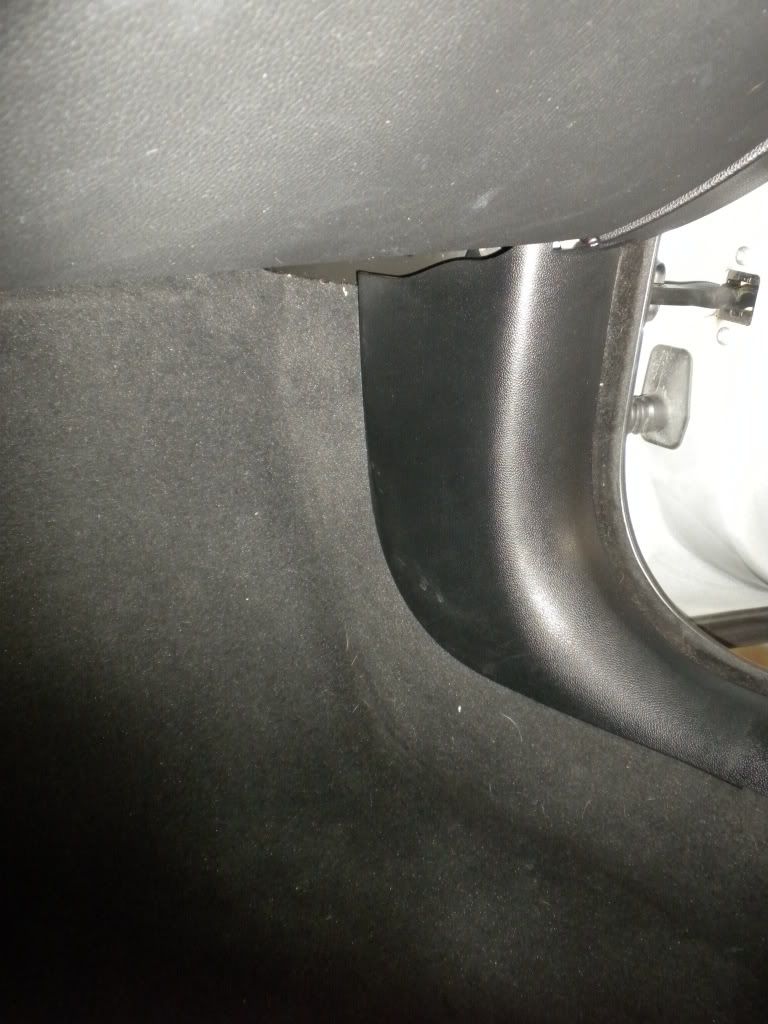 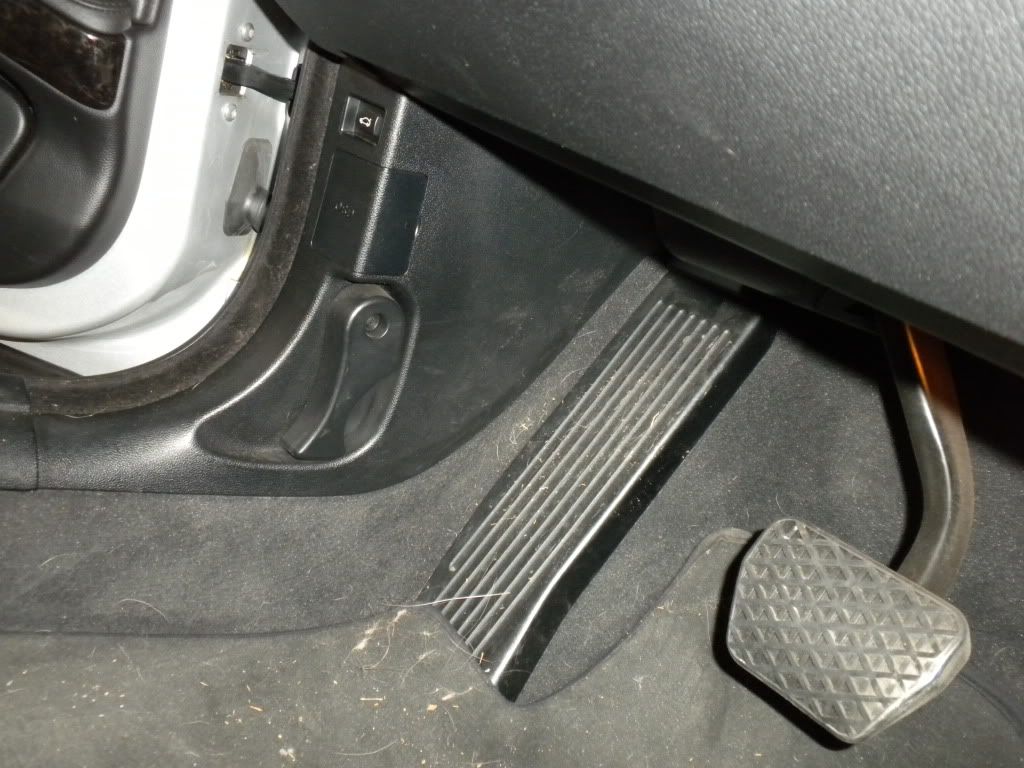 So let the destruction begin... 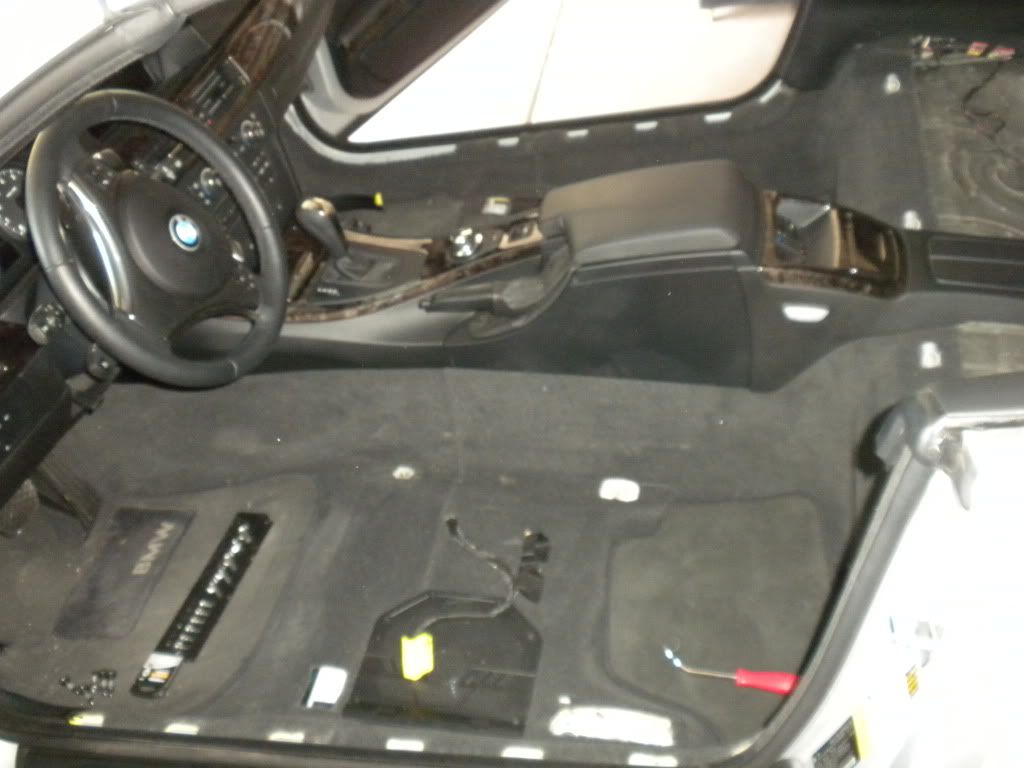 I'll be getting to the center console soon, addressing some rattles and routing the controller wiring for the h701, but today I wanted to get a start on the horns and the doors. Got the doors off and put them in the room so I could address them when it got dark... 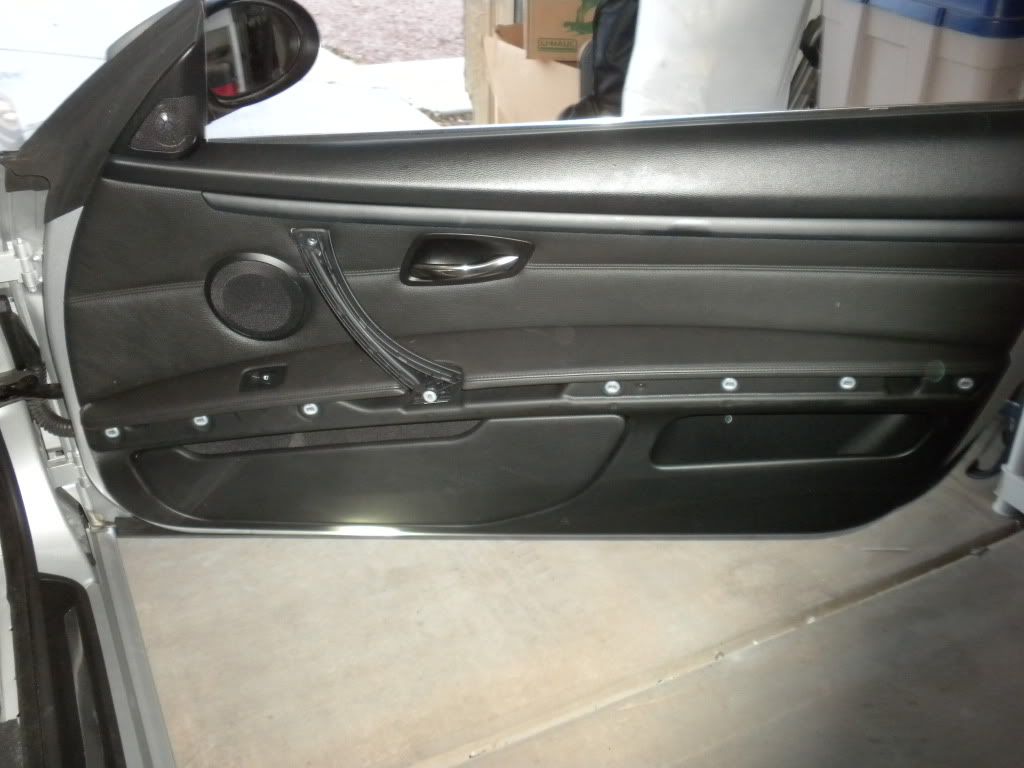 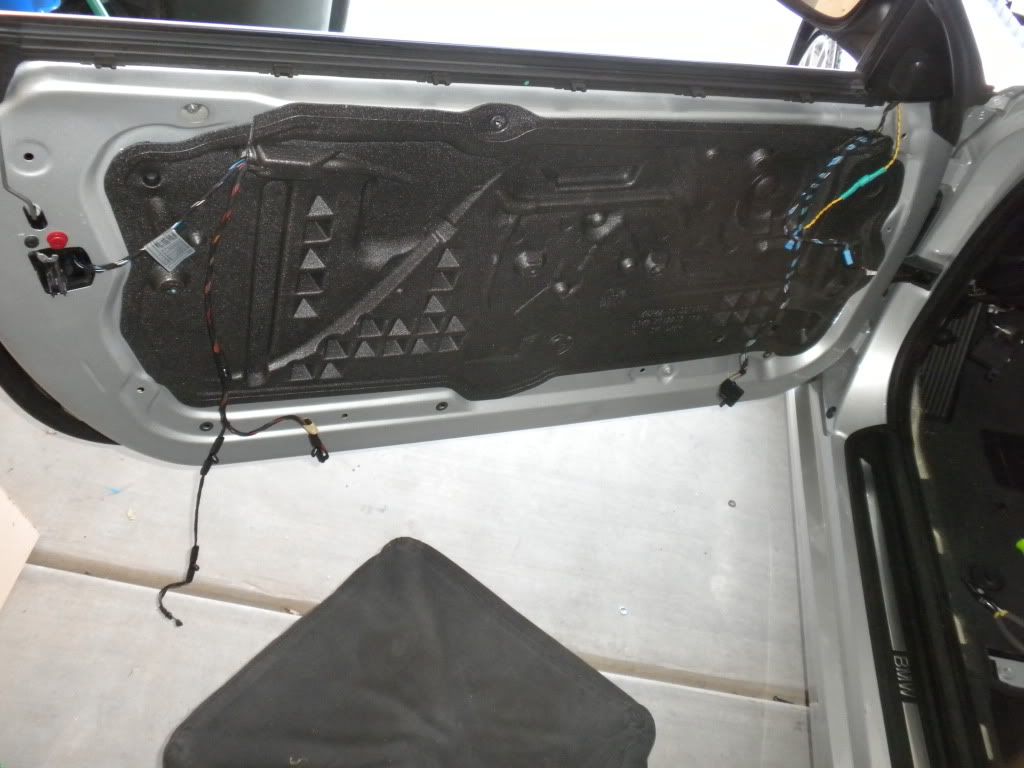 started on the driver side horn, which i was under the impression that it was quite easy. on the contrary, after cutting the underdash i had a tough time finding decent mounting locations that would fully support the horn  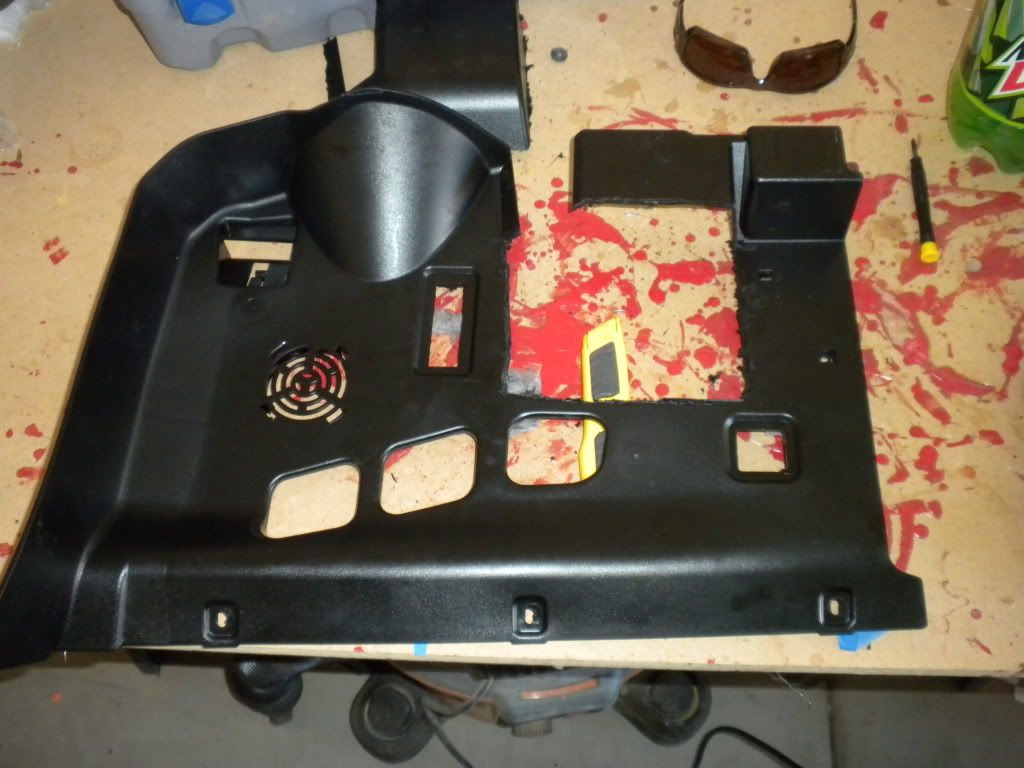 i'm going to need to find a new place for whatever this is... I think it's an antenna of some sort but find it odd that they have it down in the drivers footwell 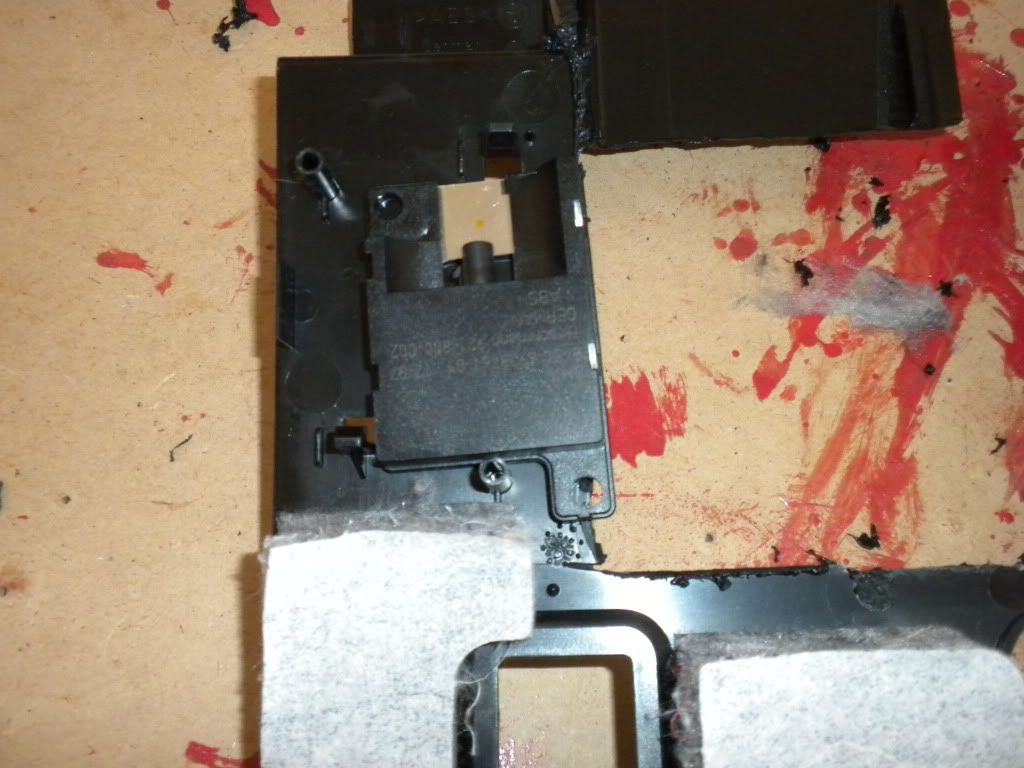 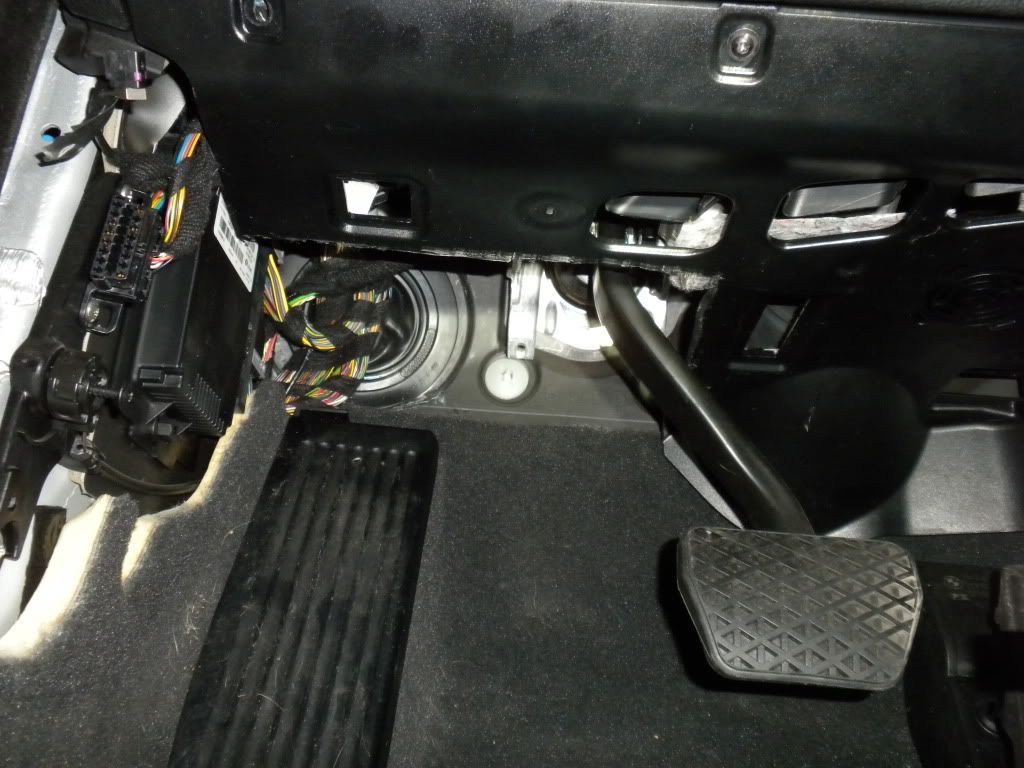 this is how far back i can go before i hit the brake pedal lever 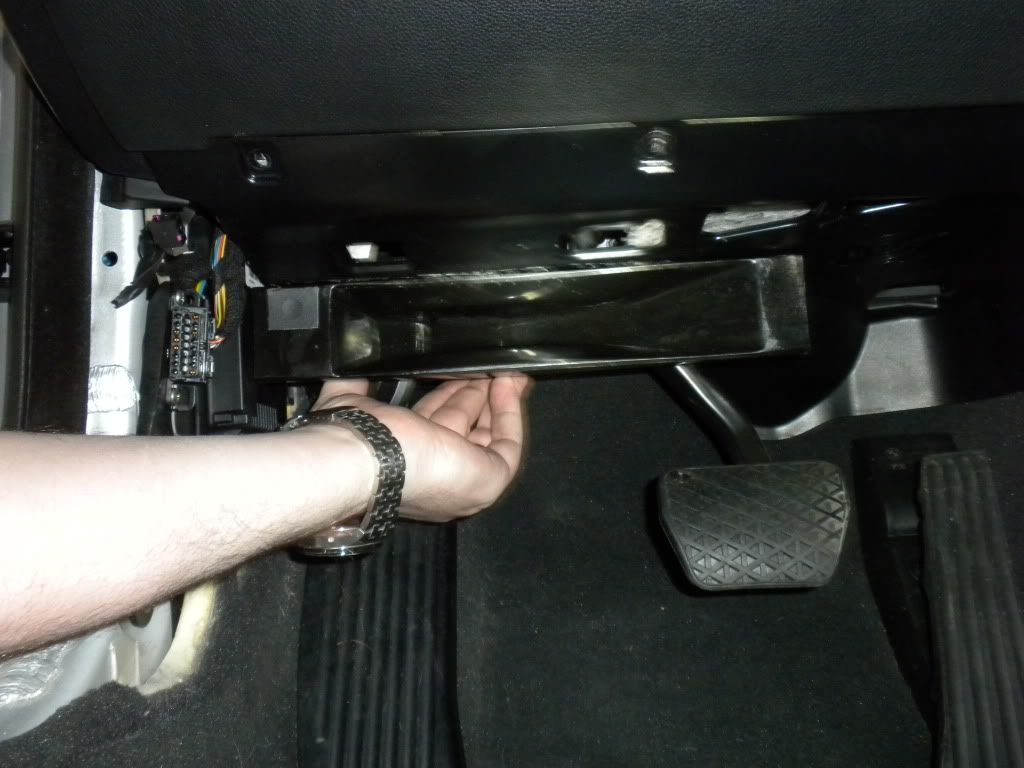 |
|
Appreciate
0
|
| 02-06-2011, 09:02 AM | #9 |
|
First Lieutenant
23
Rep 375
Posts |
and a quick shot of mounting options
 at about this time it started to get dark and i turned my attention to the door panels... first task is getting the foldout pocket out of the door... OMG.. this was a huge pain in the ass 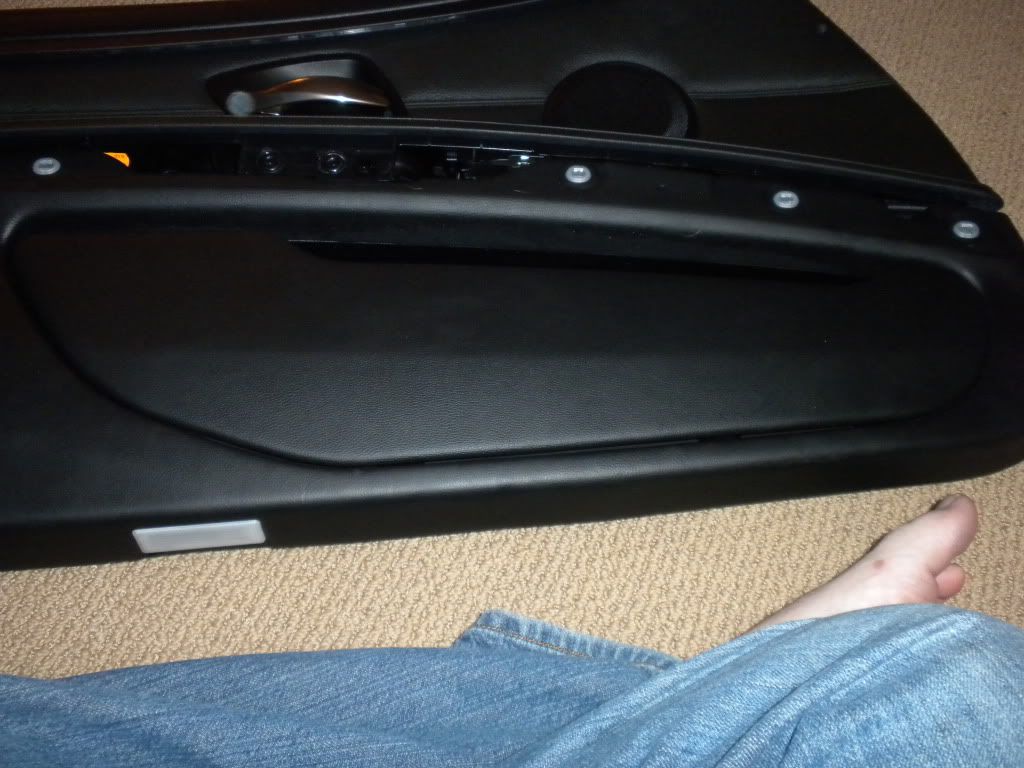 top of the door pocket comes off and reveals a plastic bin  this bin is secured in the back with two "stops" and the hinges below 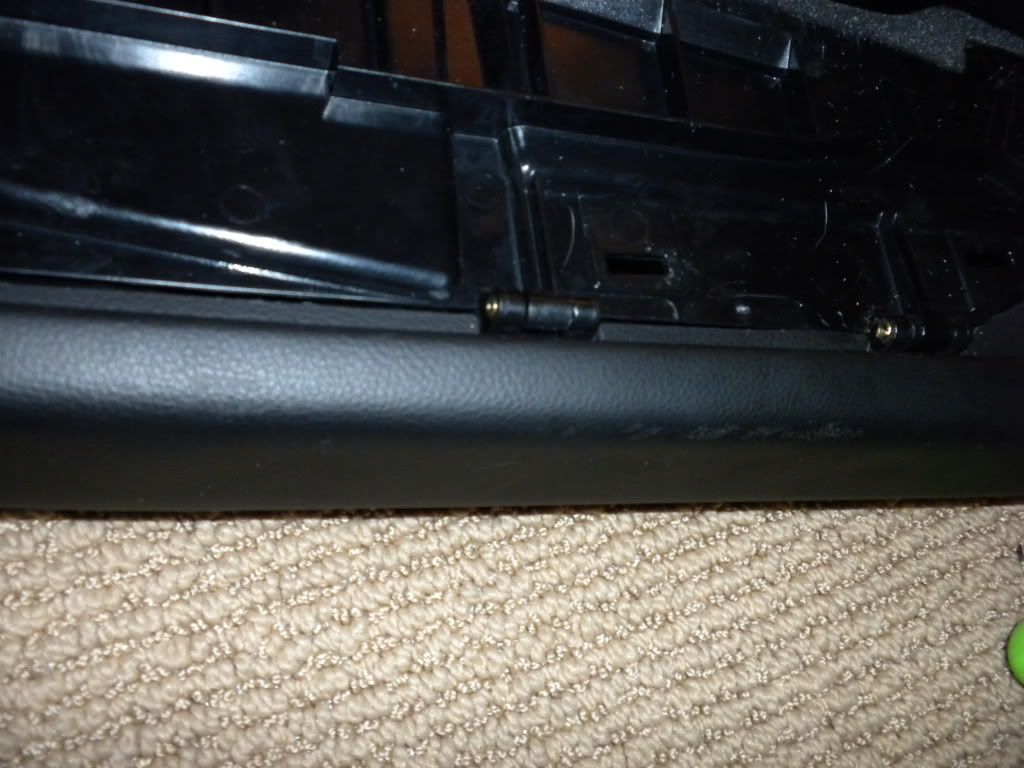 after about 45 minutes of tooling around with a screw driver it dawned on me that I should just drill out the pins... worked a charm 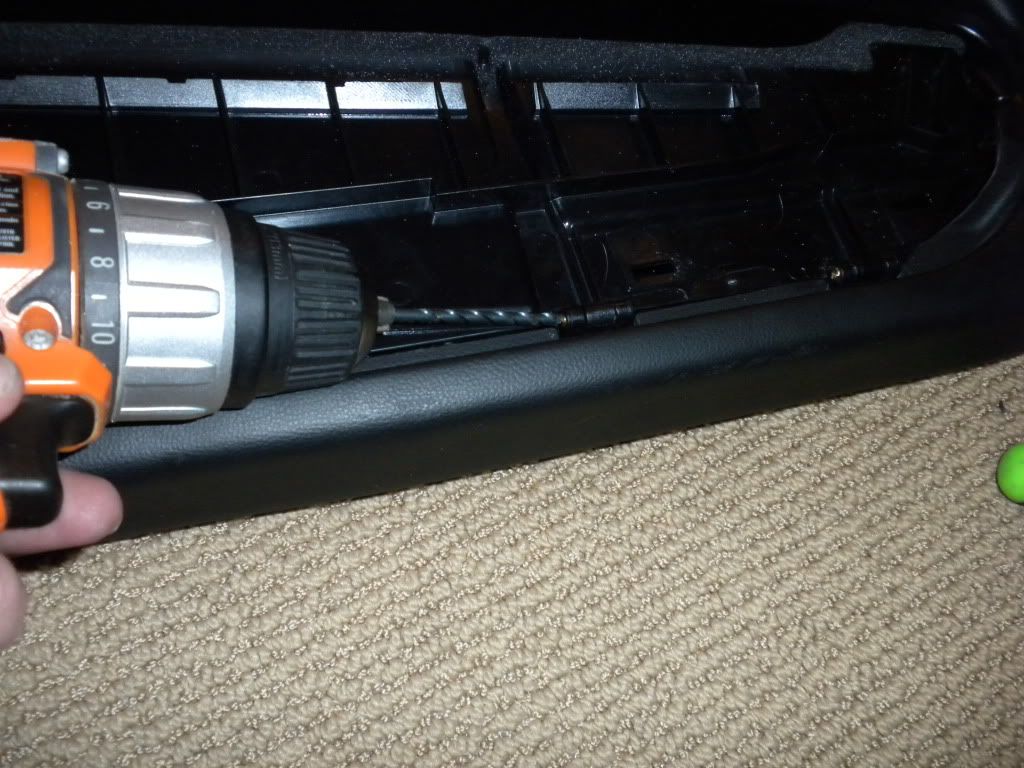 with the bin out and just the door card now 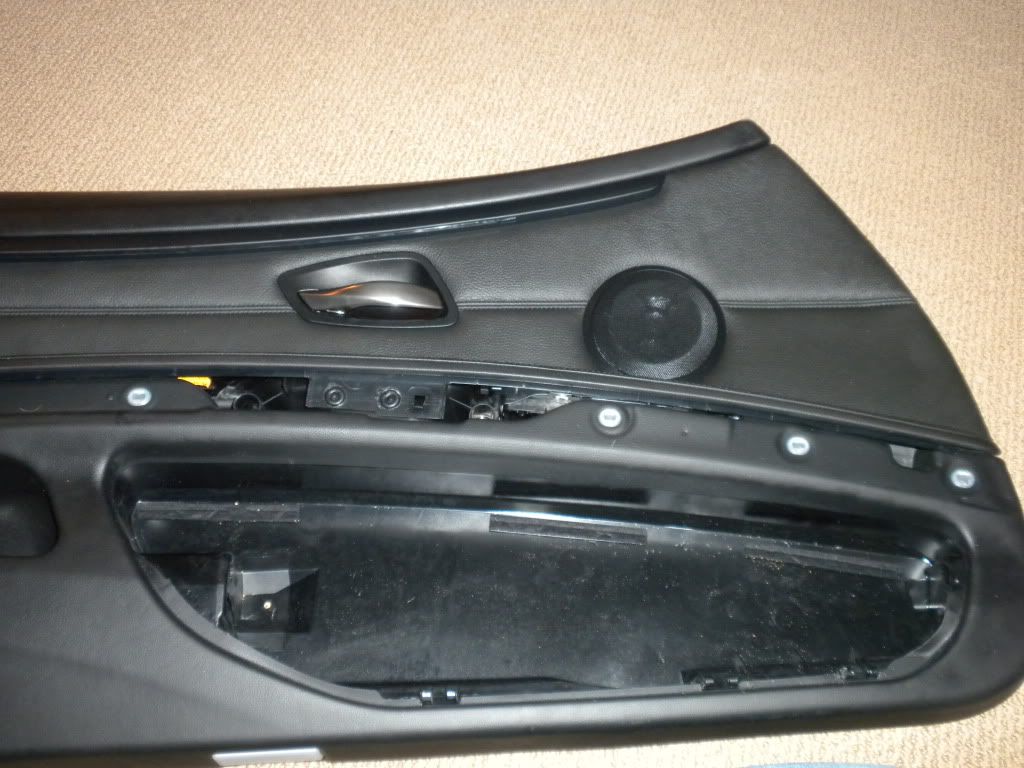 I was able to line up the door pod and mark the mounting locations... i need to do some cutting tomorrow to allow the baskets full depth, and there is a bit of door that needs to go to, but this gives you an idea of what I'm working with here. I was a little unsure of this solution, but the fit and finish of these panels are actually quite good 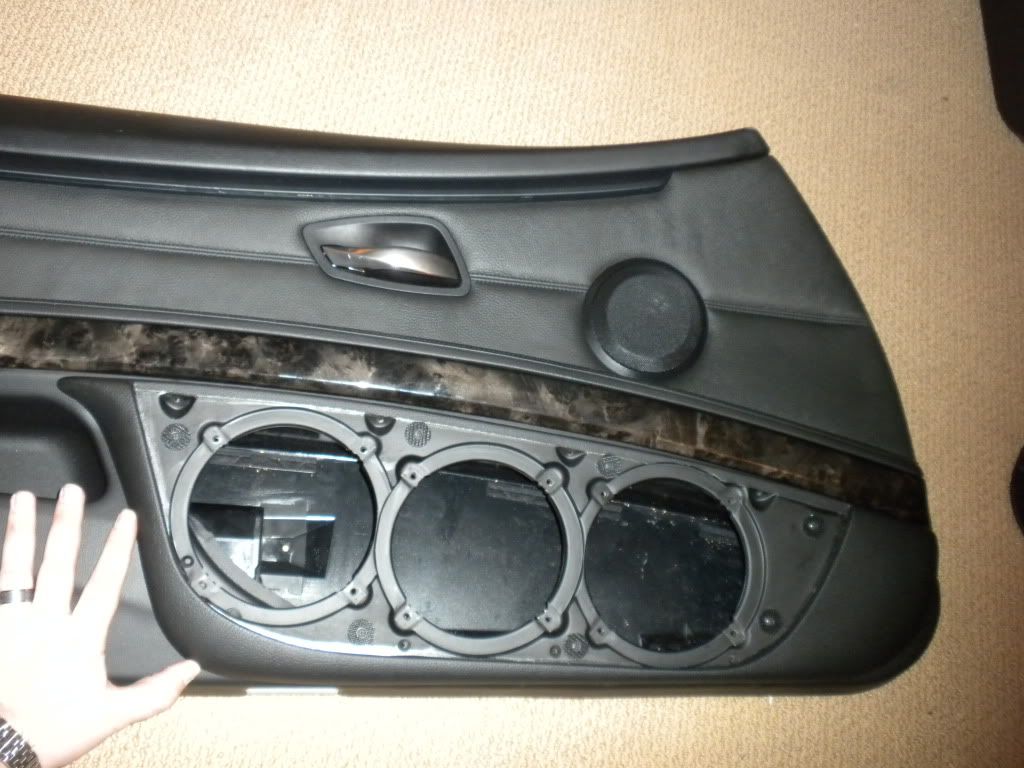 that's it for now, more to come tomorrow |
|
Appreciate
0
|
| 02-06-2011, 09:28 PM | #10 |
|
First Lieutenant
23
Rep 375
Posts |
okay, so long day today with what i would consider small but significant progress. i'm not sure why my camera decided to take only blurry pictures today so i apologize in advance.
pictures are of both doors, which is what i finished here first started by cutting the back out of the door so the speakers can vent into the door 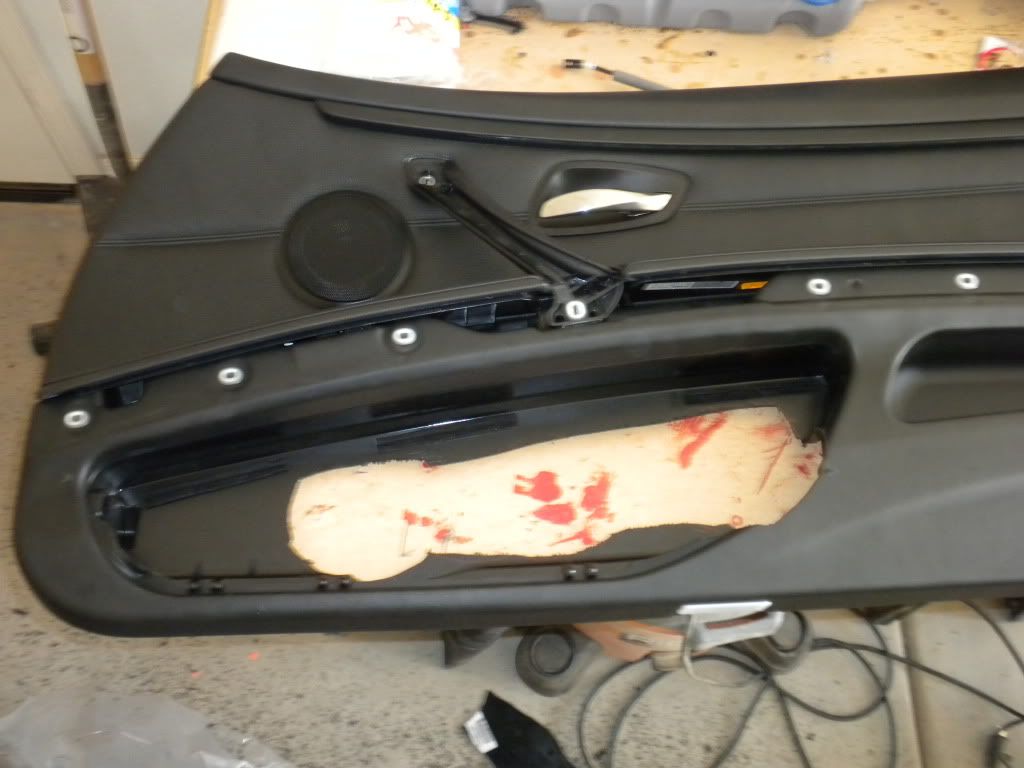 sanded the edges smooth (cosmetics isn't really important but i wanted the deadener to adhere properly) 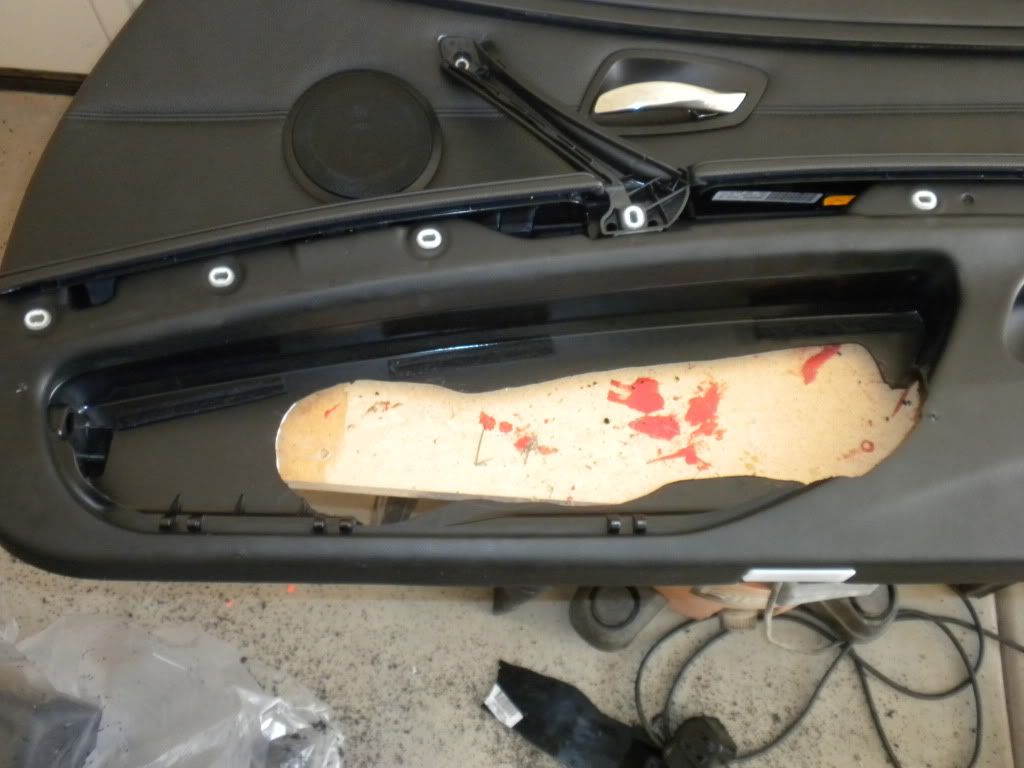 affixing the door panel to the door card, a multitude of bolts and nuts  on the drivers side, there was a screw that protruded through the door and potentially into the window control switch box, so i dremeled that off 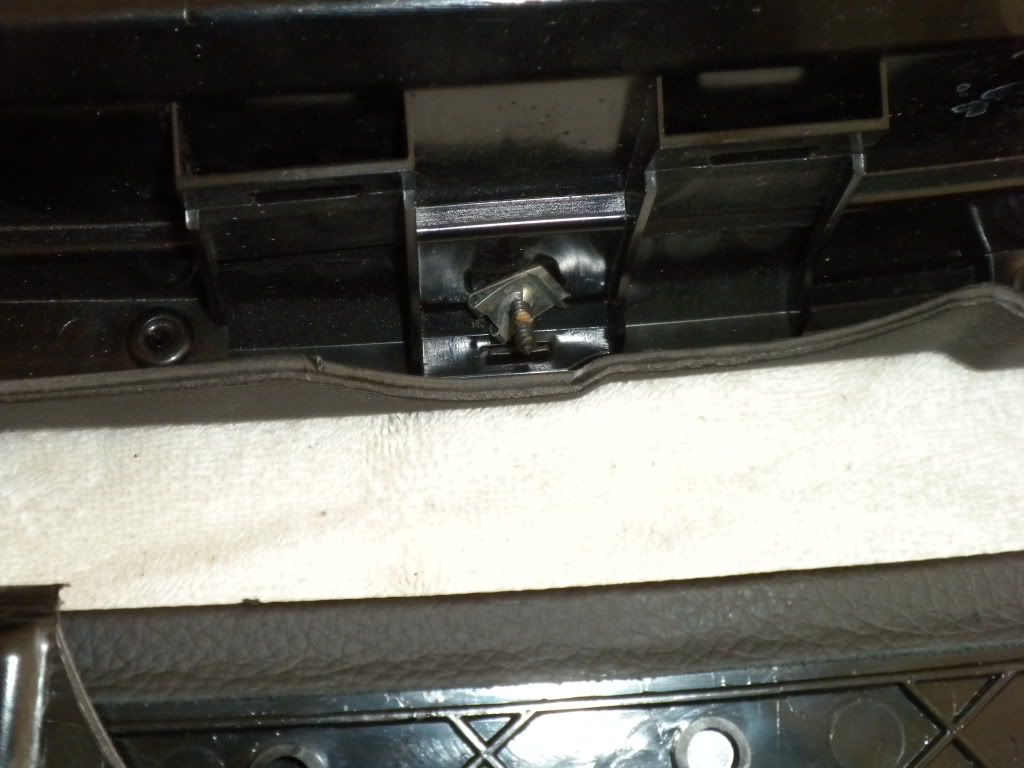 i found that the inner diameter of the door panel pod was too small for the ID mids, so i sanded the insides down a smidgen to get the right clearance 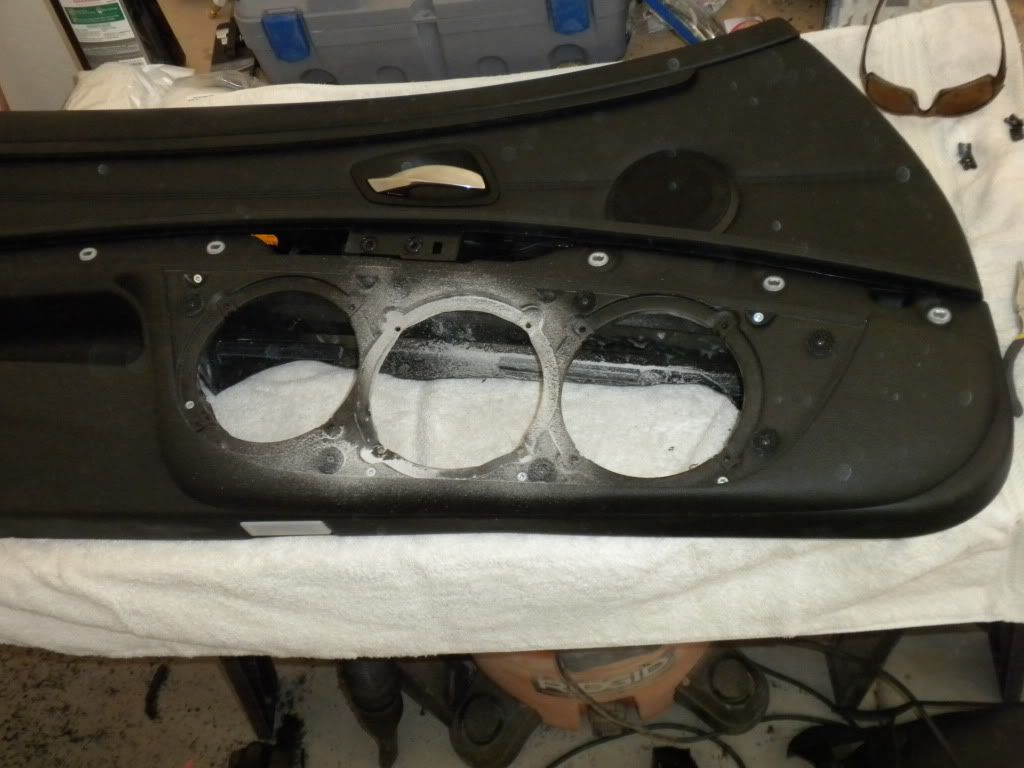 and then added a strip of silicone to seal the midbasses 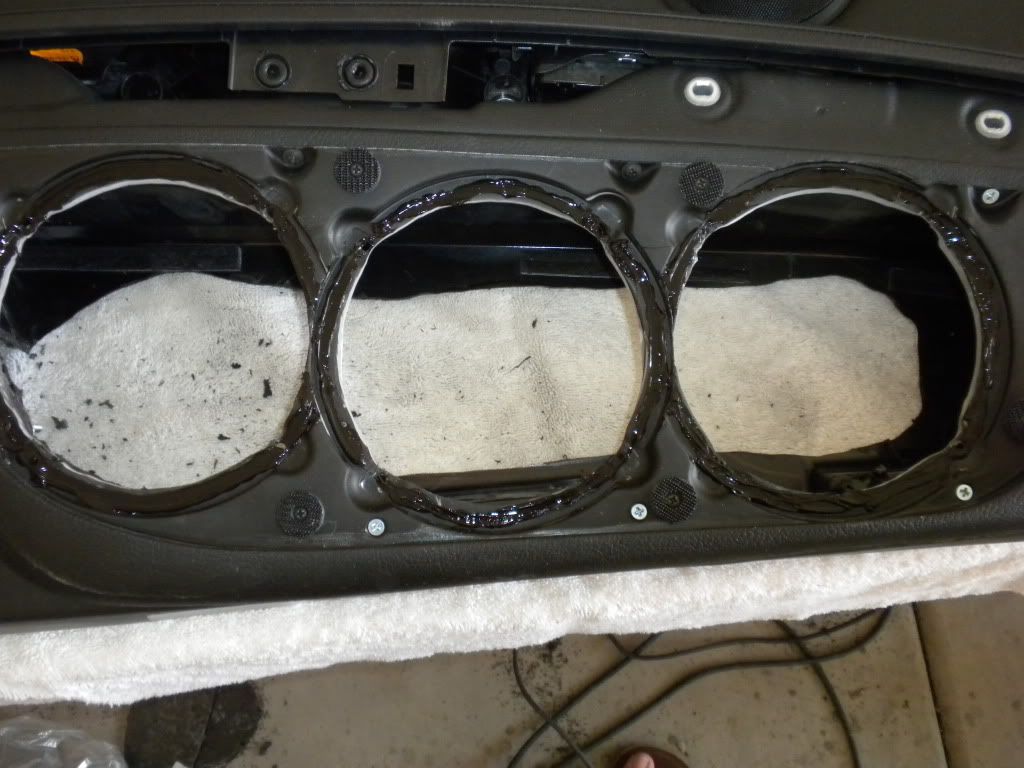 after the silicone dried i turned my attention to deadening the door card. i don't anticipate a lot of rattles to begin with, but who knows... so i took care of the parts of the door that i thought to be problematic  then with the mids installed 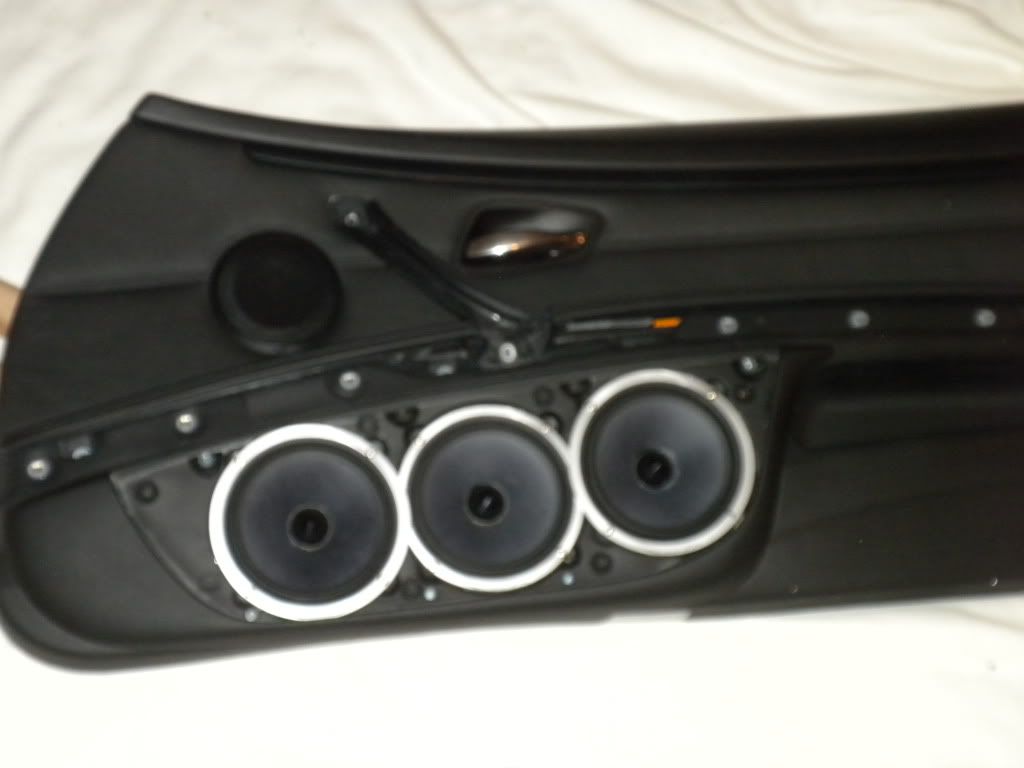 and with the grill in place 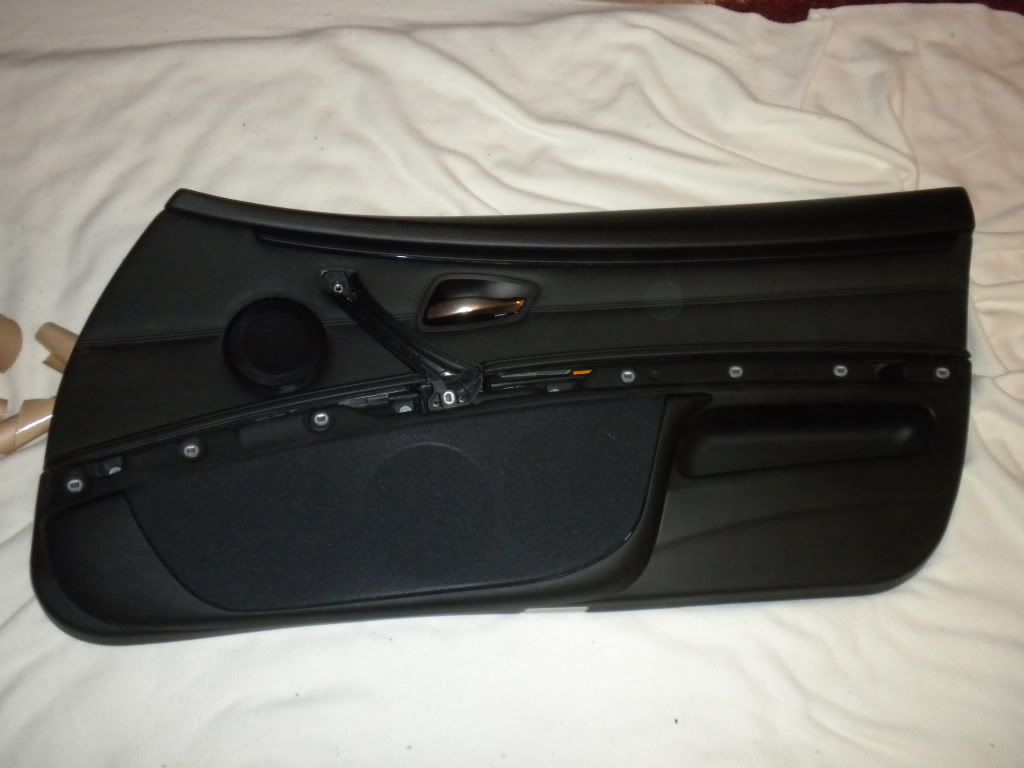 while it doesn't seem like much, it took me quite a bit of time today to do both doors. |
|
Appreciate
0
|
| 02-06-2011, 09:33 PM | #11 |
|
Brigadier General

394
Rep 3,161
Posts |
Holy crap! 3 XS 6's!!! AWESOME!!!!! Damn it, you are gonna make me start working on my M3.
__________________
2015 M3 BPM Tuned, Eibach, Magnaflow and more www.tmrmzine.com/m3/f80
SOLD E92 Slēk Carbon Fiber Widebody M3 www.tmrmzine.com/m3/slek/ SOLD E92 335i Stage 3+ with all the toys www.tmrmzine.com/335/ SOLD E39 M5 Modded, What a great car! www.tmrmzine.com/m5/ Last edited by TMR; 02-06-2011 at 10:02 PM.. |
|
Appreciate
0
|
| 02-06-2011, 10:09 PM | #13 | |
|
Private
 5
Rep 79
Posts |
Quote:
 |
|
|
Appreciate
0
|
| 02-06-2011, 10:39 PM | #15 | |
|
First Lieutenant
23
Rep 375
Posts |
Quote:
|
|
|
Appreciate
0
|
| 02-06-2011, 10:50 PM | #16 |
|
Brigadier General
394
Rep 3,161
Posts |
Matt at ID has an extra set of door panels he is building me a 5x7 ported in the doorpanel. I have the neo driver for the mini horns also. I am going to finish it off with my IDQ 15's freeair. Let me know how the alpine unit handles the DA duties. I went with the motuslab but have had issues with it. I found an AWESOME DA that we can use in conjunction with the mObridge unit. Im really curious how you will mount your horns. Take EXTRA detailed pics ;-)
__________________
2015 M3 BPM Tuned, Eibach, Magnaflow and more www.tmrmzine.com/m3/f80
SOLD E92 Slēk Carbon Fiber Widebody M3 www.tmrmzine.com/m3/slek/ SOLD E92 335i Stage 3+ with all the toys www.tmrmzine.com/335/ SOLD E39 M5 Modded, What a great car! www.tmrmzine.com/m5/ |
|
Appreciate
0
|
| 02-06-2011, 11:08 PM | #17 | |
|
First Lieutenant
23
Rep 375
Posts |
Quote:
what is this other processor you speak of? |
|
|
Appreciate
0
|
| 02-07-2011, 08:20 PM | #18 |
|
First Lieutenant
23
Rep 375
Posts |
quick post today...
i was puzzled on how i'll be running the wires into the doors... on the driver side today this is what we see 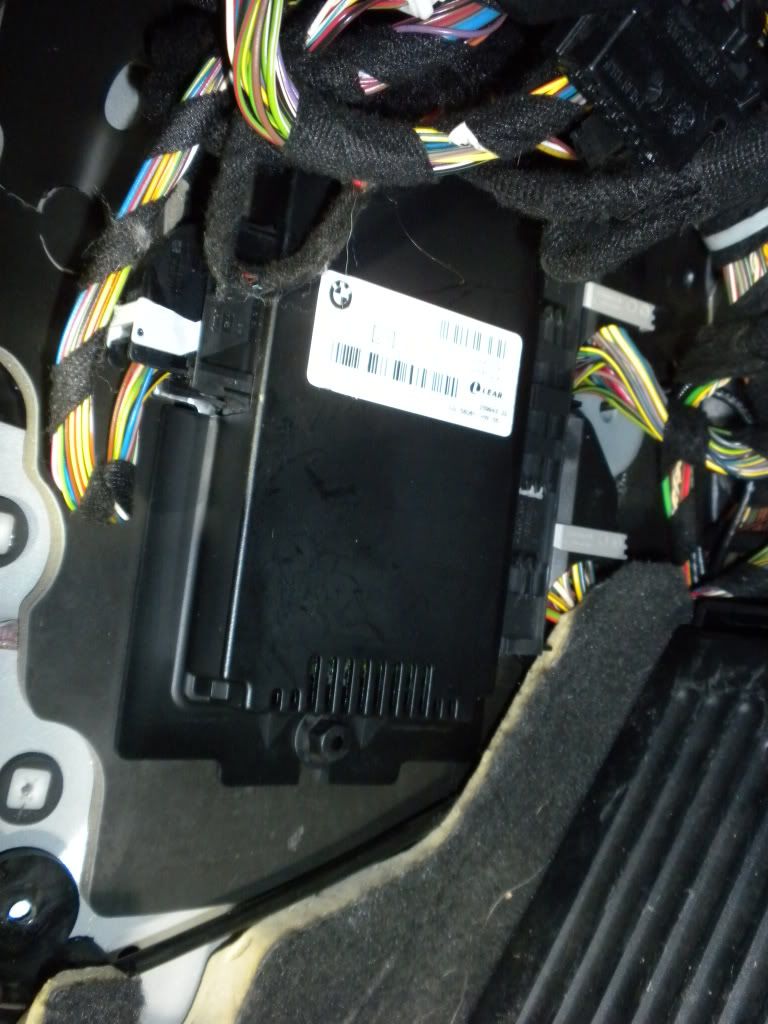 even though i have the battery unplugged I was somewhat intimidated on plugging anything that looks like the ECU... (it's a bimmer right??!!) but alas, the only way I could see getting anything in the doors was through the underside of the ecu...there are two plastic nuts, one on top and one on the bottom that need to be removed, and then you unplug three harnesses and it comes off this is what we see next 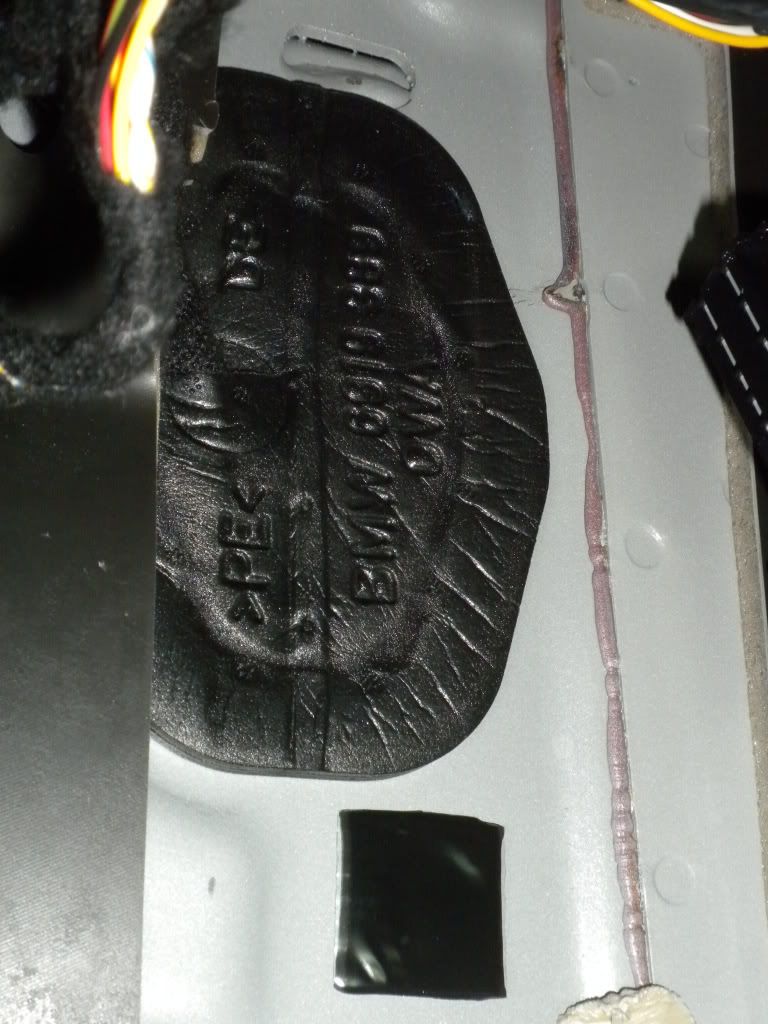 pull the foam plug out and ... 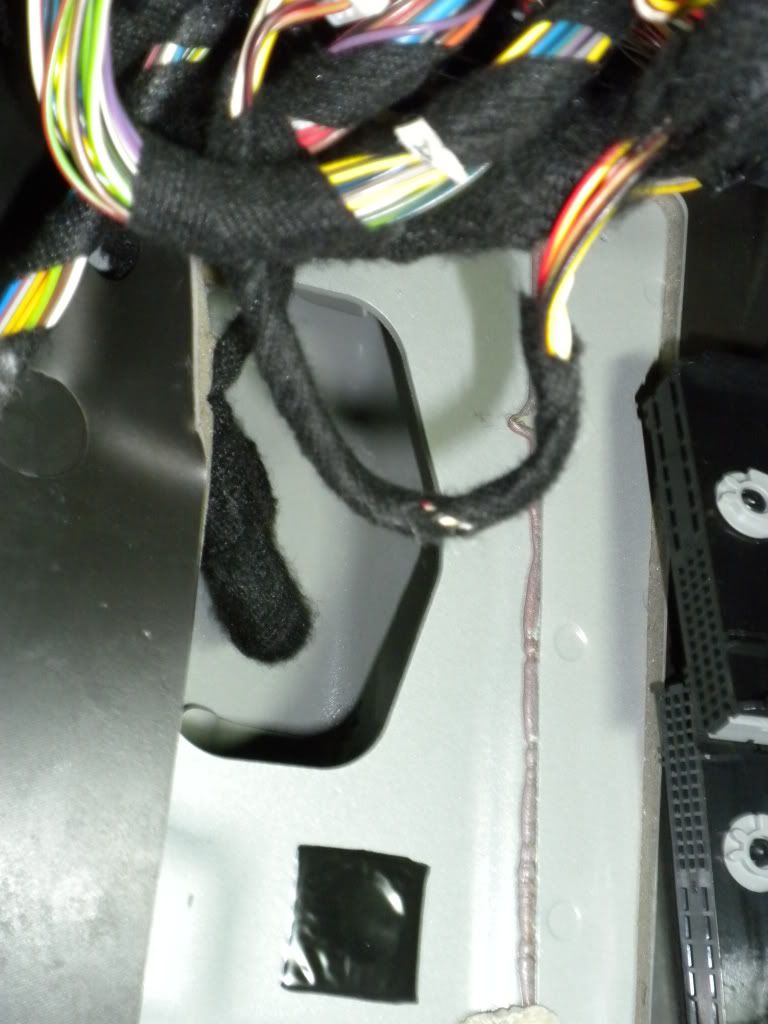 walllah... access to the molex plug the rubber boot pulls out of the door... 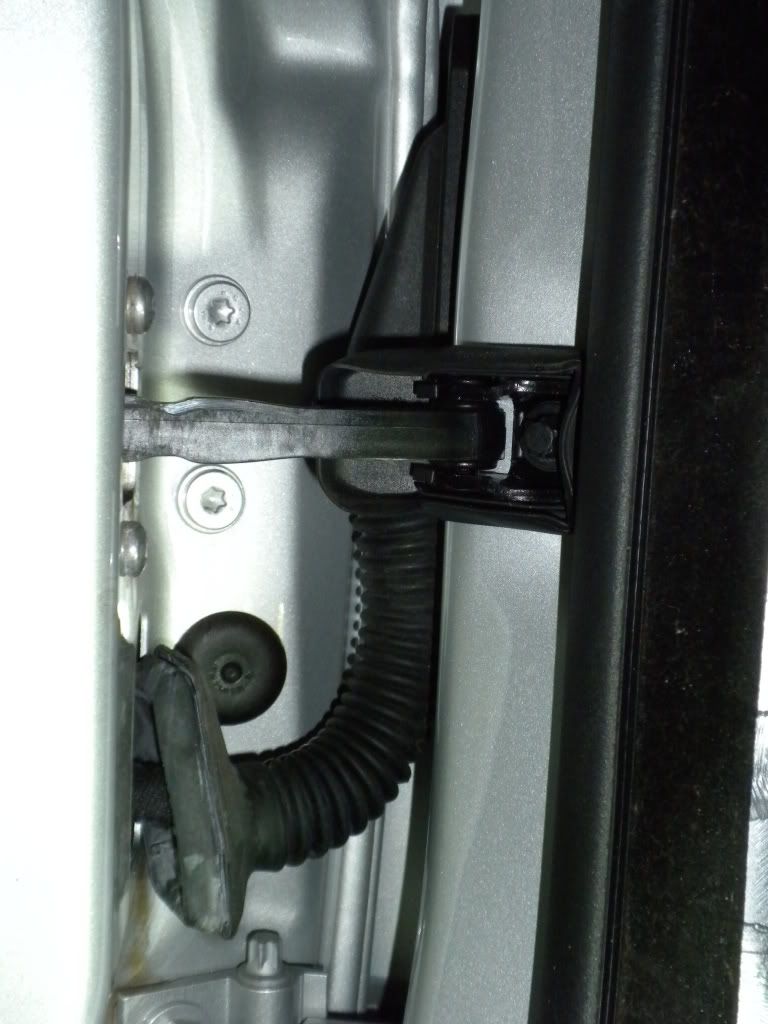 but the boot is bolted to the chassis with a 8mm nut 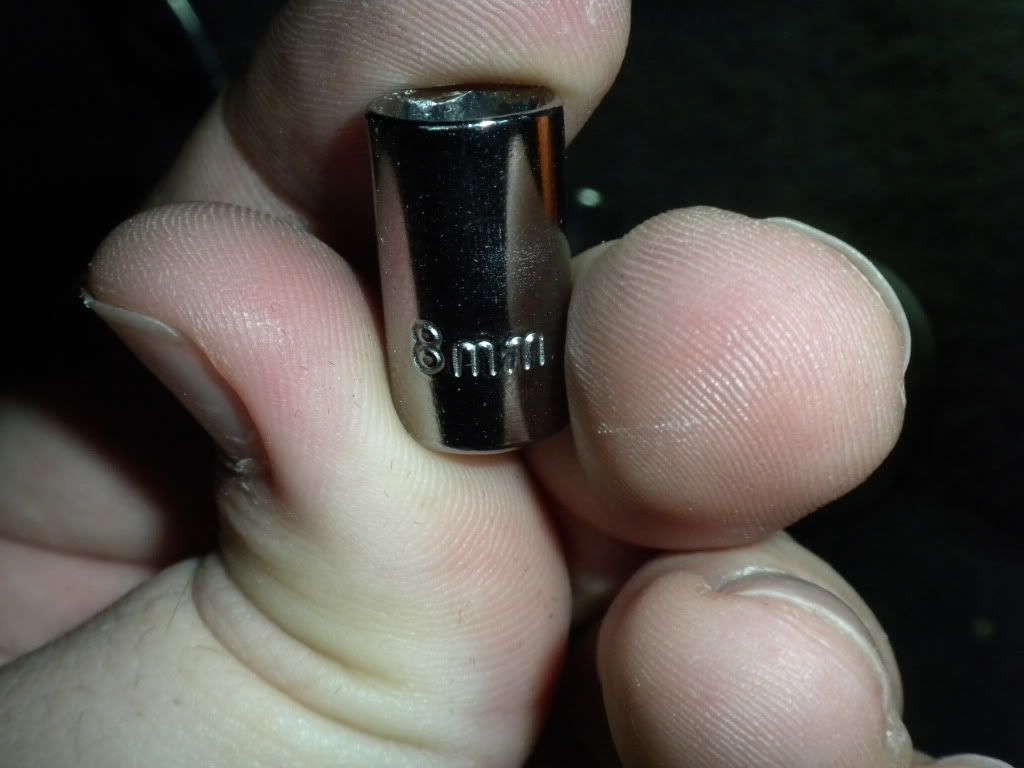 and what do you know... i don't have a stinkin' wrench that will get into that crevice..  off to Home Depot (it never ceases to amaze me how many different tools i need for a given install... ) |
|
Appreciate
0
|
| 02-08-2011, 03:34 PM | #19 |
|
Brigadier General
289
Rep 3,201
Posts |
When I ran my new wires, I did NOT unplug that module - I just unbolted it and poked the wire thru and put it back on. Probably too late now
I used liquid hand soap to get the wire through and then wiped it off as I pulled it in. |
|
Appreciate
0
|
| 02-08-2011, 05:43 PM | #20 |
|
First Lieutenant
23
Rep 375
Posts |
oh dang.... did unplugging it do anything problematic? i figured with the battery unplugged and all it shouldn't be a big deal, right? now you got me worried...
|
|
Appreciate
0
|
 |
| Bookmarks |
|
|


