

|
|
 |
 |
 |

|
 |
BMW Garage | BMW Meets | Register | Today's Posts | Search |
 |

|
BMW 3-Series (E90 E92) Forum
>
E91 Trailer Project (E36 Based Trailer)
|
 |
| 04-16-2013, 09:37 AM | #91 | |
|
Captain
    40
Rep 679
Posts |
Quote:
but that got me thinking about that subject in general....I looked to the highest point on the trailer...which will be the top of the tonneau cover. rain already drains away from the trunk because of the trunk lip in the opening combined with the rubber gasket. soooo, Im thinking Ill do the same thing around the inside of the trailer opening under the tonneau cover... it makes alot more work for me...but the finished trailer will look so much more "factory" if I do it like this as opposed to using snaps....besides, the tonneau cover will be hinged, so I have to do something other than snaps anyway.... long winded answer?....I can overthink just about everything!  JP |
|
|
Appreciate
0
|
| 04-16-2013, 09:37 AM | #92 |
|
Captain
    40
Rep 679
Posts |
|
|
Appreciate
0
|
| 04-16-2013, 09:39 AM | #93 |
|
Captain
    40
Rep 679
Posts |
|
|
Appreciate
0
|
| 04-16-2013, 02:33 PM | #94 |
|
Captain
    40
Rep 679
Posts |
Jacking point massacre......pretty common, really....proof here that its just one layer of sheet metal!...dont miss the jacking point, guys!..there is a nice beefy assembly bolted inside the quarter that runs all the way up to the floor and ties in with the side jacking point. This is where that larger hole is...and its triple wall steel...nice!
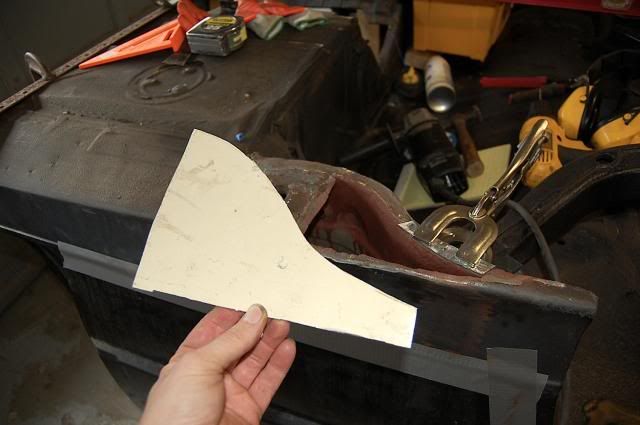 Got the pieces cut for the patch....this is getting fun! I found that plug welding is efficient, quick and sturdy...Ill do a combination like the battery tray pc....solid welds all the way around, plugs along the old sheet metal. I treated the inside of the rocker as best I could...it was a little rusty in there...but not too bad..... front end cut straight, back from where I had it about 6".....I think the front will look better this way....Ill follow the curvature of the pillar if I can...should make for an interesting shape...I may be copying the front tail gate idea if I have time.....light weight is the goal.....so I may be fabricating it myself from lightweight materials...aluminum and aluminum sheet...not sure yet... 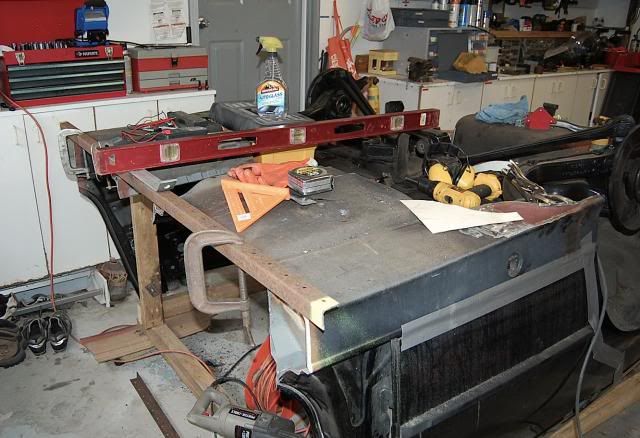 Hopefully more after work! JP |
|
Appreciate
0
|
| 04-17-2013, 06:18 AM | #95 |
|
Captain
    40
Rep 679
Posts |
Got the jacking point panel installed last night....ended up adding 2 layers right next to the jacking point for more strength...Im happy with the results.....but started blowing through the side of the rocker where there was some hidden rust!...arrgghh..gonna have to cut that section out and replace the steel as my "filling" techniqe leaves a lot to be desired. its just too messy behind the weld and that just leads to rust....quickly!
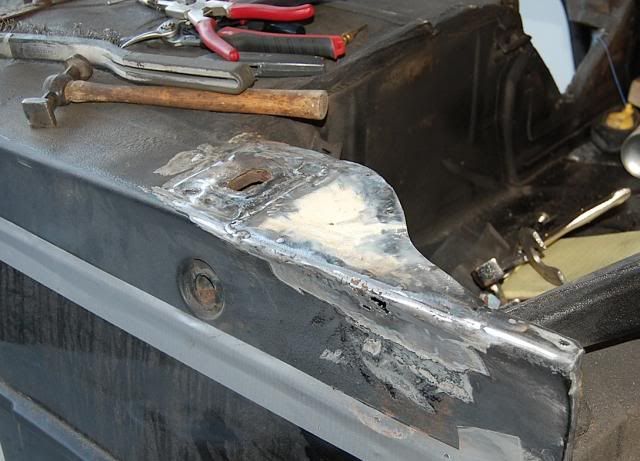 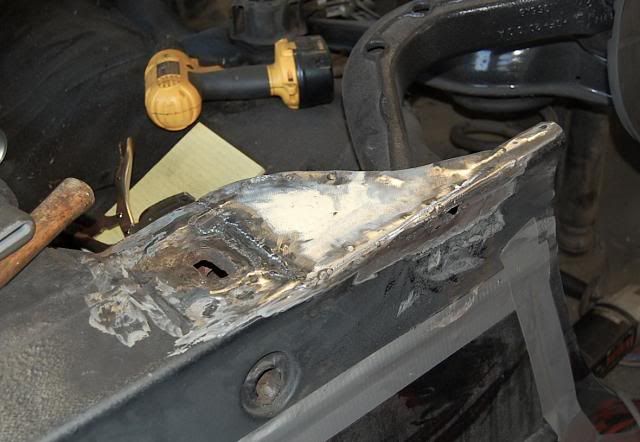 Heres the blow through area...its really cleaner, easier and uses less weld material to weld a new piece in...just more time consuming now.... 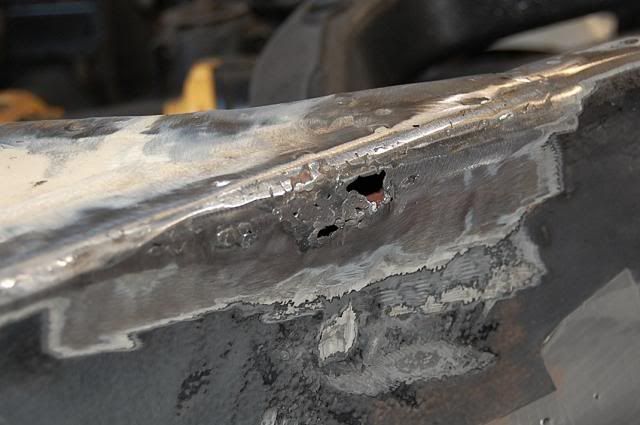 I seem to be chasing way more rust around this thing than I had anticipated....Gotta get to the front end and trailer tongue! thanks for looking JP |
|
Appreciate
0
|
| 04-19-2013, 11:30 AM | #97 |
|
Captain
    40
Rep 679
Posts |
Okay...what color to paint items like this?......Im thinking that nice dark silver or grey metallic that BMW has....(whats that called again?)
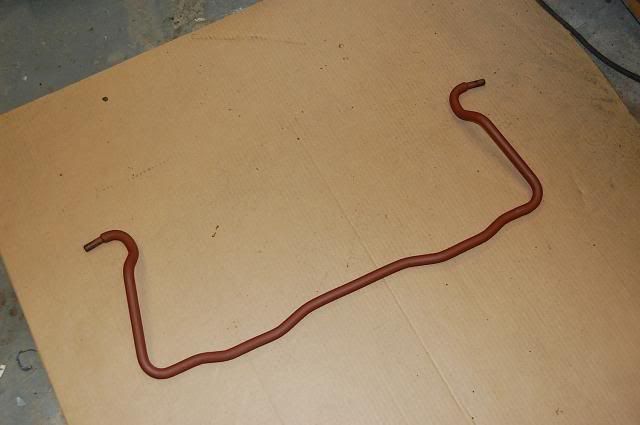 And, some more progress on the welding....This spot is opposite the battery box area...not sure why it rusted...though I did find a soft washer under the area directly above the threaded rod...Im assuming it was some sort of rubber seal as well.... The welds look a bit proud of the surrounding material, but I added a "second coat" here and there as I found some thin spots to deal with. 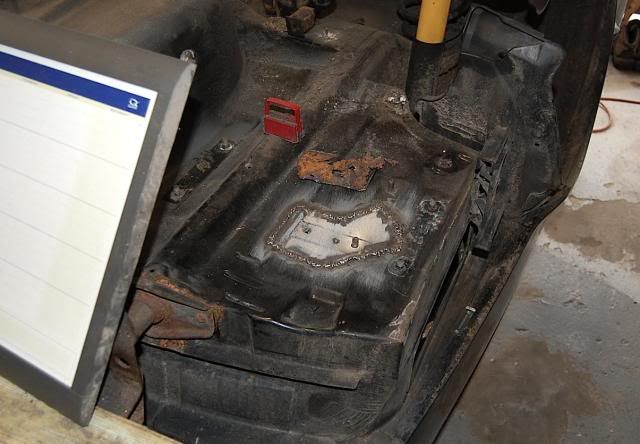 Rocker panel is ready for some filler, though I just found out that I need more!...rats... 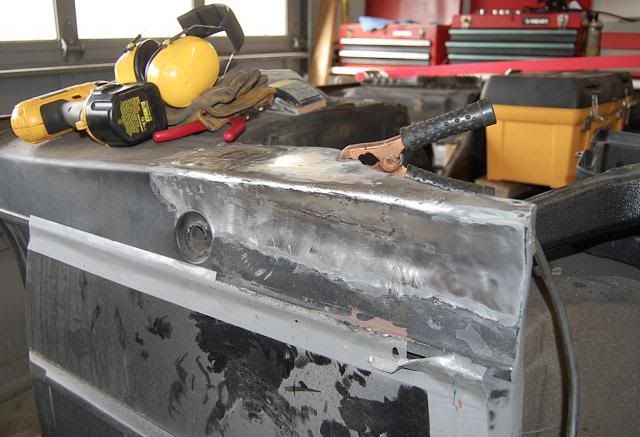 working my way to the front...I patched some areas from where I had cut the tunnel out...this made that bulkhead flex a bit...so I tightened things up with a few welds.... 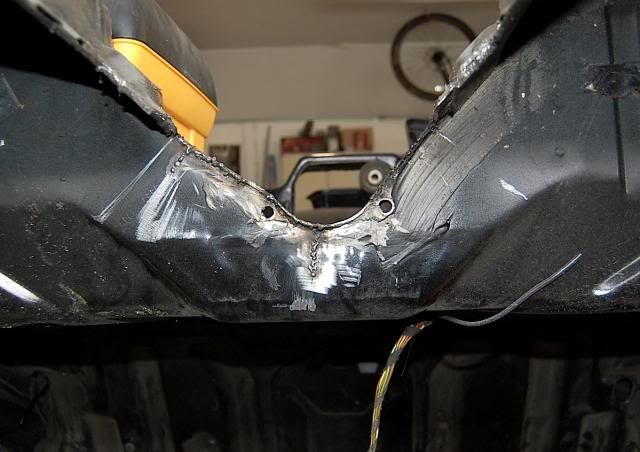 Finally, this is the alignment adjuster nut with cam washer on the control arm that was bent.....now the wheel can be aligned properly....I put the wheel on just to see if it looks good...and its pretty straight...though admittedly, upside down, its really hard to see how it will look when its back on its feet! 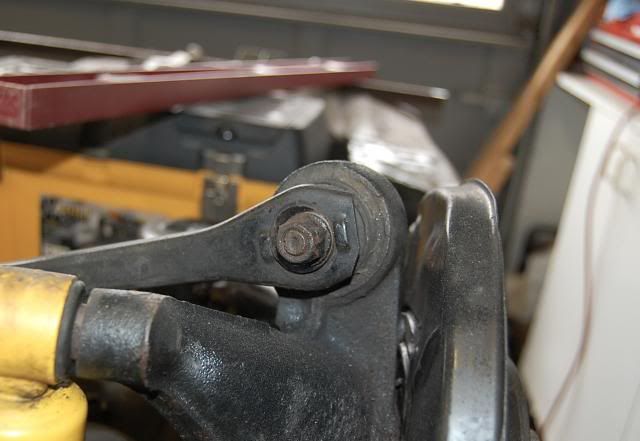 thanks for looking! JP |
|
Appreciate
0
|
| 04-19-2013, 02:21 PM | #98 |
|
Colonel
 
698
Rep 2,011
Posts
Drives: '05 M3 6MT
Join Date: Mar 2011
Location: Swansea,MA
|
Coming along nicely...can't wait to see the finished product!
__________________
'05 BMW M3 6MT (Weekend car) Need to stock up on some detailing products or spiff up your garage, then use my Obsessed Garage link!  |
|
Appreciate
0
|
| 04-21-2013, 09:38 PM | #100 |
|
Captain
    40
Rep 679
Posts |
So I was able to put a little time in today...
got the tunnel piece welded in place...really firms things up! 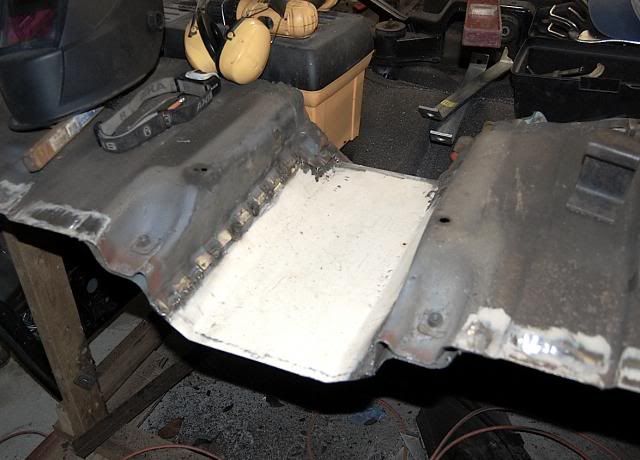 Then I cut and shaped and cut and shaped the rocker panels end pieces and got one welded in.... 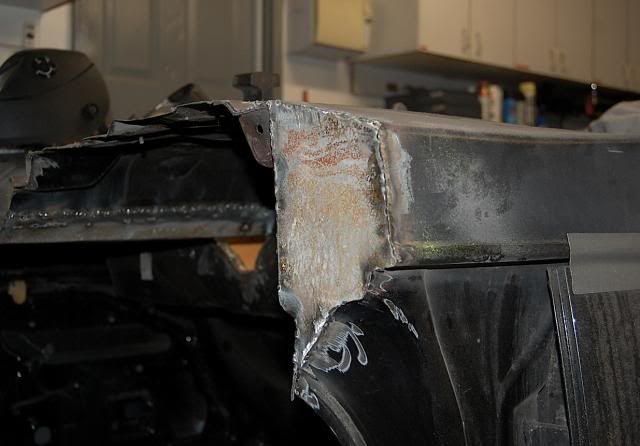 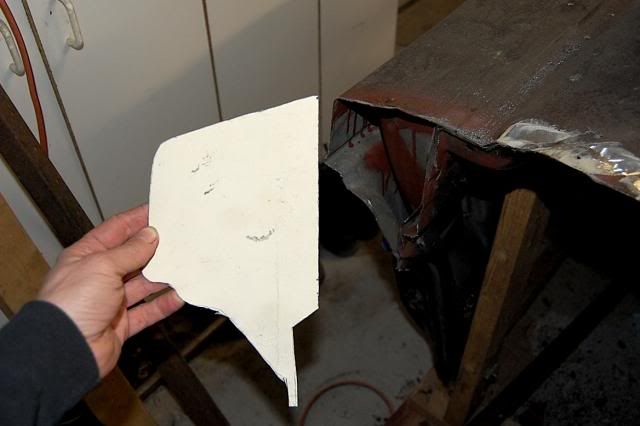 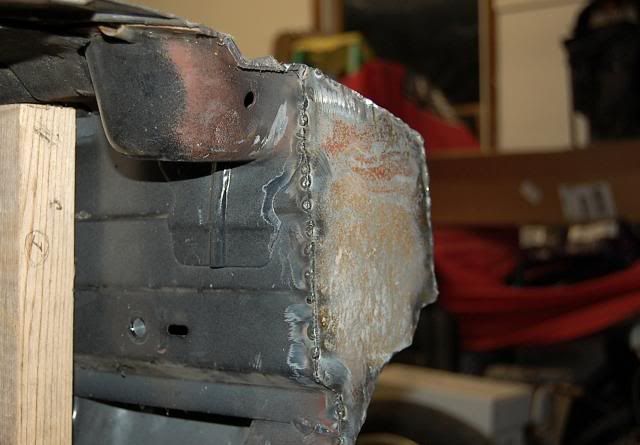 and gave the jacking point area a coat of primer before I add some filler..... 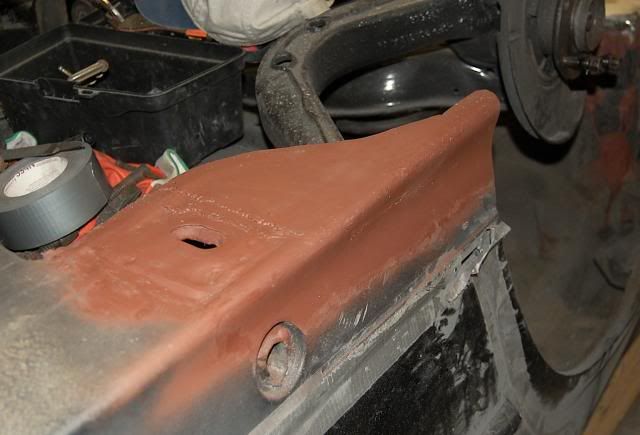 I clamped the angle iron back in place and the front end is really starting to get some structure back in it...Now Im planning the front panel and trailer tongue.... thanks for looking... JP |
|
Appreciate
0
|
| 04-23-2013, 12:33 PM | #102 |
|
Captain
    40
Rep 679
Posts |
some good lunchtime progress....
I was able to get both endplates on and welded in....and decided that a piece of angle iron is what I need to firm up the front edge of the floor...This will also give me a nice lip for the front panel...whatever that may be! 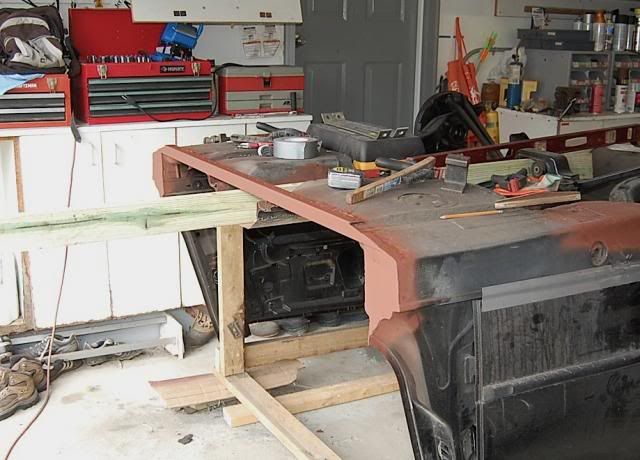 I wanted to match the angle of the bottom of the rocker panel so cut the angle iron to fit..... I can finally show off some of my welds!...woohoo!....Going from thick to thinner metal, I built up the welds on the thin stuff, melted into the thick stuff well, and then ran one more set of welds on top to make them more consistent and look better... 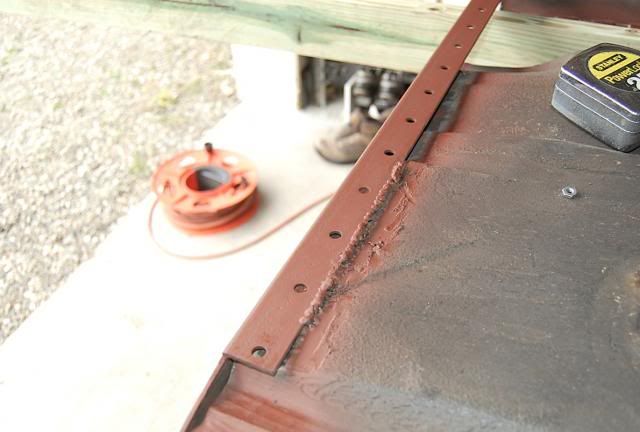 Heres the other side: 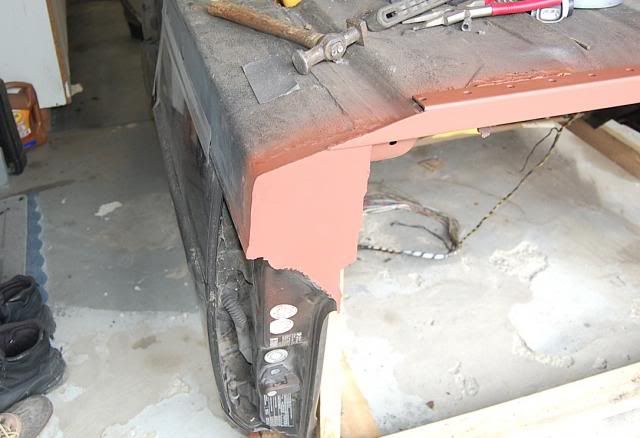 Ive still got a little cleaning up to do....but its really coming along. Im picking up the steel for the tongue this afternoon! JP |
|
Appreciate
0
|
| 04-24-2013, 06:46 AM | #104 |
|
Captain
    40
Rep 679
Posts |
more progress:
with the steel in place, I can actually see a trailer! 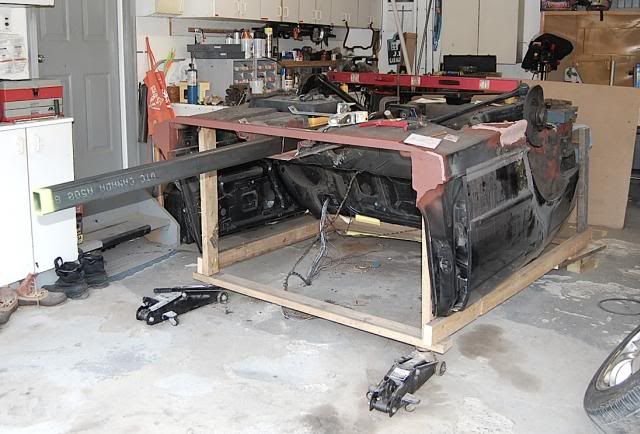 this 3/16 stuff is stout! 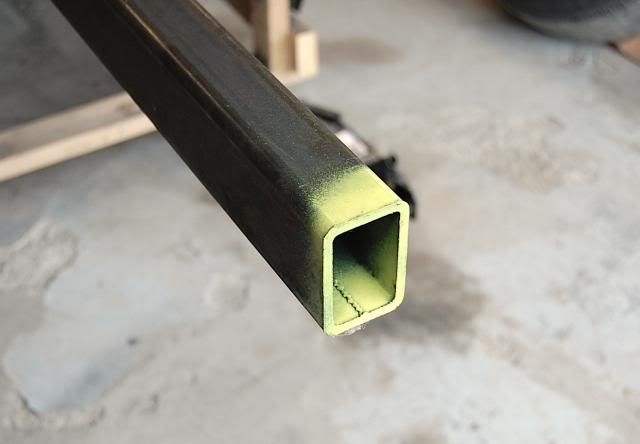 a little filler: 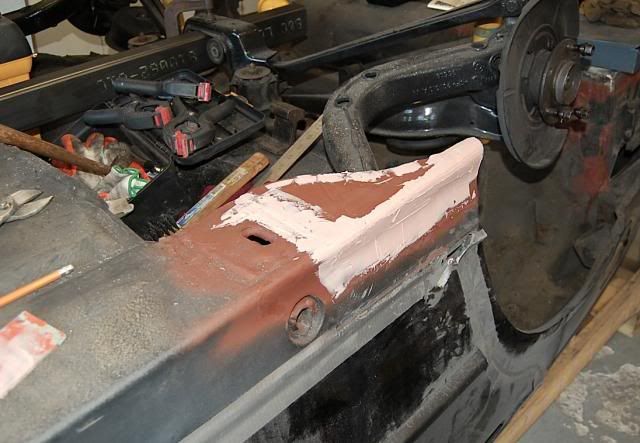 Rear mounting point...I got an 8' piece of steel to give me some options when finalizing the tongue length...right now its at 44" from the front wall...this gives me plenty of turning room, in fact, the corner of the car and trailer will never come in contact when backing up...... 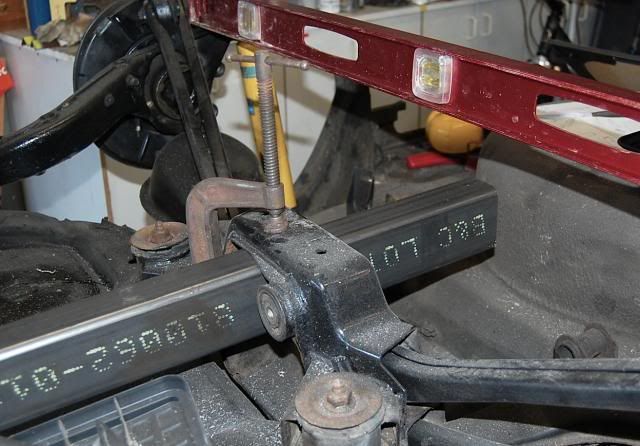 I have to figure out just how to mount the tongue...Ill mess around with the front brackets today and get my centerline marked out.....(Im going from the center of each hub for my measurement....but if the alignment is off a lot because of that bent control arm that I straightened out.....Im going to double check things from the jacking points, diff cradle bolts, ect) thanks for looking! JP |
|
Appreciate
0
|
| 04-26-2013, 07:59 AM | #106 |
|
Captain
    40
Rep 679
Posts |
So a little cost update:
Spent so far: 315.00 Just bought: 58.00 tail lights 70.00 Steel trailer tongue material (8' 2x3x3/16) and 2 36" 2x3x1/8) 80.00 trailer accessories. (tongue jack, foot pad, rear stabilizer, safety cables) 50.00 undercoating, suspension paint, primer 258.00 more plus the original 315.00 = 573.00. subtract the 15.00 I got for the relay I sold and total expenditures are at 558.00 so far.  JP |
|
Appreciate
0
|
| 04-28-2013, 09:09 PM | #107 |
|
Captain
    40
Rep 679
Posts |
progress lately looks like not much is going on...but Im leveling the trailer front to back, left to right and positioning the trailer tongue. I am trying to find dead center on this car which is not all that easy...I get to 1/8" and then Im just not sure....side to side is very close up front. Its in the diff cradle that Im finding it tough to find good measuring points.
Im hoping that 1/16" on either side will not affect the tracking of the trailer....and yeah, I measured from the tip of the trailer tongue to the hub opening's leading edge, and Im within 1/8" there too.... anyway...heres a picture or two: 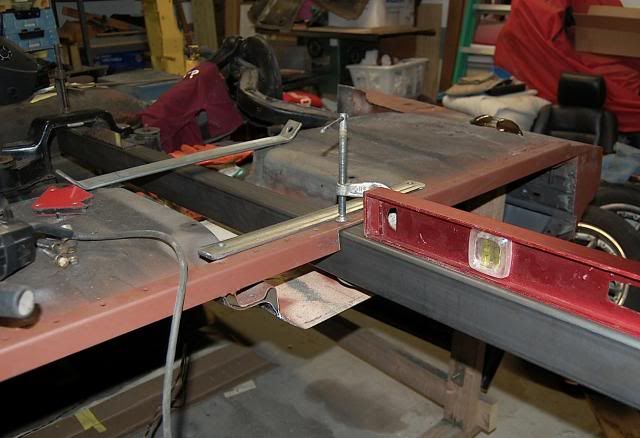 Here is the back of the tunnel welded closed. This really firmed things up too. 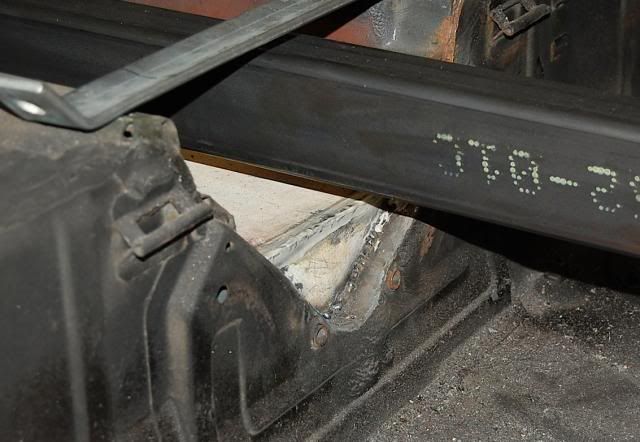 and a bit more done on the rocker panel: 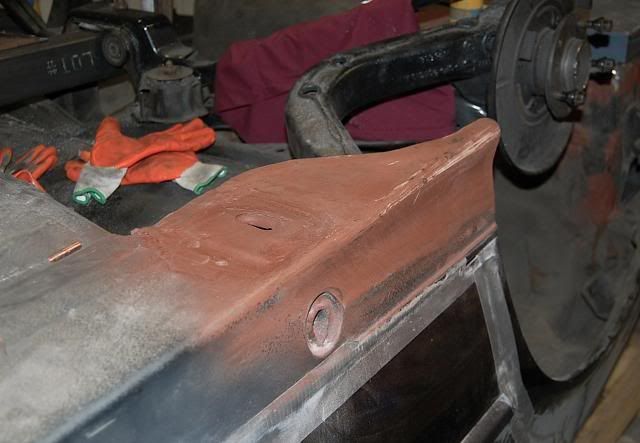 and for those of you doing some rust repair or fixing undercoating...I found this new product by rustoleum....this stuff is tough. so far I really like it and will probably end up doing the whole bottom of the trailer. 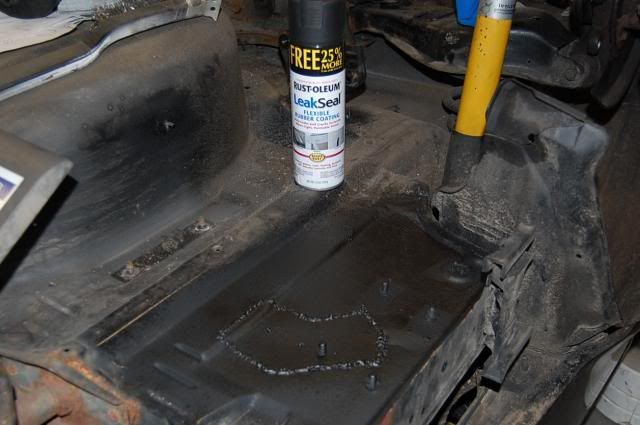 Im welding in some triangular gussets to the front angle iron to help support the trailer tongue...this should be done soon.... I ran out of welding gas and wire at the same time...I guess its time for more supplies! JP |
|
Appreciate
0
|
| 04-30-2013, 09:00 AM | #108 |
|
Captain
    40
Rep 679
Posts |
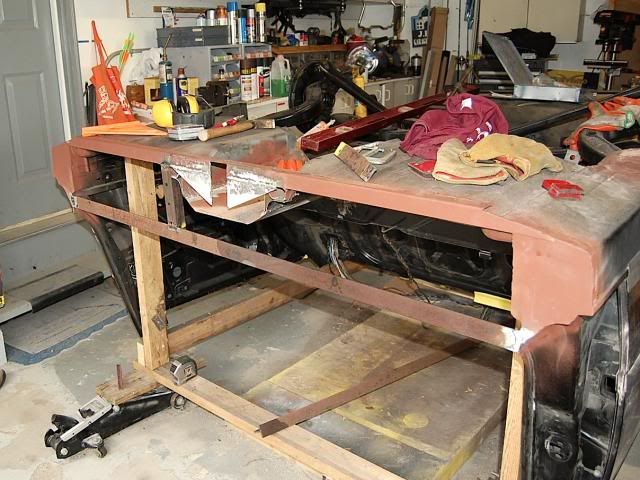
I was able to figure out a pretty big design and structural feature on the front of the trailer yesterday evening. I placed a piece of steel at the top of the rocker boxes (when its rightside up!) and moved it up and down until I liked the placement. This works for both for the lower front panel overall and it allows me the option to build a hinged or fixed panel to the curved part of the "B pillar".
 Heres a vertical brace I cut and shaped to fit on either side of the tongue that also ties together the bottom of the trailer and the new piece of steel.....Welds on 1/8 steel are getting better..... 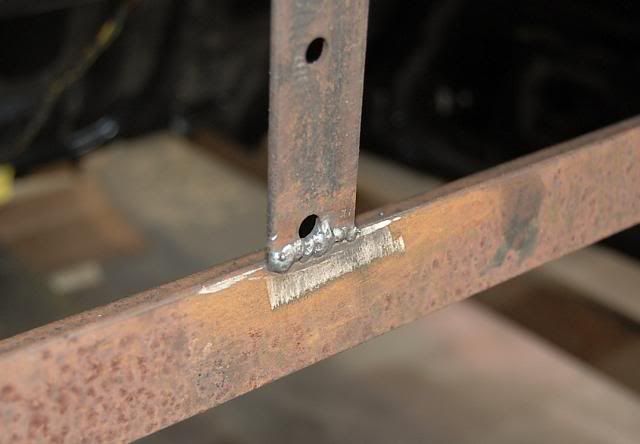 and the latest from the bondo can.... 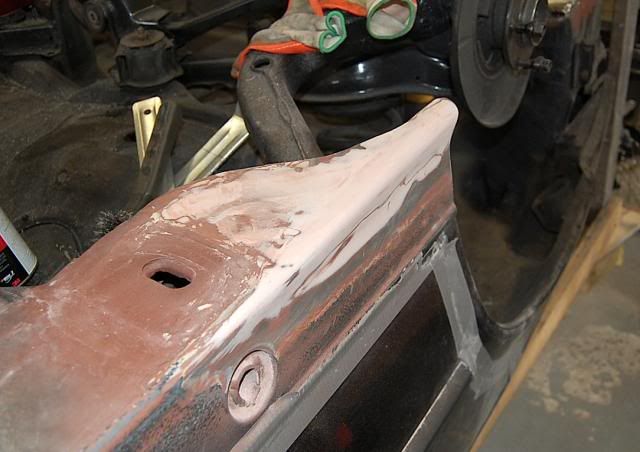 more later.....the countdown continues! JP |
|
Appreciate
0
|
| 04-30-2013, 07:40 PM | #110 |
|
Captain
    40
Rep 679
Posts |
tell me about it....Im keeping my eyes on the prize, though!....
the way I want this to look, there is a lot of work left...but the major structural work is almost done!....All thats left now is to bolt and weld the tongue in place!.... Then I can flip this bad boy back over!......when it rolls around on it own two wheels, I will be one happy camper!.... JP |
|
Appreciate
0
|
 |
| Bookmarks |
|
|