

|
|
 |
 |
 |
|
 |
BMW Garage | BMW Meets | Register | Today's Posts | Search |
 |

|
BMW 3-Series (E90 E92) Forum
>
DIY: 2008 335i E92 Coupe Windshield Molding Replacement
|
 |
| 06-28-2014, 11:27 AM | #1 |
|
Private
 17
Rep 98
Posts |
DIY: 2008 335i E92 Coupe Windshield Molding Replacement
I thought I would post this, I found a few other DIY's but all were for cars with the top strip only. My 2008 335i windshield weather trim / reveal molding was in very rough shape (top and sides). It was actually flapping in the wind, and chunks flying off as I was driving it got so bad. The other guides gave me the courage to replace myself, so I thought I'd offer the same encouragement.
The Problem: Don't ask why these things are such garbage. Seems like everyone has issues with this trim. My rear windshield is perfect, so I find it hard to believe it's just the sun or the heat. The materials used on the front trim must be horrible: 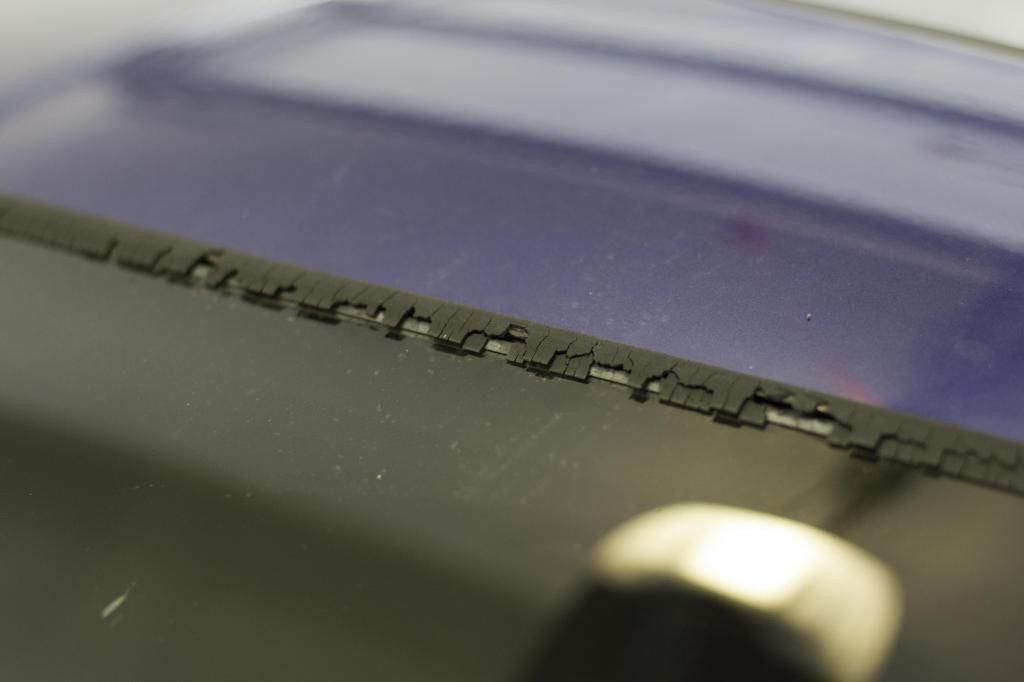  The Tools: For scraping away residue & helping lift some of the molding 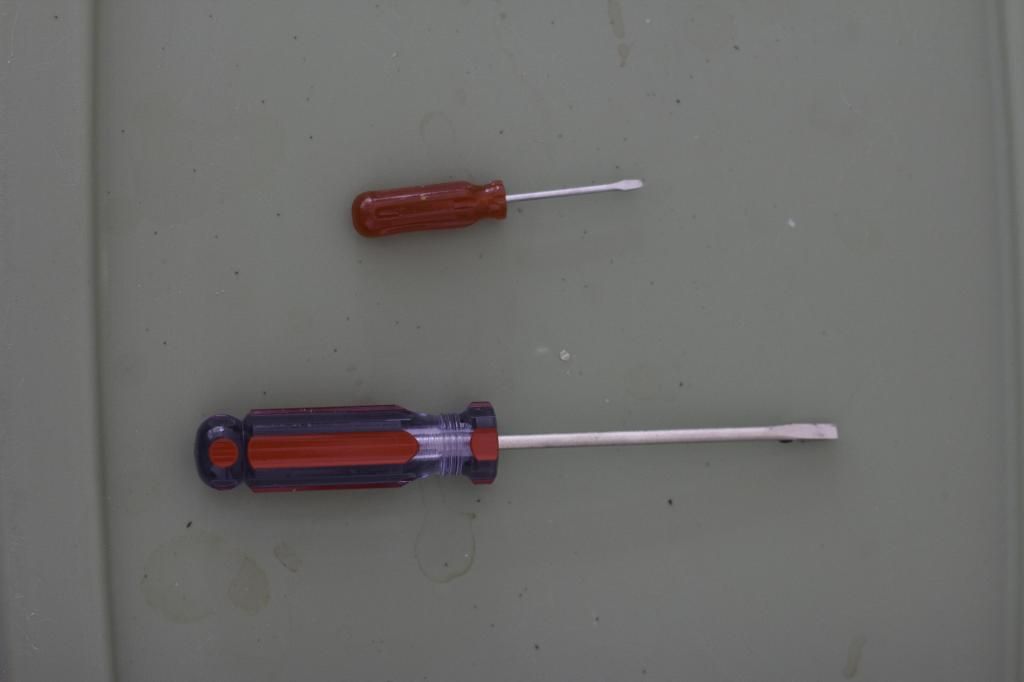 For wiping away the residue and cleaning prior to installing the new molding: 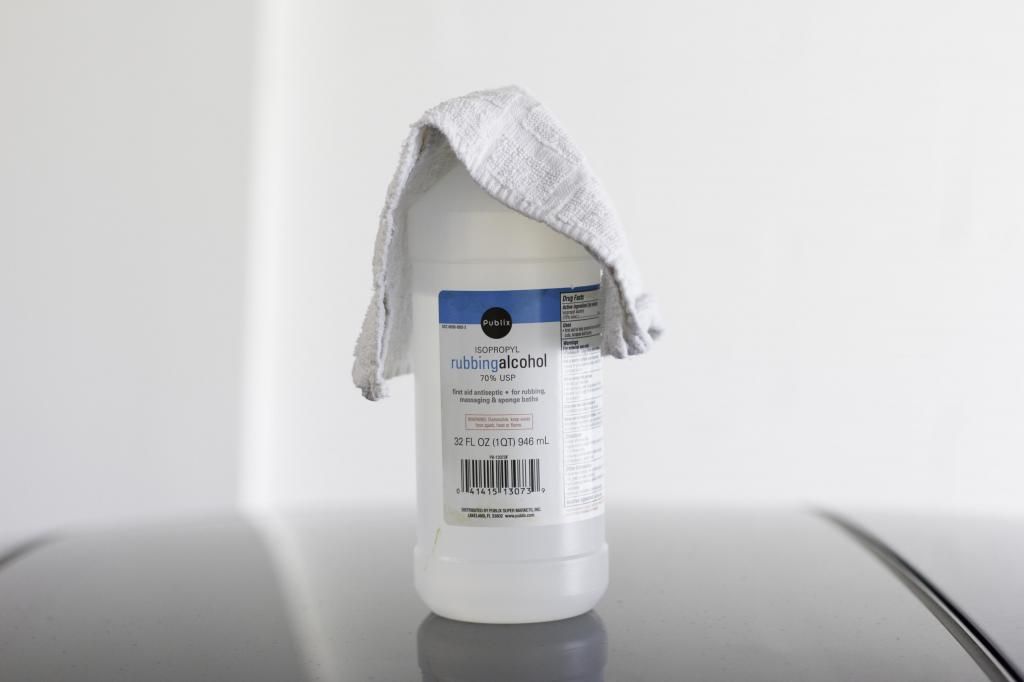 For the wiping, my hands were getting raw from rubbing with alcohol, this helped: 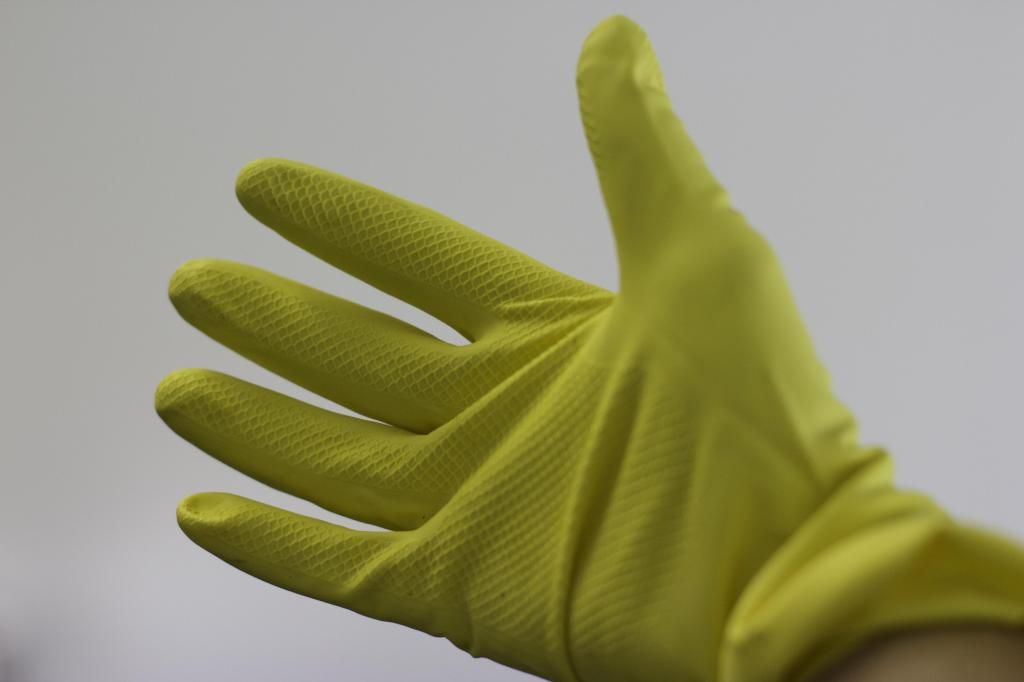 For blowing out the debris after peeling the old molding off. Vacuum would work also, but this was way faster: 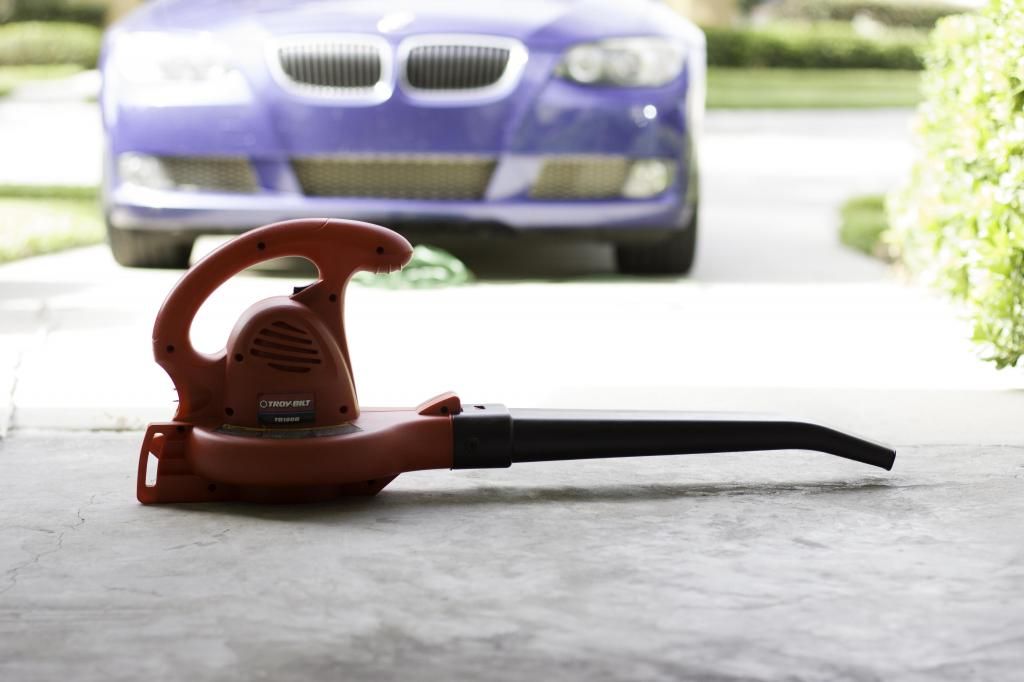 For the sweat (I'm in Florida and it's hotter than #$ now):  For the frustration of cleaning (the residue left behind on the side moldings was very tedious to clean):  The new part, OEM from my local dealer for $46, the top and sides are all one big pieces (only having to do the top would have made this MUCH easier): 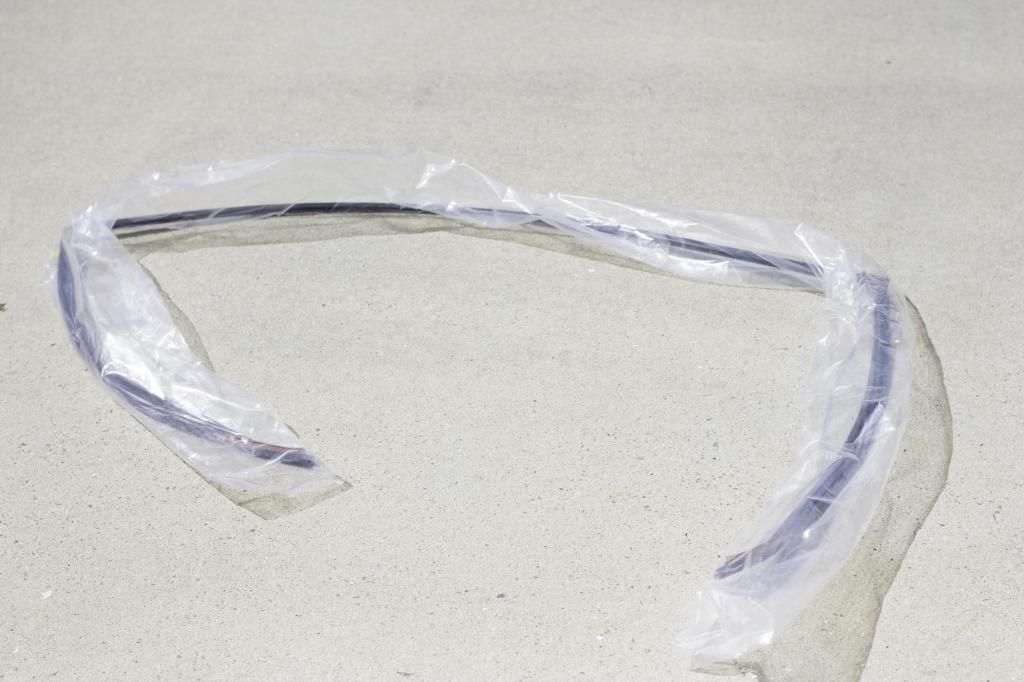 The Process: I started removing the old trim with the front right side (closest to the hood/windshield wipers), and I believe this is the right approach. I didn't remove any of the loose chunks or debris first, I started by pulling out the main "C" channel that fits around the windshield. It was easy to get the trim started from under the windshield, and from there I just carefully pulled away from the windshield, working my way towards the top, then along the top, then I moved to the front left side and started from the bottom and worked my way back towards the top until the entire molding channel was out. The only area that got a little tight was near the top sides of the windshield just before transitioning to the top piece. Overall removing the trim was easy, I didn't have to pry anything with screwdrivers or knifes like other DIY guides suggest, I just used my hands. It did break apart several times, and leave behind the flaky and degraded chunks all along the windshield and paint, so I worked on these next very carefully with a flat head screw driver and my fingers, lightly scraping away the pieces of molding that were still stuck to the car from the leftover glue residue. I don't have any pictures during this process as my hands were filthy and I didn't want to grime up my camera. This is what the windshield looked like after I removed the molding, and prior to cleaning: 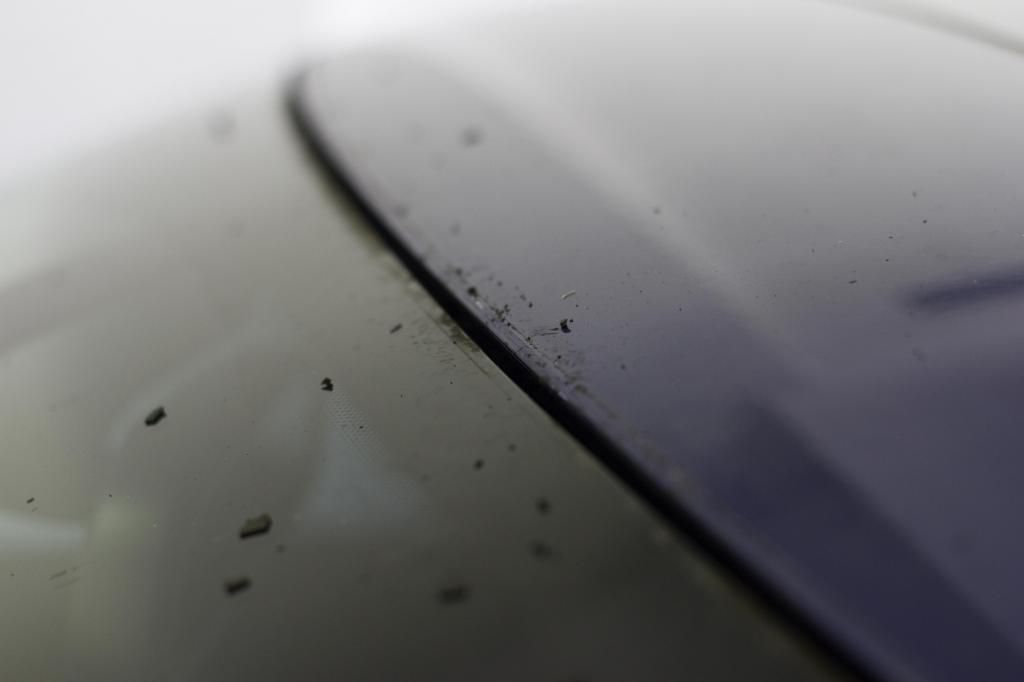 This crap was all over my garage: 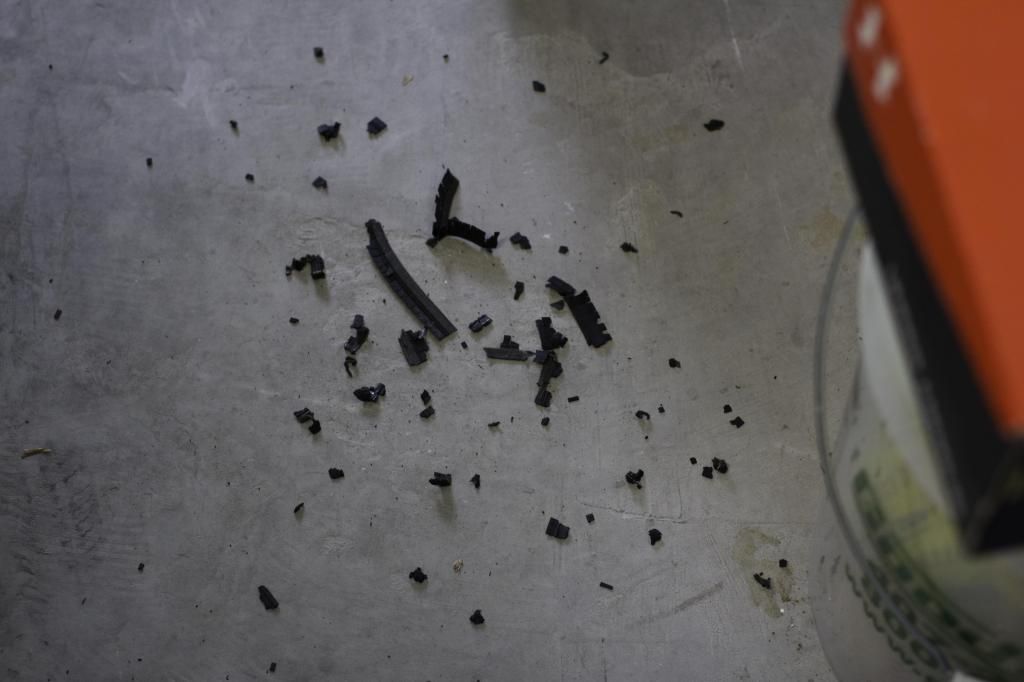 The sides were the biggest frustration and over 50% of the time spent. I'm jealous of cars that only have the top to deal with. The old adhesive just wasn't letting go of some of the molding, so I had to tediously scrape with screwdriver and rub with alcohol. 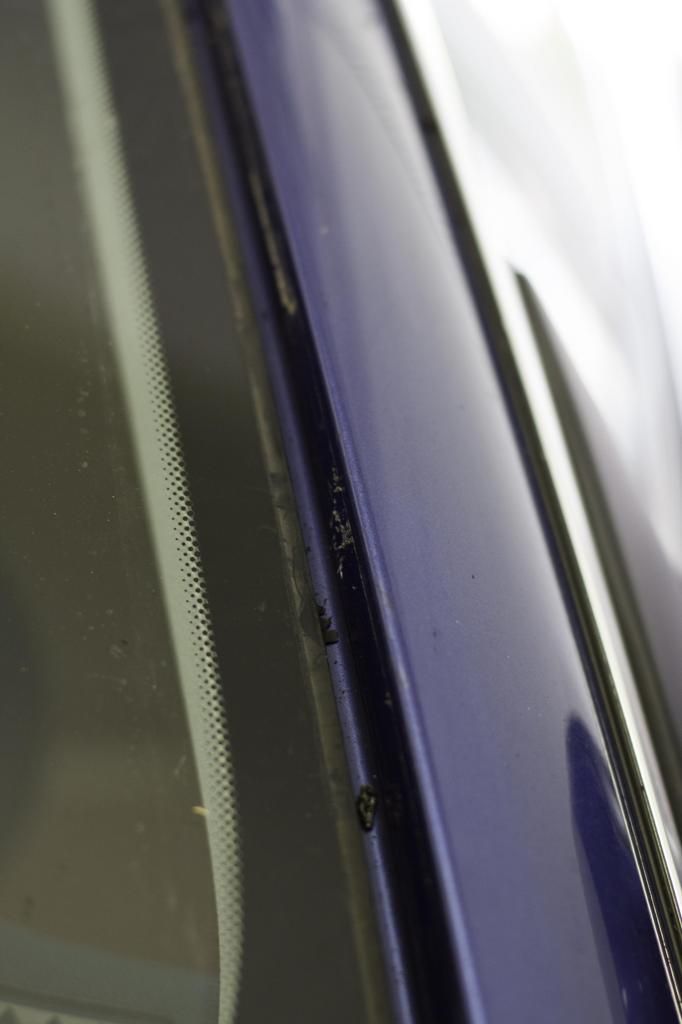 After thoroughly cleaning with alcohol and towel, the car looked as follows. (Note, I wasn't able to completely remove all traces of the old residue, but you could barely feel it with a fingernail so I proceeded). I believe this is where the majority of your effort should be spent, in cleaning prior to installing the new molding: 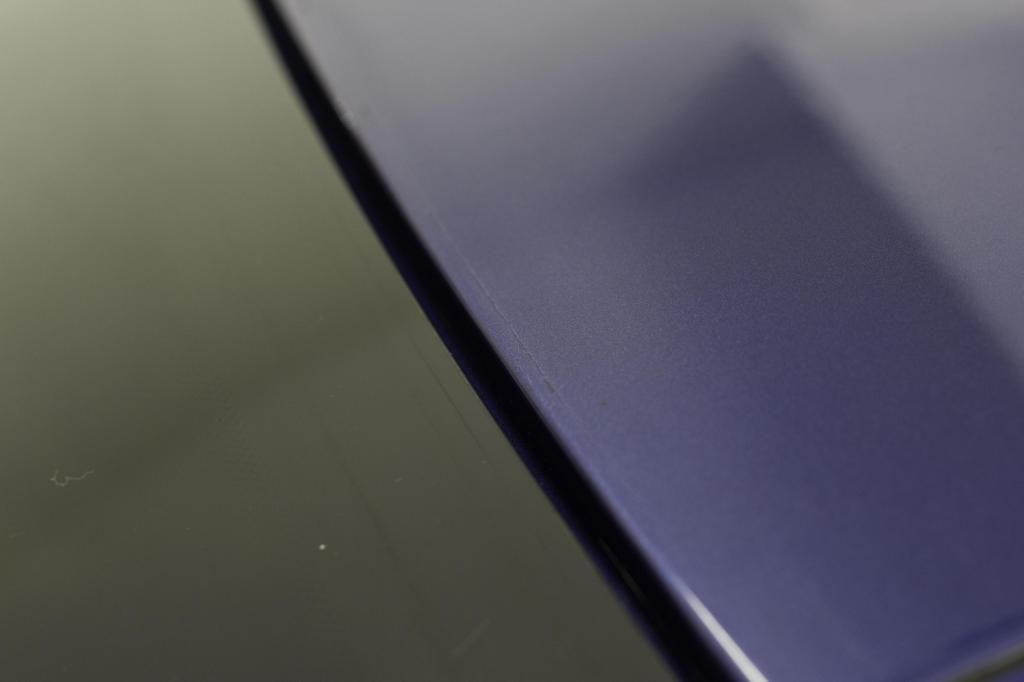 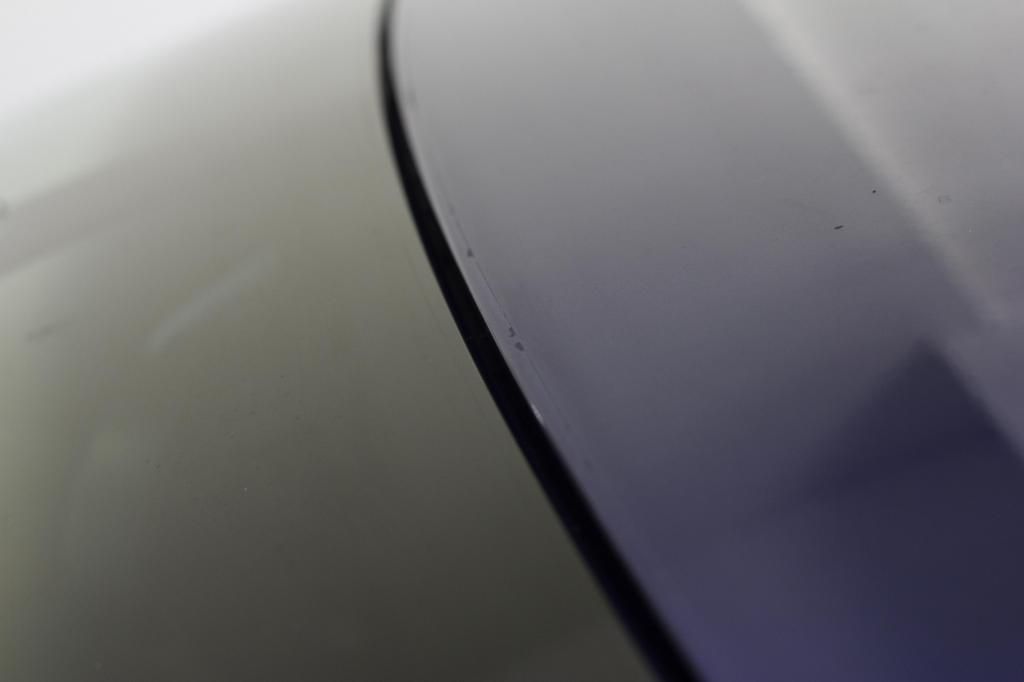 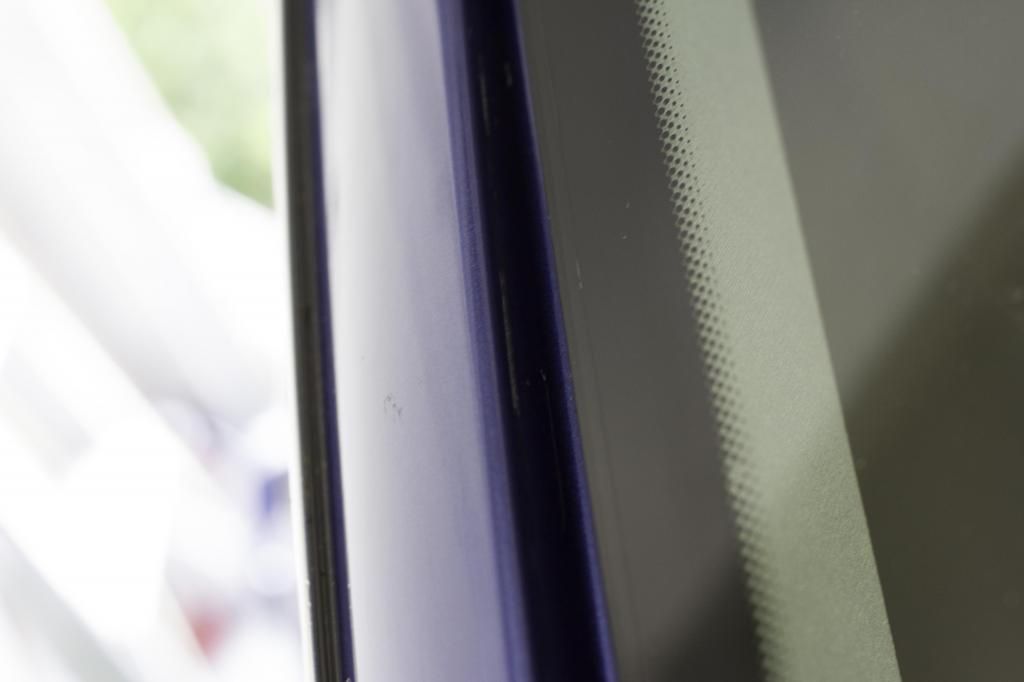 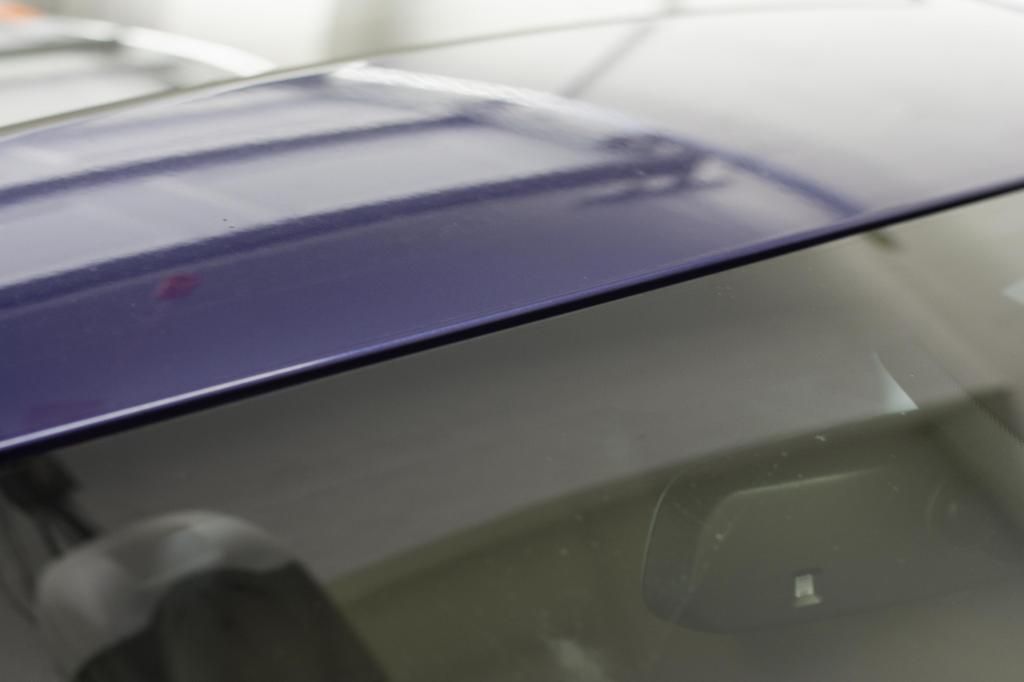 Installing the New Molding This surprisingly wasn't that difficult. I did have to do a bit of trial and error as to where I started, and sharing this is one of the main purposes for me wanting to start this thread. Starting at the top is NOT the best way. It was impossible to get everything lined up correctly. What ended up working quite well for me, was starting on the top left SIDE. Pushing by hand, it was easy to force the new molding, and particularly the "C" channel into the groove between windshield and car, and as I pushed on it you could feel it work it's way under the windshield. I then continued with the side, working towards the bottom of the windshield. I had to peel the molding out and restart this once, because I started with the molding too high, and I ended up having a gap at the bottom of the windshield. The way I corrected this, was I payed close attention to the old witness mark where the corner rested, and made sure I started at that same location. Once the first side was pressed into place, the molding looked like this: 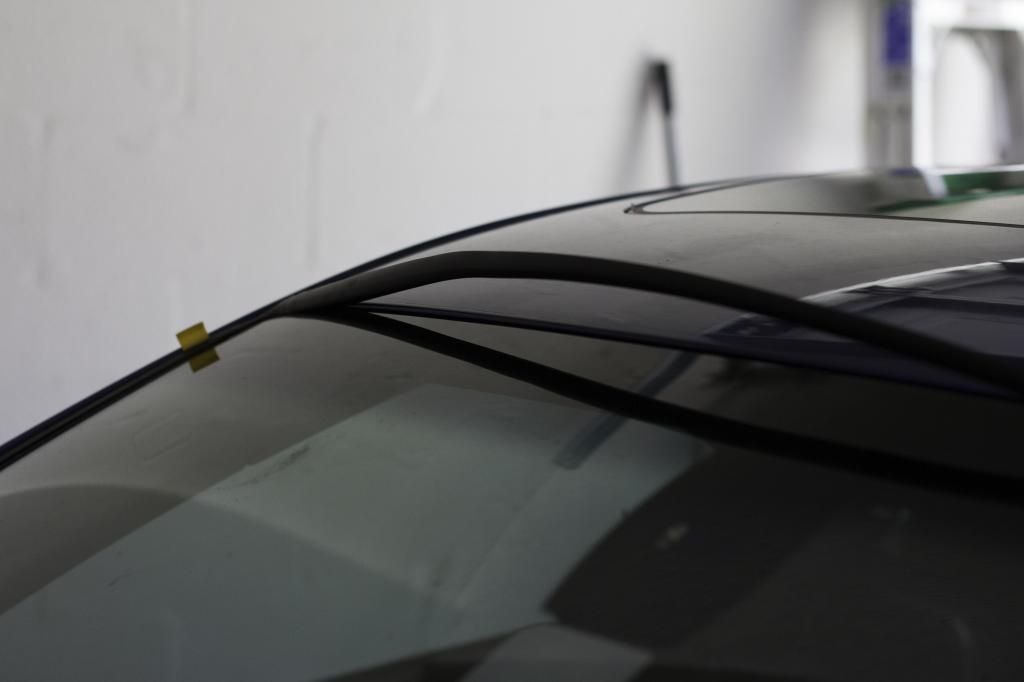 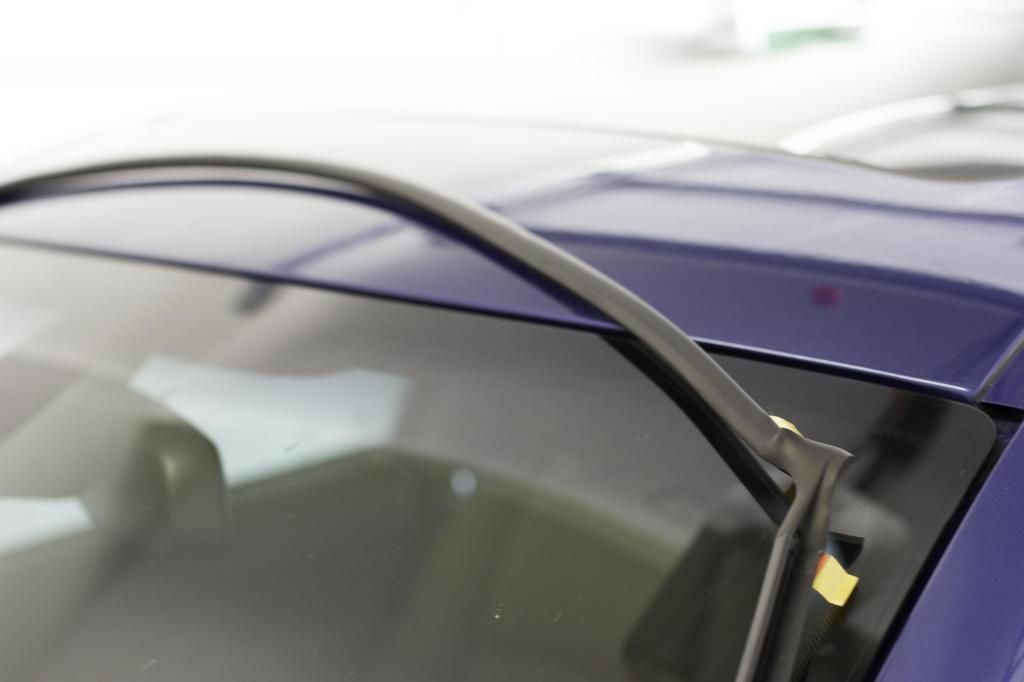 Now work on the top, starting nearest to the side you have already pressed in place. The top went into place easily, the only trick is making sure you are stretching the molding out enough to where the corner won't fall short of the side that is still left to be done. To ensure this didn't happen, I would press in about 12 inches of the top, then pull firmly on it towards the side of the car, to make sure I was keeping the molding stretched out. Then keep installing, working your way towards the side that is still uninstalled. If all goes well, your corner will line up perfectly like this: 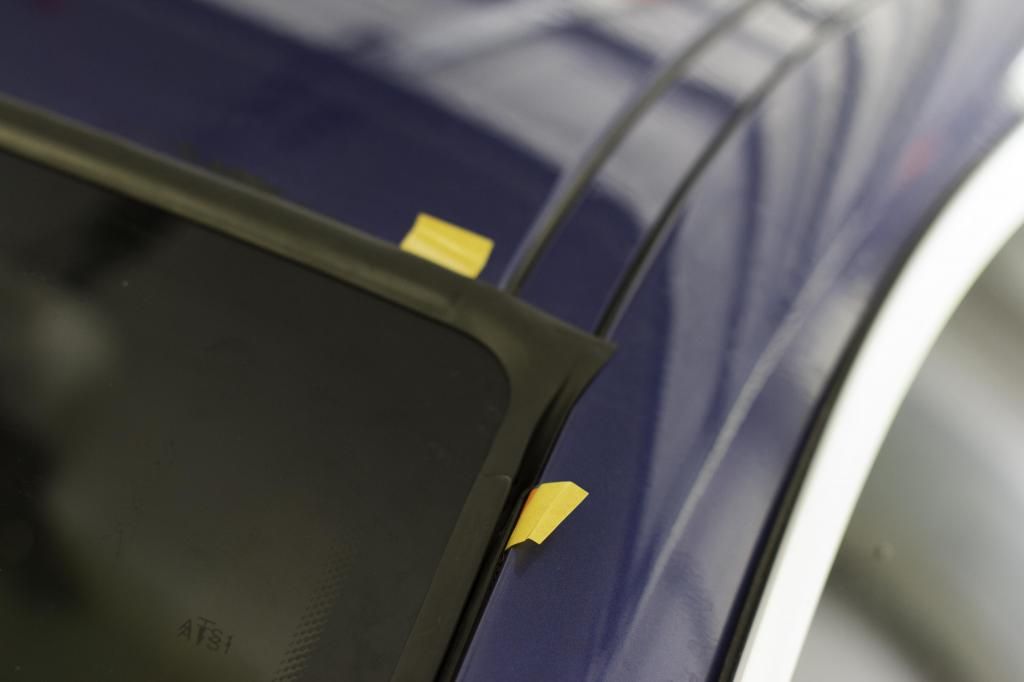 Then, simply finish the last side, continuing from the top and working your way down to the bottom of the windshield. Overall you have to press somewhat firmly to get the new molding seated correctly, but again, it wasn't as difficult as I thought it was going to be. If you haven't noticed by now, you DO NOT REMOVE THE ADHESIVE TABS PRIOR TO INSTALLING. LEAVE THEM UNTIL THE VERY END! Once you have the new molding in place, pull on these tabs, there is one for each side (2 sides, and top). The tabs and adhesive cover peel off very easily. Then I just went along and pressed firmly on the molding one last time with a towel and my hands to ensure the new adhesive was seated against the paint and windshield. Tada! 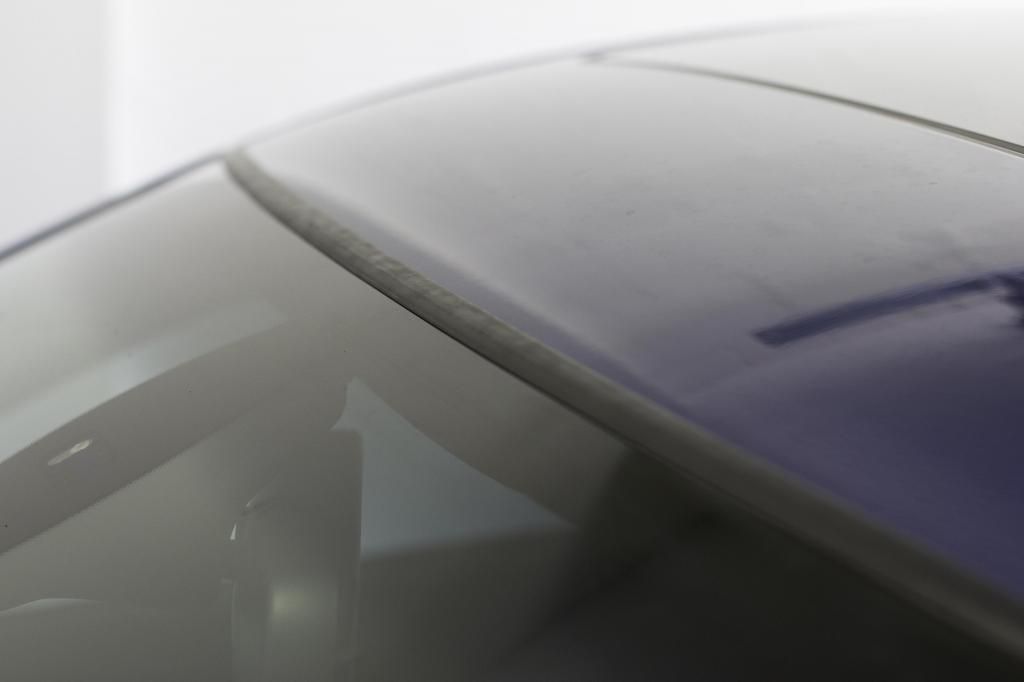 Total time spent: 1 Hour and 30 minutes, which included 15 minutes of me blowing out my garage and cleaning the old chunks of mold, drinking a beer, and documenting with photos. I would give yourself at least 45 minutes for this job if you cut out those parts. If you have a car that doesn't require the sides, then I think this is a 15-20 minute job! Hope this helps. |
| 07-29-2014, 08:49 PM | #4 |
|
First Lieutenant
  48
Rep 376
Posts |
Moldings are only $22.30 each at bmwminipartstore. Received mine today so replacing at lunch time. Doing both front and back for less than $50.
Anybody replaced rear molding? Received mine and it doesnt have adhesive like front one. I'm guessing its just clip on? Last edited by techie182; 07-29-2014 at 08:54 PM.. |
|
Appreciate
0
|
| 07-31-2014, 12:57 PM | #5 |
|
Registered
0
Rep 4
Posts |
Ordered my part today on ebay SHIPPED: BMW OEM 07-13 328i Windshield-Reveal Molding 51317119711. Cost was $32.00 with free shipping. Glad I was able to find this post for the E92, prior to finding this post, I was only finding the top molding instructions, thought I was missing something. Looking forward to doing this. Thanks for posting this.
|
|
Appreciate
0
|
| 08-04-2014, 10:41 PM | #7 |
|
I sweat pheromones
203
Rep 2,103
Posts |
Does anyone have the part number for the rear? I'm planning on painting my roof and this is the perfect opportunity to replace both front and rear weather strips.
|
|
Appreciate
0
|
| 08-04-2014, 11:03 PM | #8 |
|
Brigadier General
 181
Rep 3,393
Posts |
Awesome review. I see this happen more often than not on a lot E90s roof's that I work on. I don't understand what kind of rubber BMW switched to, but I've never seen the E36s or E46's rubber window trim get that bad that quickly.
|
|
Appreciate
0
|
| 08-24-2014, 12:06 PM | #9 |
|
New Member
0
Rep 5
Posts |
Great detailed post ! Just replaced my molding trim !
Thanks for giving me the confidence to replace my trim. Once I read your post I decided to install the trim I bought 7 months ago - but was afraid the windshield might come out if I removed the old top and sides. Took under an hour - really simple, just detailed to remove adhesive and old rubber and vacuum it all up. The new trim pressed right in place.
Thanks ! |
|
Appreciate
0
|
| 08-31-2014, 10:30 AM | #10 |
|
New Member

6
Rep 14
Posts |
|
|
Appreciate
0
|
 |
| Bookmarks |
|
|