

|
|
|
|
 |

|
 |
BMW Garage | BMW Meets | Register | Today's Posts | Search |
 |

|
BMW 3-Series (E90 E92) Forum
>
DIY How to build a Corner Subbox
|
 |
| 06-02-2012, 09:43 PM | #1 |
|
Second Lieutenant
 18
Rep 264
Posts |
DIY How to build a Corner Subbox
So I wanted to build a sub box for the 335i but didn't want to pay $300 for whats already out there. I have built a bunch of these before and I knew I wanted something stealthy and not to abrupt when you open the trunk. So I went for a simple corner sub.
To start lay blue tape in the area you decide to make your box, lay the tape beyond where you want the box to go and you can even put a couple layers on if you want. Also put some oil on the tape so the mold doesn't stick to the tape. Apply the fiberglass resin to the tape and then start to apply your fiberglass on top of that, then put more resin on top. You really only need 1-2 layers of fiberglass while its in the car. You car will smell for a couple weeks, so you don't want to do all layers in there or else it will get pretty bad. I did 6 layers. 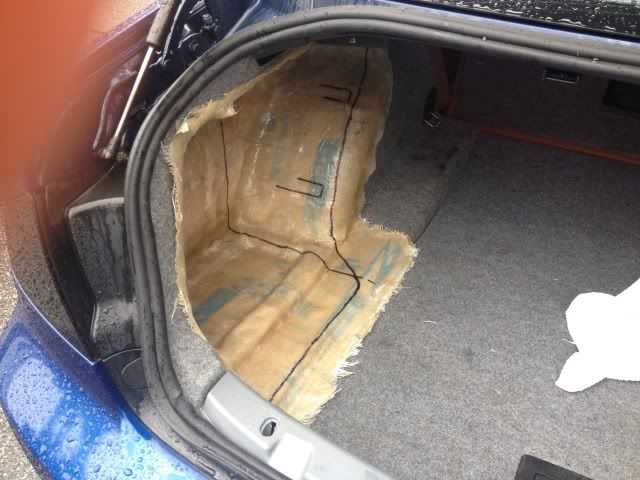 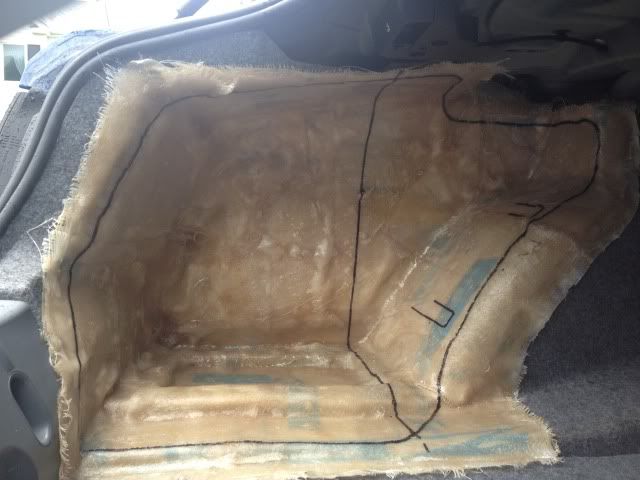 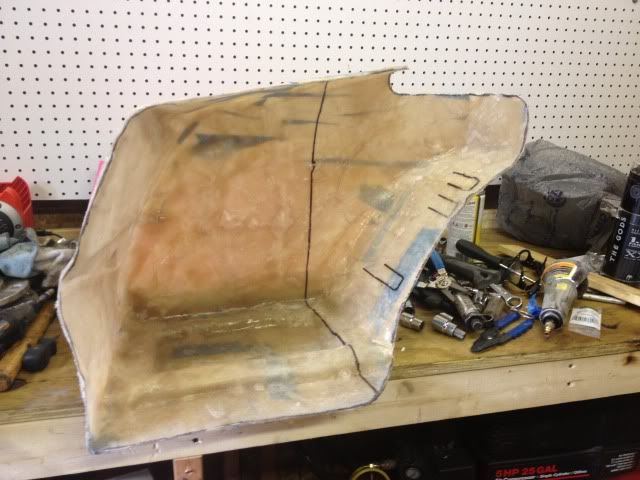 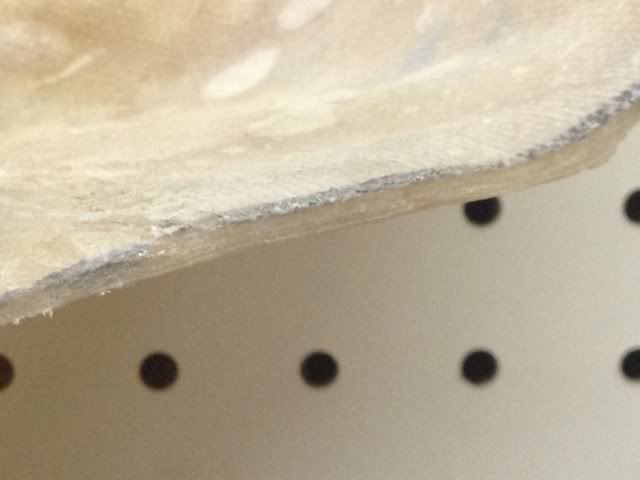 So I knew I was going to use a capacitor with my setup and like I said I wanted it all to be clean when you open the trunk so I decided to put the capacitor in the trunk. I first used construction paper to cut a template for the break point and then transferred the template to 3/4 mdf. Also at this time you can trim the box and cut it to how you want it to sit in the car. 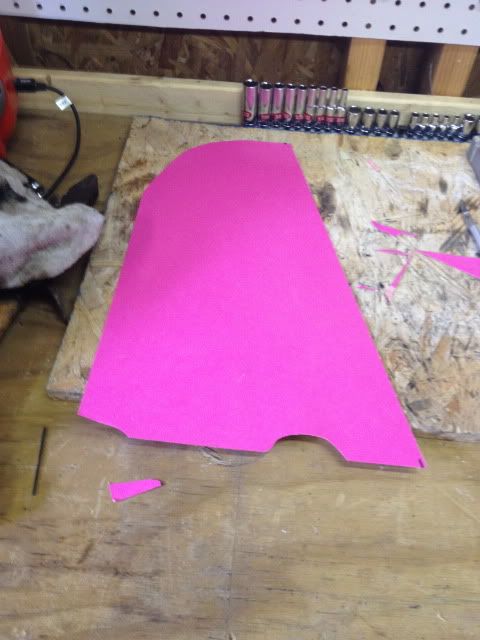 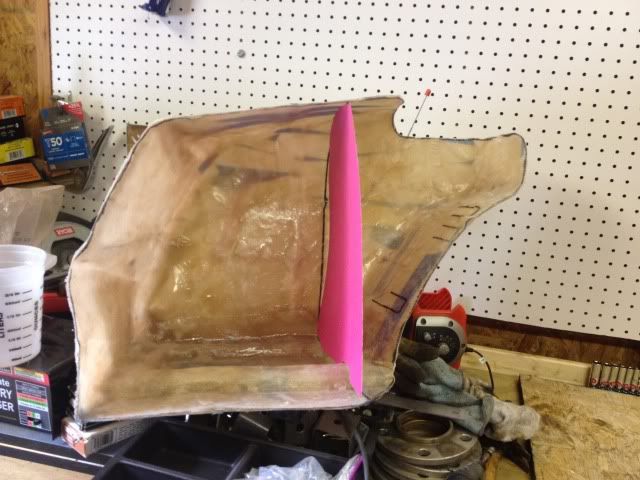 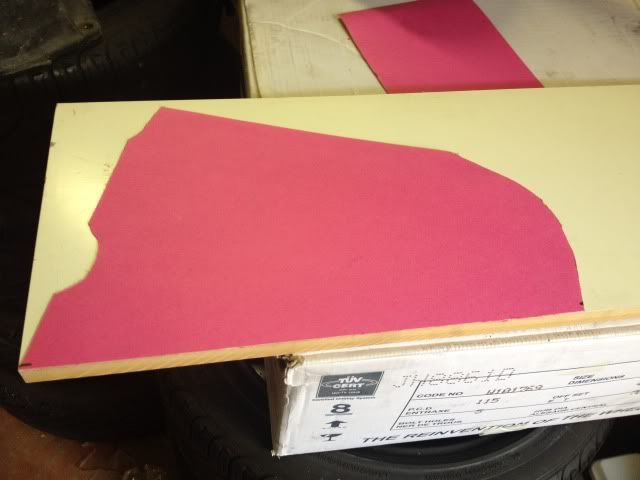 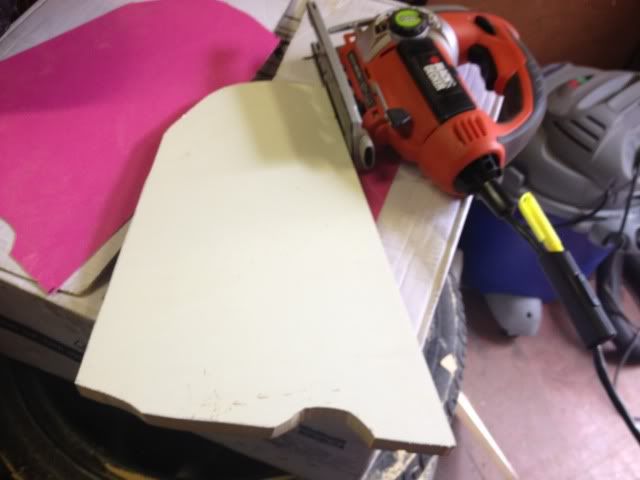 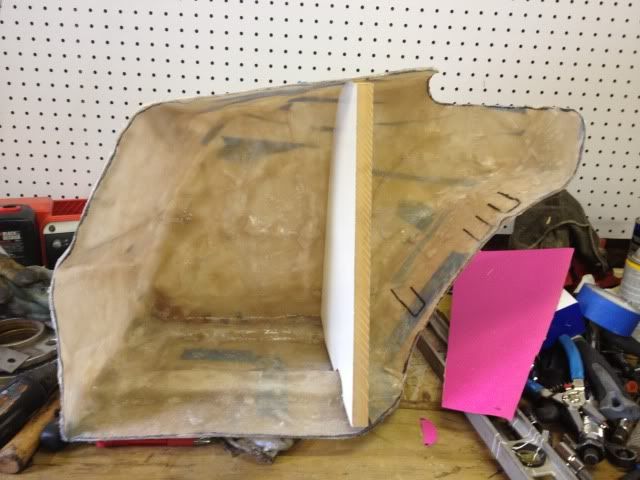 Then I fiberglassed the breakpoint section and also fiberglassed the capacitor holder. 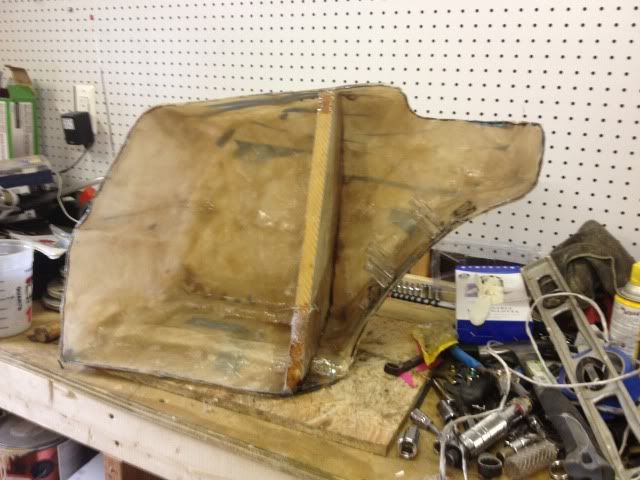 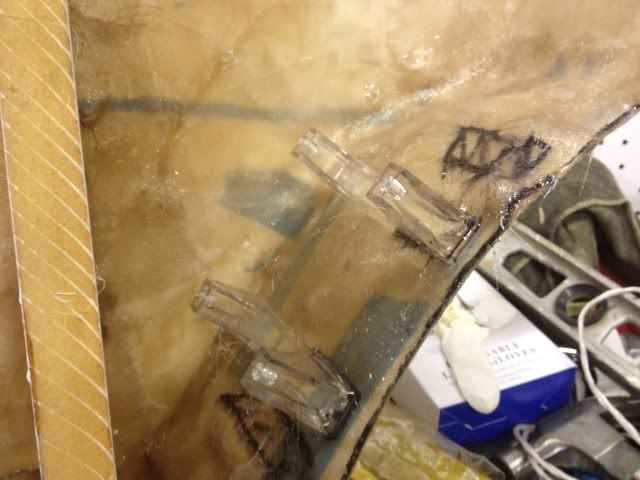 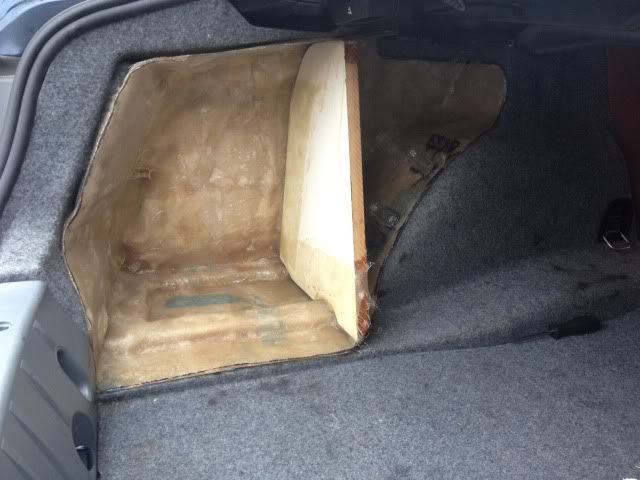 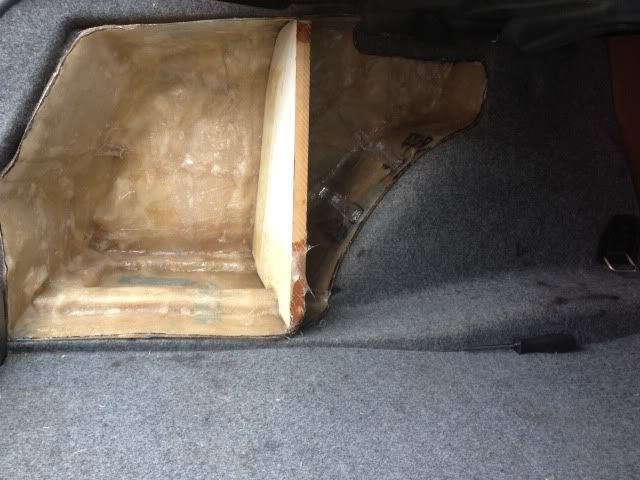 Then it was time to make the sub ring. My routing bit on my dremel wasn't working so I used a marker to make the outline and then cut out the ring with a jigsaw. I wanted the subwoofer to be flush so I also cut a 3/4" trim ring. 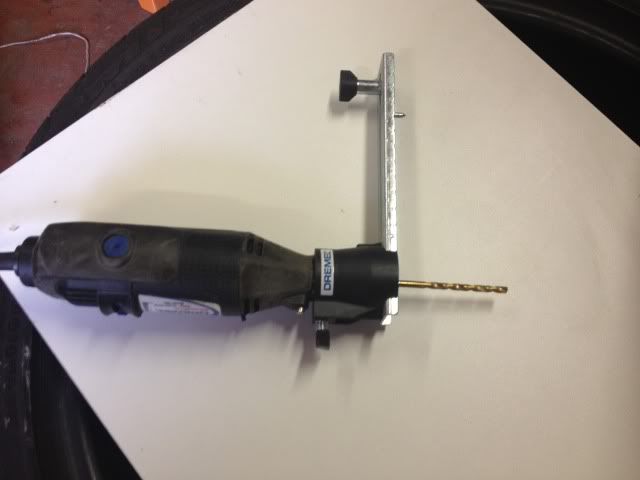 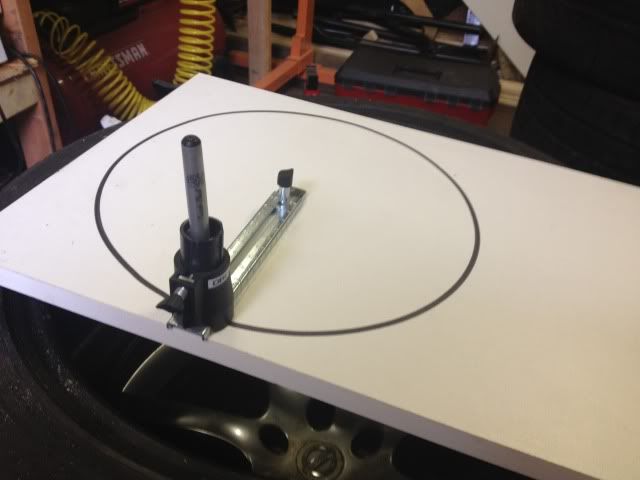 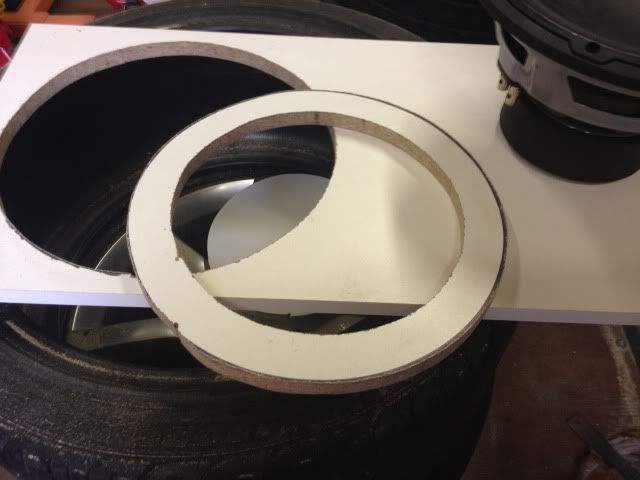 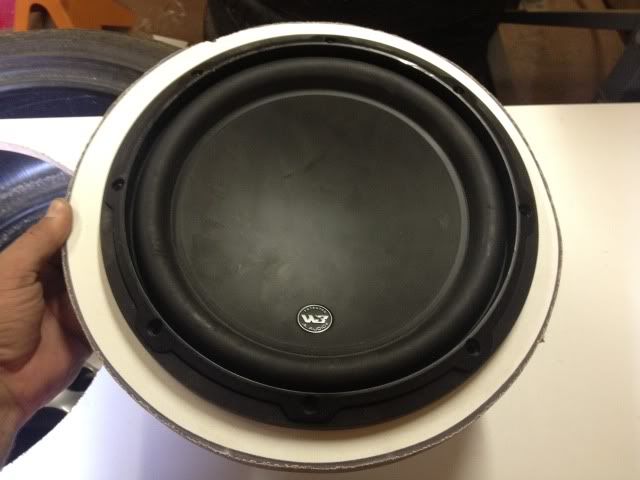 Then decide how you want the sub to sit and hot glue wooden dowels in order to hold the speaker ring in place. 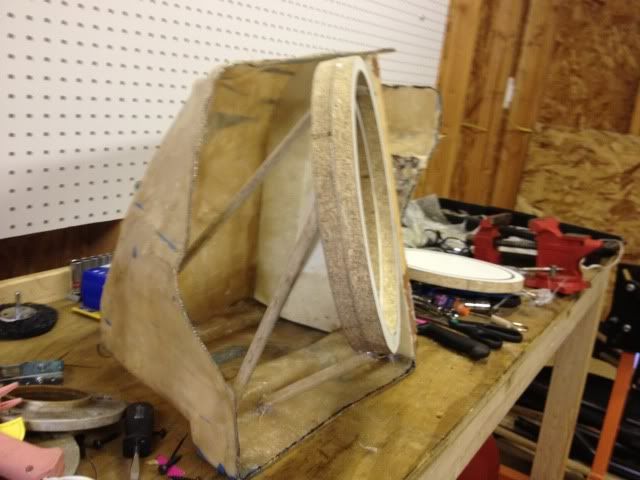 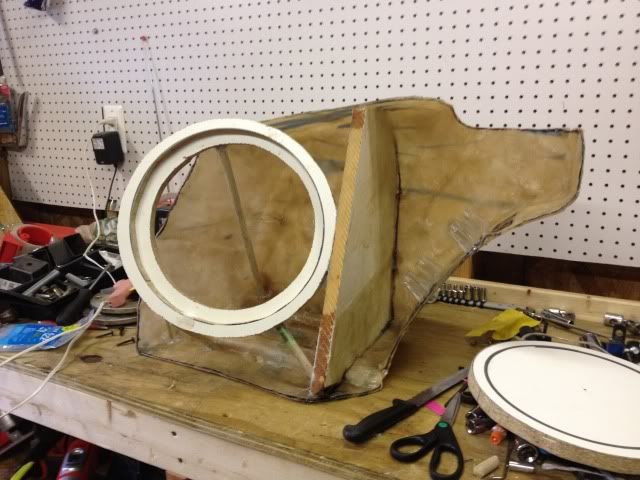 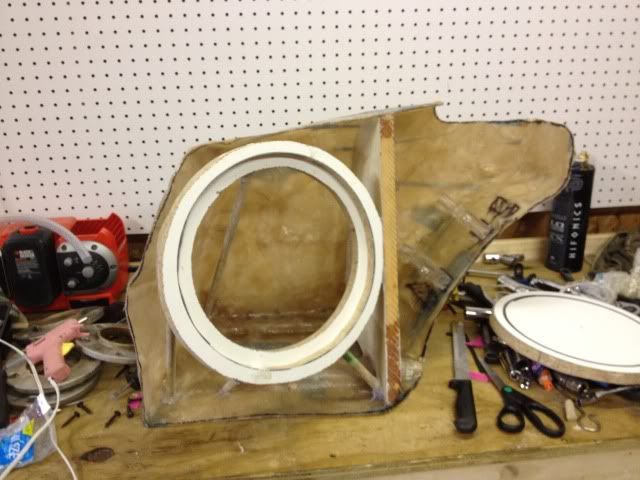 Now after you have that all placed take some stretchy fabric or shirt and cut it in half so its not layered. Spray 3m 77 glue onto the sides of the box and stretch the fabric tightly over and give it time to settle, this glue tacks right away so you can apply to fabric immediately. Then apply resin to the fabric and let it harden, don't apply to much pressure at this time or else the fabric may collapse. After its hardened apply a few layers of fiberglass. After thats hardened put some fiberglass between the sub-ring just for added strength. 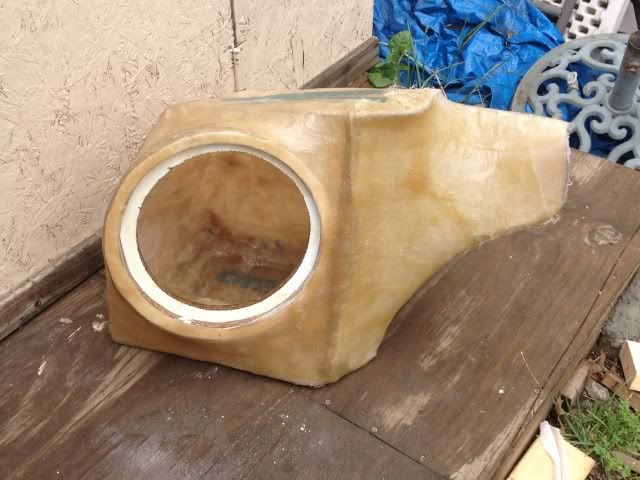 It was raining this day so I used my electric heater and an air purifier/pusher. 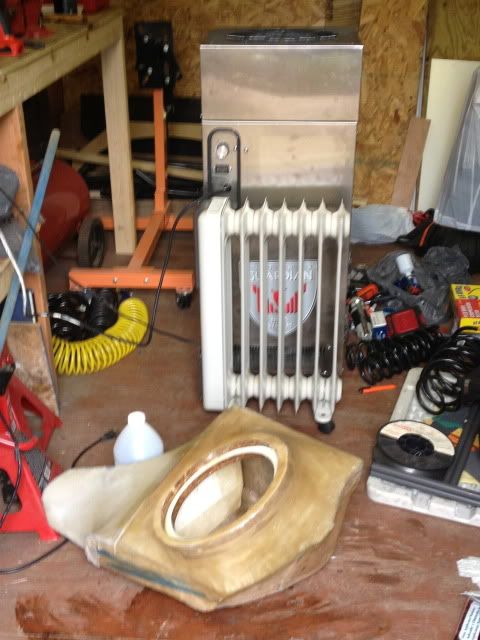 After 2 layers of bond and a lot of sanding. If your going to lay carpet over it, then it does not have to be completely smooth and filed in but if you are going to paint it then you will have a lot of work getting the waves out and filling in each pinhole because it will show. 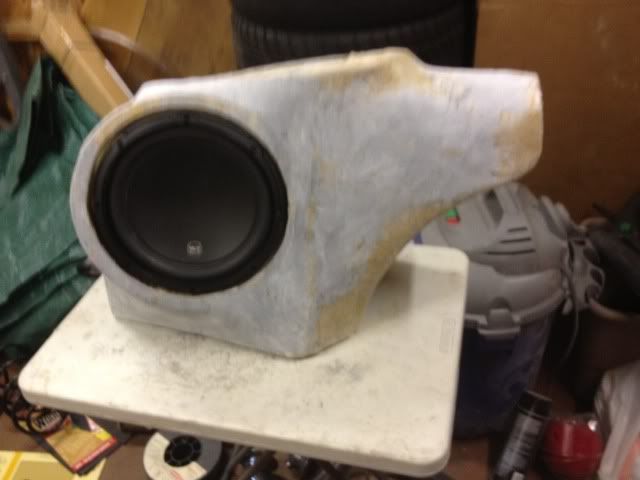 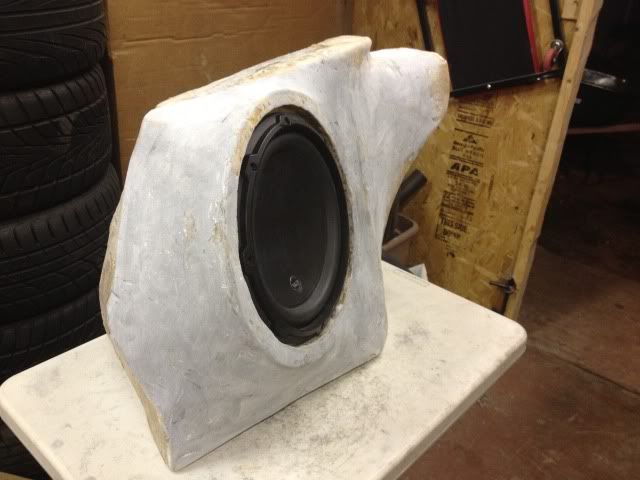 Carpeted and fit perfectly. It sits right in the tray about the logic7 amp. This setup does not move at all even under aggressive driving. It holds in there really well even without bolts or velcro. 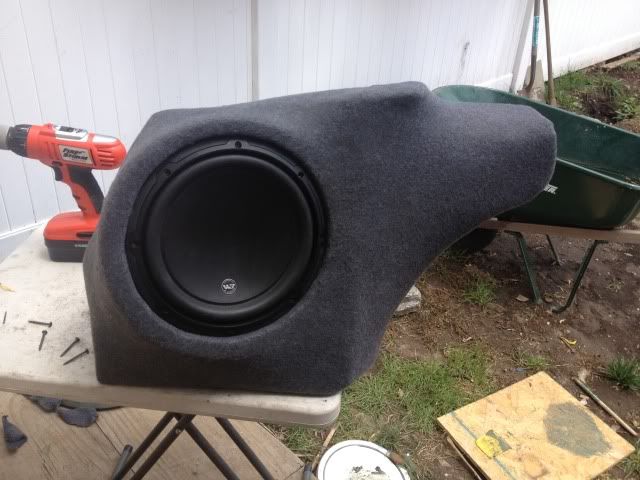 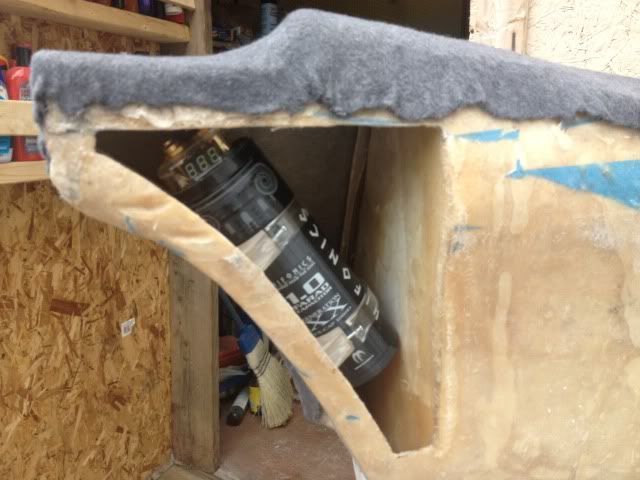 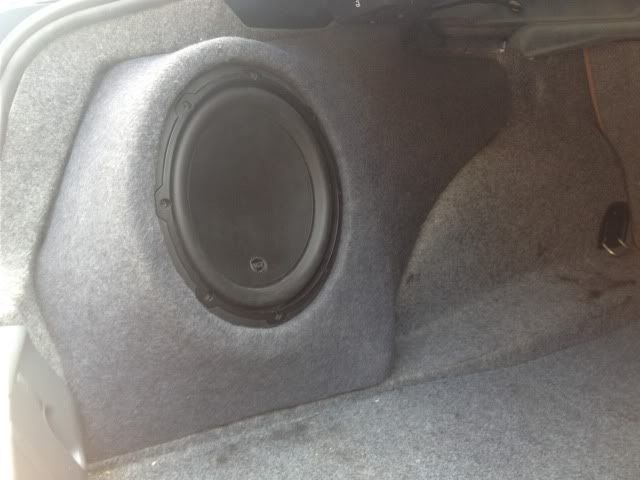 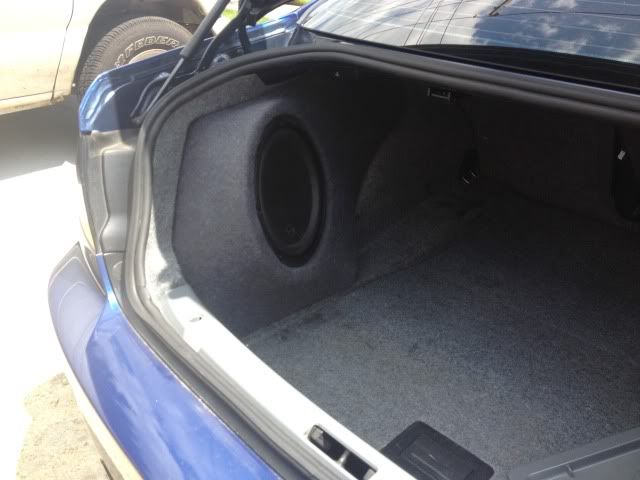 I will be covering this with a carpeted grill so its hardly noticeable |
| 06-02-2012, 11:45 PM | #2 |
|
~~~

24
Rep 592
Posts
Drives: JB 335i-M3
Join Date: Feb 2010
Location: Simi Valley
|
Very nice! hows the sound?
__________________
.
.......  ......... ......... |
|
Appreciate
0
|
| 06-09-2012, 08:49 AM | #6 | |
|
Second Lieutenant
18
Rep 264
Posts |
Quote:
|
|
|
Appreciate
0
|
| 06-13-2012, 04:59 PM | #10 | |
|
Team iTouge
121
Rep 2,101
Posts |
EPIC.
__________________
Quote:
|
|
|
Appreciate
0
|
| 06-13-2012, 11:11 PM | #12 | |
|
Second Lieutenant
18
Rep 264
Posts |
Quote:
") |
|
|
Appreciate
0
|
| 06-18-2012, 10:25 AM | #14 |
|
Second Lieutenant
18
Rep 264
Posts |
I put the amp right under the decklid. You can't see it unless you duck down and look into the trunk. If you just standing you can't see anything. For only a 250w amp it hits very hard. I have a PAC trunkloc connected to my factory suns so I can adjust the bass for the sub right from the front and don't had to adjust the amp. I have the bass boost on the amp off and the bass completely turned down on the factory settings and it still hits very hard.
|
|
Appreciate
0
|
| 06-20-2012, 11:03 AM | #15 | |
|
New Member


0
Rep 6
Posts |
Quote:
|
|
|
Appreciate
0
|
| 06-20-2012, 10:36 PM | #16 |
|
Lieutenant Colonel

136
Rep 1,598
Posts |
Great DIY Guide
I was wondering where are you located and will you be taking orders? cuz i'd buy one, maybe two. I'd do it myself but no tools or garage to work in. |
|
Appreciate
0
|
| 06-20-2012, 10:45 PM | #17 | |
|
Second Lieutenant
18
Rep 264
Posts |
Quote:
|
|
|
Appreciate
0
|
| 06-26-2012, 12:12 PM | #19 |
|
New Member
3
Rep 15
Posts |
I've started this too, at the stage of displaying the matle for the sub. Need to go and get a heat gun and some putty tonight and will hopefully have it placed up and puttied. Sanding tomorrow!
|
|
Appreciate
0
|
 |
| Bookmarks |
|
|


