UPDATE:
I made an official superthread with all the info from this thread complied into one post: http://www.e90post.com/forums/showth...8#post16367768
So this thread will continue to be useful for those that want the history and all the discussion that went into the new thread, but for those who want to just get right down to it, go to the new thread.
And for anyone looking to ask questions about their install, post their own pics or experiences, please feel free to do so on the new thread.
you guys didnt waste any time finding that!!!
Yeah, lots of info.... ask questions, I have answers. Keep in mind the forum rules about commercial threads though since this is the business Im in.....lets keep it Q&A. Commercial inquires can be done elsewhere, click on my signature.
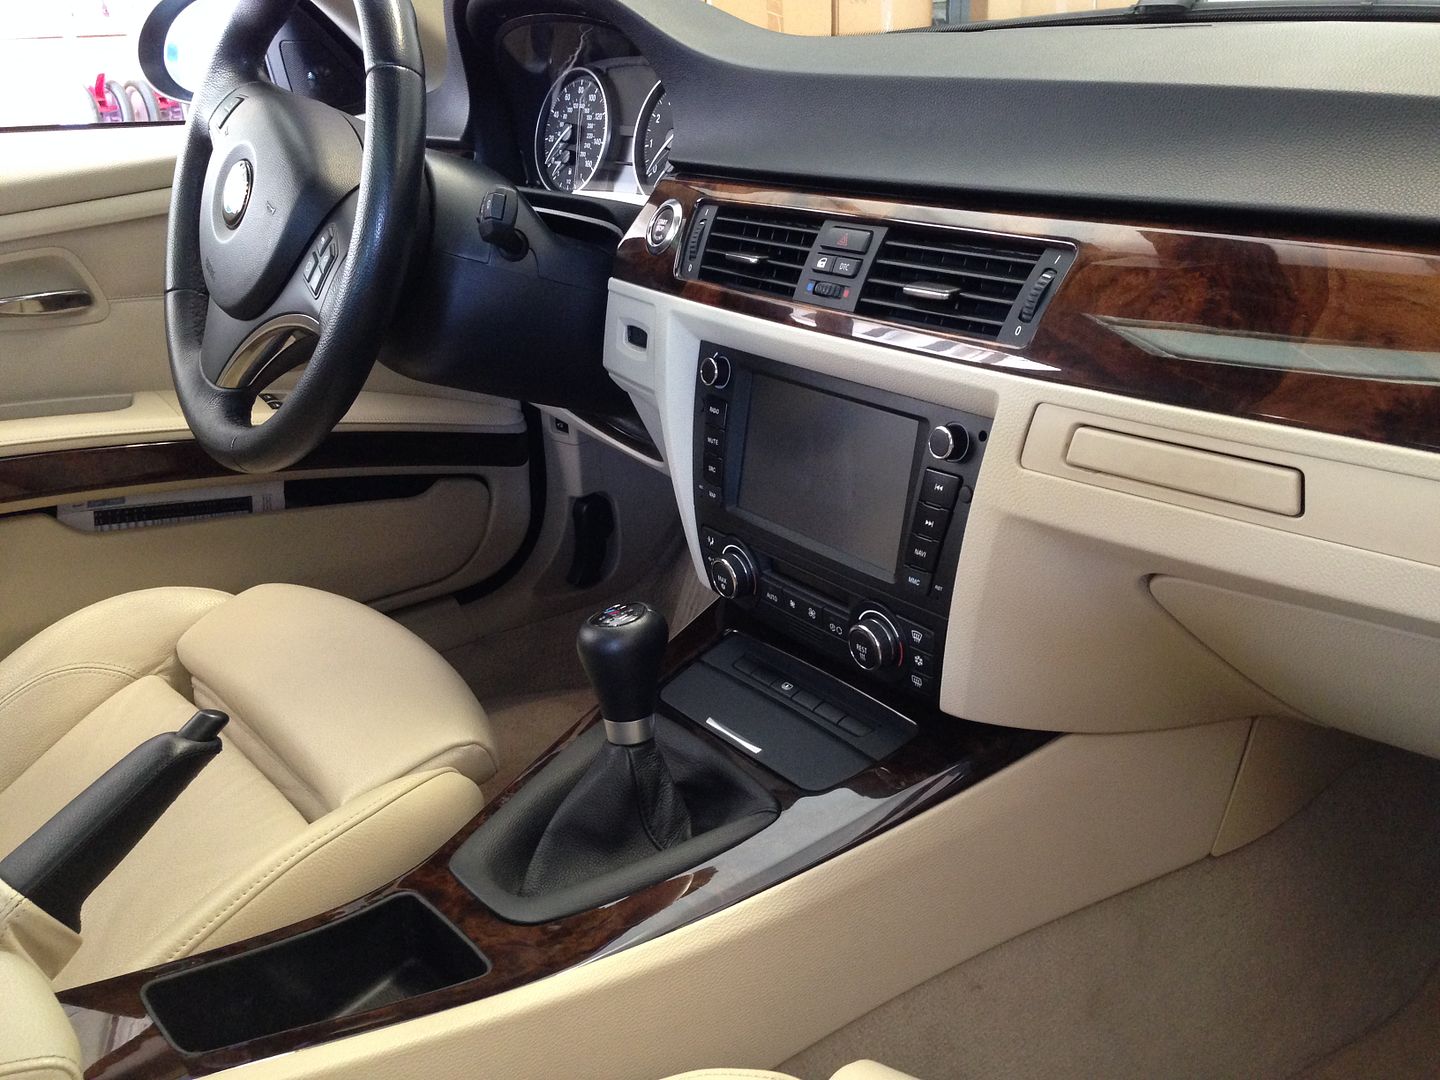
I thought I would give you guys an idea of what the install is like....pretty straightforward. I didnt cover EVERYTHING here as there will be some variation between installs depending on what you are starting with and where you are going....but what I cover here is pretty universal to all installs and should give you a rough idea of what you are getting into.
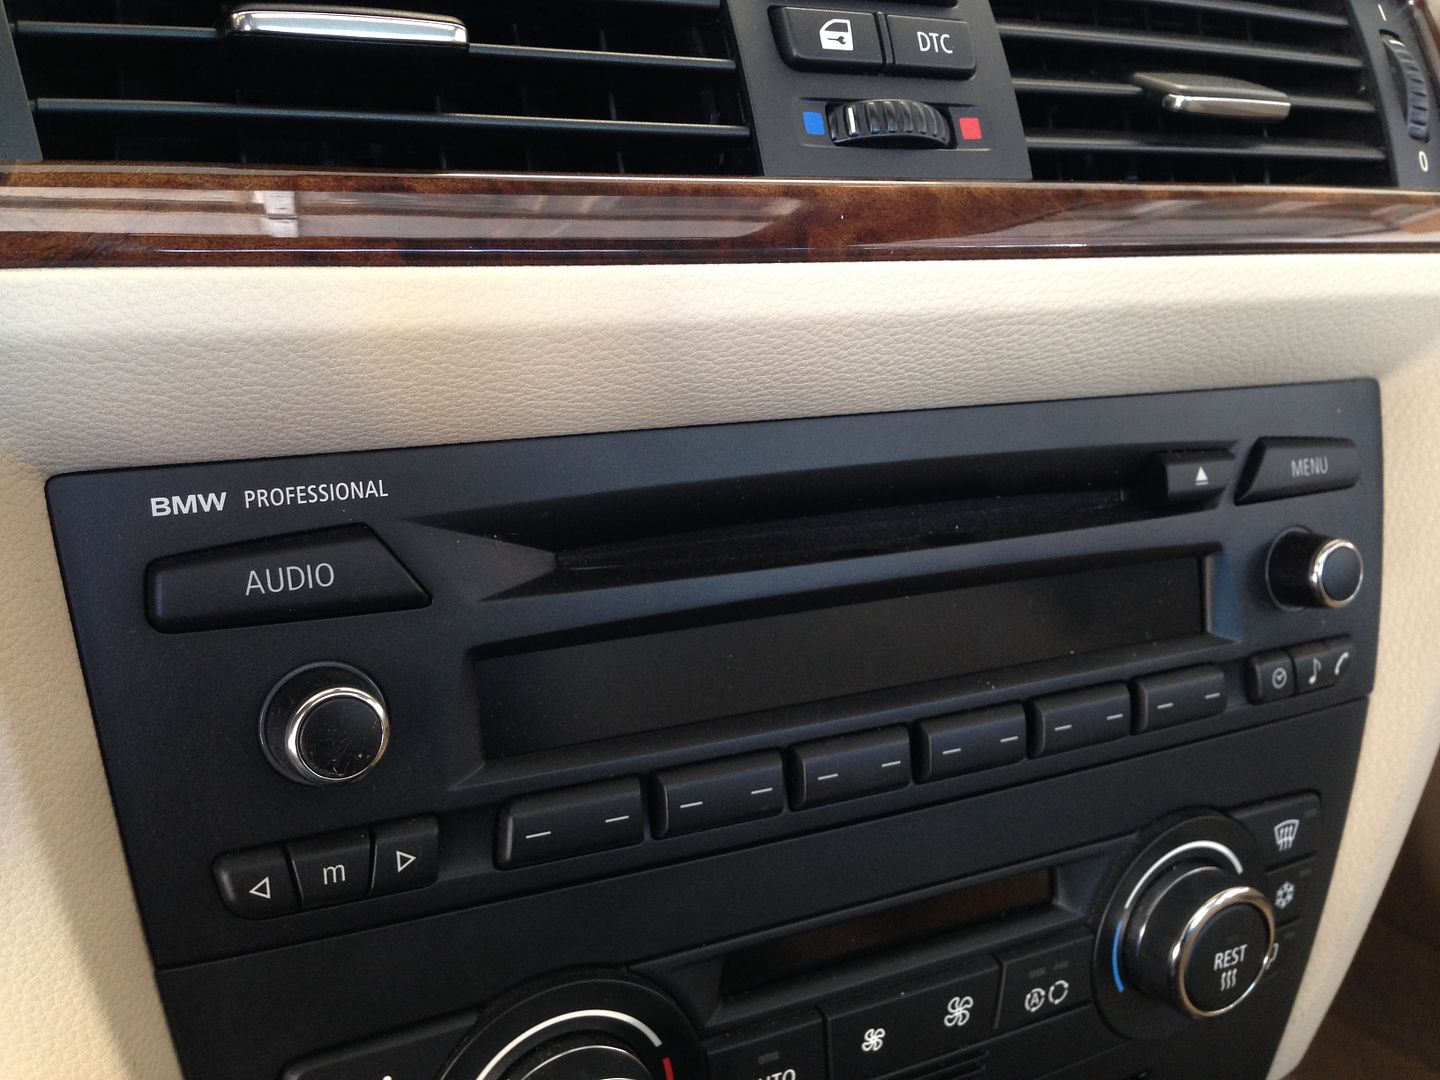
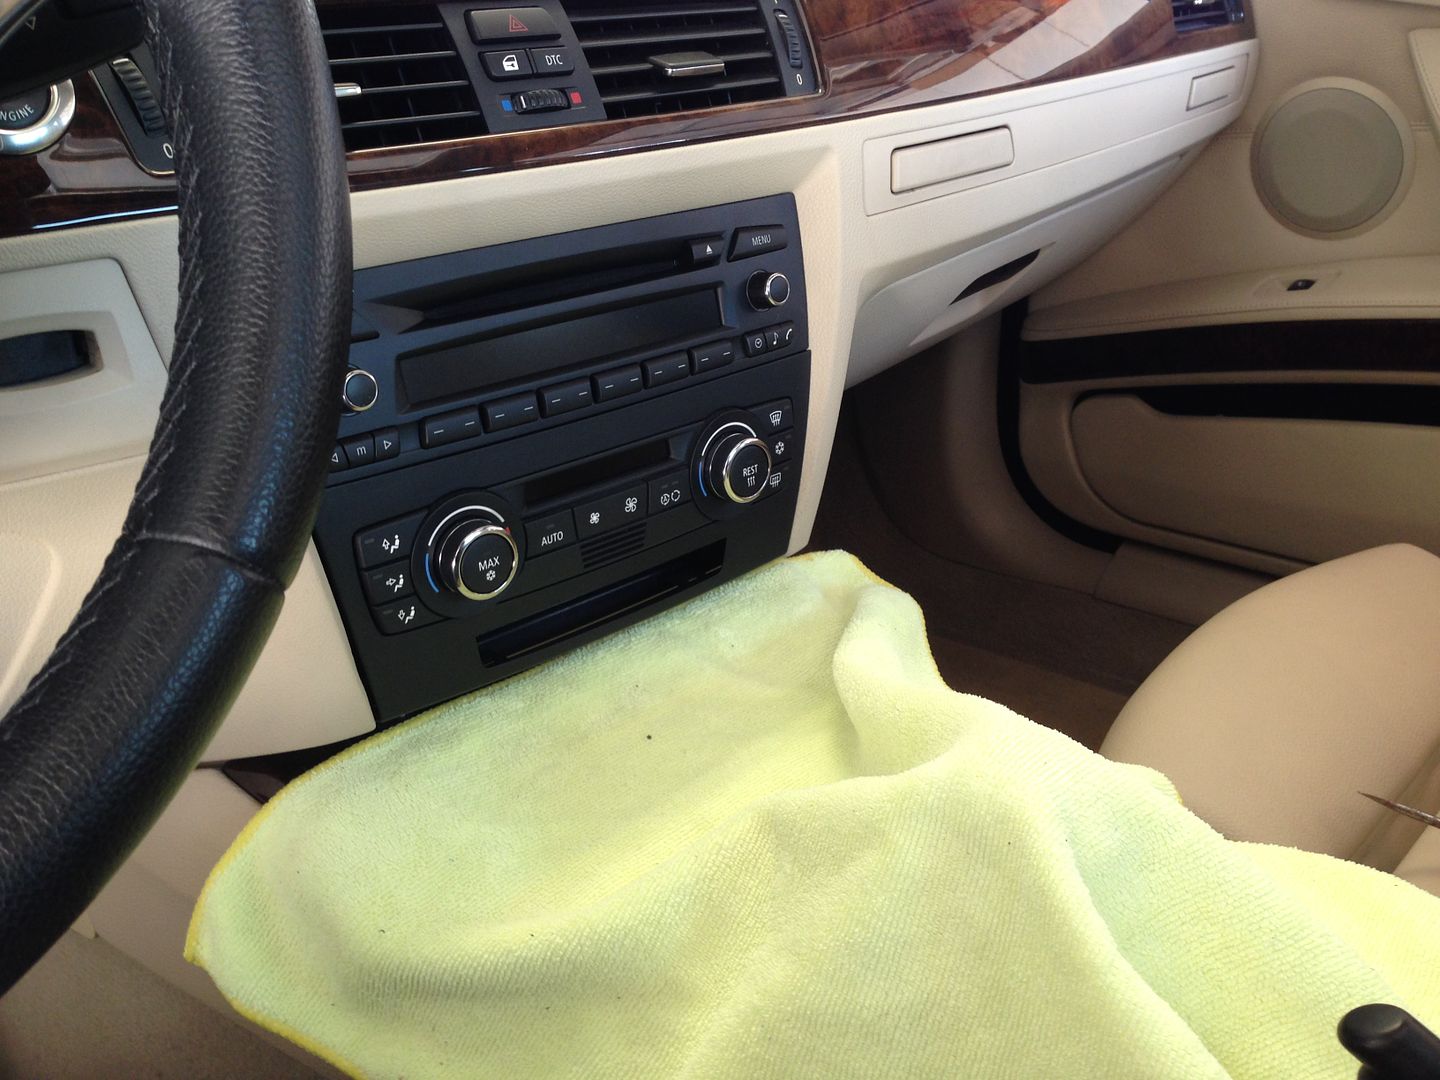
starting point, its a good idea to lay down a towel over your center console to avoid any accidental scratches while you are working.
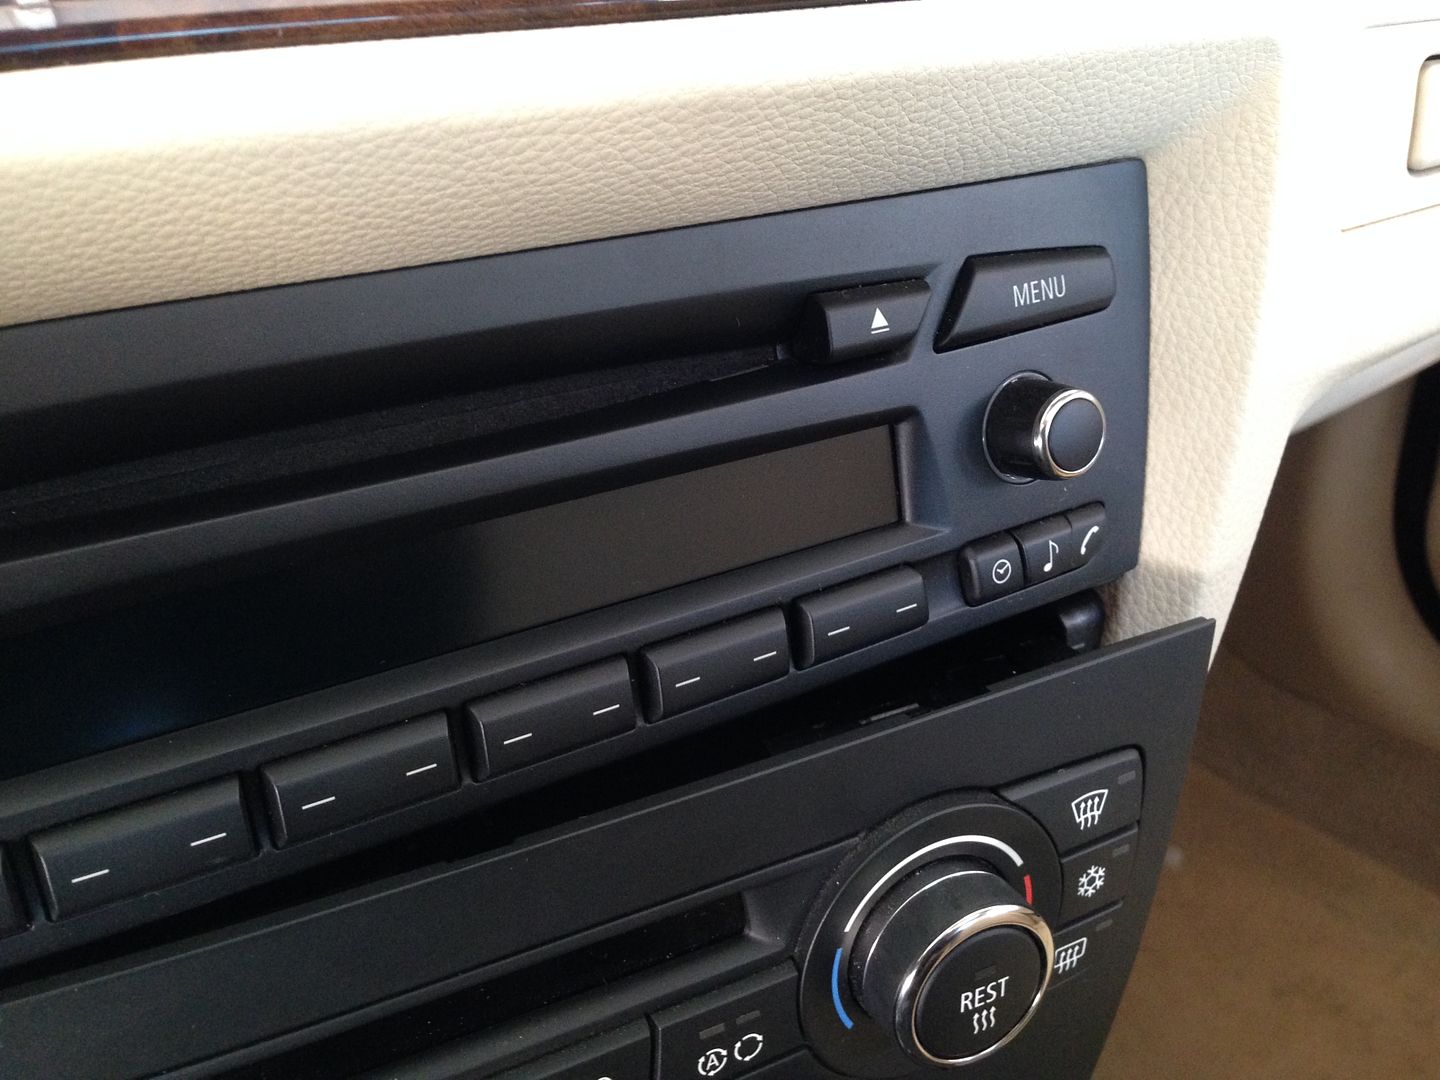
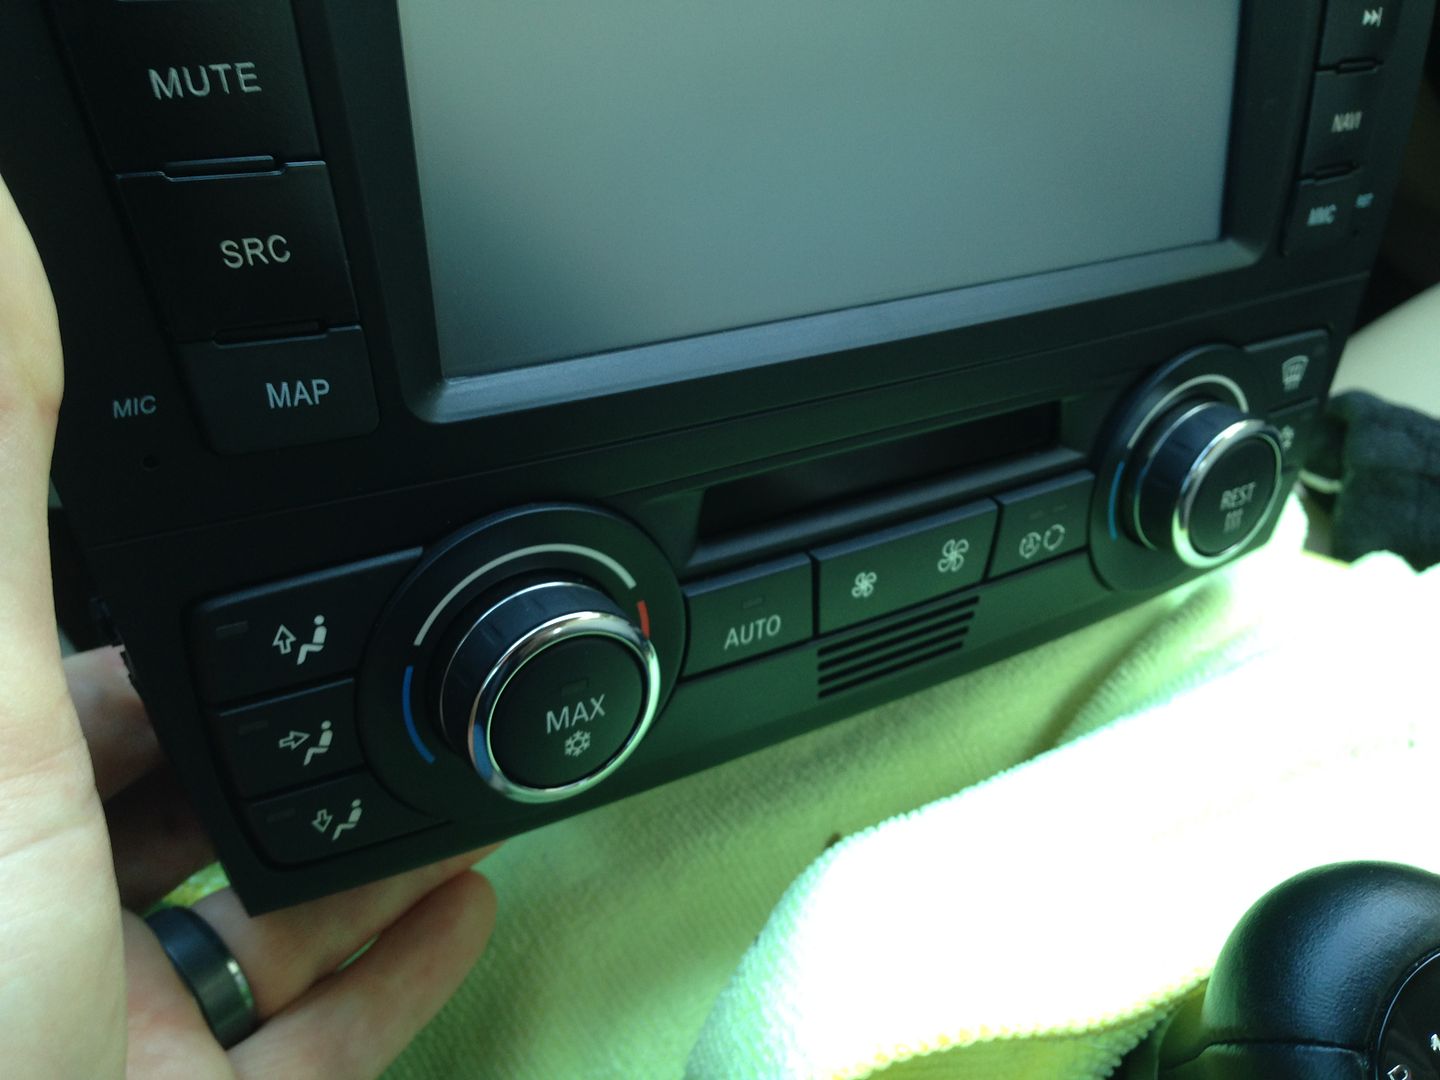
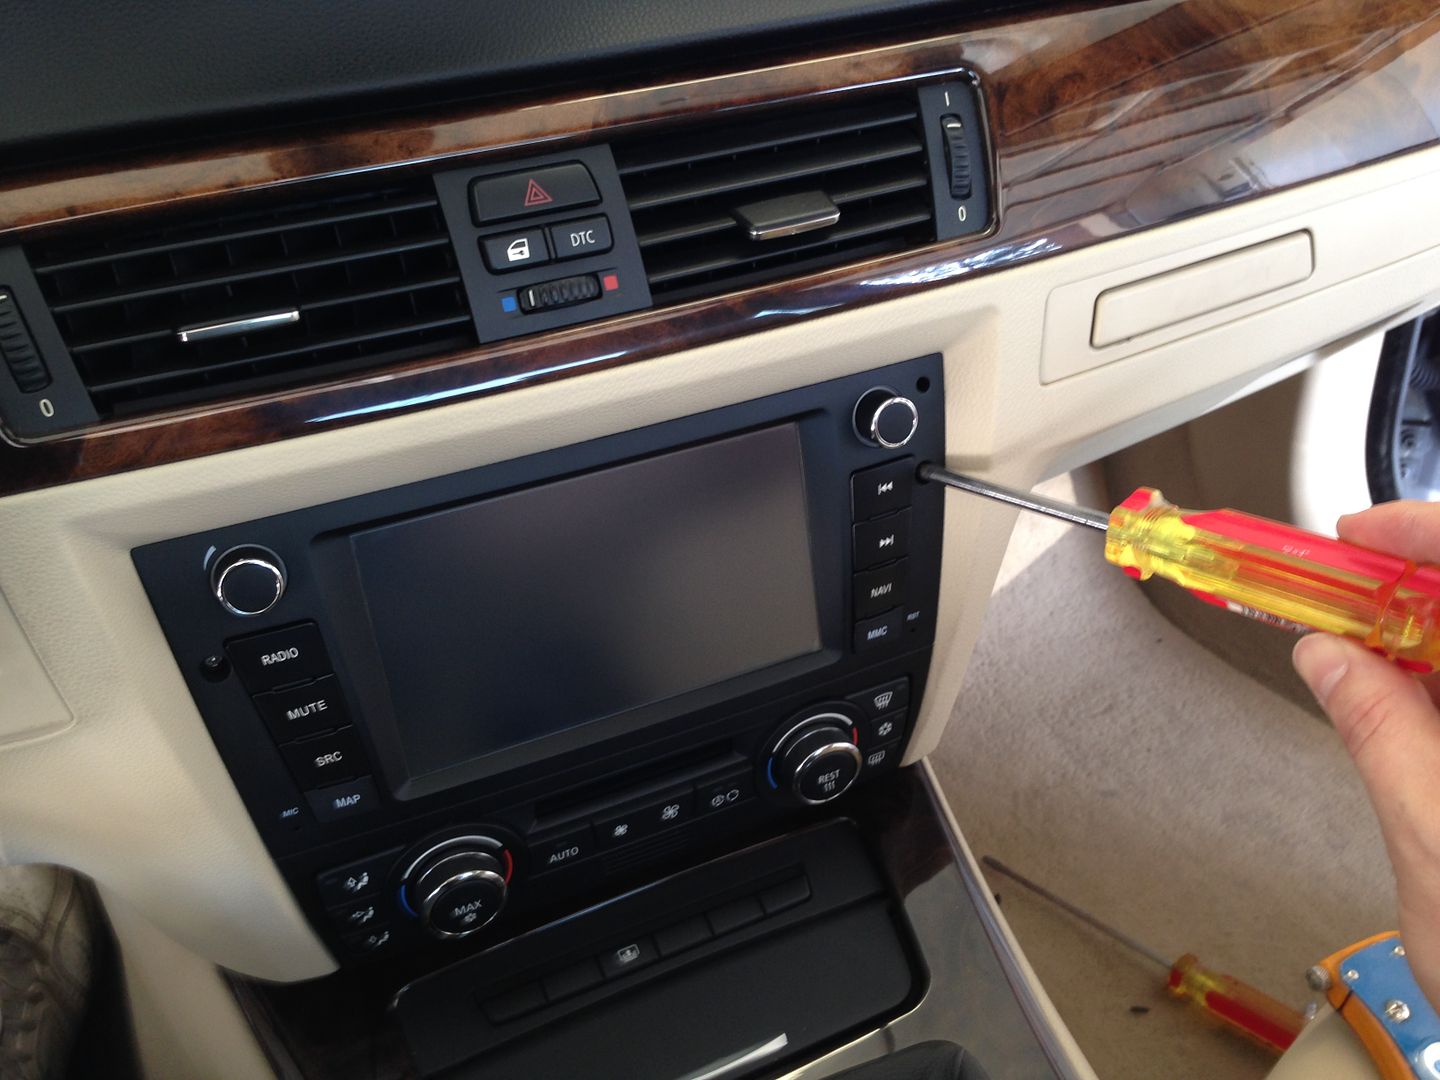
Carefully use a screwdriver or trim removal tool to pop out the trim around the HVAC controls, be careful and use a towel if needed so you dont mar any of the plastic.

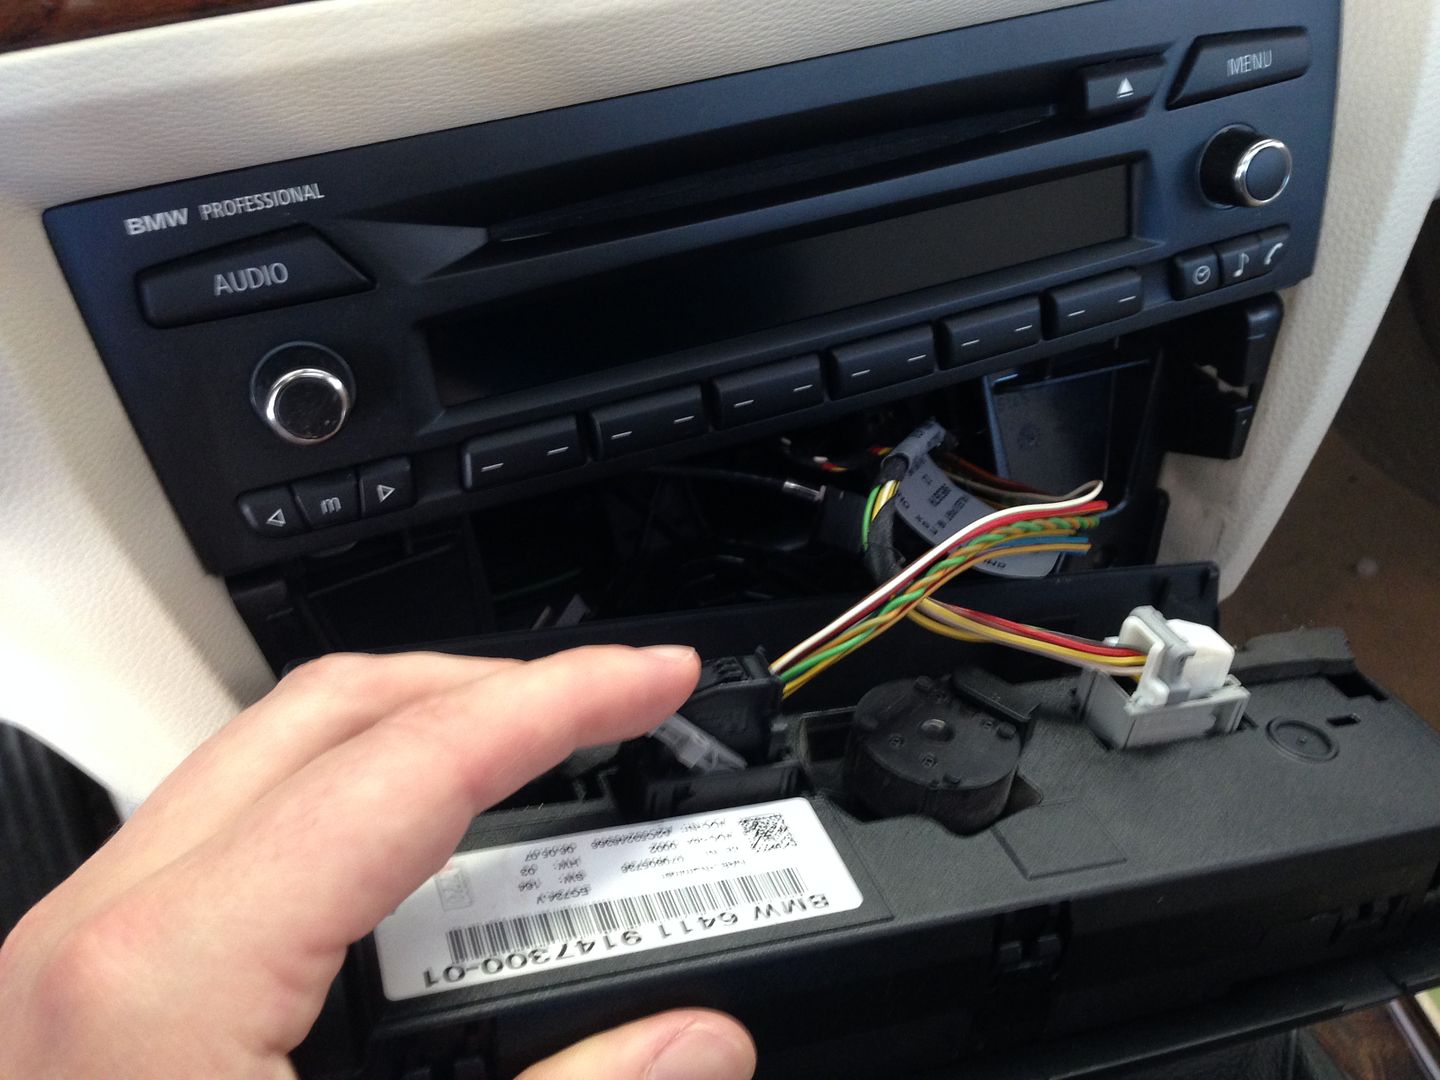
Unplug the HVAC controls, these plugs use a little rotating lever to push the plug out of the controls, If your car has the second row of buttons below the HVAC unclip and unplug these as well:
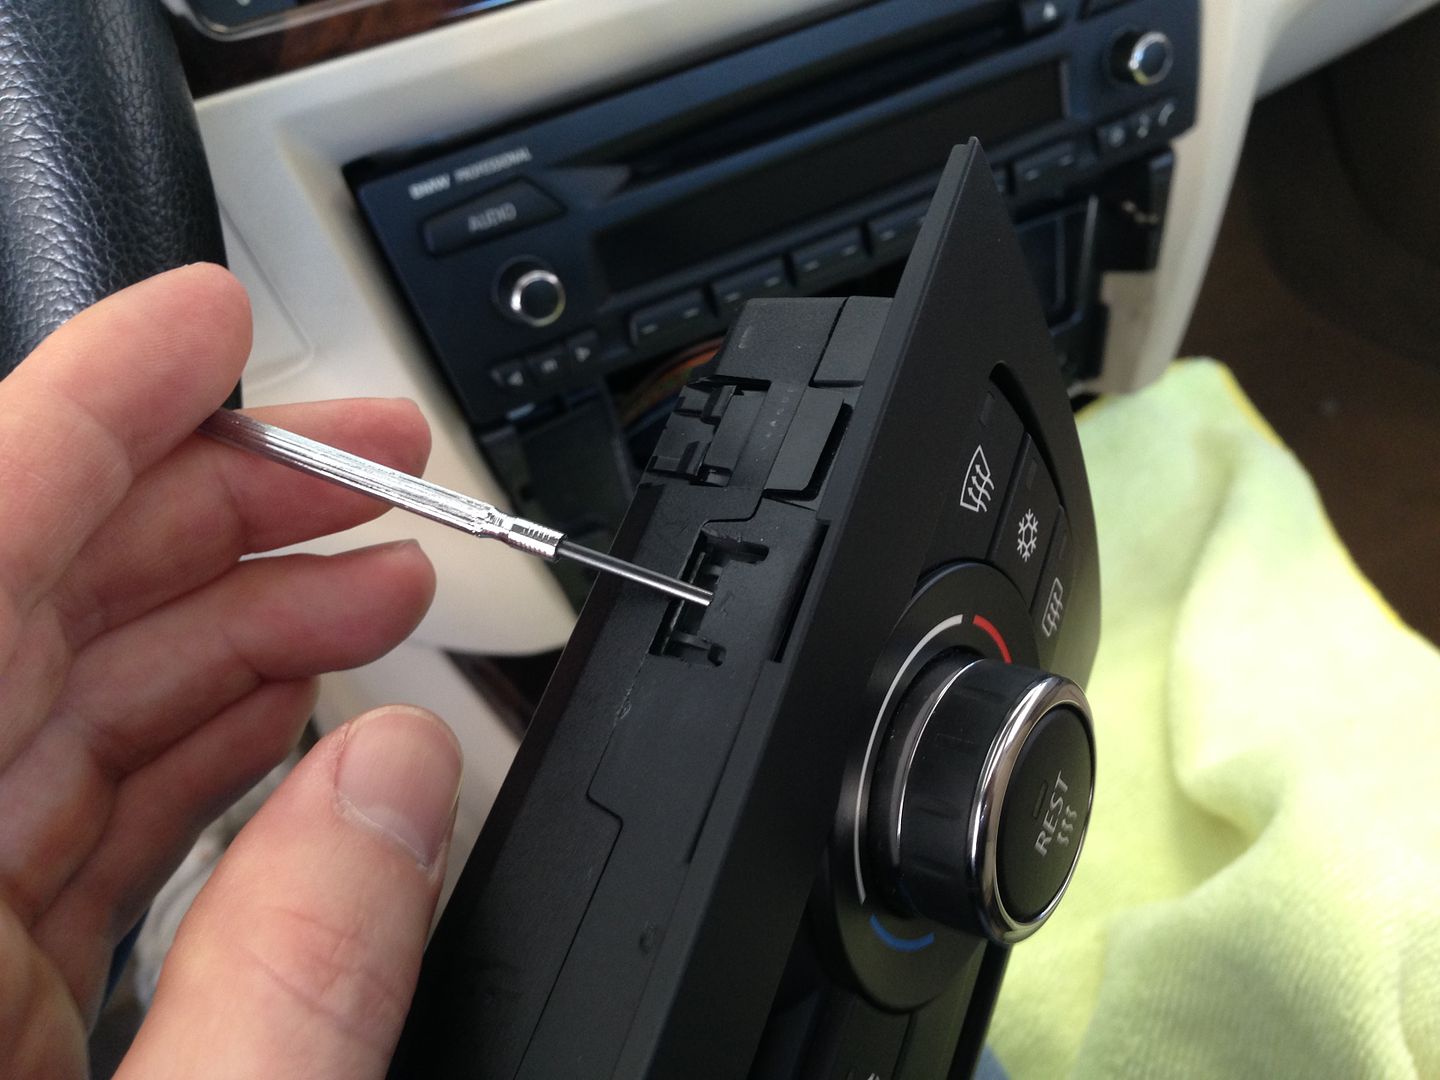
Unclip the HVAC controls from its surrounding trim piece.
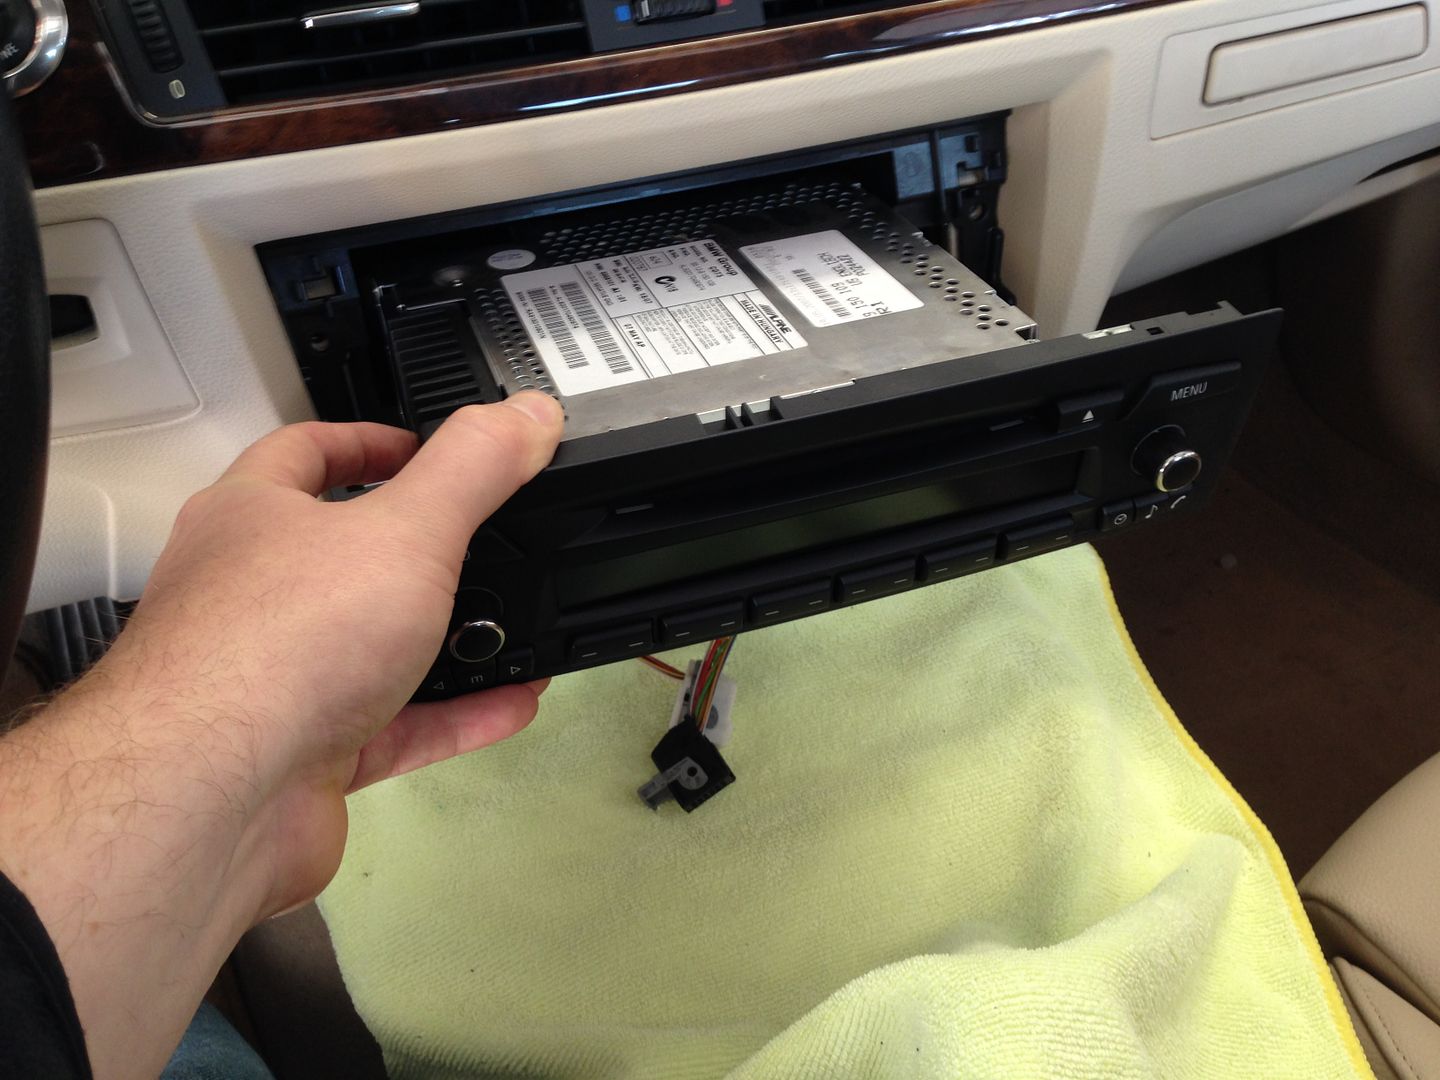
Take out the two screws under the stereo, pull it out and unplug it.
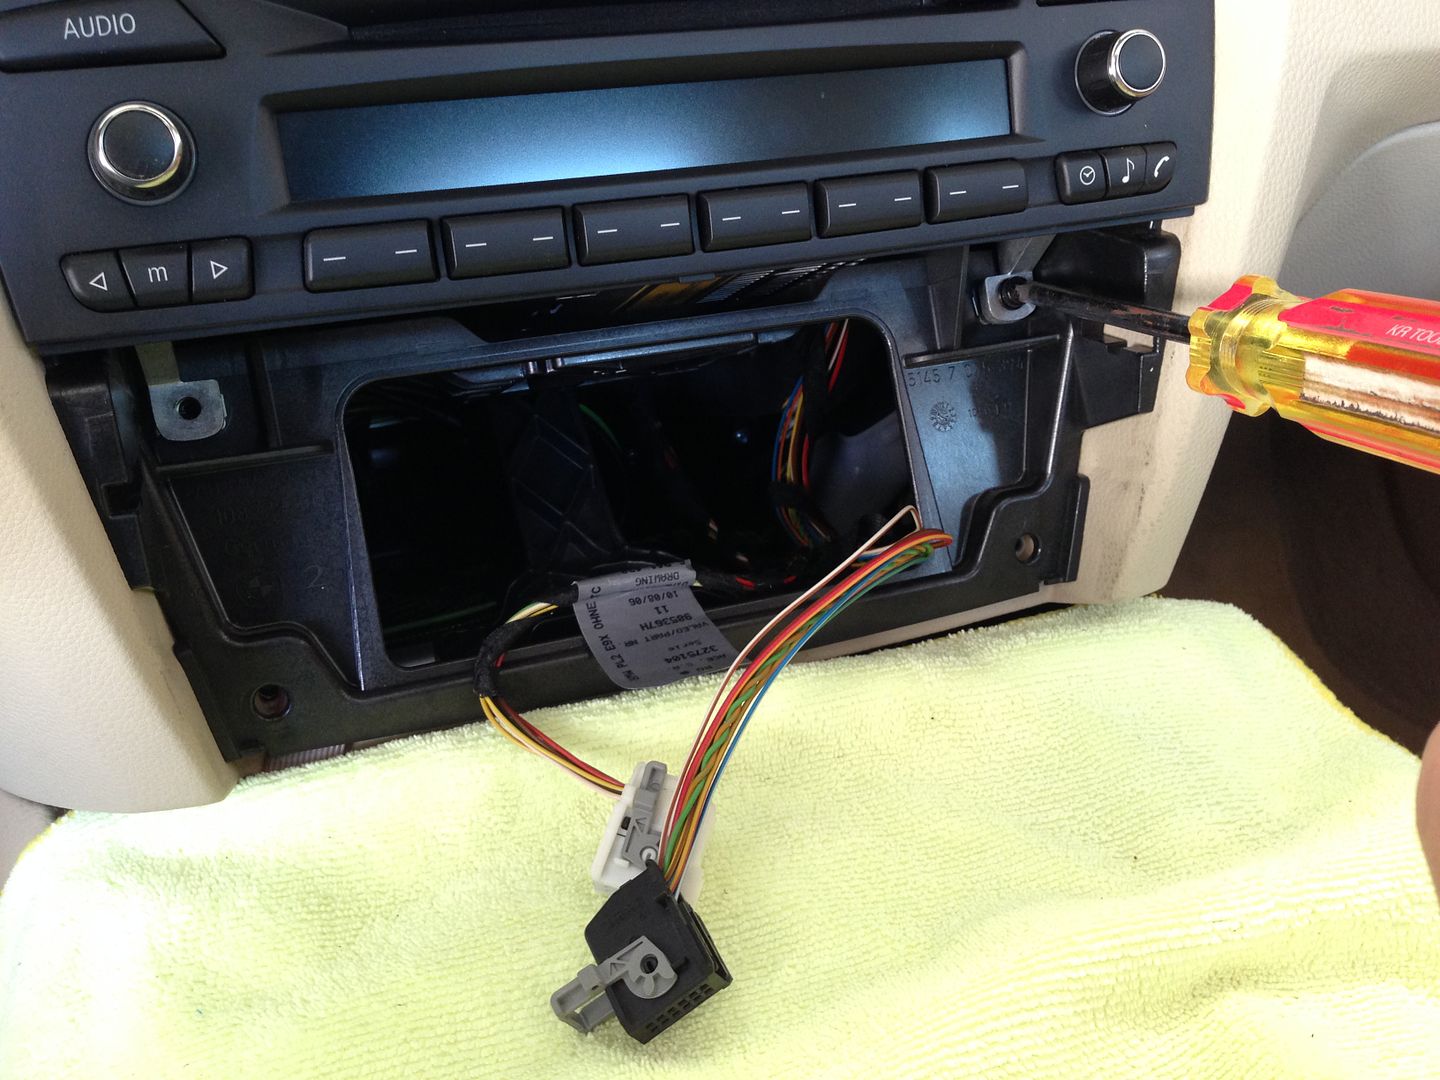
Take out the screws holding the radio bracket in the dash and pull the bracket out.

Now you have a big hole in your dash, at this point you want to route your ipod/USB/aux cables or whatever else you might be running in your particular install to wherever they need to go. Glove compartment is the obvious place but you can do console, storage cubbys, ashtray, whatever... You will also need to install the GPS antenna and bluetooth mic.
If your car has the second row of buttons this is also the time when you would do the relocation of those to the console ashtray area using either the dynavin replacement ashtray assembly OR the metra storage tray kit. Not pictured here but basically you pull up the top console trim, take out the ashtray and replace it with the button relocation solution of your choice.
In my personal car I snaked the GPS antenna lead up to the center dash location (where the center channel speaker is on a L7 equipped car), with the older dynavin units I had the gps antenna on TOP of the dash in this location as putting it under the dash reduced the signal strength, So far with the N6 it seems to be running fine with the GPS antenna stuck on the metal crossbar inside the dash, under the vent/speaker assembly. Since I DO have a center channel speaker I have the antenna pushed off to the passenger side so its not under the speaker.
For the mic, for best results you may want to play around with the location a bit, in my car I ran it up the pillar and to the oem location next to the sunroof controls, I like this location for cosmetic reasons BUT its noisy as the mic is up in a cavity in the roof, only inches away from the roof panel and sunroof, so there is wind noise. To combat this I looked around my garage and came up with a "macgyver" fix for it.... I had some 3/4" adhesive backed weatherstripping foam laying around so I cut some of that up and put it over the back side of the mic, insulating it from the noise from the roof of the car. You could use any number of things for this, I would think some of the thicker dynamats would work nicely as well.....even carve out an old egg crate mattress piece....basically any kind of sound insulating foam cut to the right shape and stuffed in there behind the mic would work. Just make sure the business end of the mic is facing the grill and the cabin.
UPDATE:
I spent a good chunk of time finding the optimum placement for the external Bluetooth mic. I set myself up a little science experiment with a couple phones, some headphones, and some highway miles. After trying every conceivable configuration I discovered a few things.....
The mic is VERY directional.....point it directly at you and your voice will loud and clear, point it sideways and you will sound distant, point it away from you and you will barely be heard.
The mic appears to use some passive noise canceling and works MUCH better if the holes on the back of the mic are uncovered.
I've been using my mic for years mounted in the stock location next to the sunroof controls, it worked ok but I thought it could probably be better. After experimenting and finding the noise canceling properties inherent in the mic design I now think its a good idea to have the mic exposed. I realize some of you guys won't like this location as you can see the mic, fair enough, but it really does work much better out in the open....
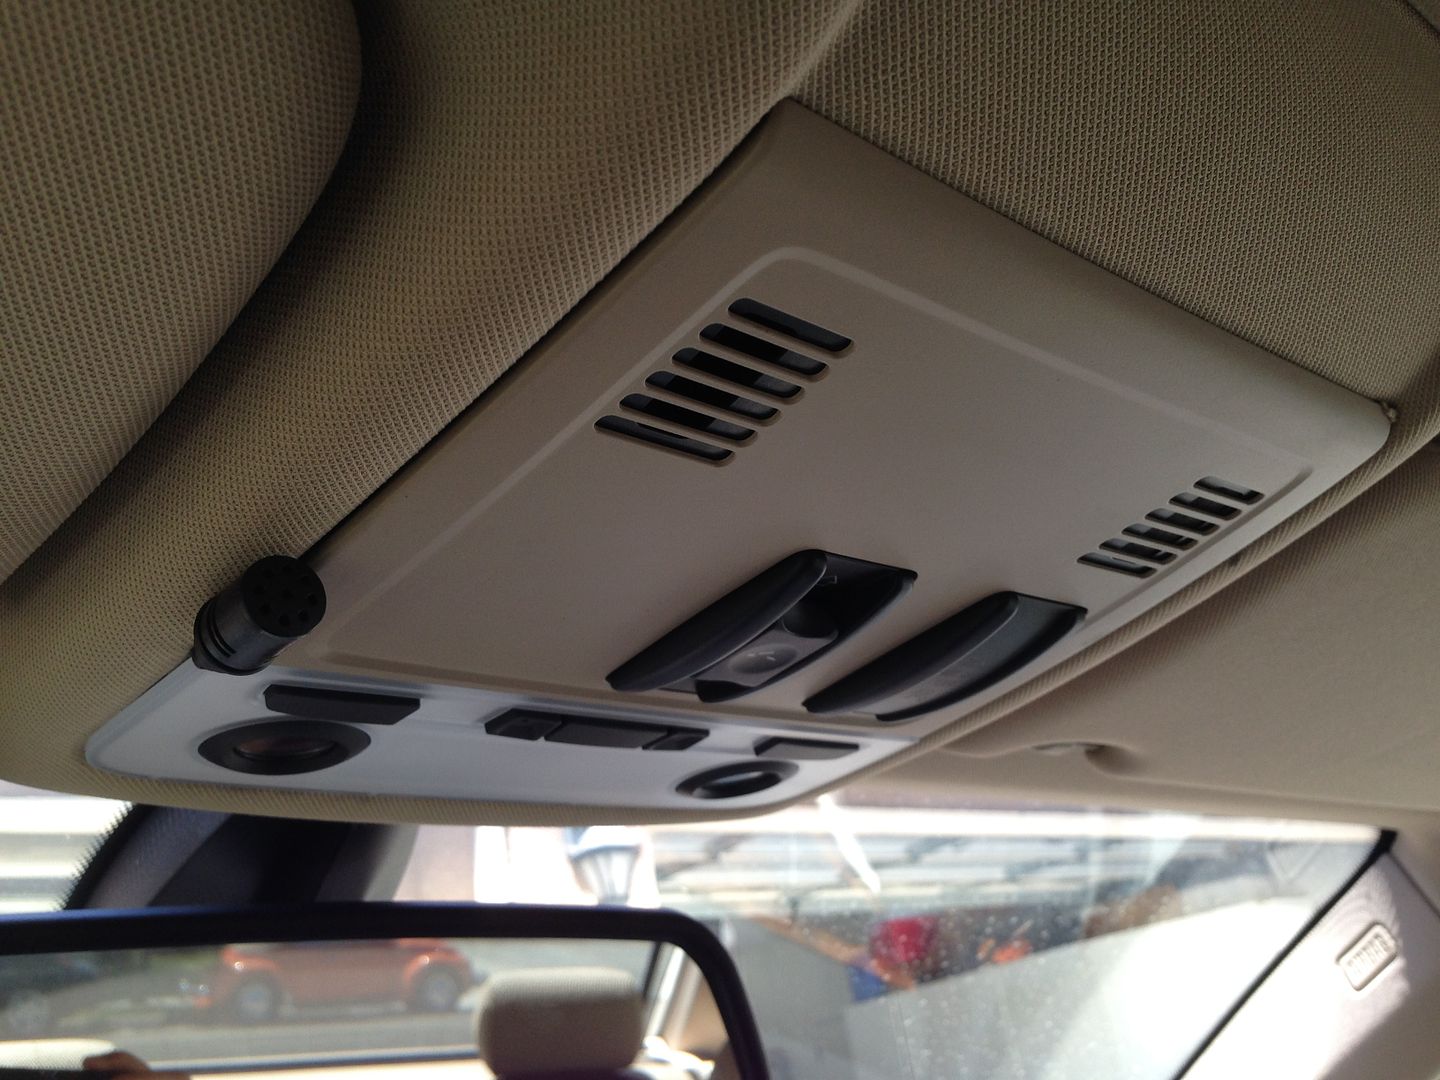
I took the foam cover off so it was smaller and used a black twist tie (that was tying up the mic cord) to wrap around it, make a little hook to keep it in place. For how much better it works I'm willing to compromise on having it exposed....considering its 5% the size of my radar detector right next it, and surrounded by various other black switches, lights, etc....I think I can live with it!
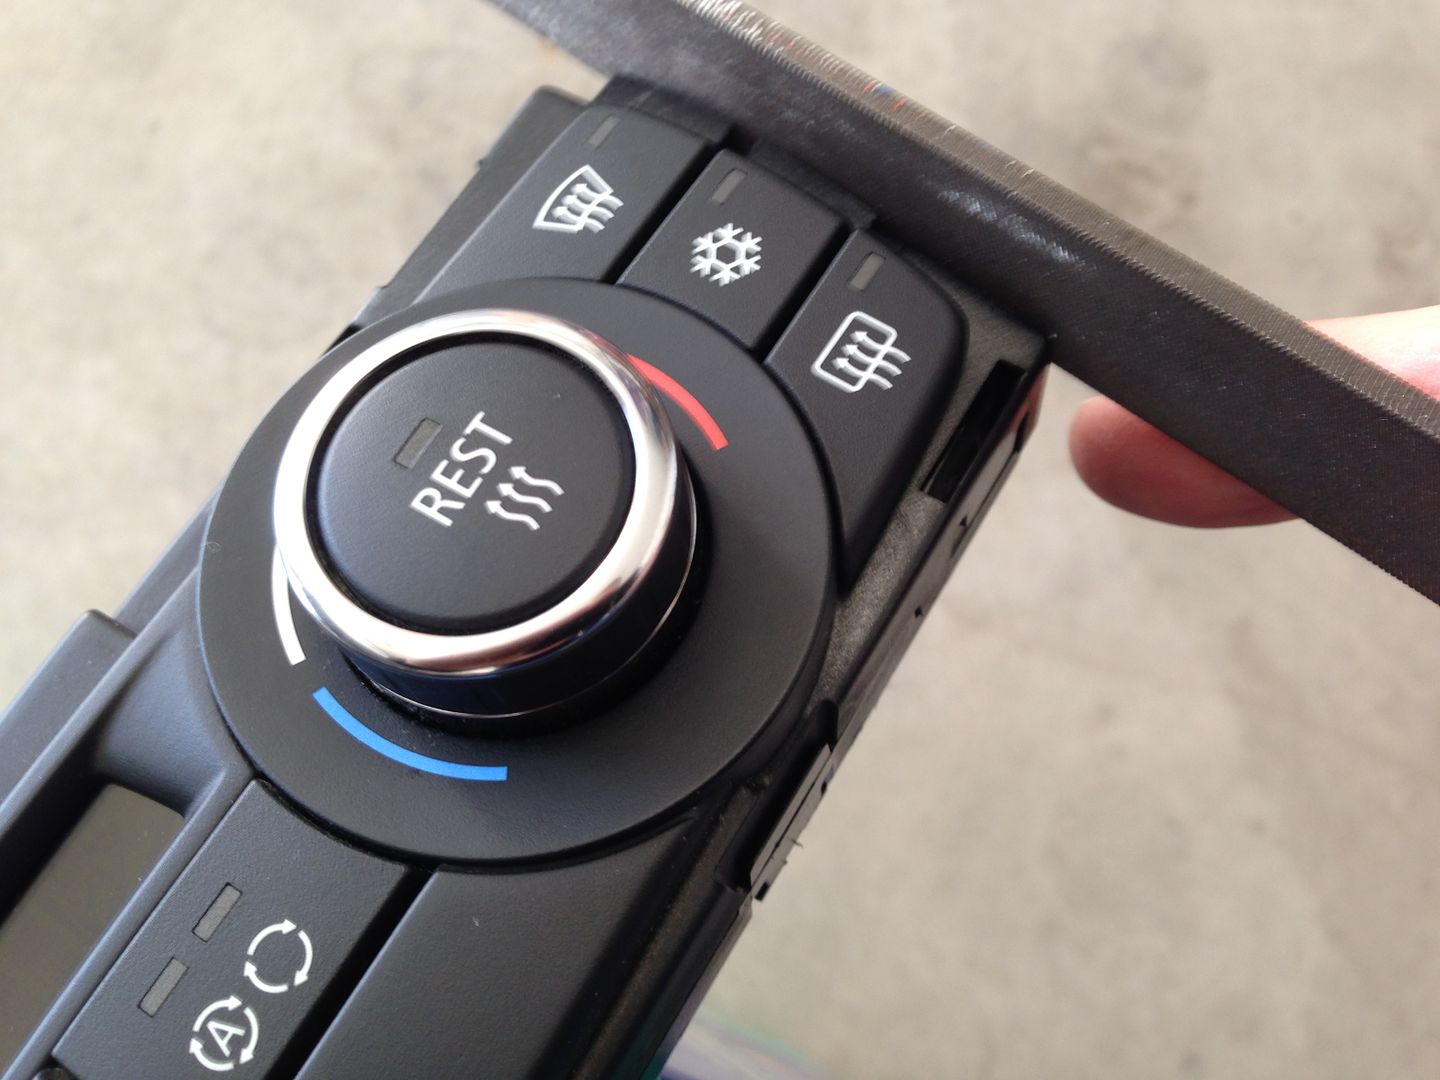
Take the HVAC controls and file off the corner of the tabs that stick out, this is not a critical part of the unit and allows the HVAC controls to fit correctly in the new trim piece as part of the dynavin. Holding the HVAC controls in position next to the dynavin should make it clear what needs to be shaved.
Snap the controls into the dynavin. Install the metal bottom clips onto the dynavin if they are not already in place.
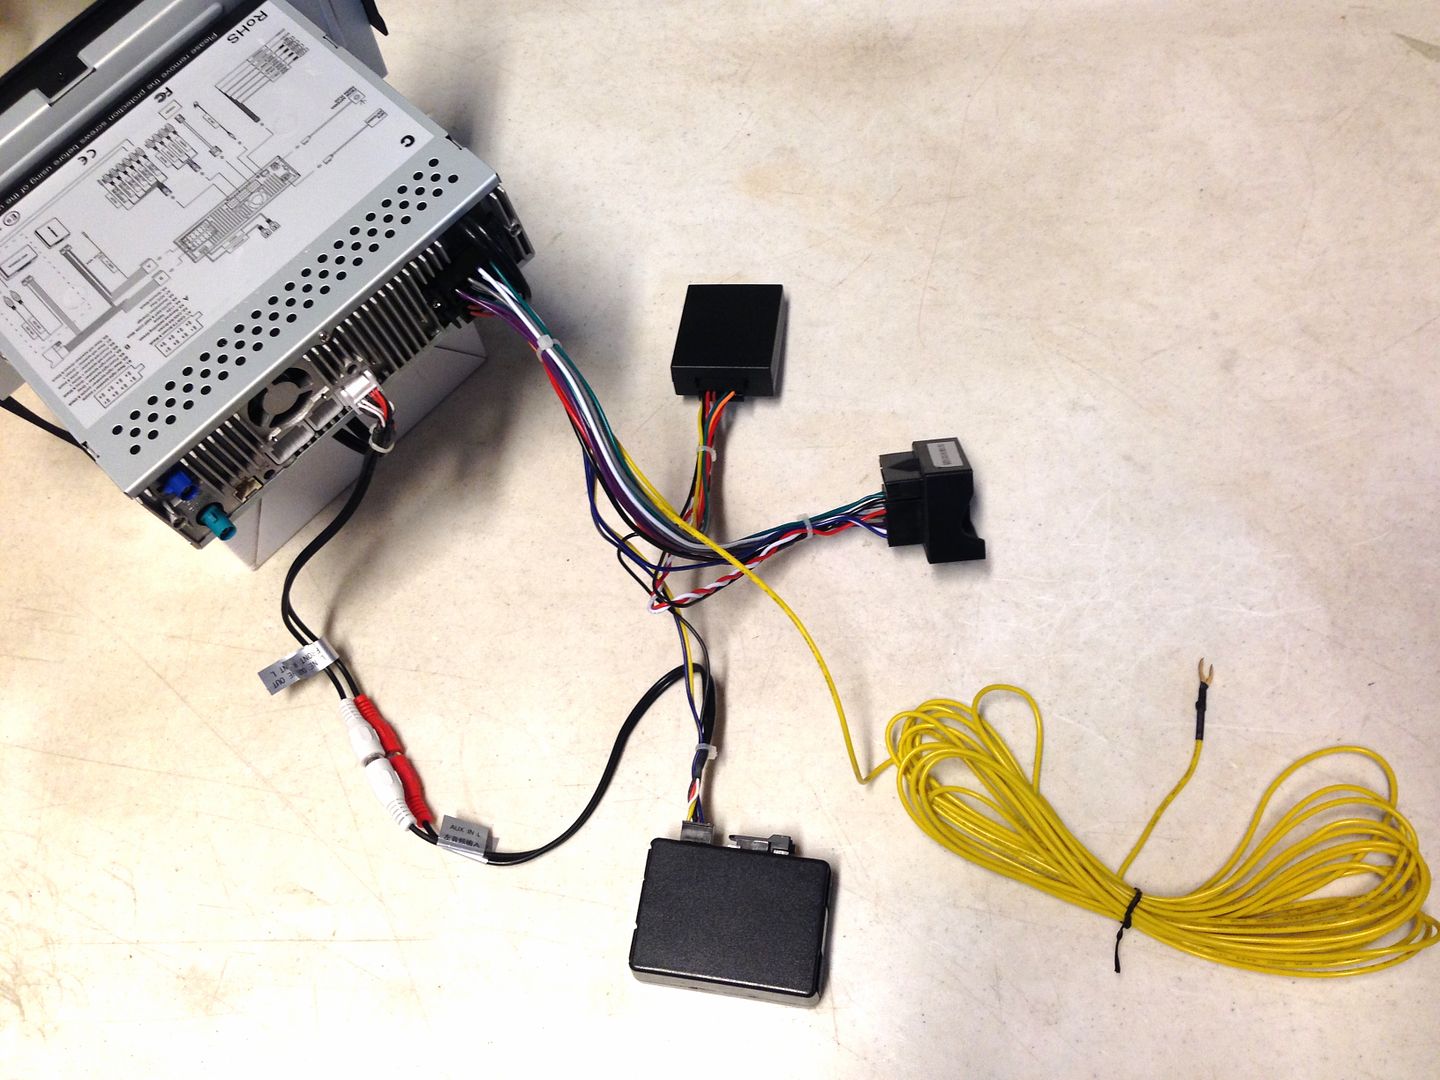
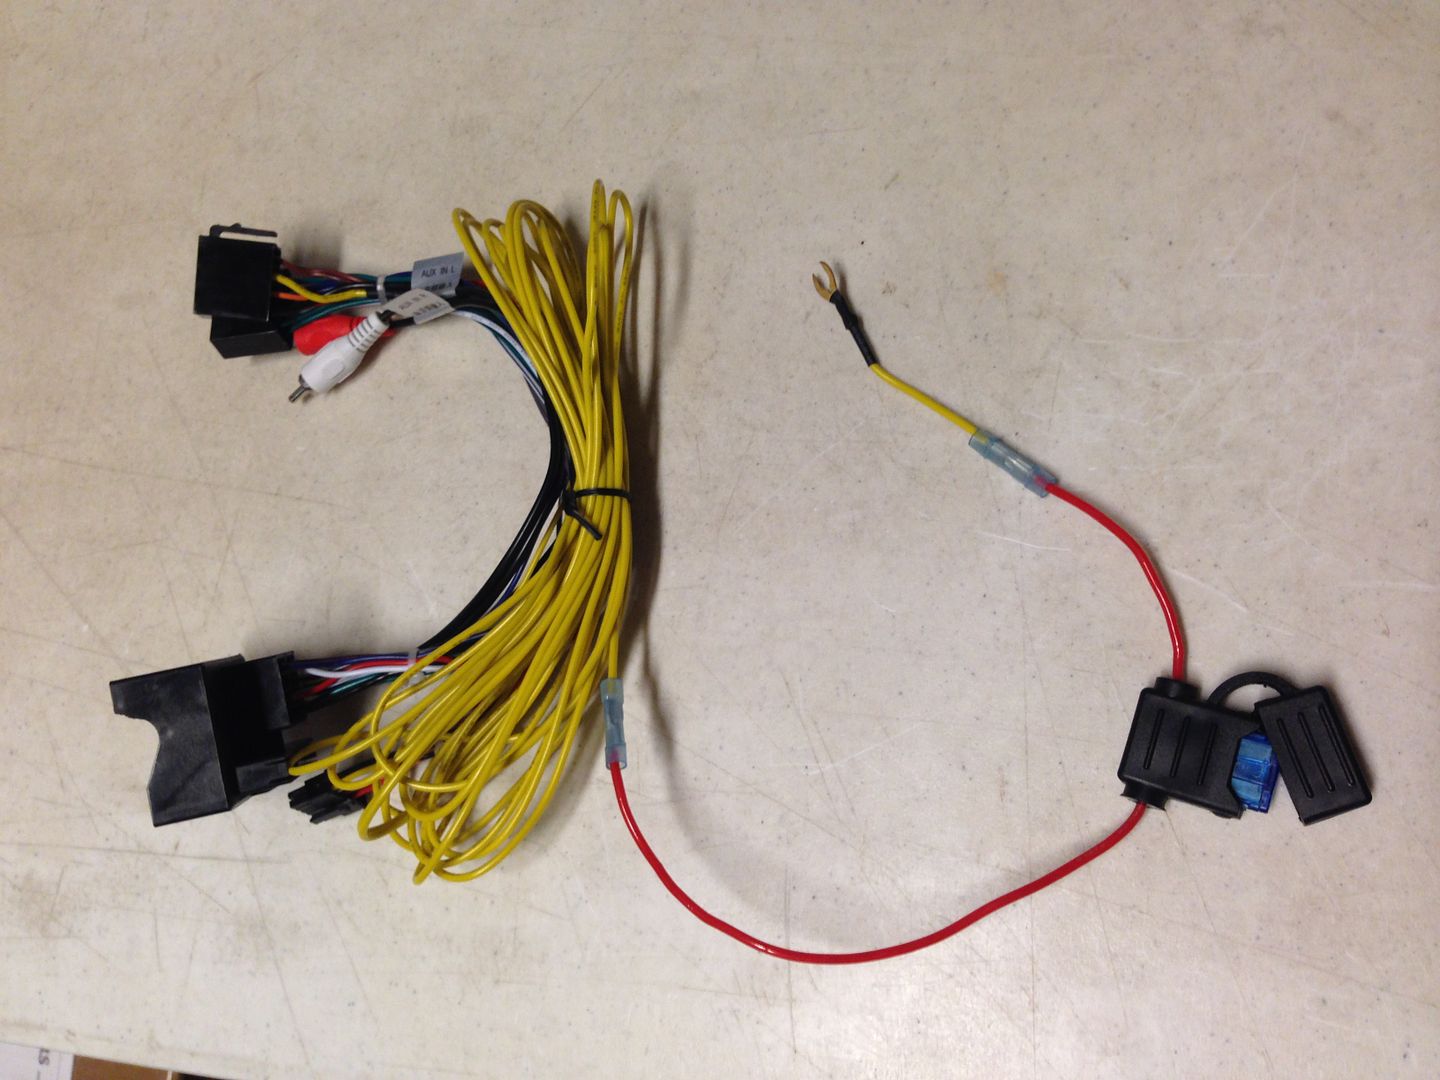
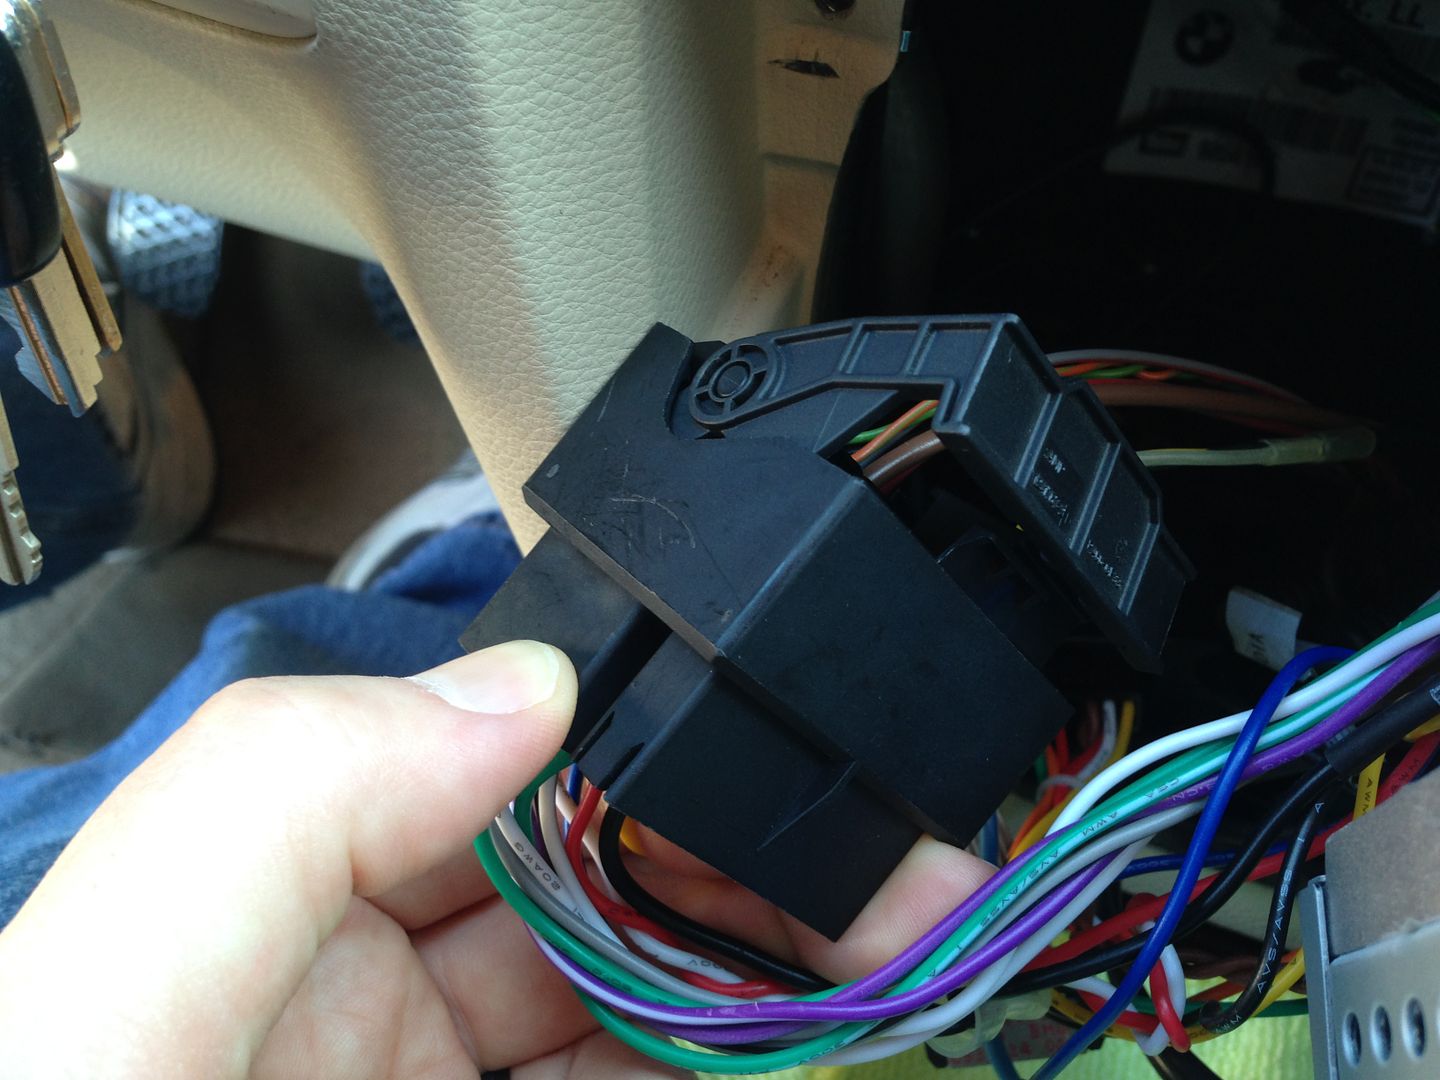
Here is a picture of the main wiring harness and its connections on the E9X model, in this pic you can see the MOST interface at the bottom, it plugs in into the wire harness, the RCA outputs from the head unit, and once in the car, into the MOST fiber optic cable. At the top of the pic you see the canbus interface box, it just plugs into the dynavins main harness, done. To the right you see the main plug that plugs into the oem radio plug. And next to it you see the yellow constant power wire.
Dynavin has the harness set up with enough wire to reach the battery and the brief instructions that come with the unit say to connect to the battery.....of course any constant power circuit available in the fuse compartment will do the trick BUT finding that circuit in an E90 can be a challenge!
There are multiple fuse compartment configurations so what works for one person may not work for another. AND the E90 is tricky as it "goes to sleep" after 20 minutes so most of the circuits that look like constant power actually are not. This will result in the unit loosing some of its memory after 20-30 minutes. Finding a constant power source takes some trial and error.....I personally looked at the fuse chart....used my brain....a little bit of previous experience, and got a good constant power source on the second try. But keep this in mind....by the time you "trial and error" a few cycles of the car going to sleep, you could have easily run the power wire to the batter in half the time. So its up to you how you do it, but so long as its constant power you are good to go. More on this here:
http://www.e90post.com/forums/showthread.php?t=809672
Because I know you guys are going to ask anyway..

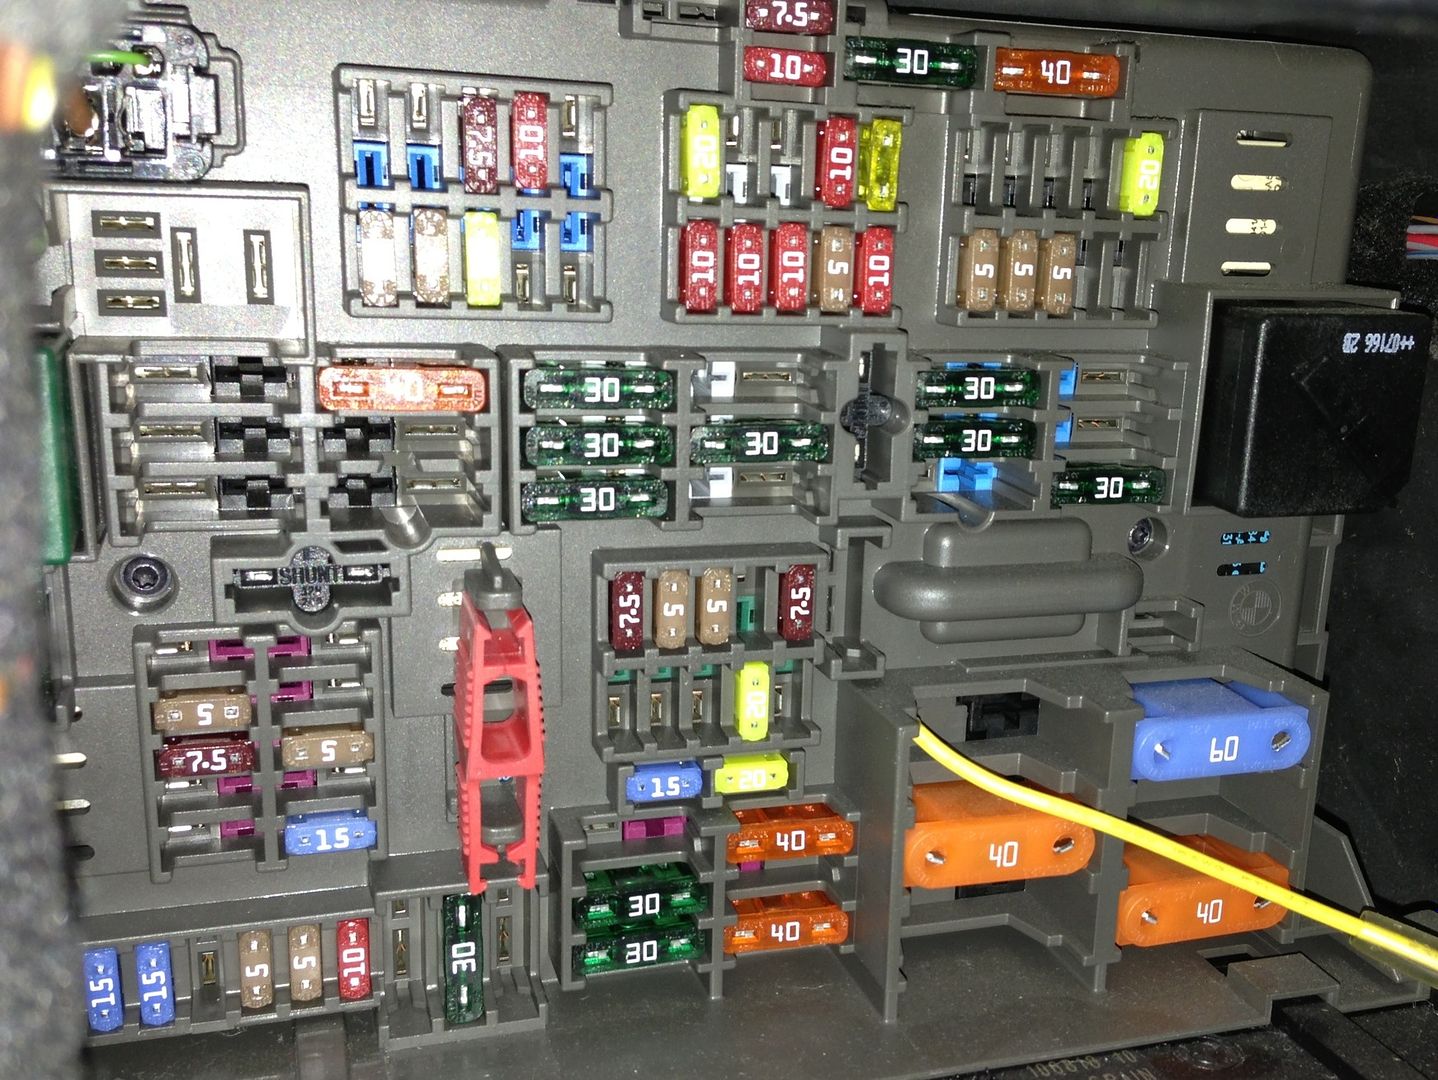
...despite what I said above....here is a pic of the location that worked in MY CAR (2007 335). Taking a look at my fuse chart it corresponds to position 70, an engine related fuse location....although my fuse box has nothing in that slot. Same as I talk about below though, depending on how you connect in the fuse box you may need to add an inline fuse to protect the power wire in the case of a short. (see below)
 An important point about wiring for you DIYers out there.....
IF you end up running the constant power wire back to the battery you MUST install a fuse at the battery end of the wire. Installers know this, we fuse EVERYTHING right at the battery, in the case of a short circuit all that happens is you pop a fuse, without the fuse in place you could have a fire on your hands. I realized the wire harness does not have one already and if you dont work in car audio or electronics you may not realize you have to put a fuse on everything.
So before you install, stop by your local auto parts store and grab an inline fuse holder, some 10 or 15 amp fuses, and some butt splices (or solder or whatever you have on hand, NO twist & TAPE!!!!).
we need to install one of these.....
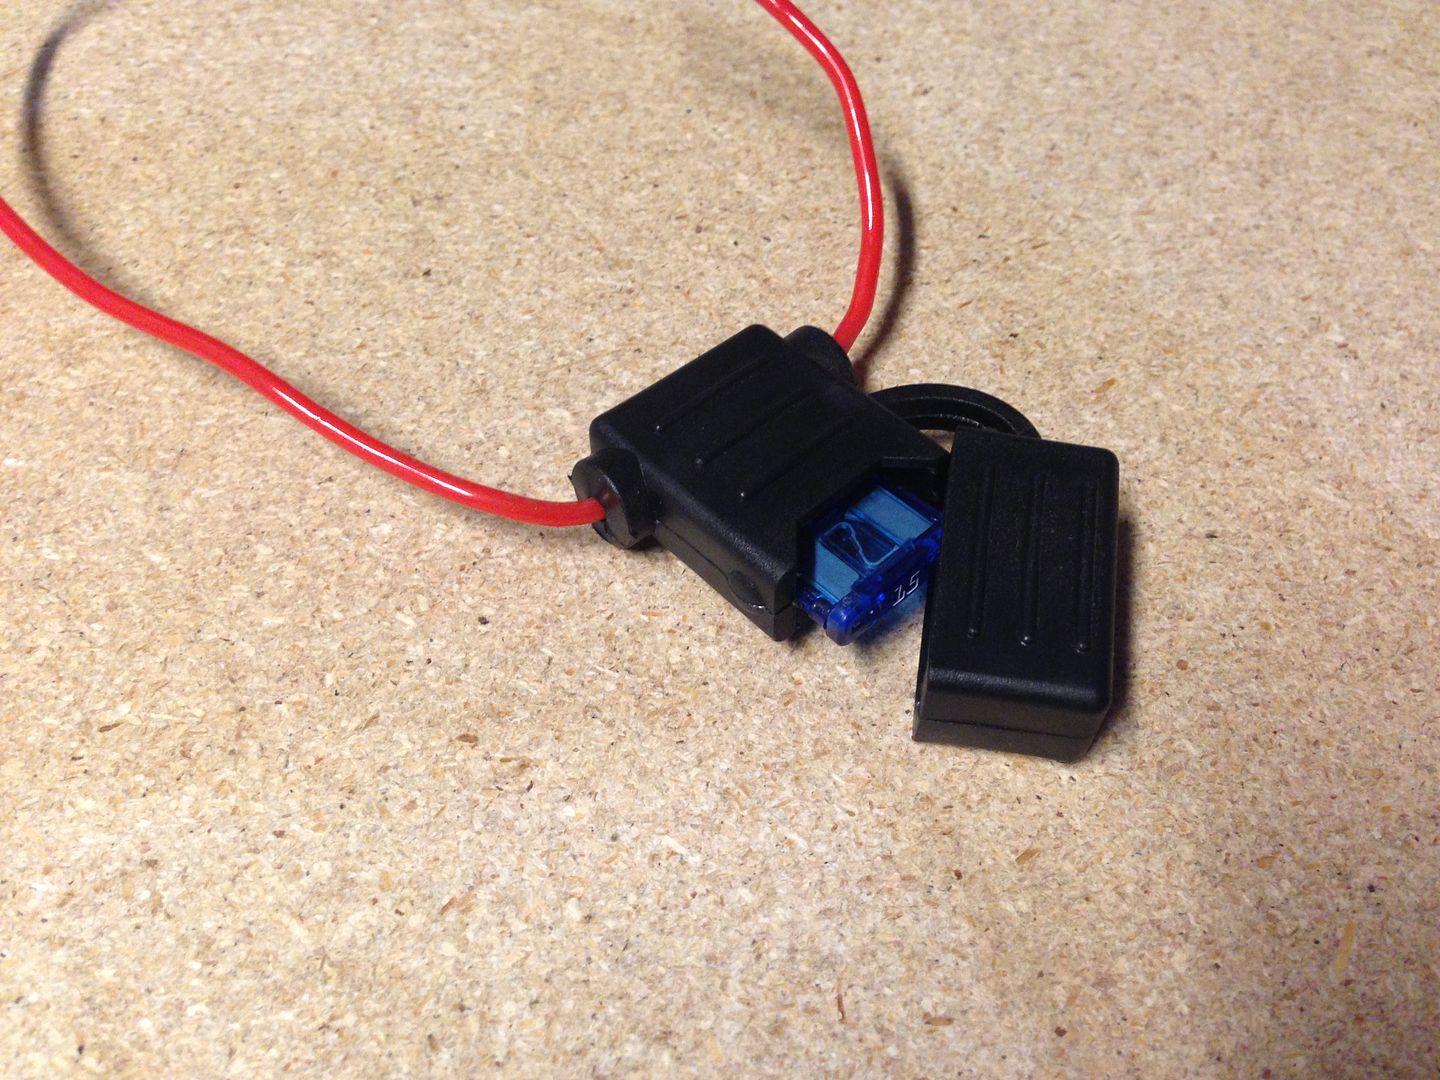
Like this:
Now its safe to connect to the battery.
If you connect at the fuse box you can use a "fuse tap" (get this from your local auto parts store as well) and since you are connecting in the fuse box it will typically already be fused so you dont need to worry about doing a fuse on the wire.
I have talked to dynavin about adding a fuse to the harness in the future production to save you guys the trouble....but for now make sure you take the safe route and install a fuse.
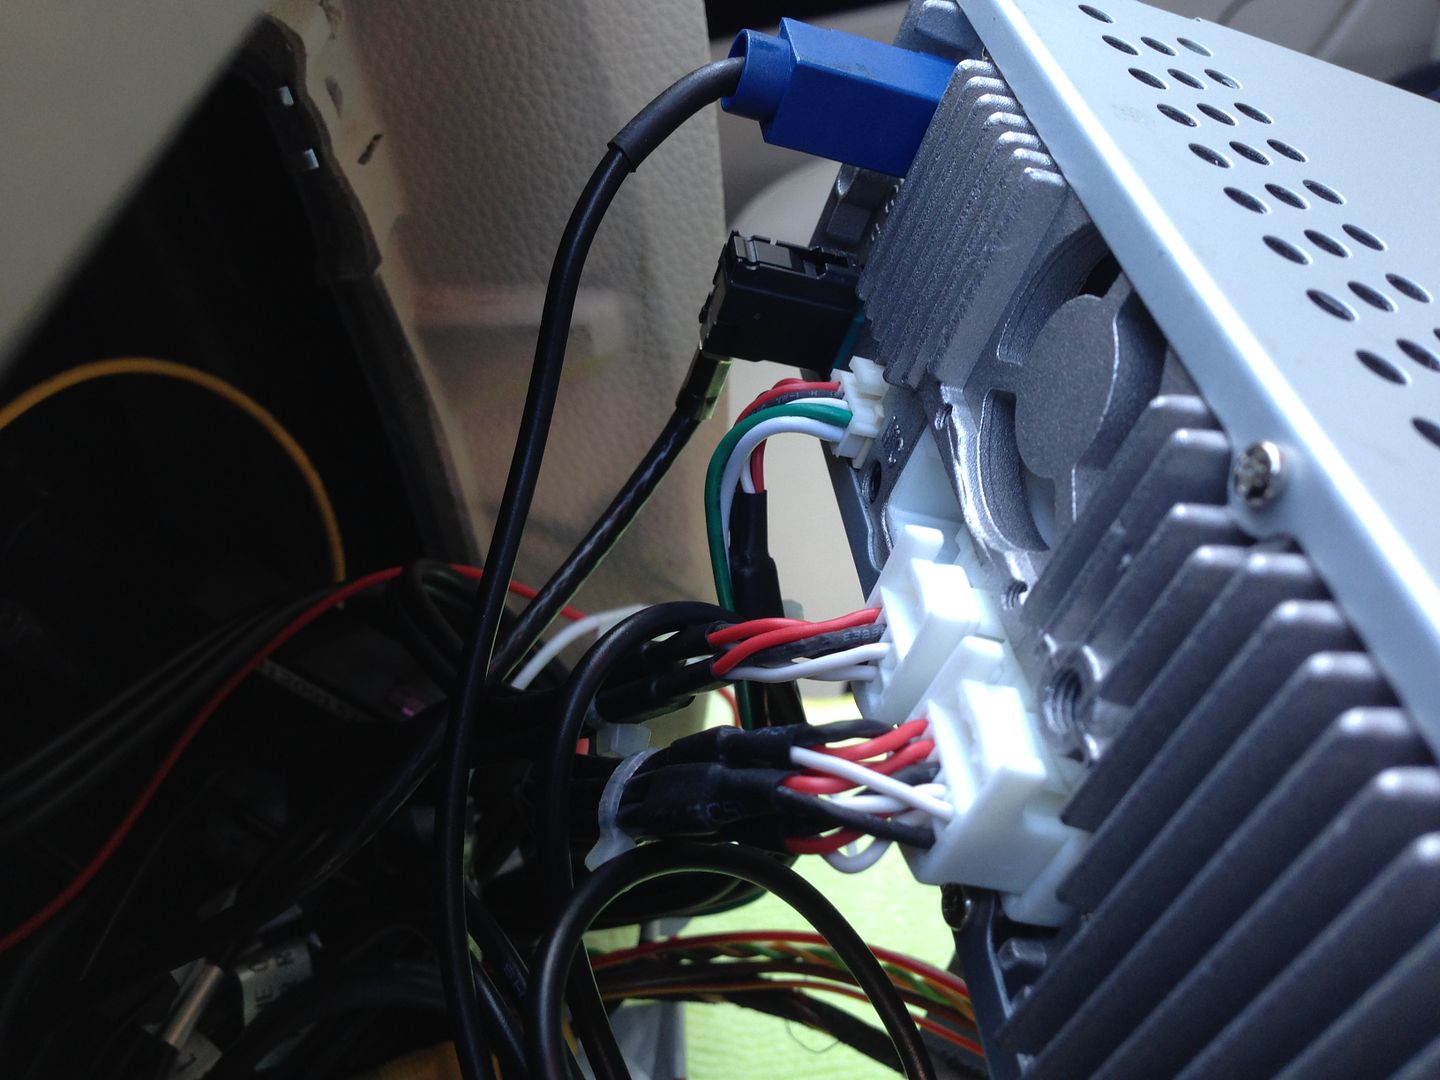
Now its time to put everything back in, plug the radio antenna, the GPS antenna, the ipod/usb cord, etc...
Plug in the dynavins main wire harness and plug the canbus box into the harness as well.

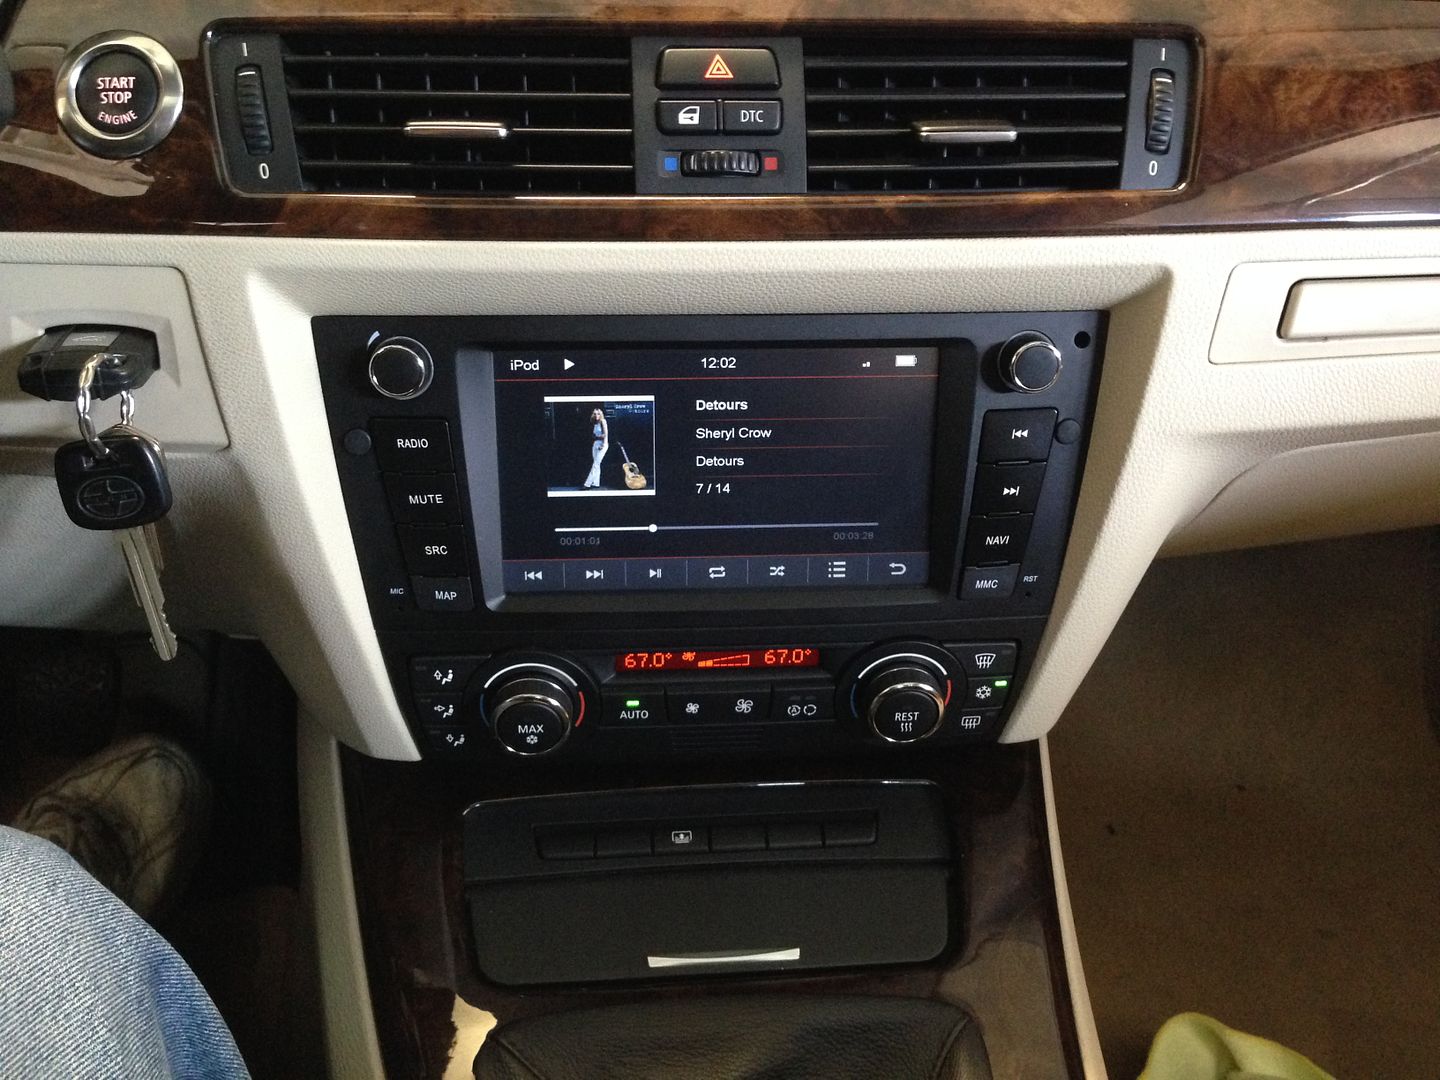
Slide everything partially back into the dash and at this point turn everything on and make sure everything is up and running including the HVAC, if everything checks out, slide it the rest of the way back clipping the bottom spring clips into place and inserting the two retaining screws into place.
DONE!
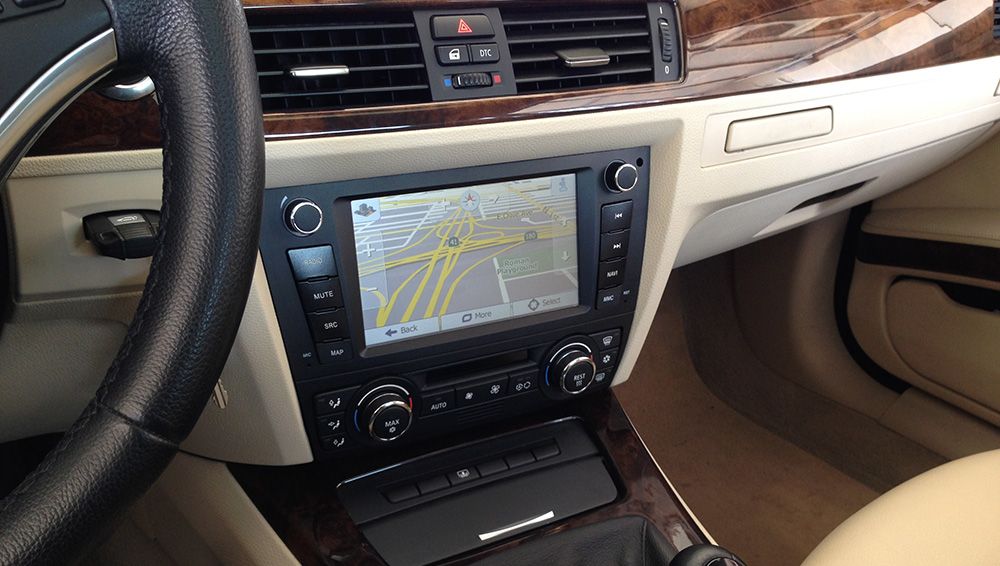
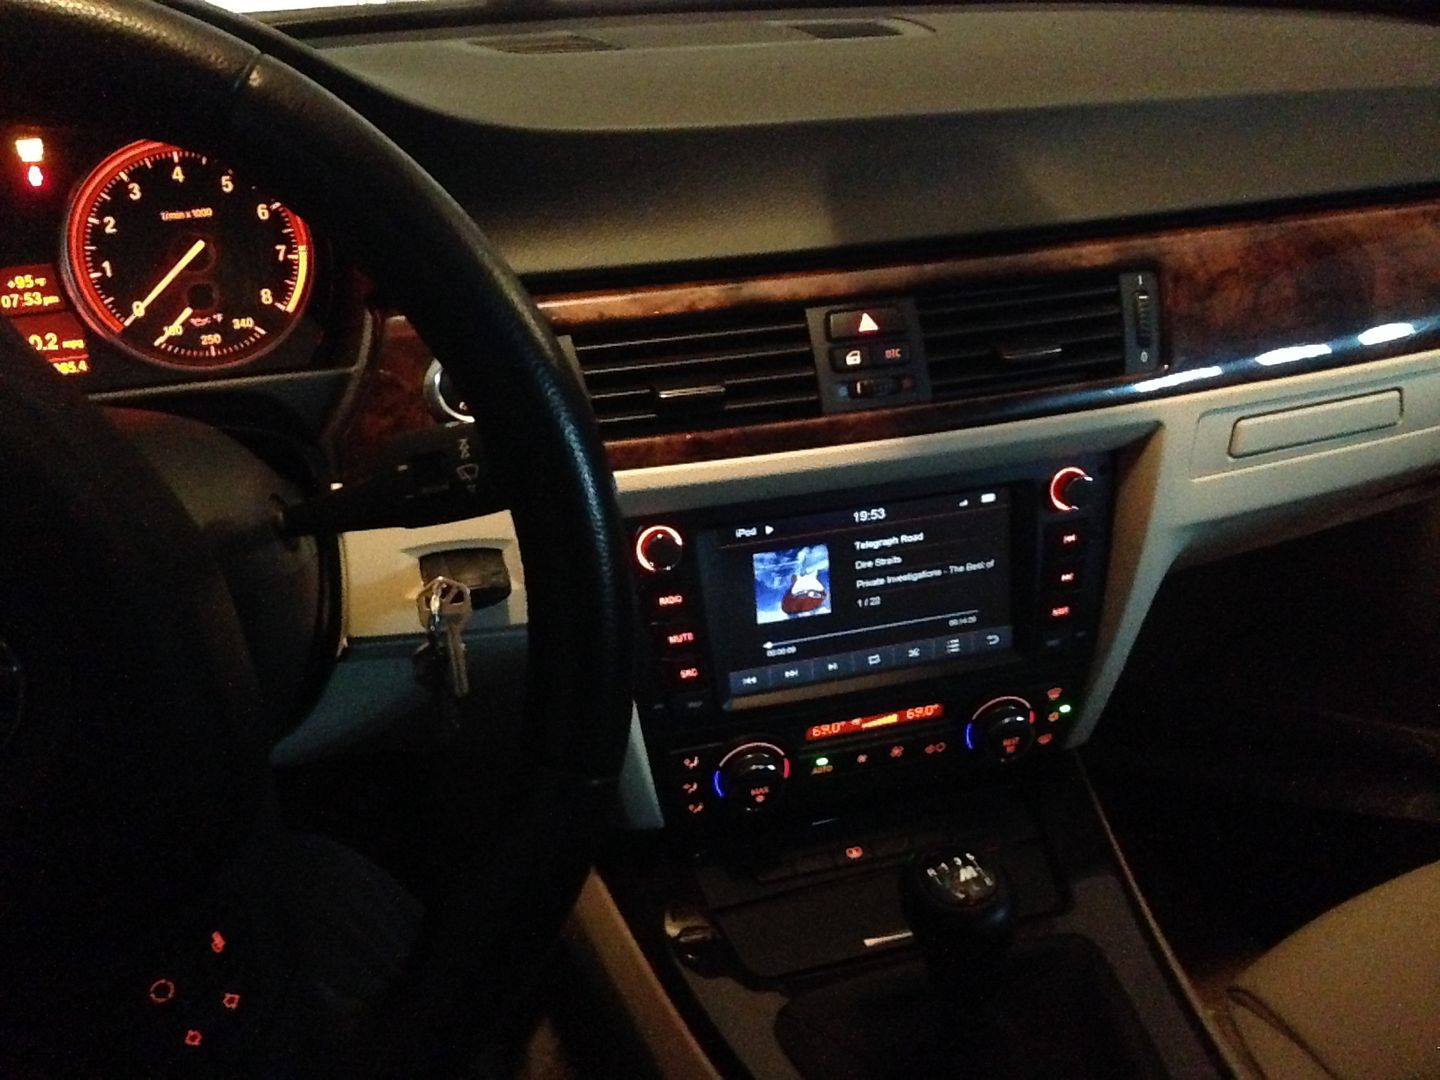
A pic at night to show off dynavins new lighting scheme, auto dimmable backlight, great looking setup at night, no "LCD glow" at all! Small details but they make a HUGE difference in the day to day usability of a unit like this.
One note on a small speedbump I hit in my install.....I dont know if this will happen on all cars or if it will be specific to certain HVAC controls, years/models/etc....
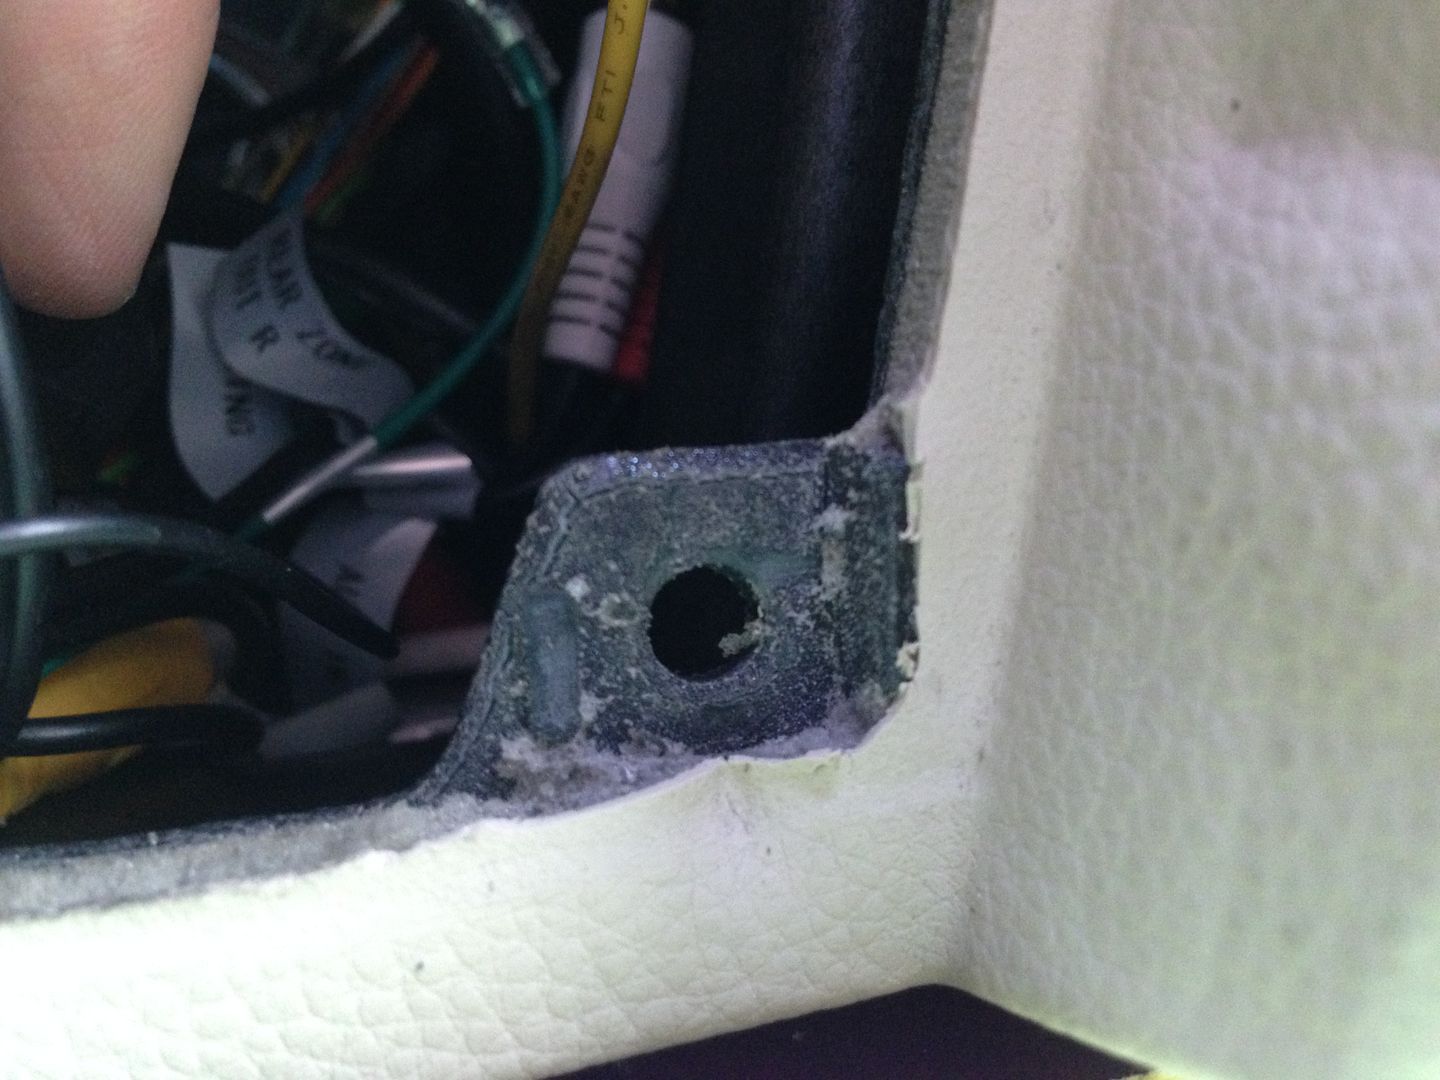
When I first pushed the unit back into place, the bottom (the part by the HVAC controls) would not go all the way back into place, it was sticking out maybe 1/8". I started looking around and it appears the HVAC controls were a little too deep and they were hitting part of the dash behind them, keeping the bottom from going all the way back and being flush. Specifically this little ear inside the dash where to the oem radio bracket mounts was in the way.
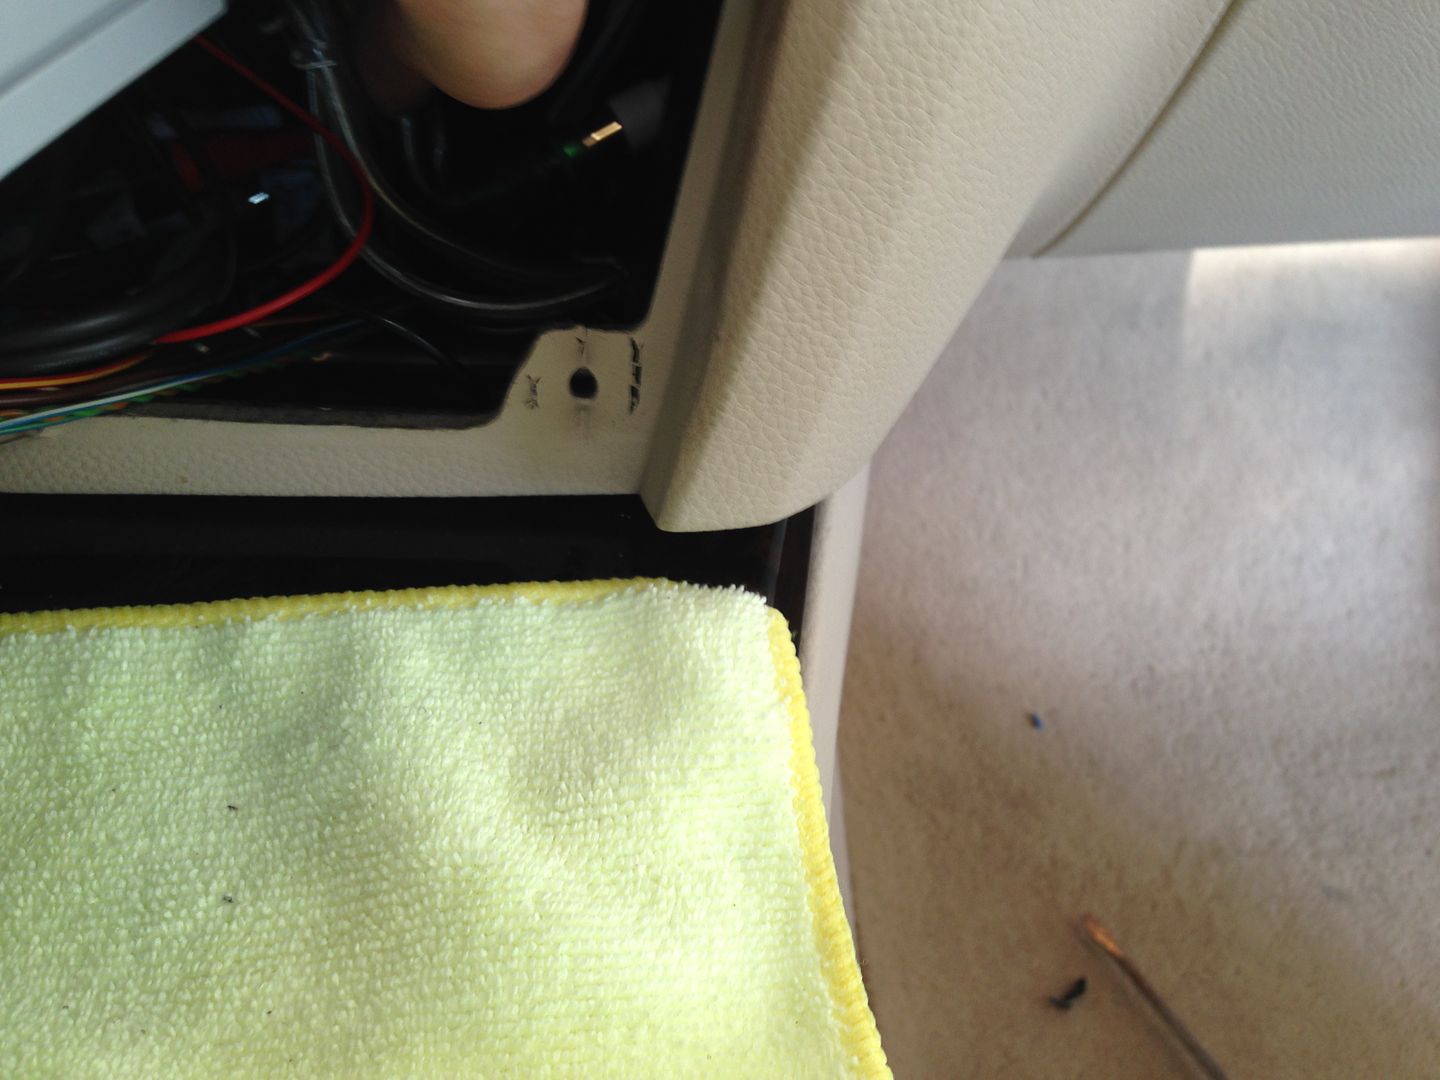
Closer inspection revealed that the part was upholstered with foam and vinyl, AND had a plastic nub on it. Both of these factors added more than 1/8" of thickness to the ear and was keeping the dynavin from going all the way in. So I simply trimmed the upholstery and foam off with a utility knife.

Then I snipped off the plastic nub with some diagonal cutters and cleaned it up with the utility knife.
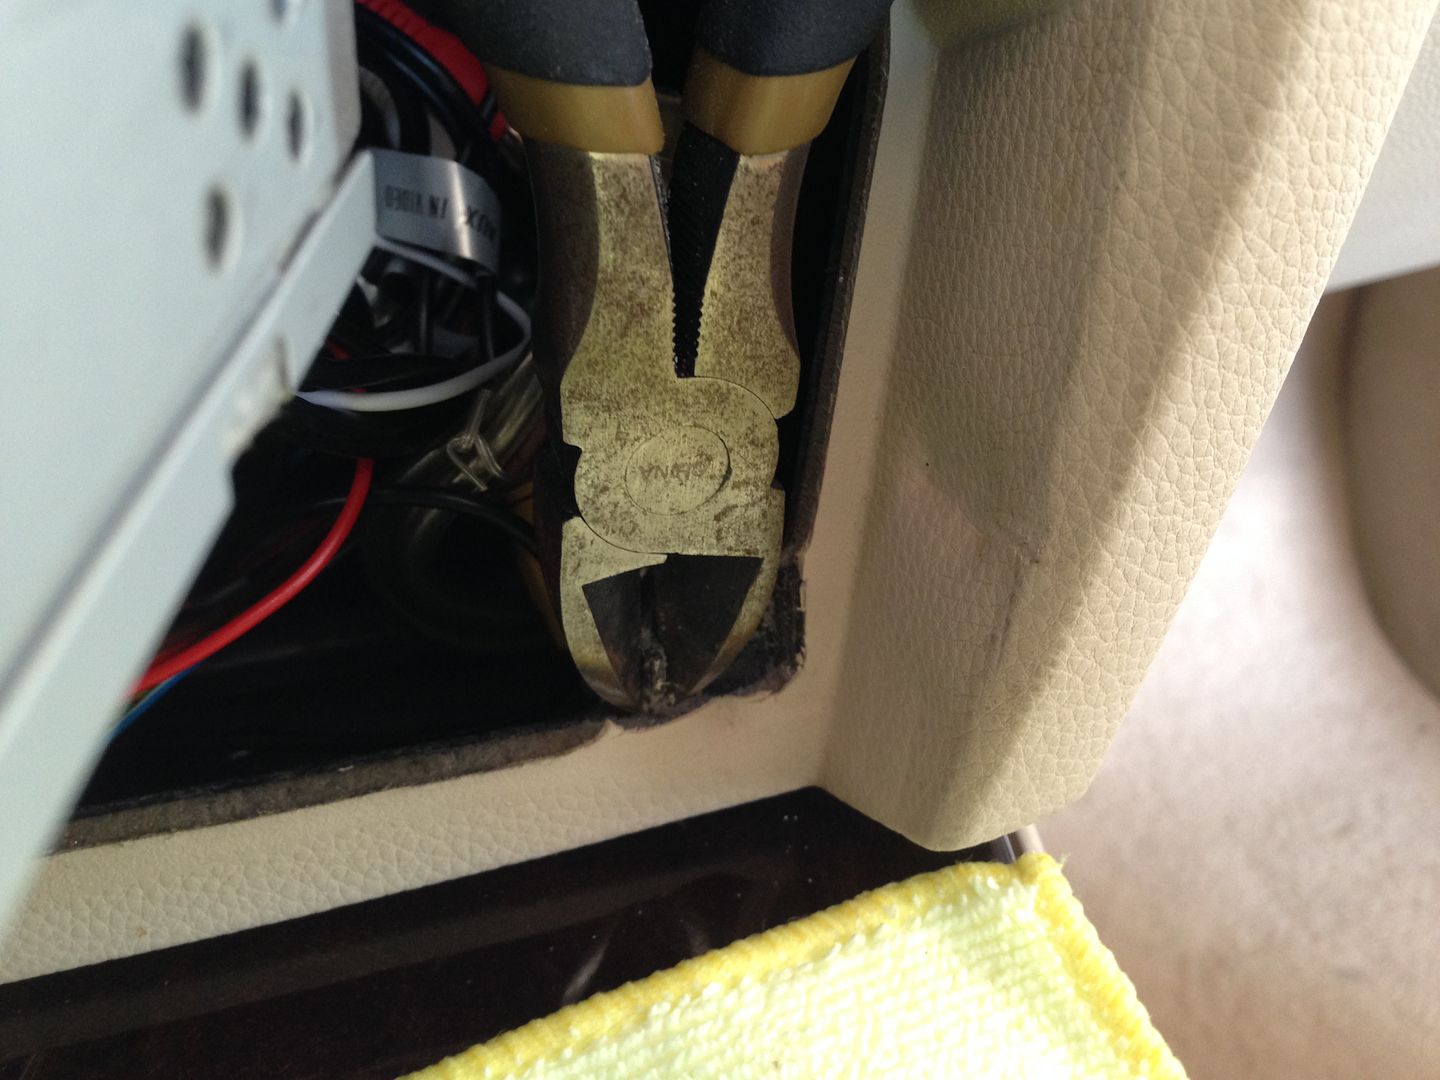
As you can see the ear is still there, its just doesnt have all the "stuff" on it getting in the way
Did the same on the left side and I was then able to slide everything all the way back into the dash and the fit was great
UPDATE:
Here is a quick look at some of the other car integrated features:
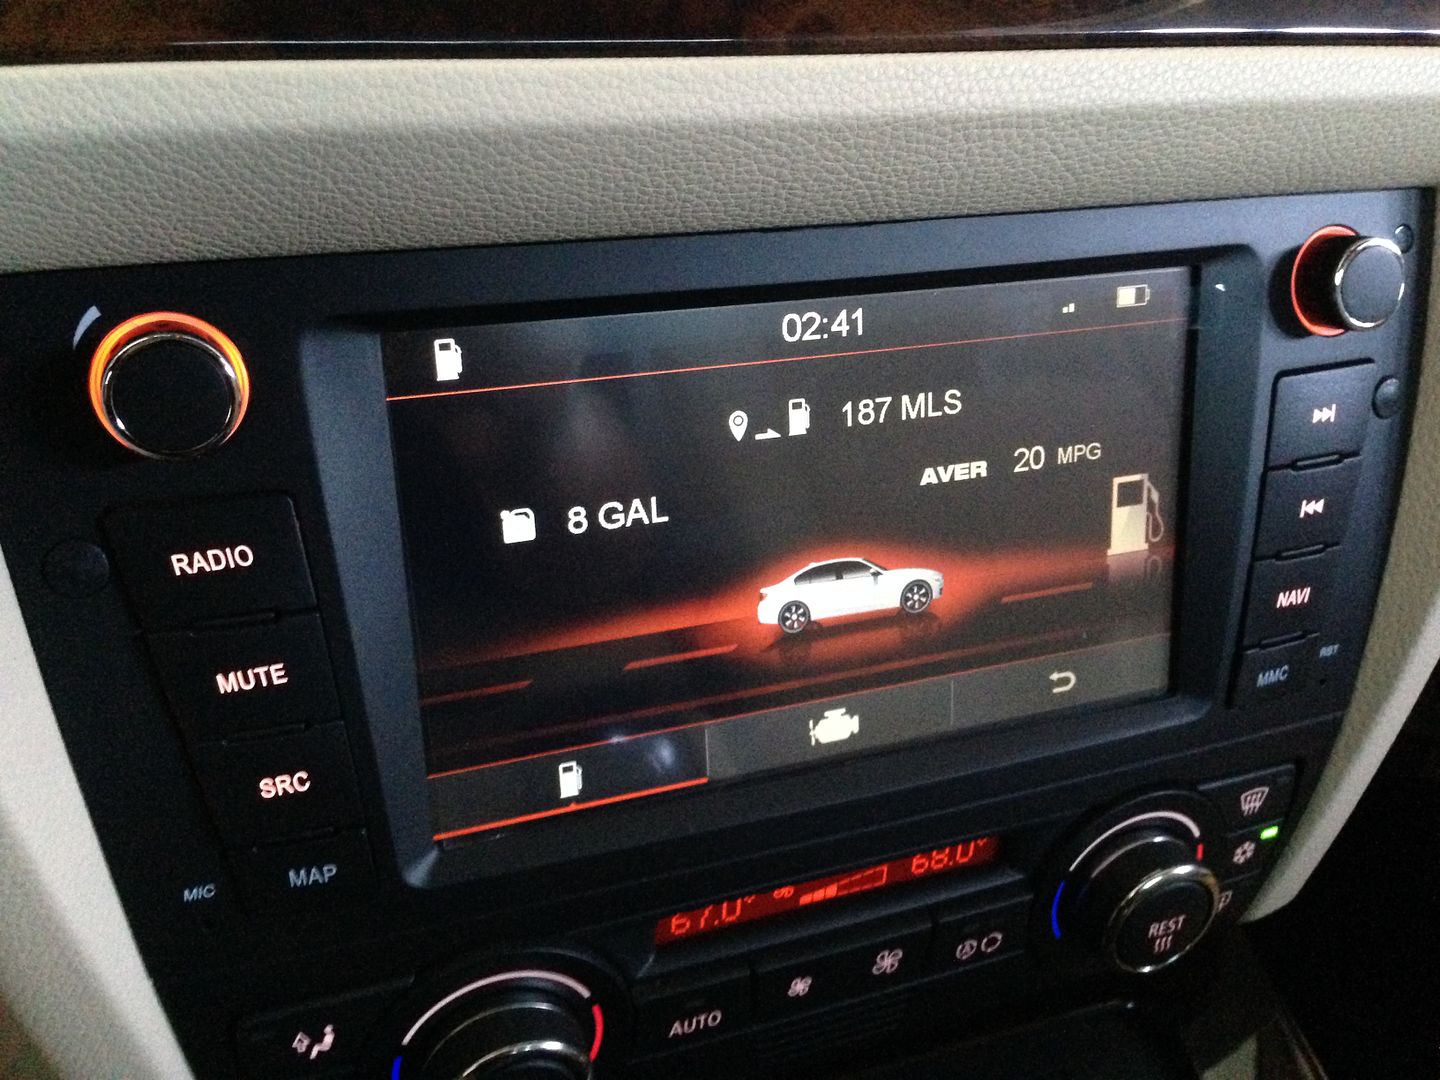
OBC data screen (update: now with US units)

OBC fuel data screen (update: now with US units)
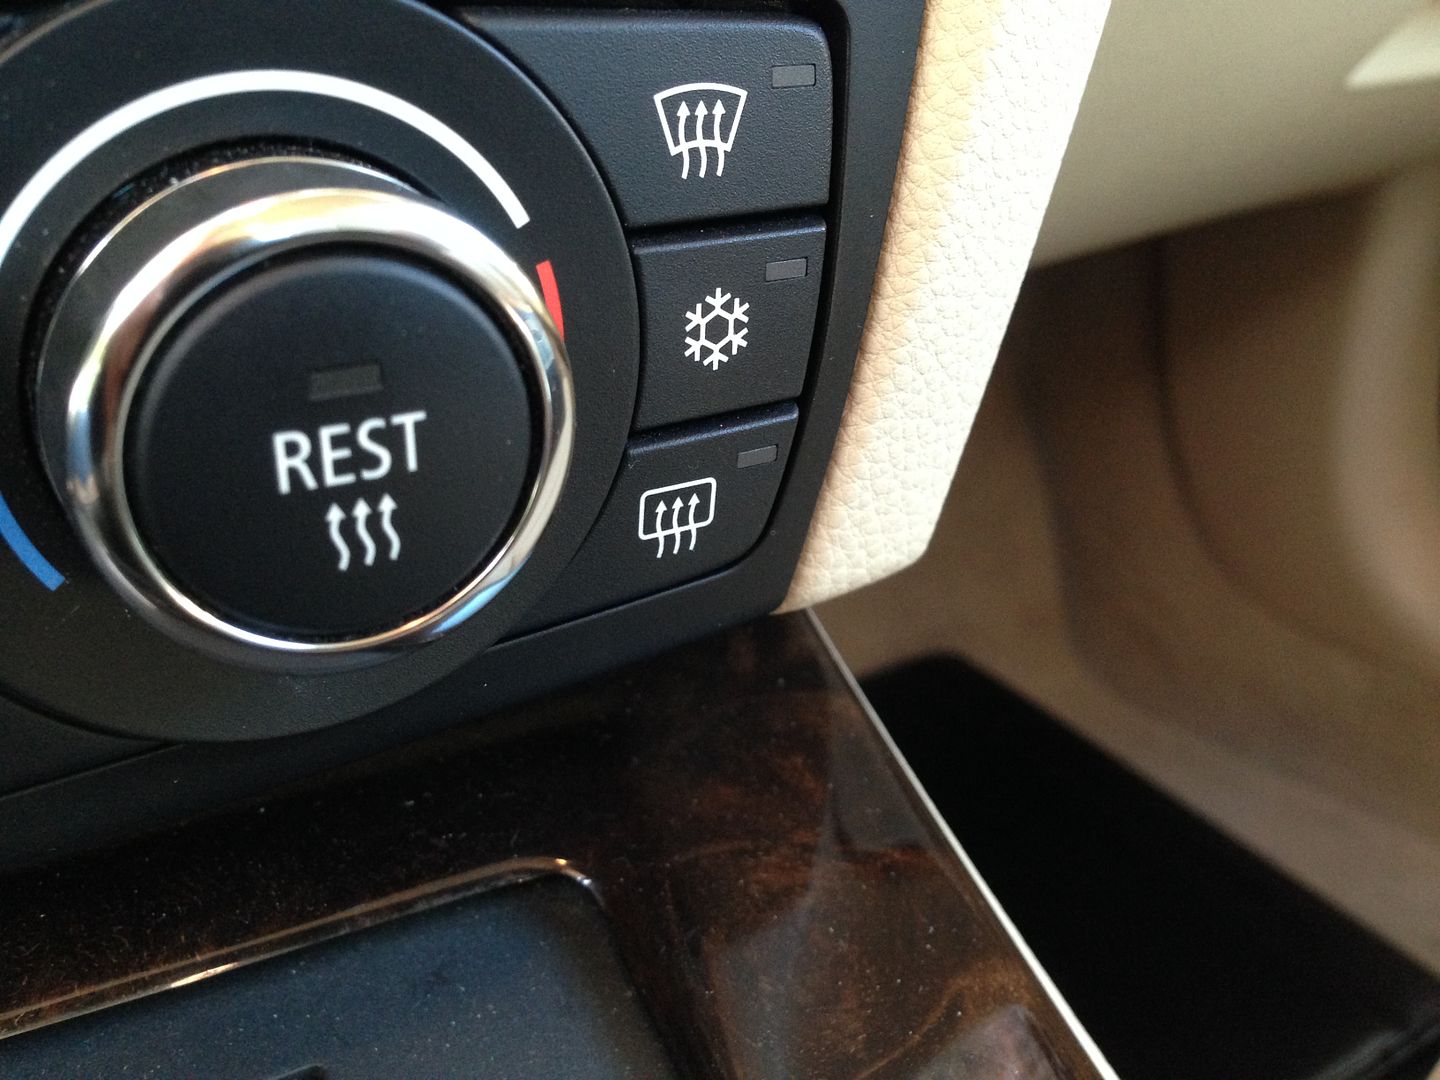
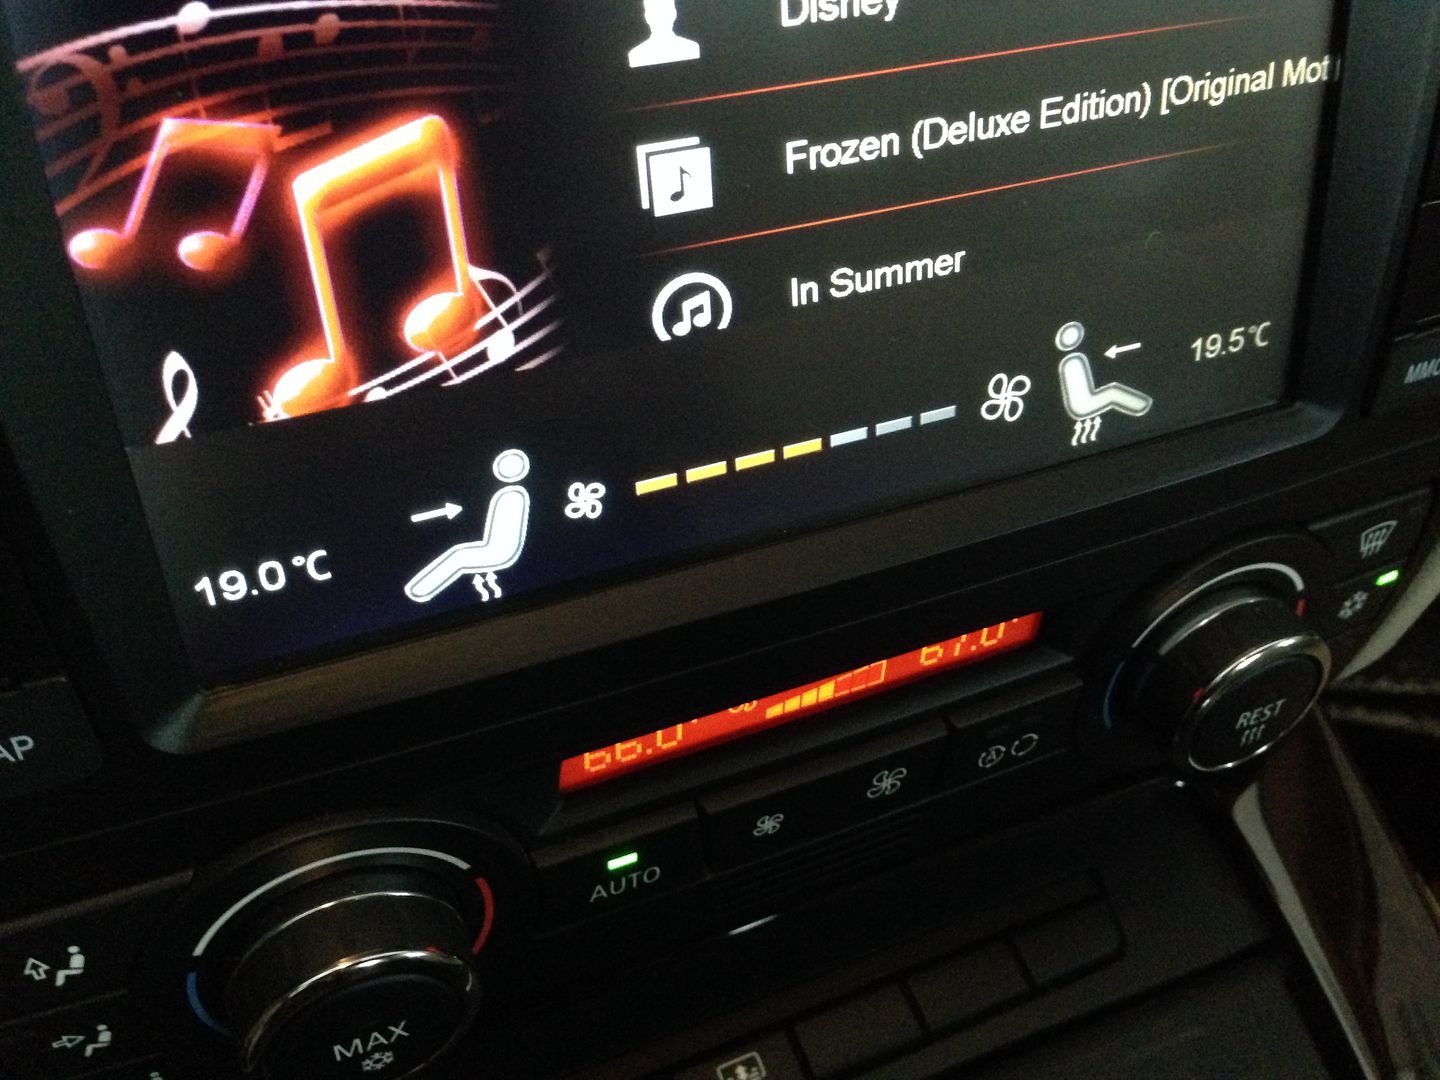
HVAC display, pops up for a few seconds when you make changes to the HVAC settings (this can be turned off)
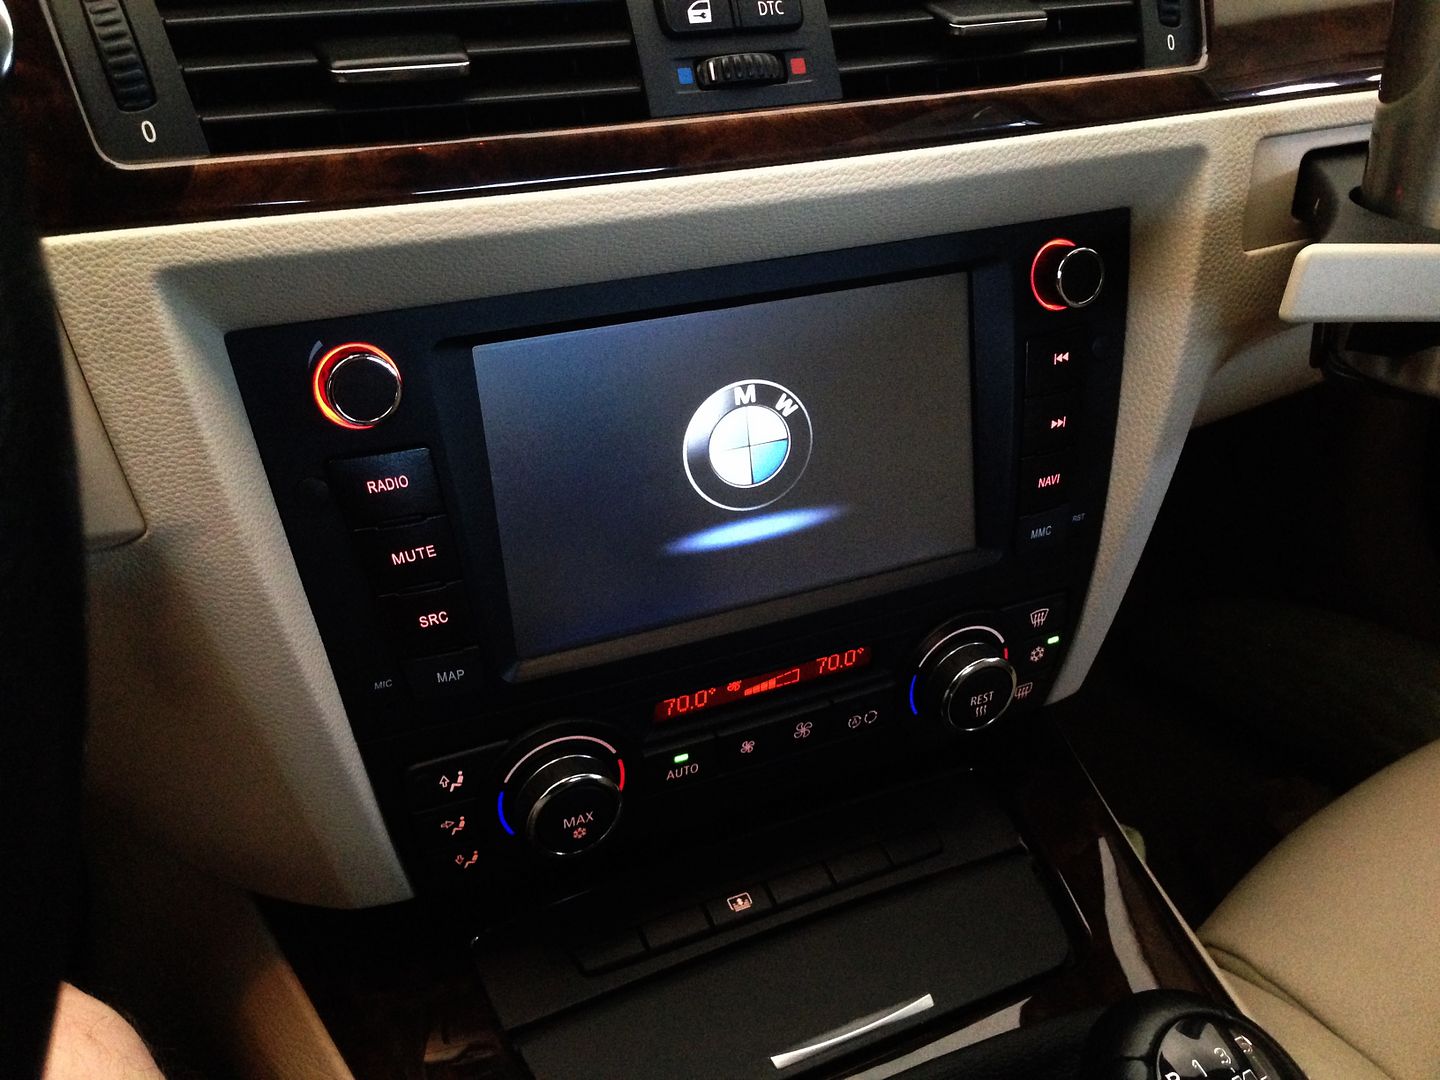
And not canbus related....you can set the boot screen to whatever you like. Put a picture file on a SD/USB drive and you can select it as your boot picture. I like the oem look so I did this:
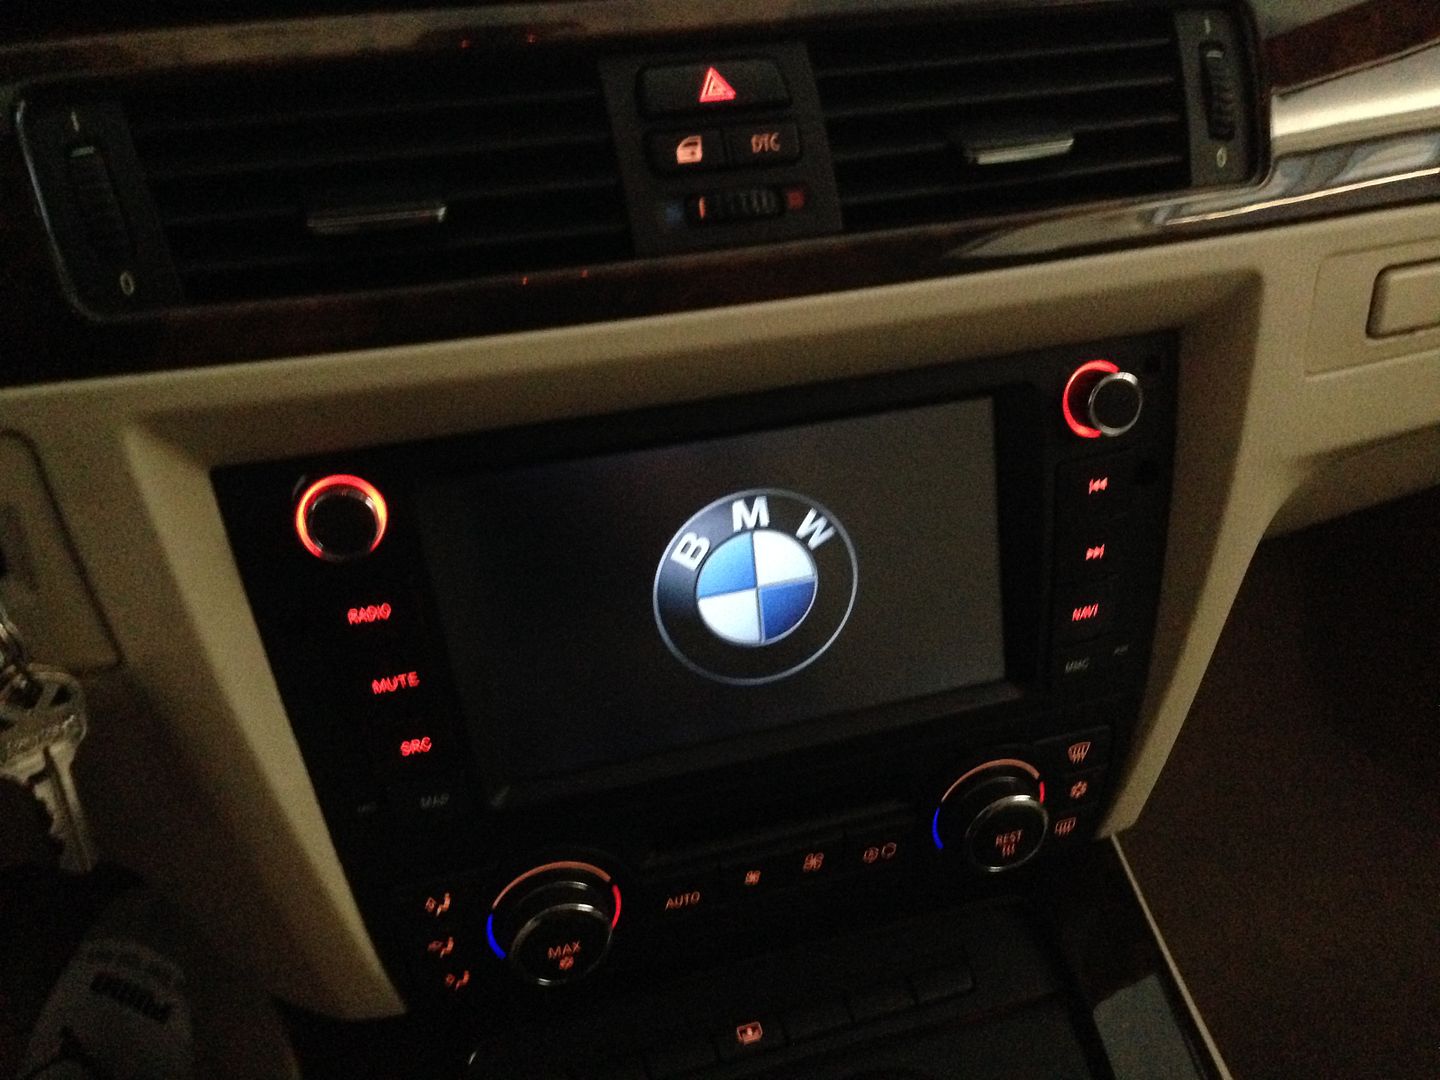
I think I might like this one better though....