Multi-Step Paint Correction - this particular example involved 1 cutting step, and 1 polishing step for a total of 2 steps.
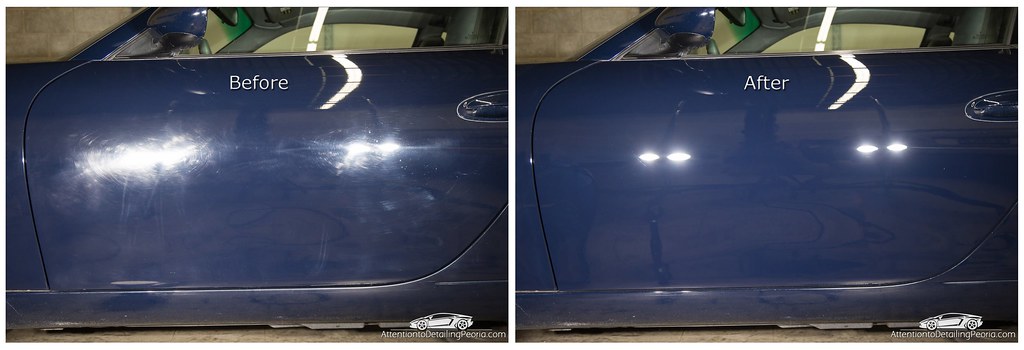
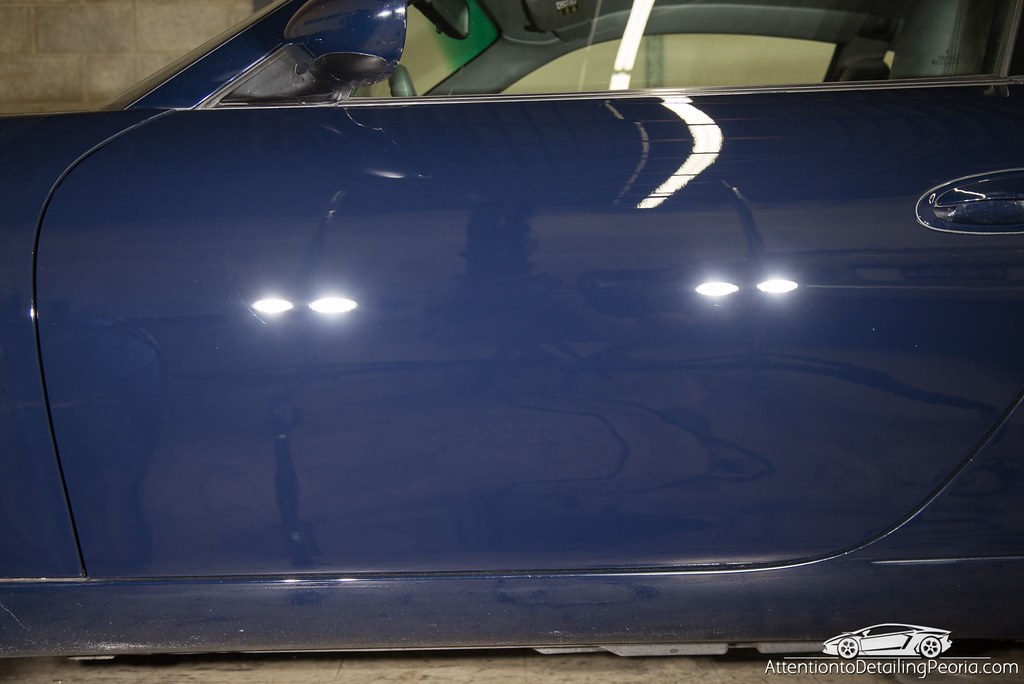
Before - very easy to see this Porsche had seen some use
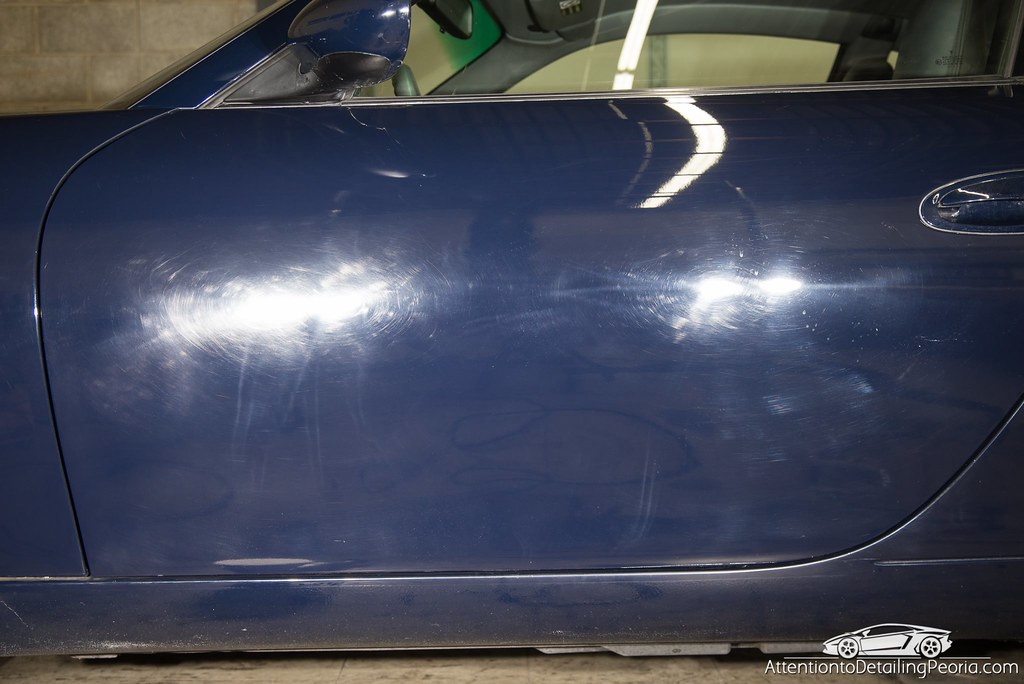
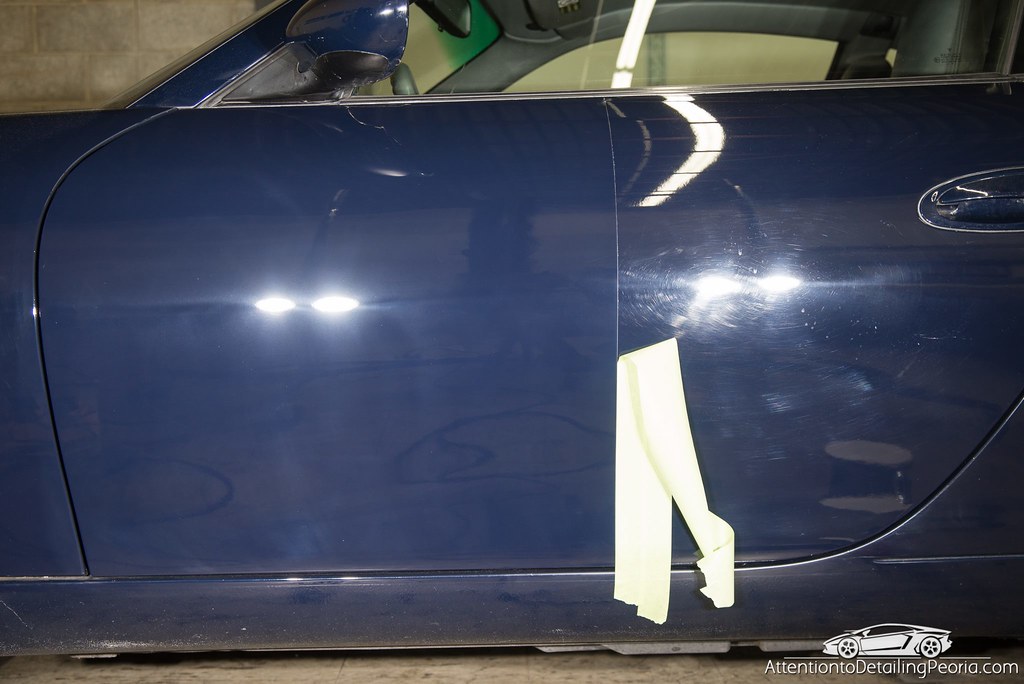
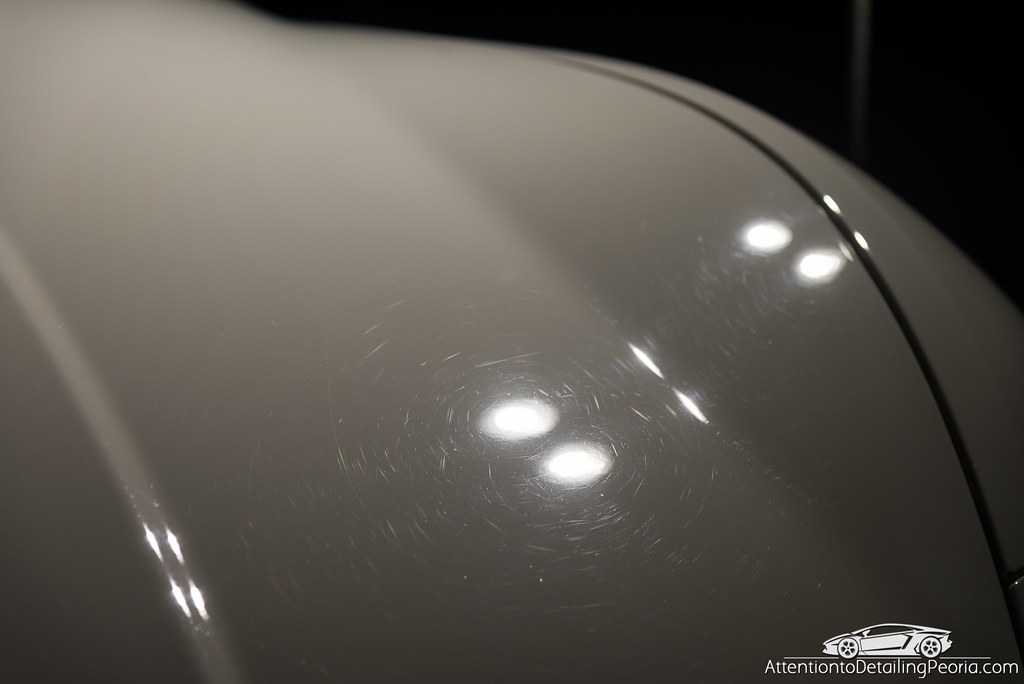
During - after the cutting process, the majority of defects had been removed, however the finish is left hazy and is drastically lacking clarity.
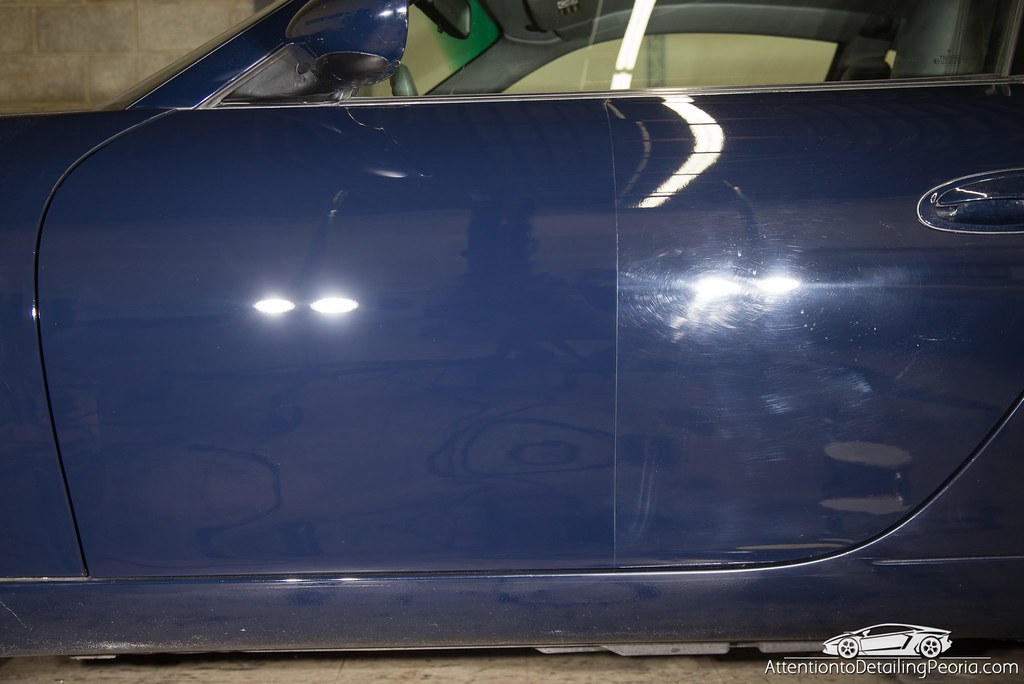
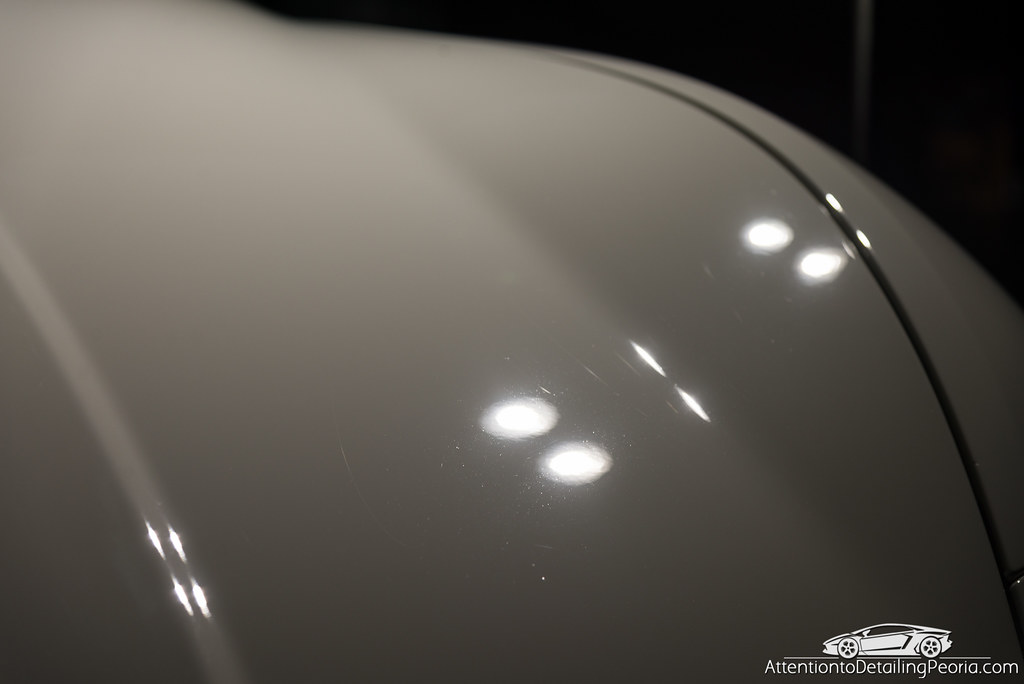
After - after the final polishing process was completed, the finish was crystal clear and looked incredible.
The full article can be seen here:
1999 Porsche 996 Paint Correction and 22ple Coating
Keep in mind, all of this can be accomplished on your own if you are in fact a DIYer. I go over the basics of a two-step paint correction process in this video...
http://www.youtube.com/watch?feature...&v=3Ade4Mqq_6I
This video is featured in this article which contains some more helpful tips and other great photos of the process and results...
Two Step Paint Correction Overview and Video Demo: 1937 Ford Coupe Hot Rod by Zach McGovern
Here is an example of a one-step paint correction on a vehicle that could have benefited from a multi-step process had the owner's been concerned about flawless paint.
Before - swirls and scratches present
After - a medium polish was used to remove the swirl marks, however some moderate to heavy scratches remain visible. Due to the light paint color, these defects will be very difficult to see under normal lighting conditions.
I hope that helps!
Please let me know if you have any questions. I will do my best to provide as much assistance as possible. If you are interested in learning to DIY, I can absolutely help get you started with everything you need to tackle the job.
Zach McGovern
Professional Detailer
Detailed Image Ask-A-Pro Blog Authoer