This DIY explains how to replace the VANOS Solenoid, with failure commonly detected through the following codes.
2A82 Inlet-Vanos variable cam control test
2A87 Outlet-Vanos variable cam control test
3100 boost-pressure control, deactivation
Suggested Code to Failed Part Correlation:
2A82 Intake VANOS solenoid
2A87 Exhaust VANOS solenoid
Disclaimer: Please search and read existing threads. OP takes no responsibility for mis-diagnosis. Replacing the suggested part may not fully resolve the issue. However, this is a good starting point. If you are throwing a bunch of codes in addition to the ones listed, please troubleshoot accordingly.
OEM P/N: 11367585425
Both intake and exhaust solenoids are identical, with the same p/n.
INSTALL TIME: <30 mins after engine has cooled
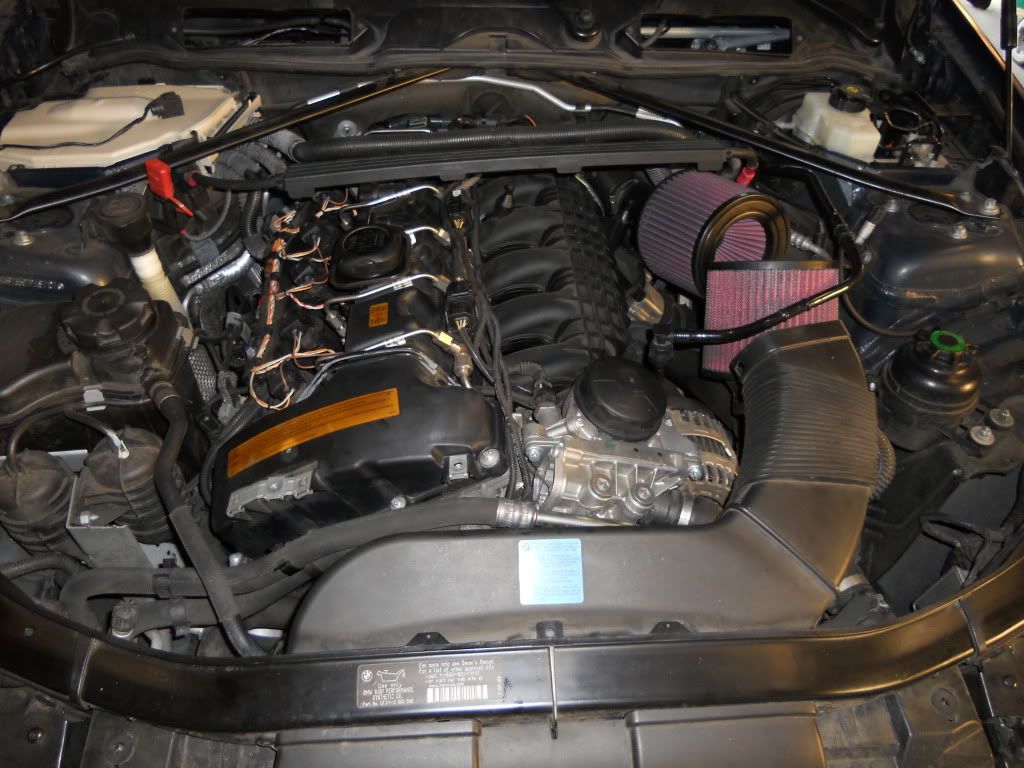
STEP 1: Wait until the engine is cold! The location where the VANOS solenoids are is VERY HOT! Remove microfilter panel and engine cowl. Refer to PROcede and JB installation instructions. Not part of this DIY.
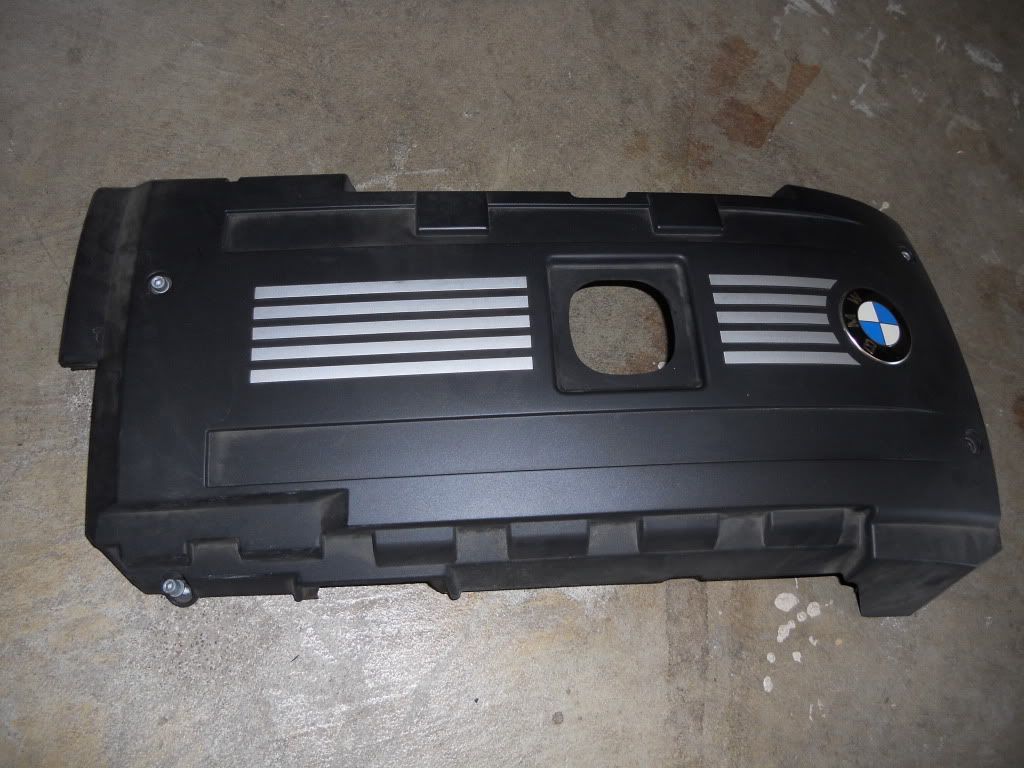
STEP 2: Remove Engine Cover
Note: Picture below shows the engine cover removed. The point is to highlight the location of the 4 screws. The rear left screw (looking by standing from the front of the car) is the hardest to see (bottom left in this picture).
 STEP 3:
 Remove Snorkel
Requires a T-20. Remove the 2 screws (left and right) as seen in the pictures, and pull the snorkel out. Note where the ratchet is for location of screws.

 STEP 4:
 Location of VANOS Solenoids. Look where the brown rag is where the snorkel used to be at the bottom of the picture.

Solenoids removed.
- Top hole is for the Intake solenoid
- Bottom hole is for the Exhaust solenoid
Brown rag positioned to capture dripping oil and prevent oil from accidentally getting onto the removed connectors.
 STEP 5:
 Remove the connectors.
The connector pictured is for the Intake solenoid, which goes into the top hole of the picture. If you forget which is which, don't worry. Notice how the cable goes to the left. This is an easy way to identify the intake solenoid cable. The other cable goes down and is not easily pulled out.

To remove, simply press down on the silver clip as shown and pull out. When re-inserting, be sure to press down on the clip again to slide back in.
 STEP 6:
 Remove solenoid.
Notice the solenoid has a retaining clip that is fastened by a screw (that hole you see on the solenoid). Remove this screw. The picture shows that the metal retaining clip is actually part of the solenoid assembly! Do not try to pry this apart from the solenoid when removing!
After removing screw, turn clockwise by 1/8th of a turn, and pull. It will pop out. Catch the dripping oil on your rag.

I was only throwing the 2A87 code (Exhaust Solenoid). But I removed both to compare. The top solenoid is the Intake one, and the bottom is the Exhaust one. I could NOT tell which one was bad just by visual inspection!

I reused my existing intake solenoid, and replaced the exhaust solenoid with the new one shown.
Ensure the o-ring is pushed all the way down to the bottom of the solenoid.
TIP: Re-insert solenoid by positioning about 1/8 turn clockwise to the mounting hole. Push straight in and you will feel a pop when it is fully inserted.
Once inserted, rotate counter-clockwise to line up retaining clip to mounting hole, and secure the screw.

Reverse the above steps to finish up.
Sorry, I didn't take a picture of the solenoid actually inserted. But based on the above pictures, you can easily figure out the solenoid location. That in itself took me a few mins, as it was initially partially covered by the engine cover and snorkel.
Hope this helps!
UPDATED 6/14/11 - TIPS from other DIYers:
1. Instead of replacing w/ a new solenoid, try cleaning the solenoid w/ compressed air first.
2. (N52) Engine cover does not have to be removed to get to the solenoids.
3. (N54) "My car does not have an oil cooler so I didn't have to remove the snorkel."
4. Suggest removing and replacing solenoids one at a time (starting w/ bottom solenoid). "If both solenoids are out, it is very easy to accidentally drop one of the small mounting bolts into the openings, which would be really bad since the screw would now be in the casing for the cam chain drive."