I have see the DIY on how to paint the exterior trim with removing it, and I didn't want to even attempt that, seeing how difficult it is to get the trim off and you can possibly mess it up getting it off. So I came up with a way to paint the trim while leaving it on the car and it came out awesome so this is what I did.
It may be a good Idea to add a polyurethane roll on finish after painting to help prevent chipping. I didn't do it hear but I think I may do it next weekend.
Time it takes: About 3 hrs depending on how long it takes the paint to dry
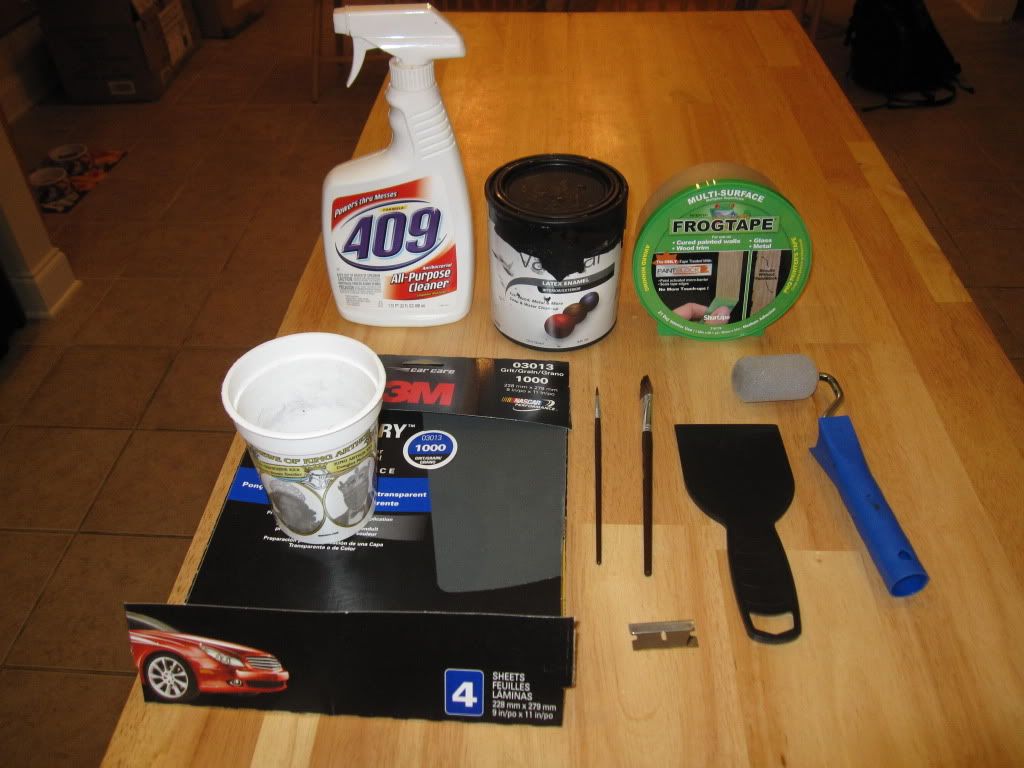
Tools needed: All cost about 25 bucks at lowes
Multipurpose cleaner
Cup for water
1000 grit sandpaper
2 touch up paint brushes (one small and one tiny)
2 inch foam roller
Valspar flat black paint(water or latex based...no oil based)
Plastic putty knife
Painters tape(get the best kind they have)
Razor Blade
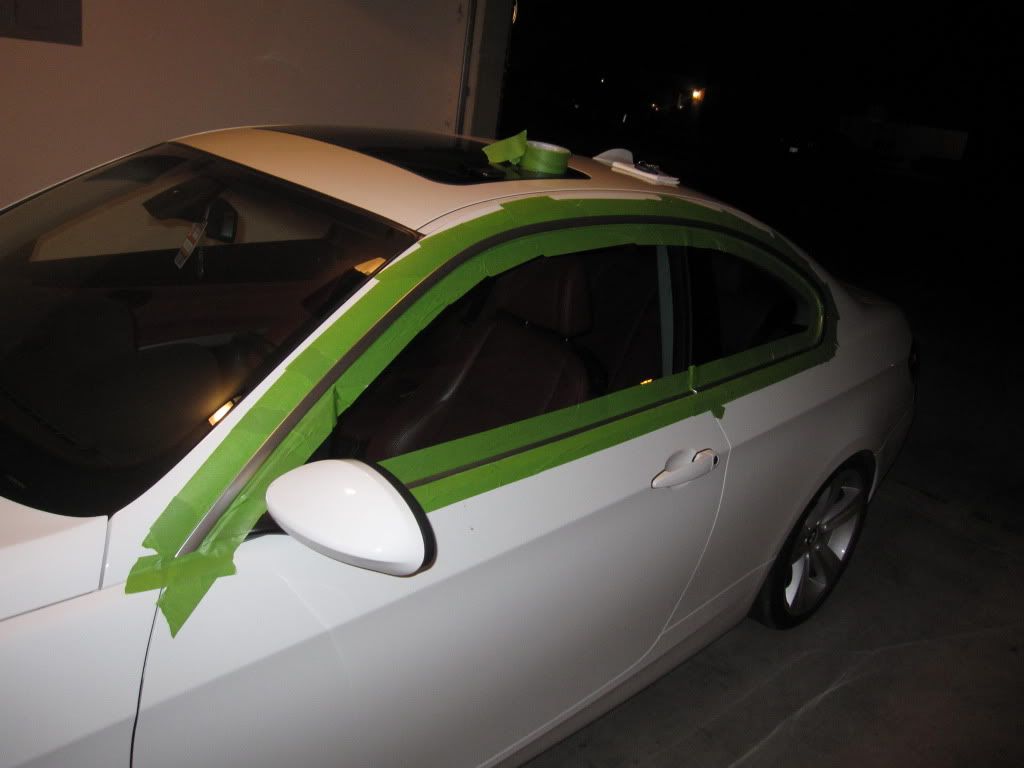
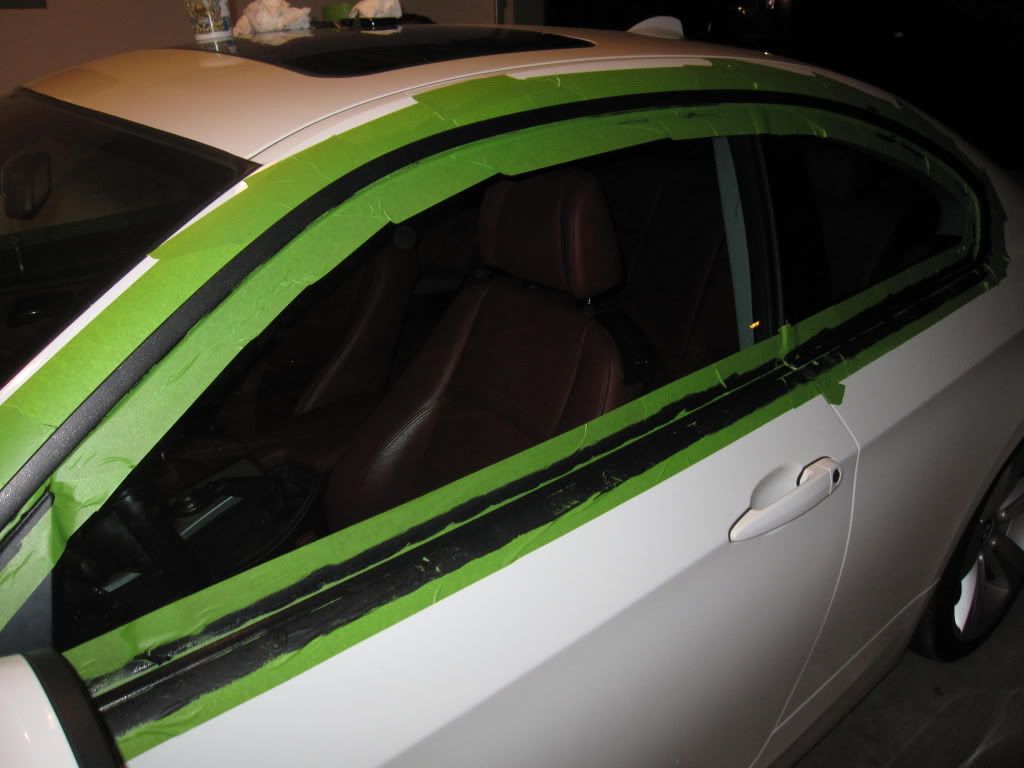
Step 1. Begin taping the molding off. Take you time in this step and make sure you have a piece of tape under the molding in every place on the car. It can be really difficult in some places like the top and bottom of the window. What you do is put a slight edge of the tape on the trim and then use your putty knife to push it under it. Make sure you start the process with the window down and then once you have that done close the window on the top side tape to hold it and put another layer on the top of the glass and then do the bottom.
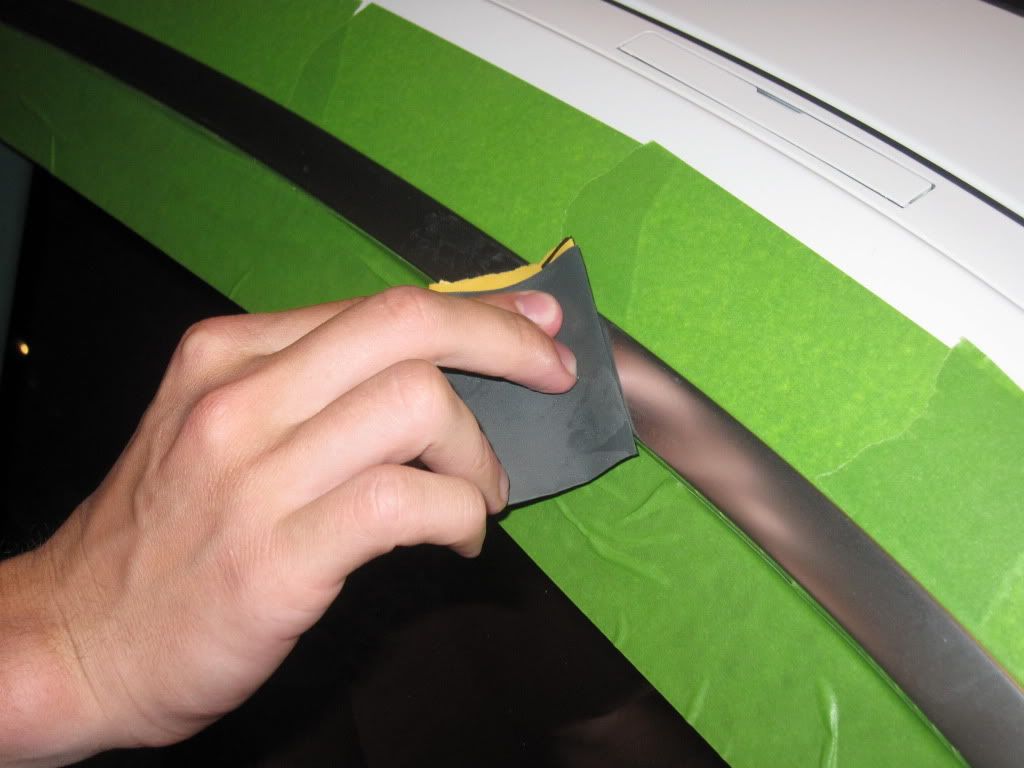
Pushing the tape under(sorry for the blurriness)
[IMG]http://i51.photobucket.com/albums/f369/TBake504/IMG_0500.jpg[/IM]
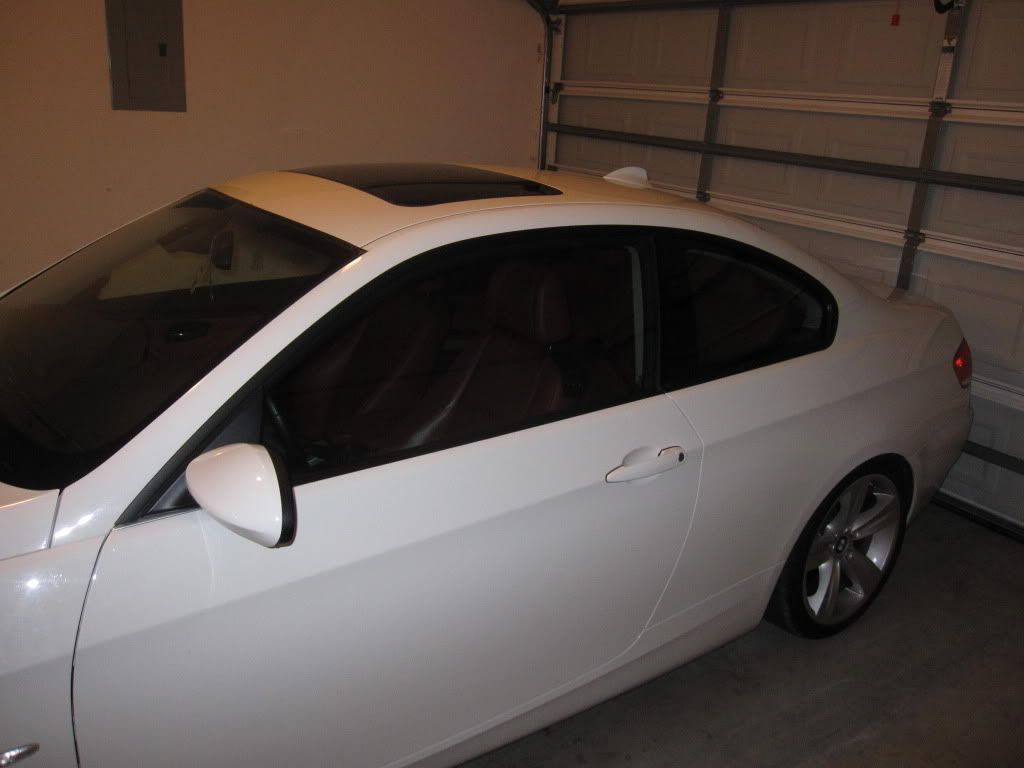
Driver's side completely taped after window it closed
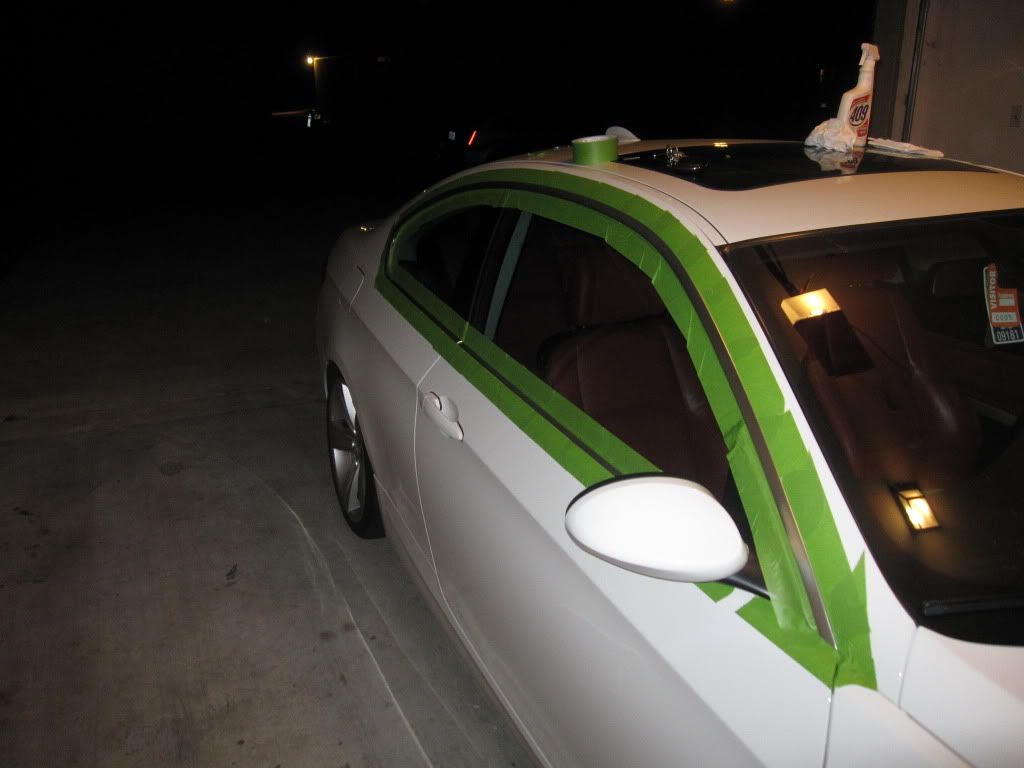
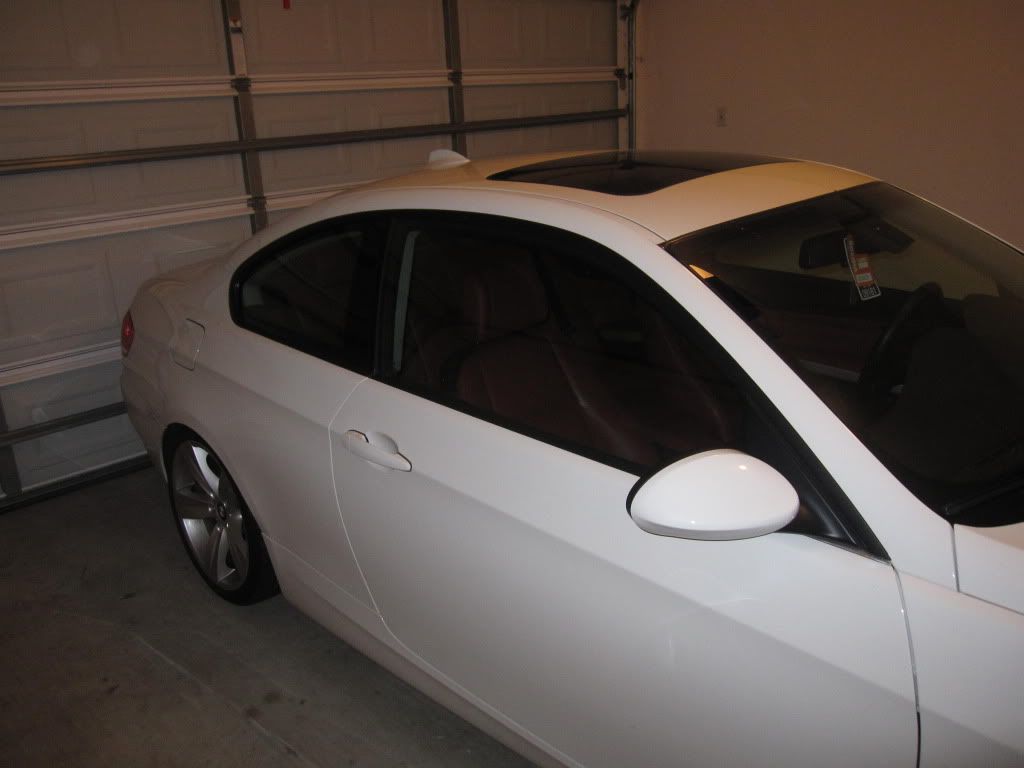
Passenger's side completely taped after window is closed
Step 2. Once you have everything taped off completely you can begin sanding. Just take your cup of water and a little square of sandpaper and rough the surface up a little bit. It may not look rough but to the touch you should feel it.
Step 3. Begin cleaning. Clean the surface as good as possible and make sure it is completely dry before moving on.
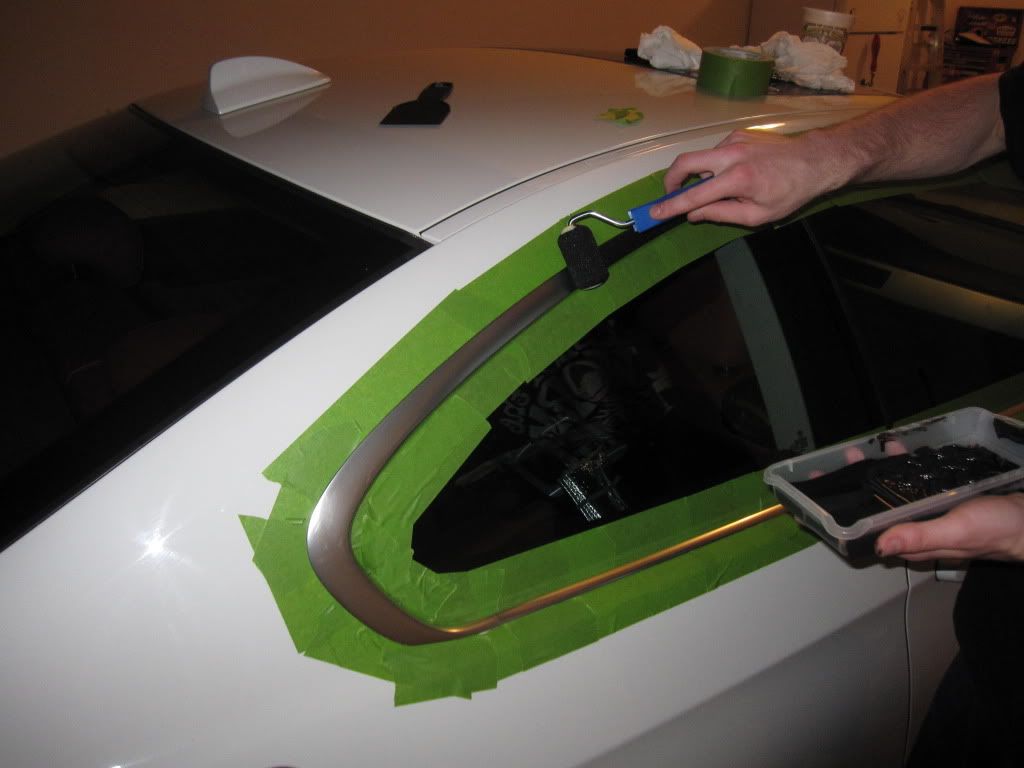
Step 4. You can now begin painting. Take you roller and just get a little paint on it, you don't need much. Begin rolling the paint on. I know at first the paint will look weird being that it is the first coat and the sponge gives it an odd texture. There will also be like little spots where you can see the trim and thats okay thats what multiple coats are for. I am going to warn you though the paint will not be perfectly smooth, it will have somewhat of a rhinolining texture but not as aggressive. I test painted on multiple surfaces before my car to make sure it would come out ok. And trust me it does. Also make sure when painting to roll in one direction every time for every coat to make it consistent. Also you are going to need your small touch up brush here to paint close to the mirror and under it if you want b/c the roller can't get it.
First roll
After first coat
I put 3 total coats on each side and it worked perfectly. It is key to TAKE YOUR TIME. Don't rush things or you will mess it up when painting. Make sure each coat dries completely before starting next coat. You can use a hairdryer to help it dry quicker if you'd like.
To pass the time while drying

Step 5. This is the most important step, peeling off the tape. Be sure to make sure it is dry before starting. You have to be EXTREMELY careful when pulling off the tape b/c the paint may be stuck to the tape and if you're not careful you'll pull the paint right off the trim. This is where the razor blade comes in handy. Take the blade and cut and places where the paint has webbed to the tape to make sure it doesn't take the paint off. Now you are ready to peel and seriously TAKE YOUR TIME. You don't want to mess up your hard work.
Step 6. (possible step) For me, even though I was careful I had to small spots where the paint pulled off in tiny little spots. This is where you tiny touch up brush comes in. Just get a little paint on it and go slow and fill it in. Trust me when its done you can't even notice.
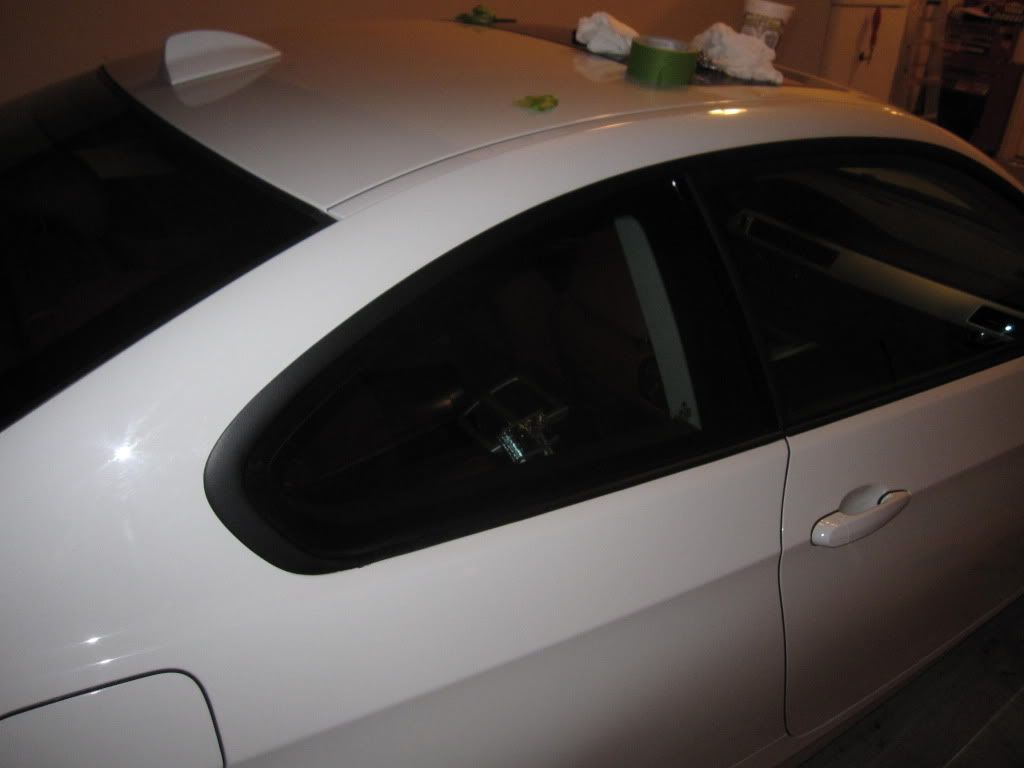
And after the tape is gone and touch ups done, the final product!

Hope it works out for you guys if you are willing to try! Good Luck!