First off big thanks to BenAnd from 5 series forums and xxxjecxxx + DimSum (coding info). This DIY wouldn't have been possible without them.
Parts
(Prices are from Tischer BMW--getbmwparts.com)
2x 63267193293 - $13.15 ea
4x 61130005197 - $1.40 ea
4x 61130007452 - $1.74 ea
2x 61136925634 - $1.40 ea
Total (exc. shipping) - $41.66
Shrink Tubing - 3/32" & 3/16" is what I used, Home Depot for ~$2 a bag. I'm sure it'll shrink with a hot hair dryer, though I used a heat gun ($20 at Ace, good investment). I guess you can use electrical tape, though I don't recommend it.
*Soldering isn't required for this to work, especially if you're sealing the connections with shrink tubing. I recommend you do it. If you don't have supplies or don't know how to solder, give it to someone who does, it'll take them 5 mins max.
 Assembly
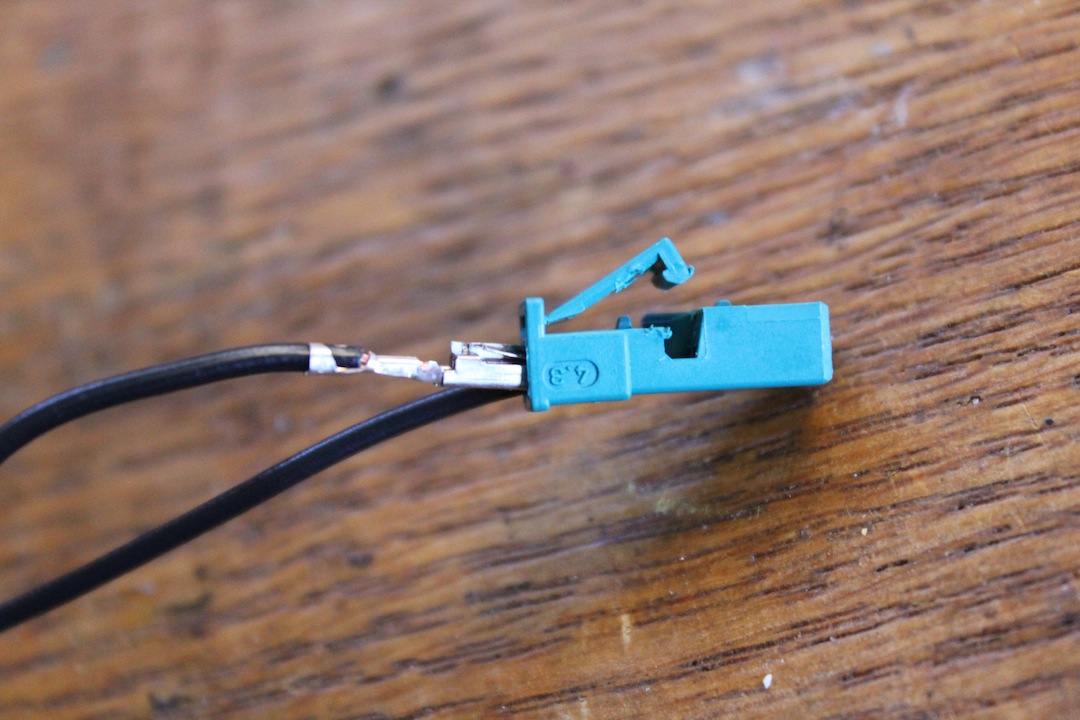
1 - Cut and Strip
Assembly
1 - Cut and Strip
Try and aim for equal lengths here. Specific length isn't important.
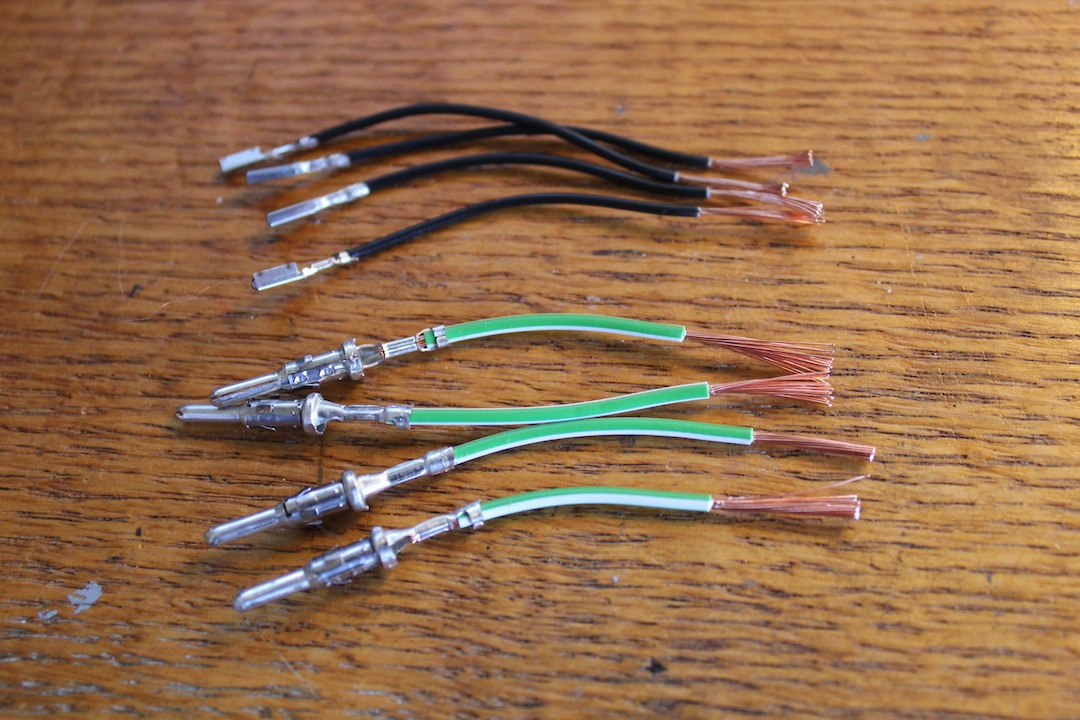 2 - Solder
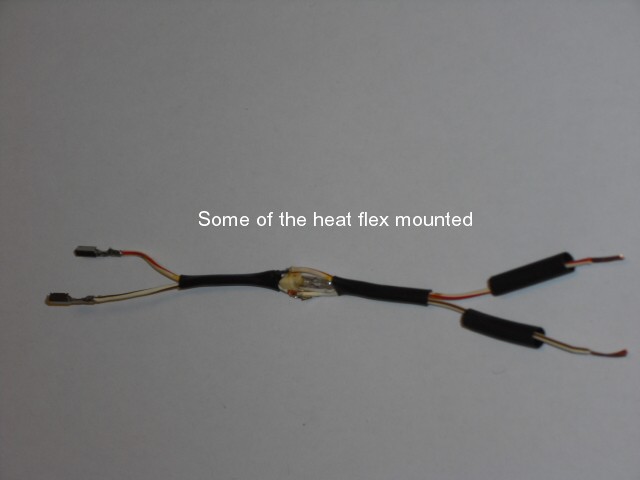
 3 - Cut + Position Shrink Tubing
You don't want to cover too much of the large male pins. The main reason they need to be covered is to insulate the largest diameter 'rings' as they'll short the connection if they aren't insulated. I covered ~2mm too much (you want to position it a bit further up from the pin than I did).
 4 - Apply Heat
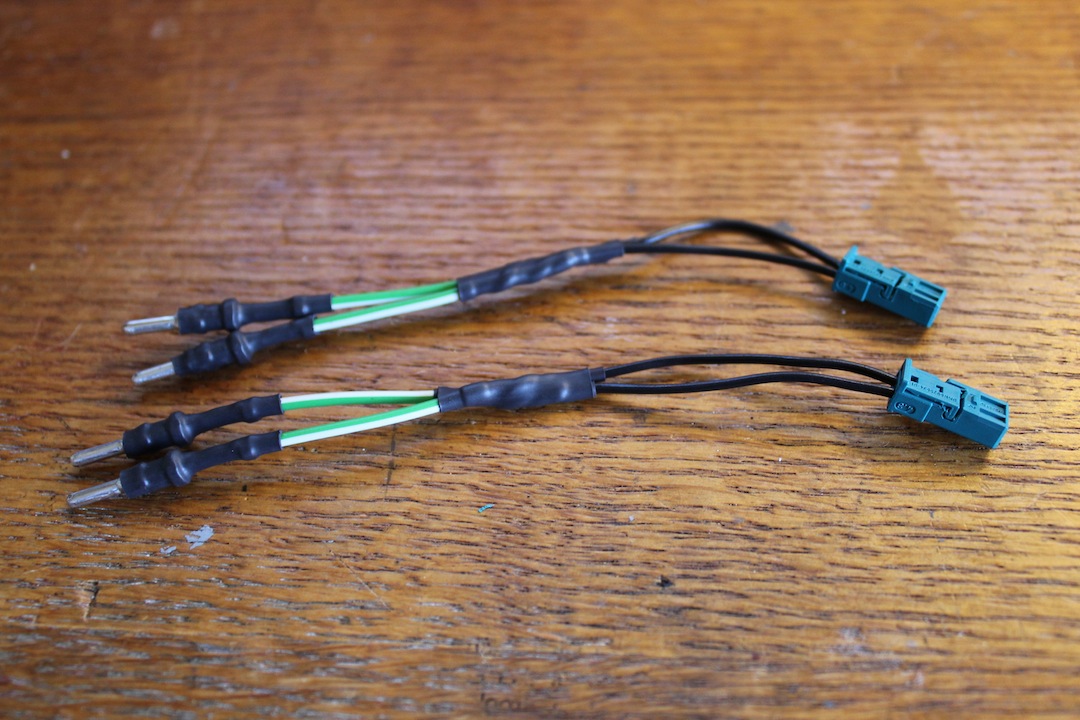
 5 - Cut + Position Shrink Tubing
Here you want to pair the 2 shortest and 2 longest pieces. Also, line up the large male ends evenly, it's OK if the female ends are a bit uneven; their wires are more flexible and will be secured in the plastic connectors.
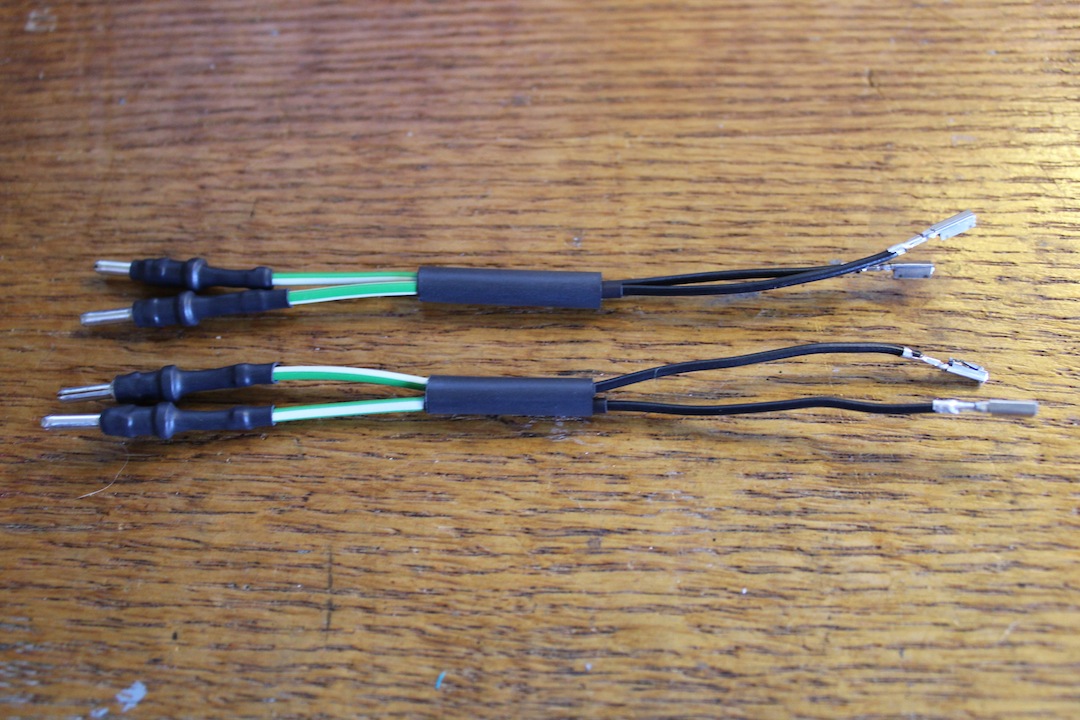 6 - Apply Heat
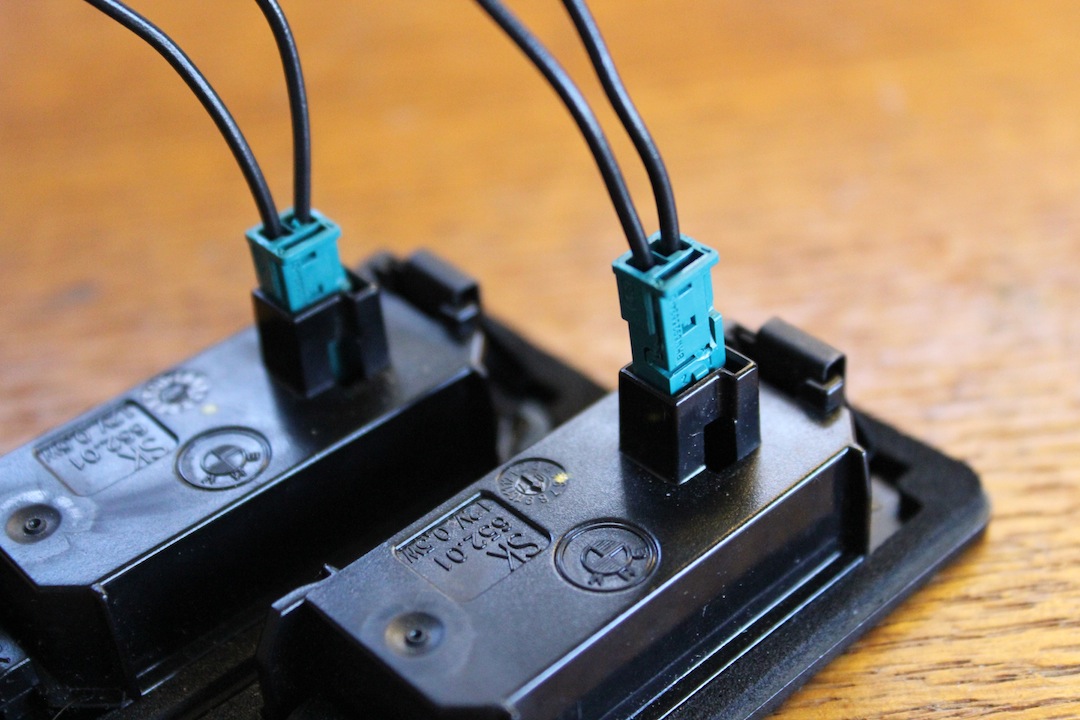
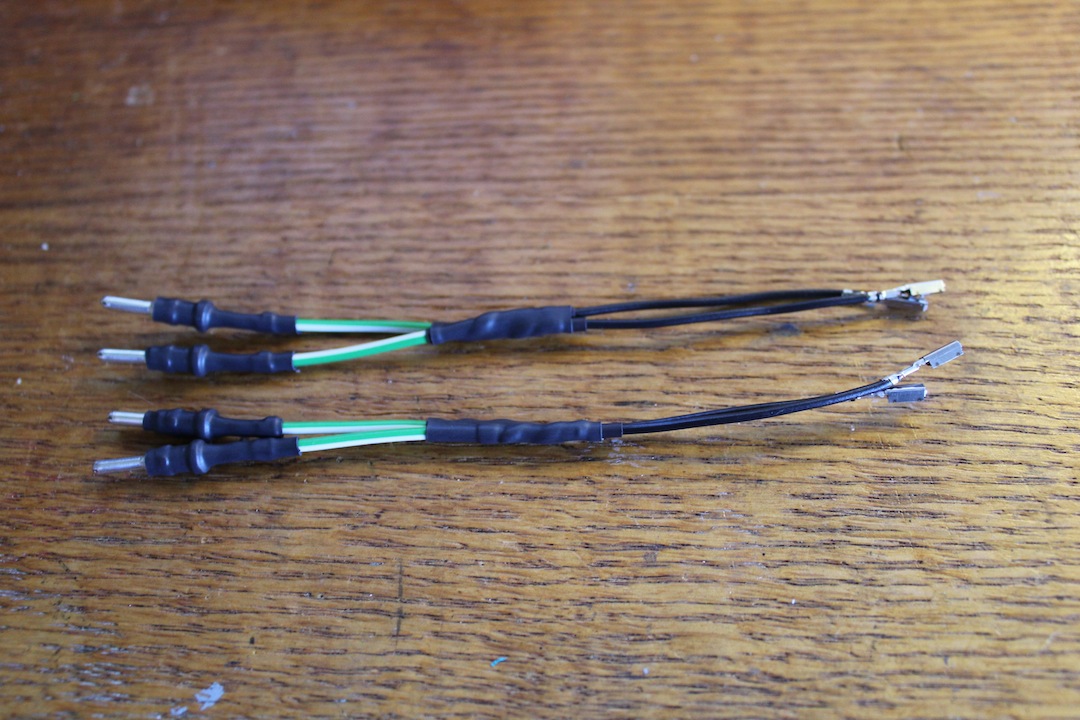 7 - Insert Pins into Connectors
 8 - Snap Connectors into Lights
 Installation
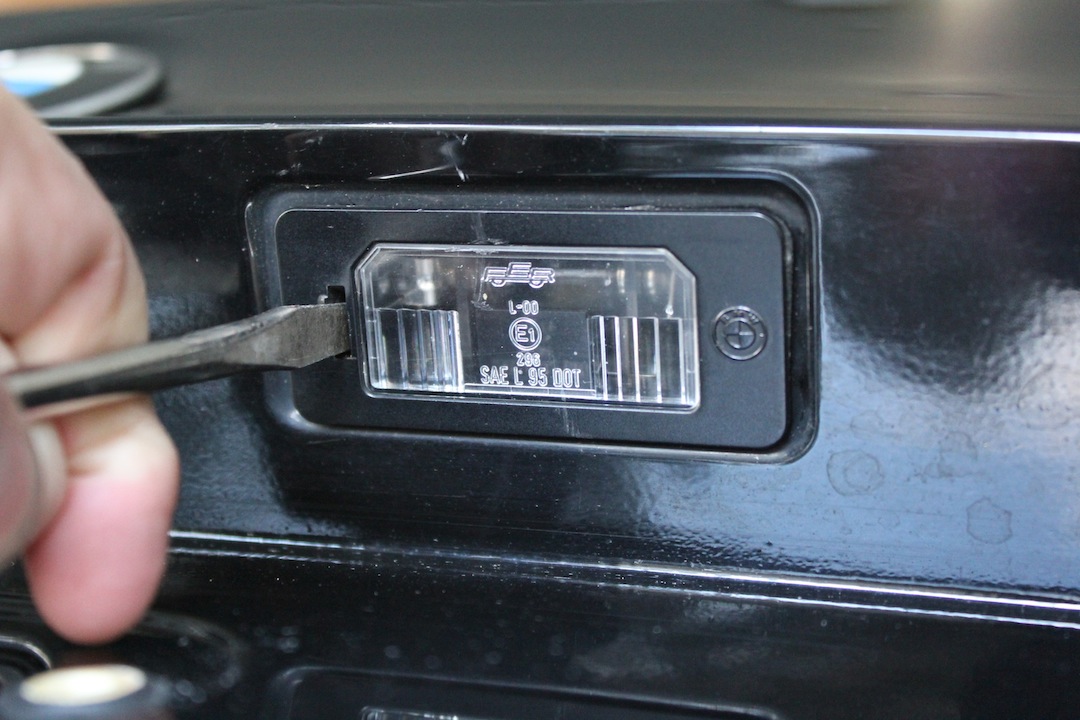
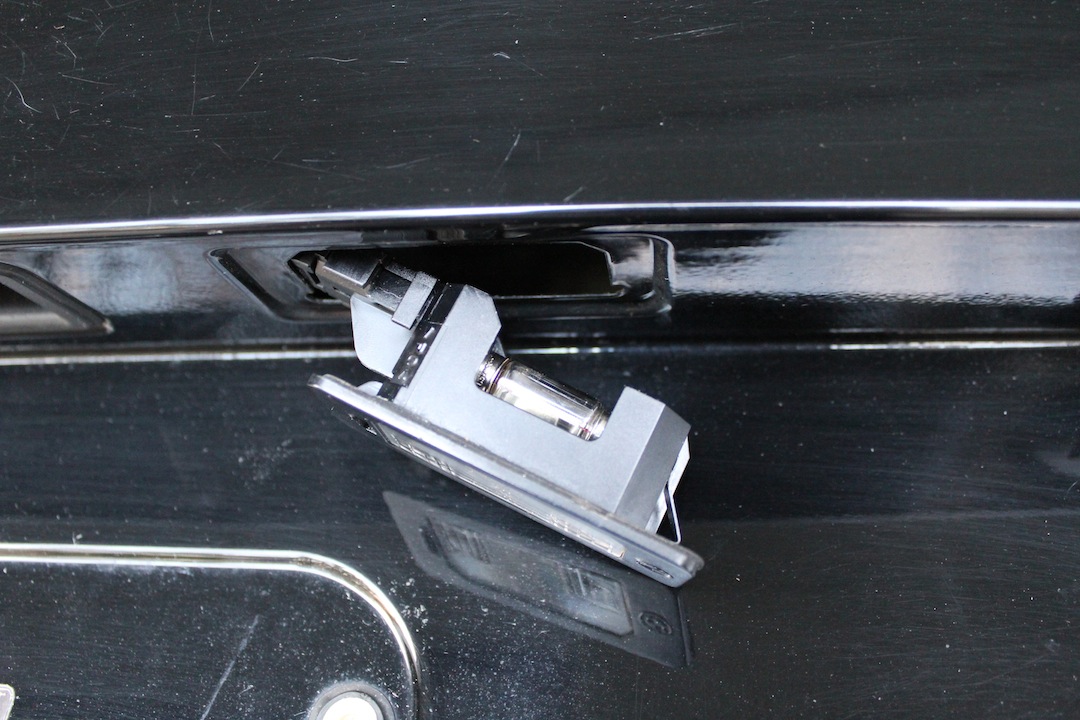
1 - Remove Old Lights
Installation
1 - Remove Old Lights
To remove, you need to insert a flathead into the small opening, and push the entire light towards the right (don't try to pry it off). It should move several mm, after which the side with the opening will free up and may be pulled away from the surface (down out of the trunk). Next you should be able to pull it left/right until it is completely out. Disconnect the electrical connector. *I'll try and add some arrows to the photos to make it a bit more clear. Need to get some iPhoto first


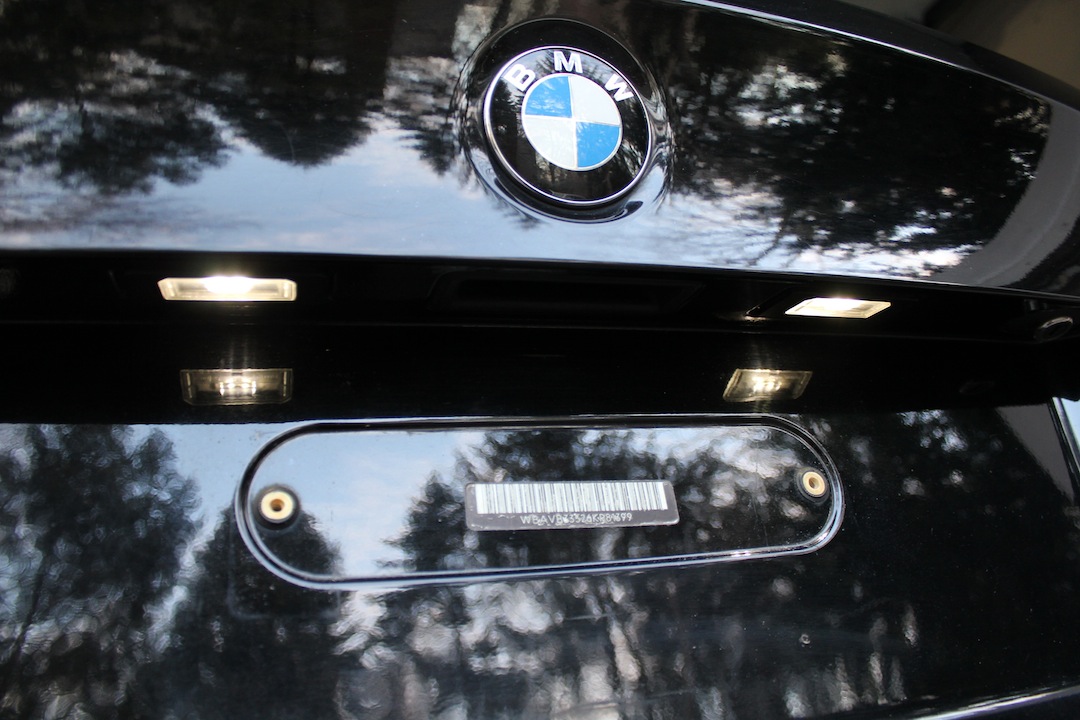
 2 - Install New Lights
Just push the large male pins into the car's connector until it's securely held in and pulling it back has no effect. In my case, the correct polarity was wire 1 of the harness (labeled on blue plastic connector) -> brown wire of car's connector, same for both lights. Not a big deal if you get it wrong, just pull them out and rearrange.

Physical installation is reverse of removal. You should by now notice that there's a metal spring towards the right of the light assembly which you need to compress to get the left side flush with the trunk surface, after which it'll slide left by a few mm and lock in place.
 Error Removal
This procedure will trigger a bulb-out error on your dash. There are 2 ways (I know of) to get rid of it. The one I recommend is to have the bulb-check procedure (for the lic. plate lights only!) coded out. The 2 values (both in FRM/NFRM) which need to be coded are:
KALTUEBERWACHUNG_KZL
WARMUEBERWACHUNG_KZL
Set both to nicht_aktiv and you're set!

**The second method involves wiring a small halogen bulb (24V 2W) parallel to the LED light (as pictured below). Don't do this--just get it coded, you can learn to code in the coding section.