Thanks to mythek! for Saving this DIY made it a breeze to re-upload.
I will edit some things soon.
if you know any other angel eyes that you want to install you could use this DIY with your own angel eyes form a vendor of your choice Like Umitza Angels ONLY on the site which are probably better warranty wise, but you would only have to Pay for the angel eyes only!!! not the harness or anything just the angels
but these look like they should hold up great!
First go to Ebay:
This Kit is completely plug and play 5 left in stock. so hurry! Same as
LuceProdukt and 180 Customs
http://www.ebay.com/itm/171413540776...witem=&vxp=mtr
Ships from the US at a great price!
If you buy this kit skip the wiring part.
*****EDIT******* 11/18/12
A potential idea is to use LuceProdukt rings... These are the same rings that 180Customs uses and they are supposedly very high quality.
get rings from here:
http://www.luceprodukt.com/e/?myyear...nder_type=year
***edit***
Luce rings are the same as the ones on ebay.
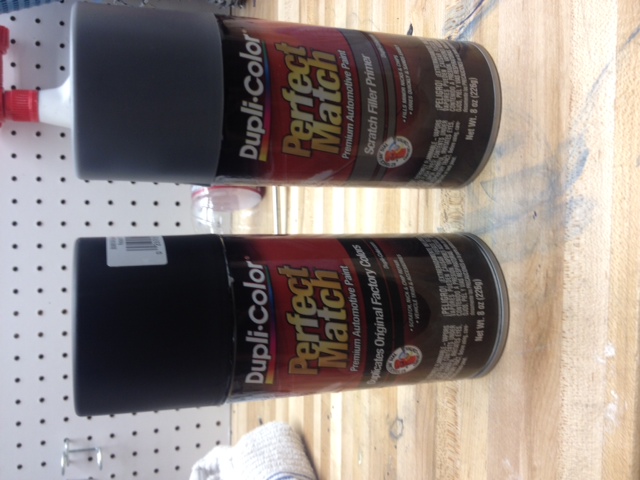
Autozone or where ever:
1- Dupli color Scratch filler primer (Duplicolor BPR0031)
2- DUpli COlor universal flat black (Duplicolor BUN0104)
DONT USE RUSTOLUM GARBAGE! WILL TELL WHY BELOW
Tools:
A flat head
Heat gun or oven
T-20 screw driver
a small round file
some plexi glass for Home depot
Loctite Epoxy (setting 5 min time translucent yellow) home pepo lol
2 big books
small round file
ur brain.
common sense.
Hopein you have taken the bumper cover off then headlights of and off their housings.. if not please i typed it up the first time and don't feel like doing it again.. sorry ...haha

1. Heat headlights open! DO not forget about that screw behind the turn signal!! remove it and all is well when heated up it should open like butta.. again don't wanna go through the retypeing

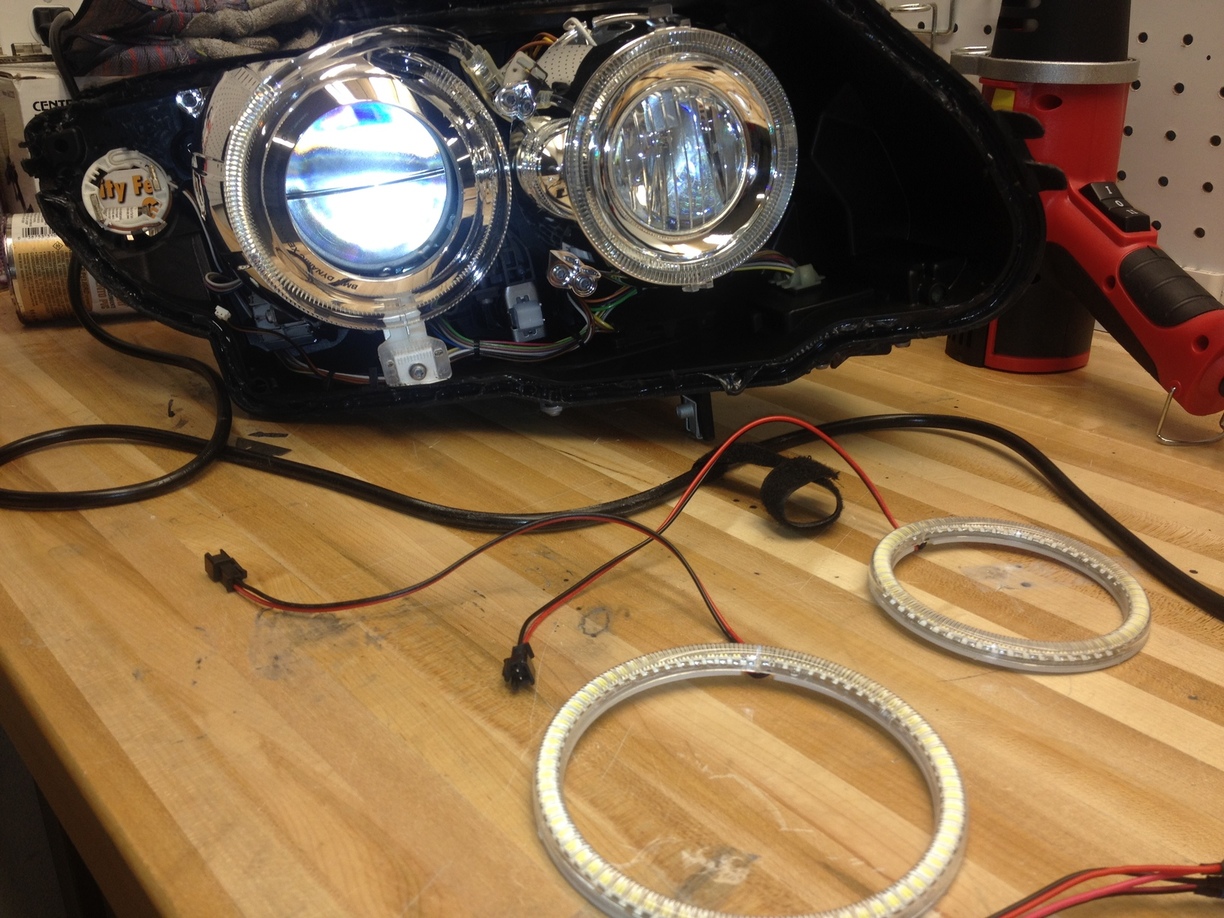
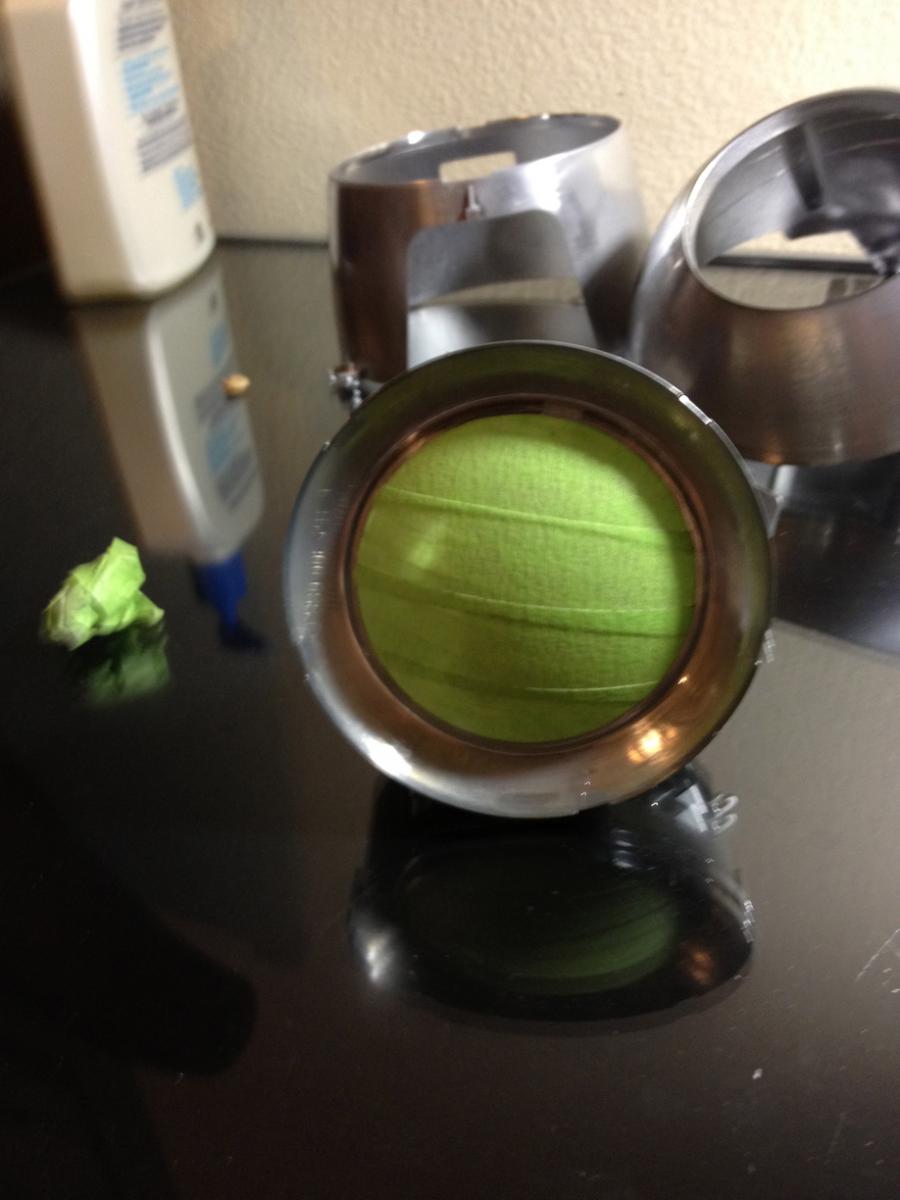
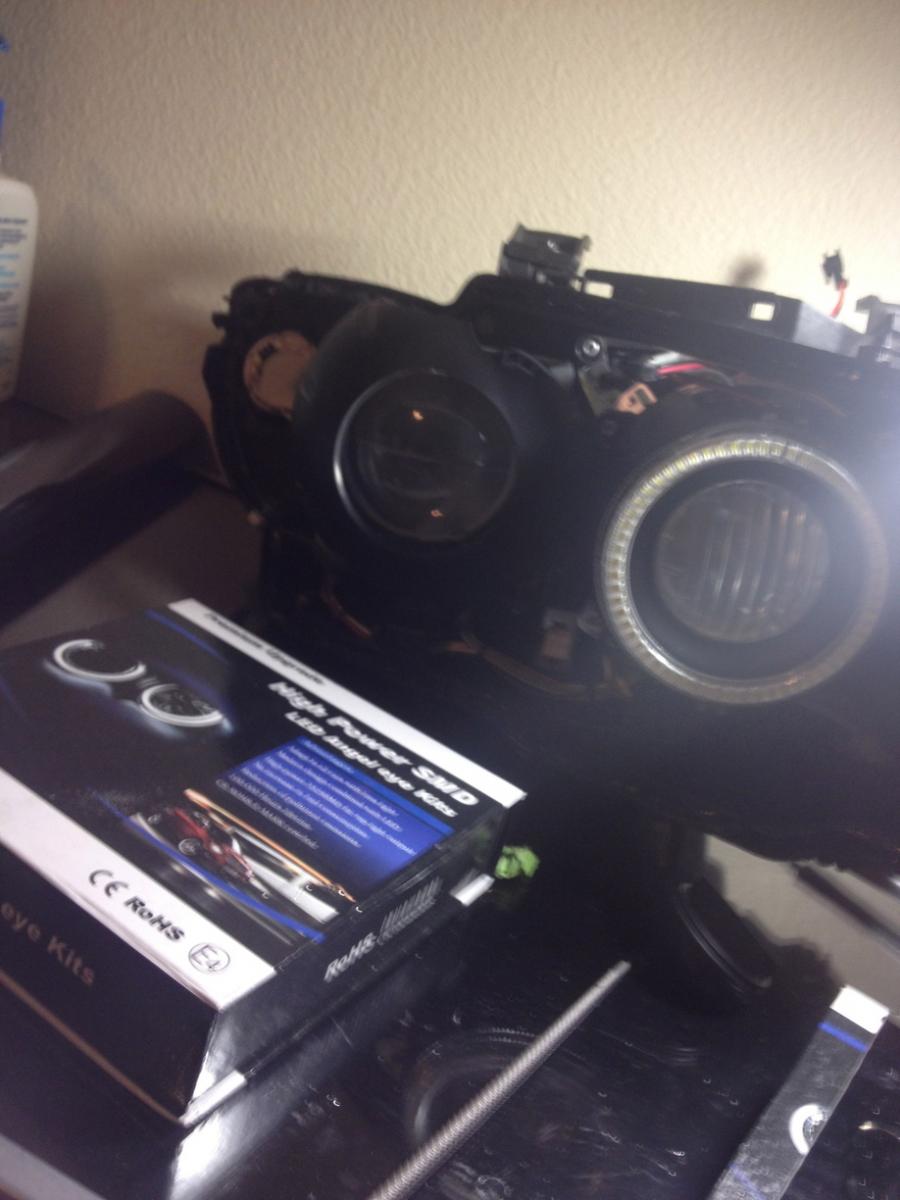
TESTED to see Fitment... GREAT


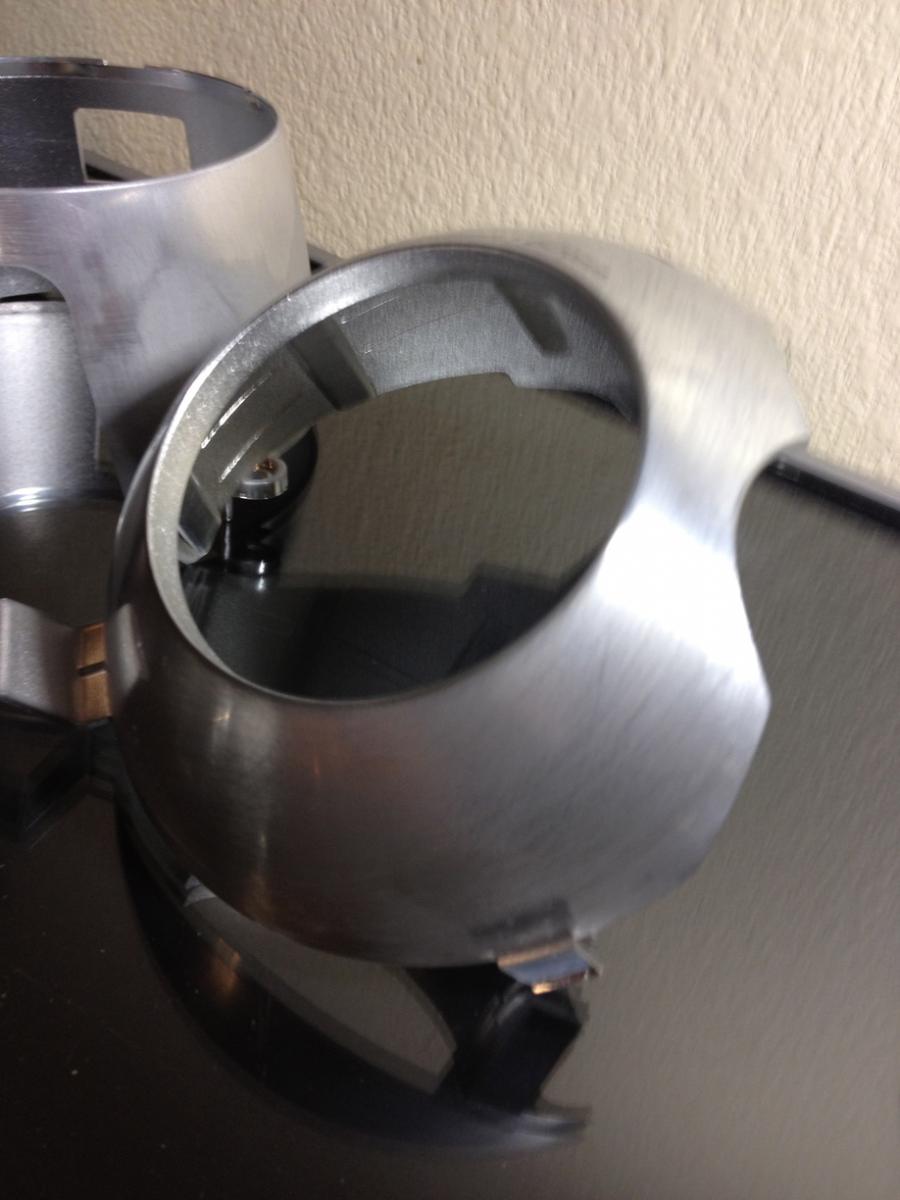
Take the plastic parts off including the inner ring and outer ring, inner light that also has a T20 screw from up top. this was like the easiest part you really don't need pics for it if you do look up other threads on how to do it but if you do.
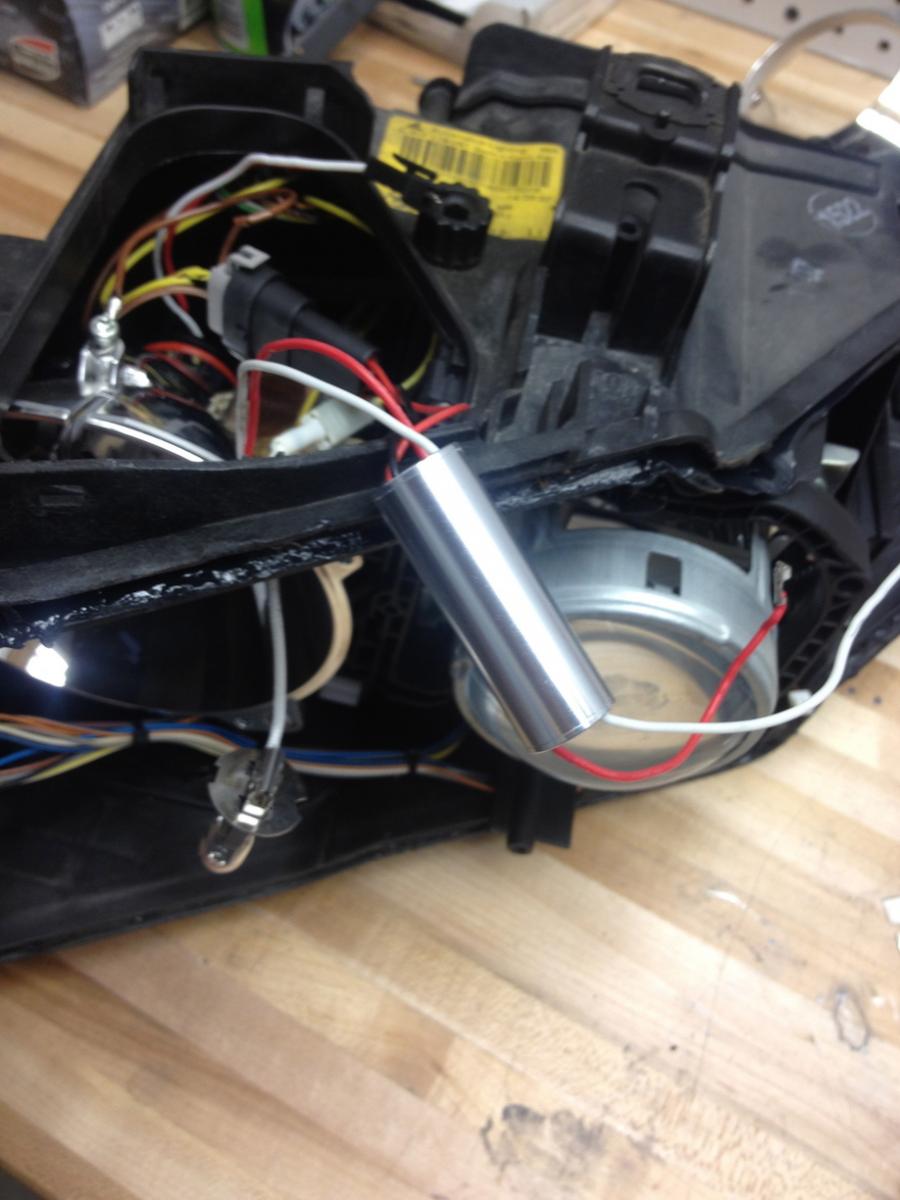
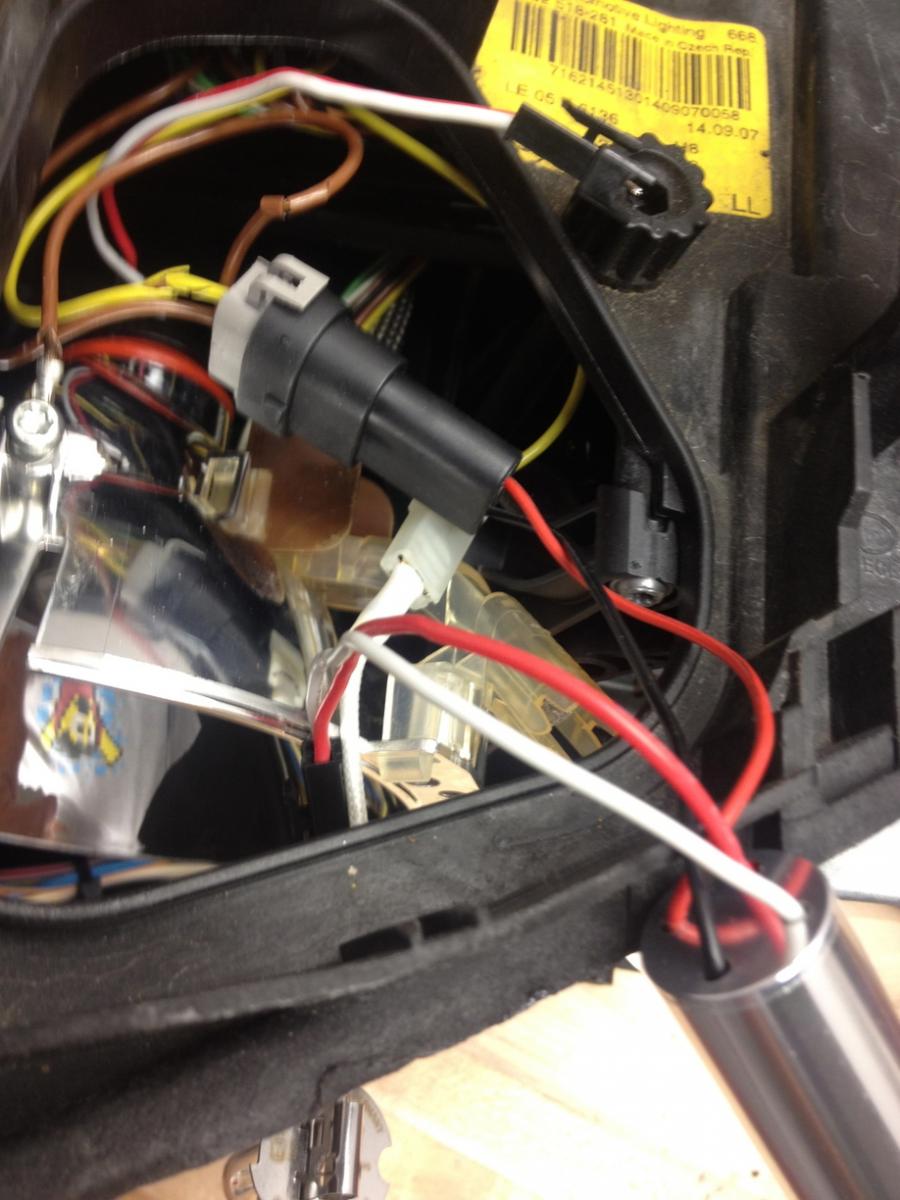
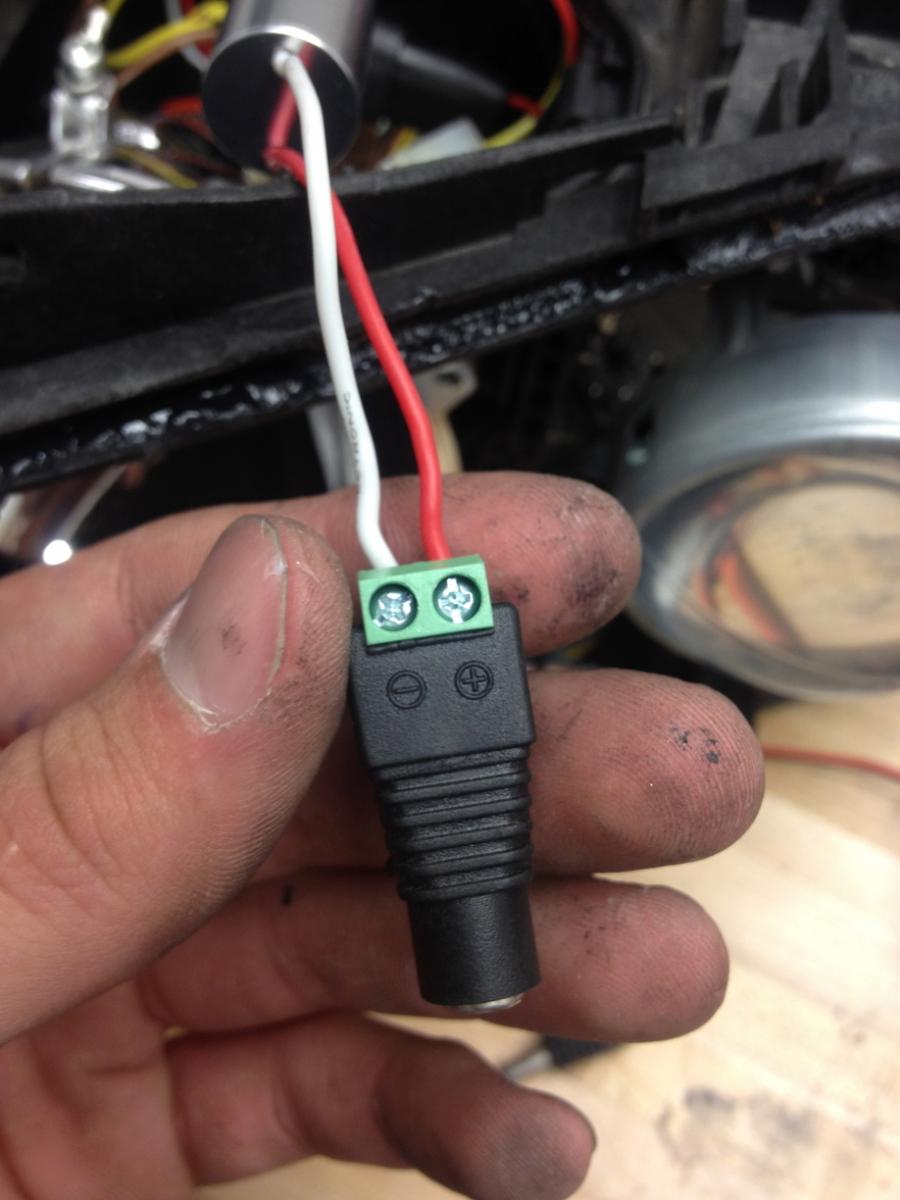
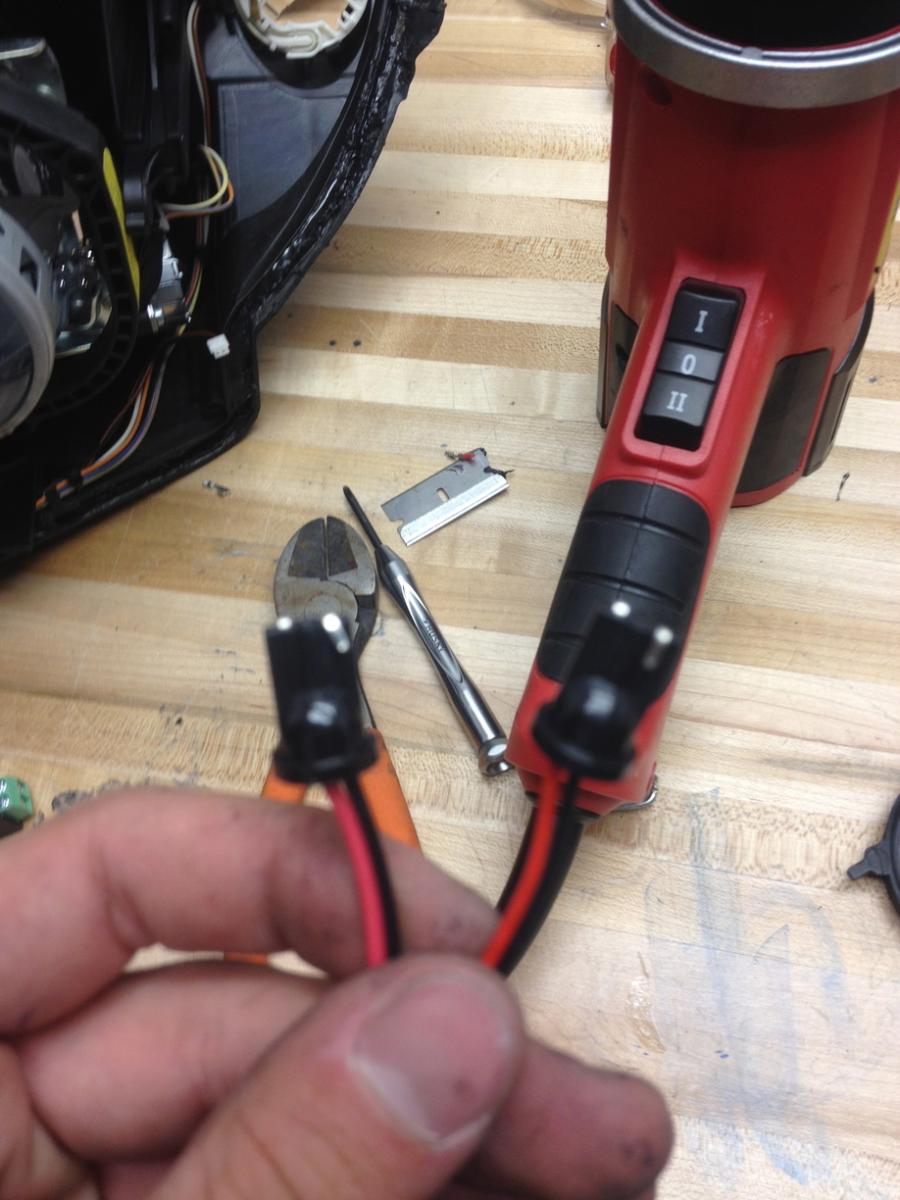
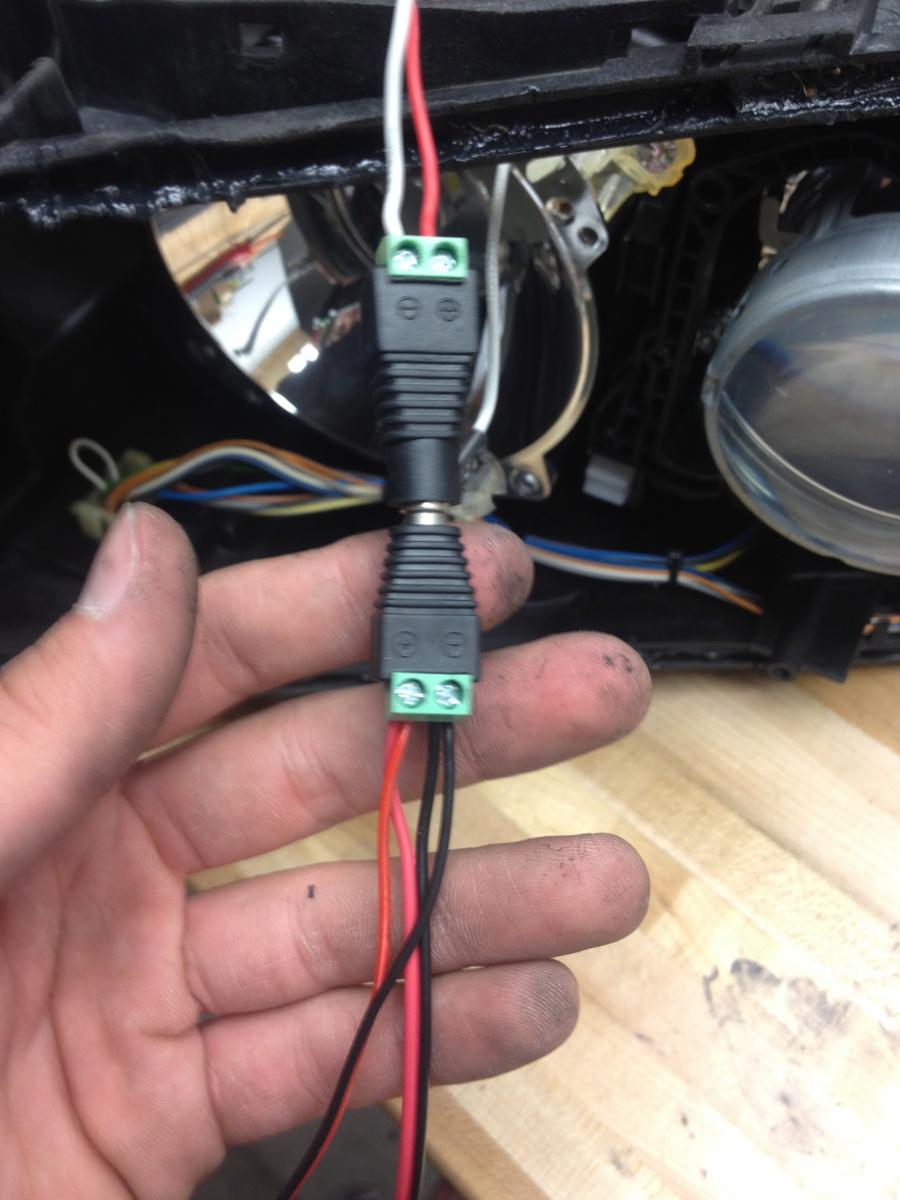
Now the "super sophisticated" wiring harness that BMW tax is held upon that y'all go out and pay 350 dollars for and still get error codes
i got it all figured out
this can also be used with Umitza or whatever other angels you might have that have errors. this will get rid of all the errors without coding.
Let the pics SPeak for em selves


Okay lets move on to the painting part.
I litrally ATE POOP! at first le smart ass me used Rustolum flat black Just because the stupid can said FLAT in a nice shape and i got primer that was made for plastic imagine that!!! also made by rustolum imagine that!!!
SO went ahead and painted it then let it dry for say a day and this shit still felt rubbery.. so taped it up and got some left over montego blue from the bumper covers i painted 3 months ago and two toned it like the pic below.
the reducer in the blue base coat reacted like a fat chicks ass cheek. causing me to sand the rubbery garbage rustolum out and clogged a good mount of 320 grit sand paper..
RESULT:


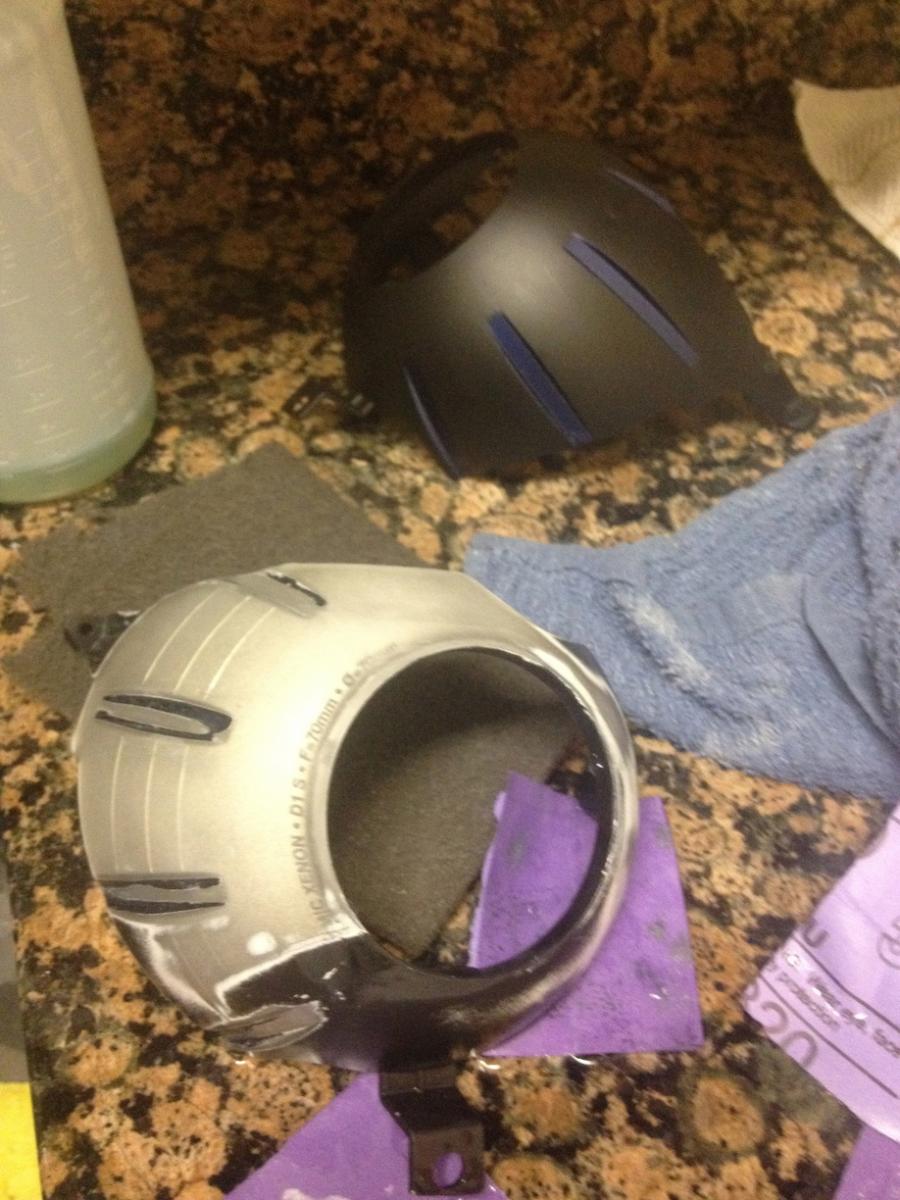
SOOOO went back to auto zone and got DUplicolor
The Paint process is with the rustolum and should be the same paint process so imagine the primer gry instead of white.
SO here is me painting with the rustoluem stuff didn't but do the same for the dupli color.
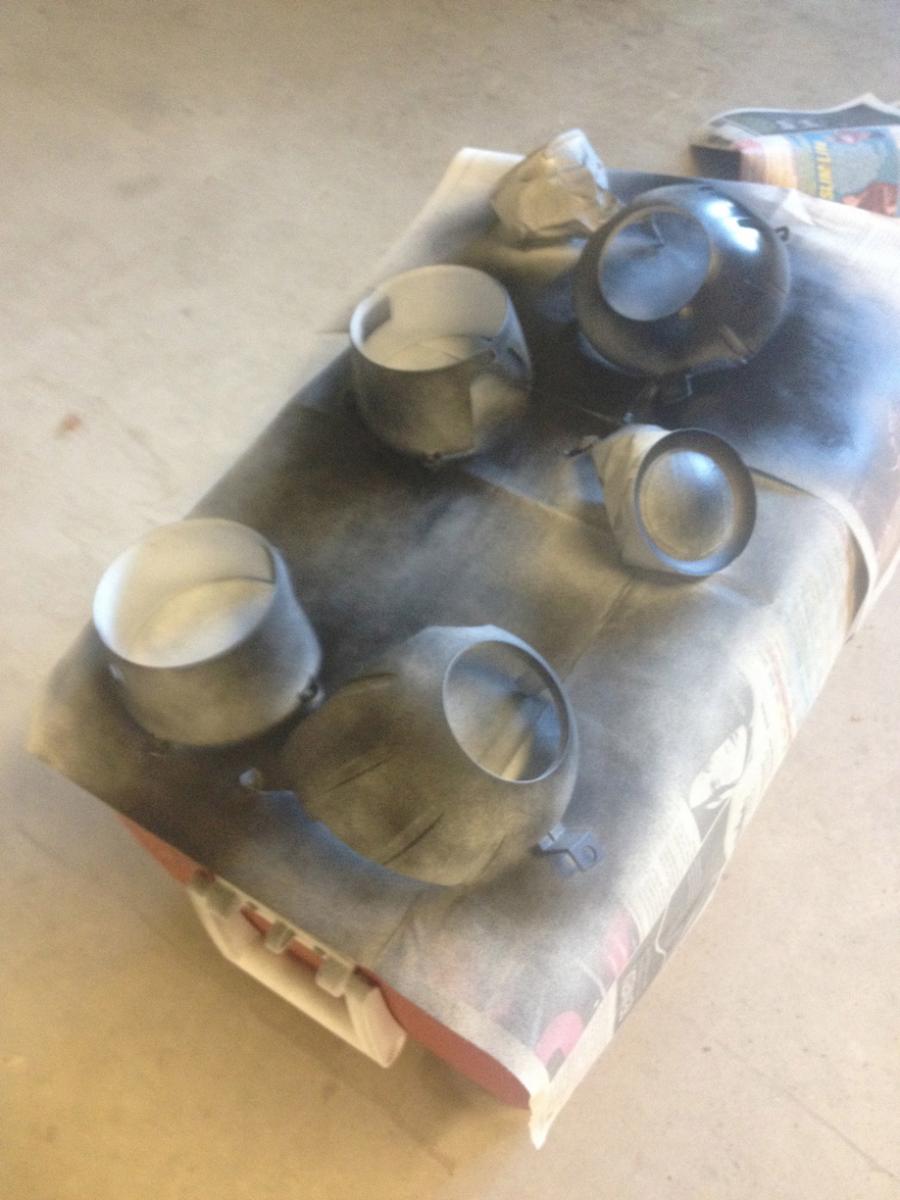
okay what i did was 400-600 grit sandpaper.. all areas that will be painted must look dull before painting so the paint sticks. then tape off like in pictures DOnt foget to tape off the entire back side of the inner angel eye bulb assembly because overspray will be an issue. and take the lens out tape it up and put it back in for paint.
what will happen is:
first take the primer u might need 2 cans
1st light coat. then wait 3-5 mins (flash time)
2nd light coat. then wait 3-5 mins
3rd Light coat. then wait 1 hour before painting it make sure full coverage of primer if not fully coverd apply a 4th coat..or 5th...
second take your flat black.
basically the same..
1st light coat. then wait 3-5 mins (flash time)
2nd light coat. then wait 3-5 mins
3rd Light coat. make sure full coverage of primer if not fully coverd apply a 4th coat..or 5th... wait 24 hours i guess.. i put mine in the oven 170 degrees .. :thump: 20 mins.. lol
okay pictures below. Ps i didn't take a full coverage pic.. just took pics along the way to get the basic idea


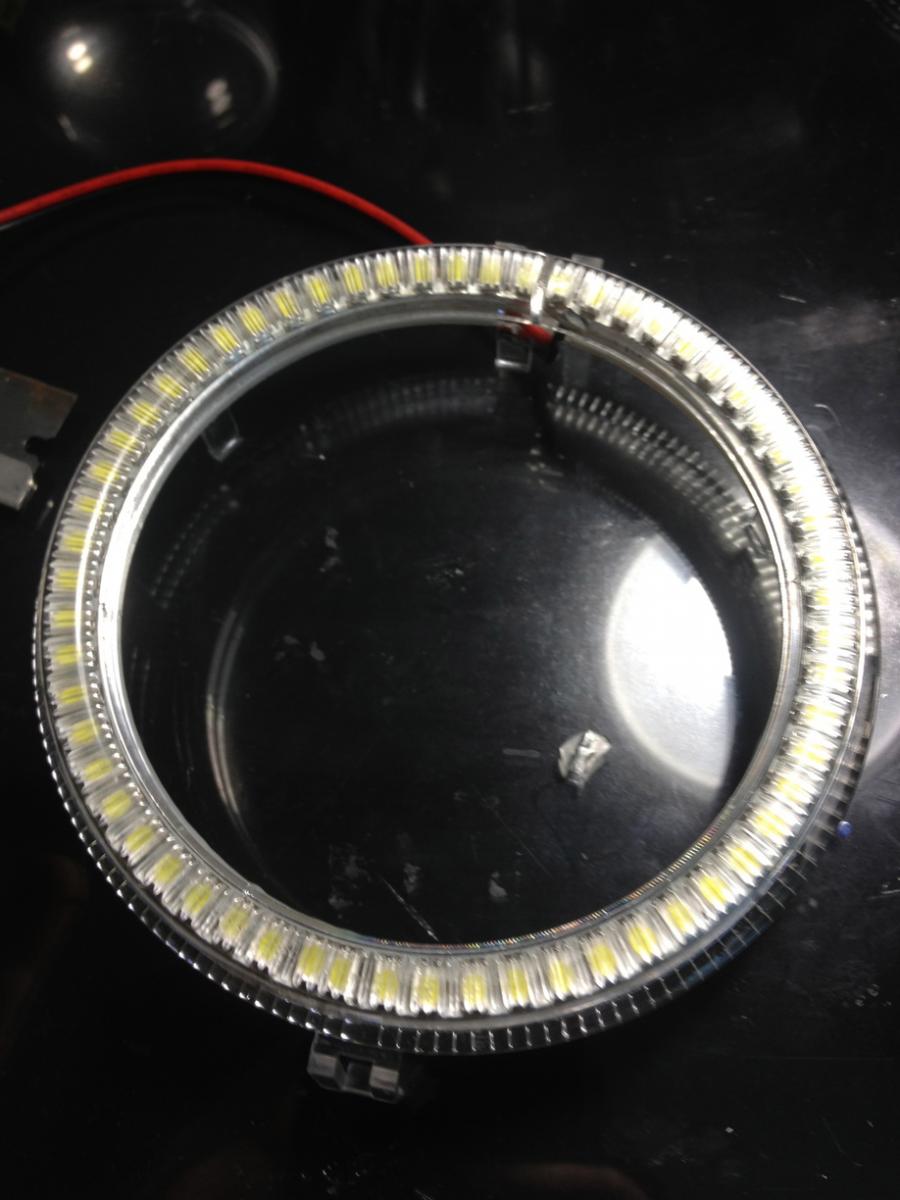
Now we are going to Glue the inner Angel eye to the led ring.
so what i did was i got some sand paper and sanded the back of the led ring and the top of the angel eye the parts that will be glued i mixed up the 2-part epoxy and applied it to the led rings back. then i placed the plastic angel eye on top of it and make sure the wire goes from the inside and its dead center wait 1 minute for it to set,then place a fat book on top of it a wait for tomorrow. do the same for the other one and put another fat book on top of it. if your a college student. DO NOT use the books that you have for lecture the next day ... guess who went to biology lecture without a book :roll eyes:
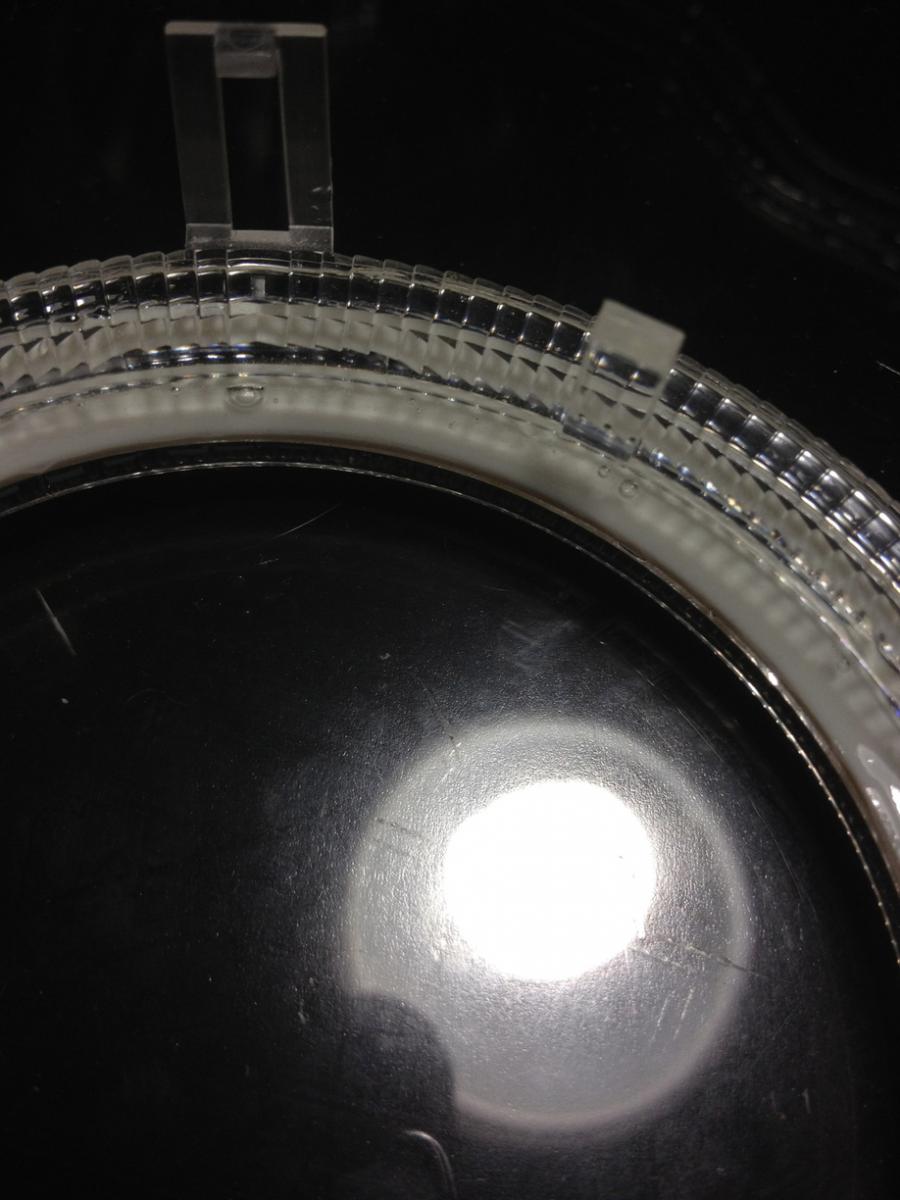
after it has dried and it is tomorrow i also put epoxy around the inner part i did go and buy the loctite epoxy that has the long needl nose and self mixes and applied it to the inner part. just because i wanted more "STICk"
pictures below


after dry start putting the stuff for the inner angel eye together note since the the wire is coming from the inside i used a small round file to file a little hole so that the wire isn't pinched in between the plastics, oh yeah you could pain the wires balck i didn't lol

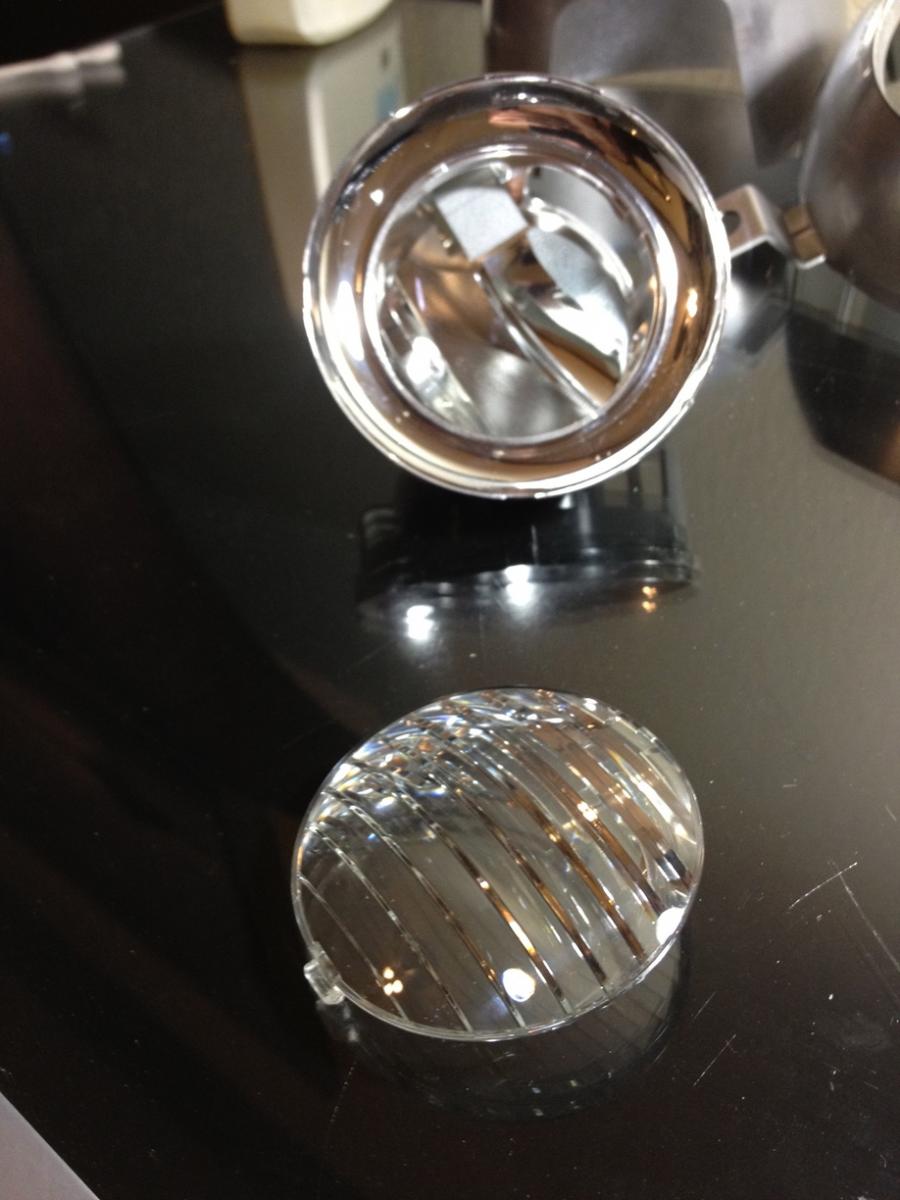
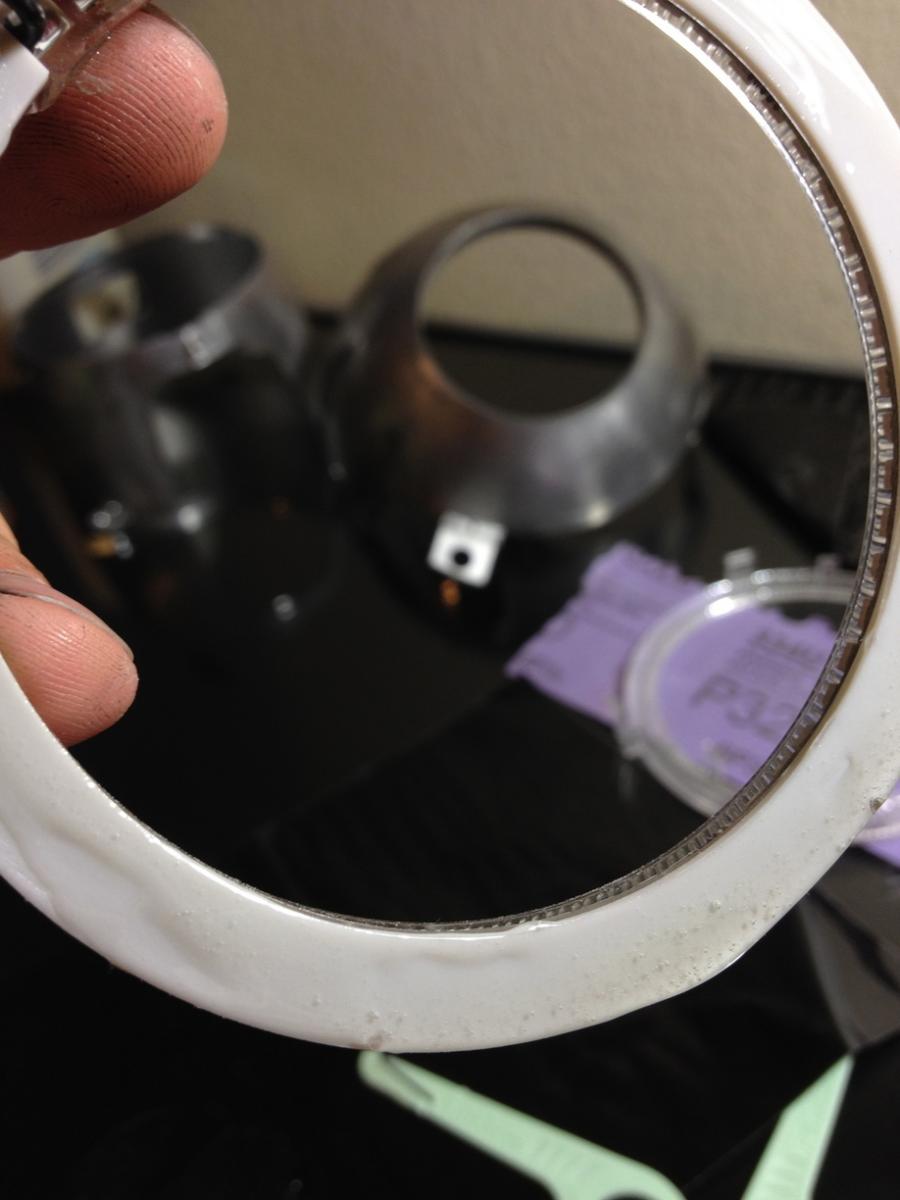
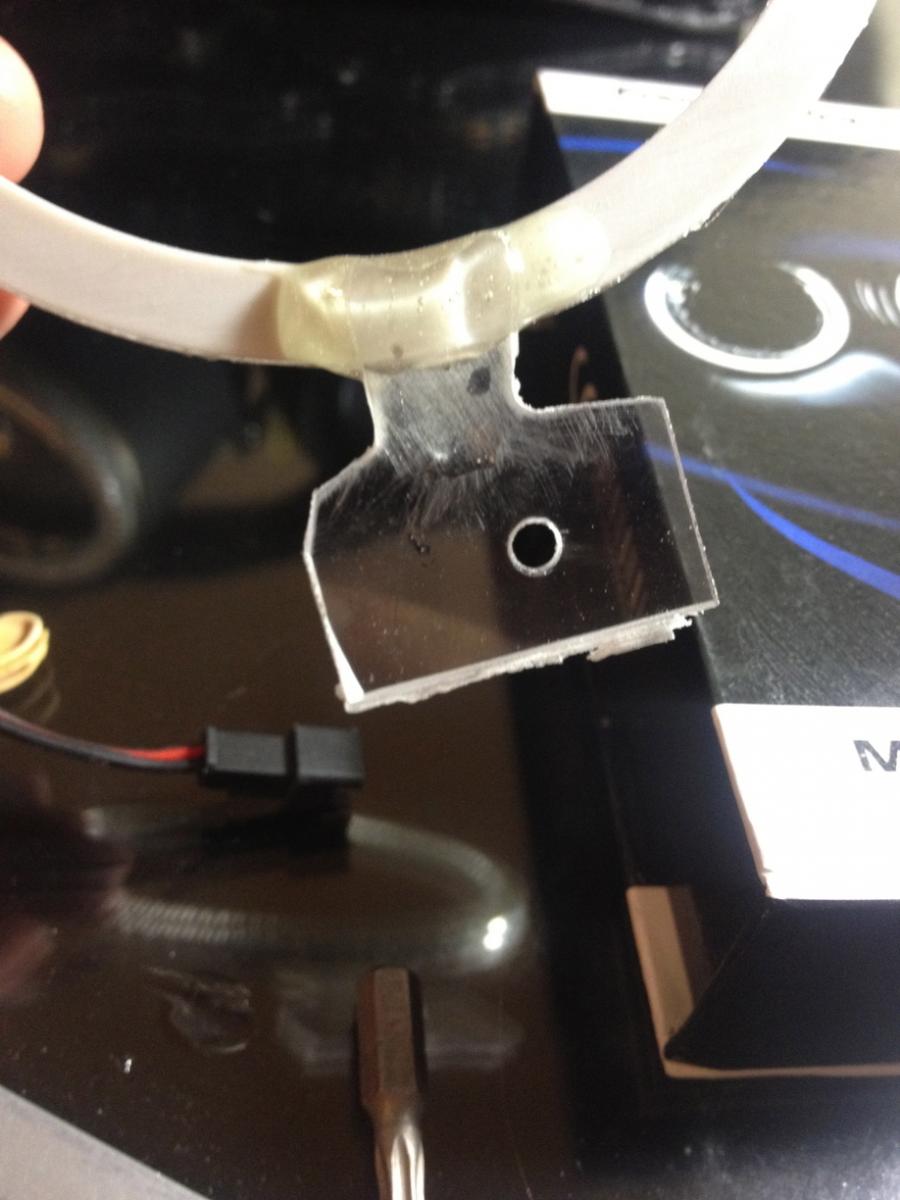
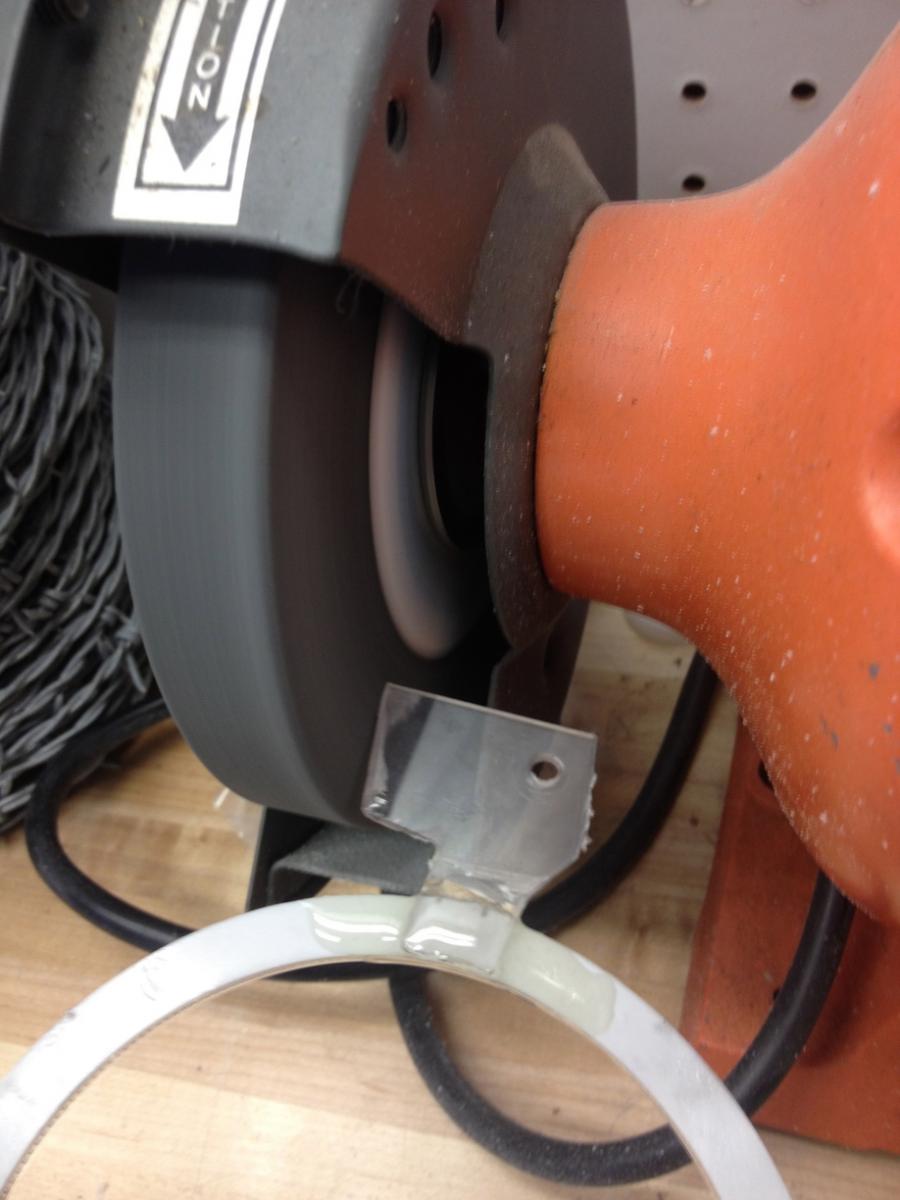
For the outer angel eye i used a pice of plexi glass laying around that i got from home depot cut a square out. then traced the bottom bout of the original outer angel eyes and used a bench grinder to get shape needed. Idea was thanks to Spike32 that helped me a while back while i was still debating on the DIY lol
then i sanded the bottom part of the outer ring and the plexy glass applied epoxy in between and over as shown in pictures below and i didn't use anything to mount the top part. additional grinding might be necessary to fit the lens back on when putting the headlight together
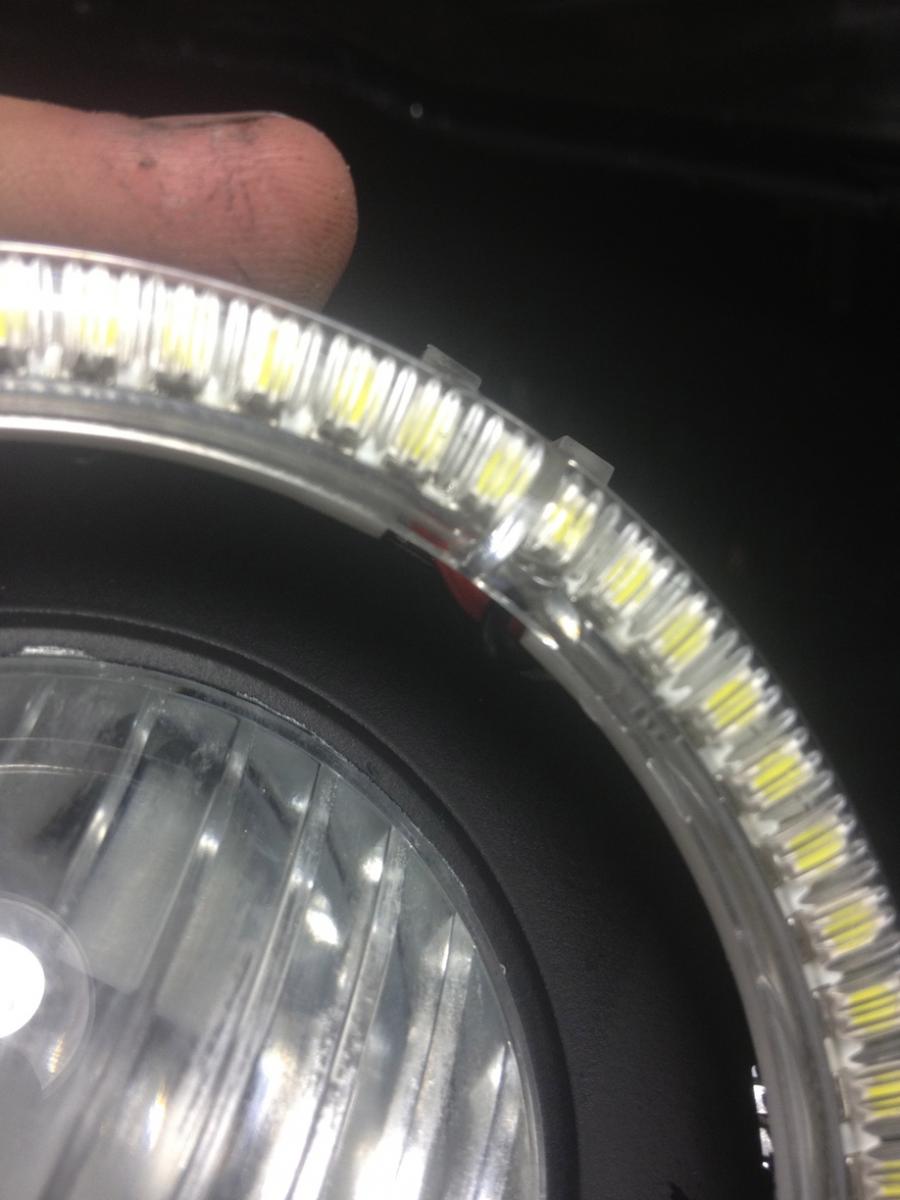
but after it had fully cured for about a day. put test fit the outer ring mark she needs to be drilled on the plexi glass assuming you got where you want the outer ring to sit using a 11/64 drill bit drill the marked spit that will hold the screw and the led angel eye in place. screw in tight! then test fit the lense if it has got the clearance and the plexi glass isn't pushing on the lene we now proceed to the corner turn black out.

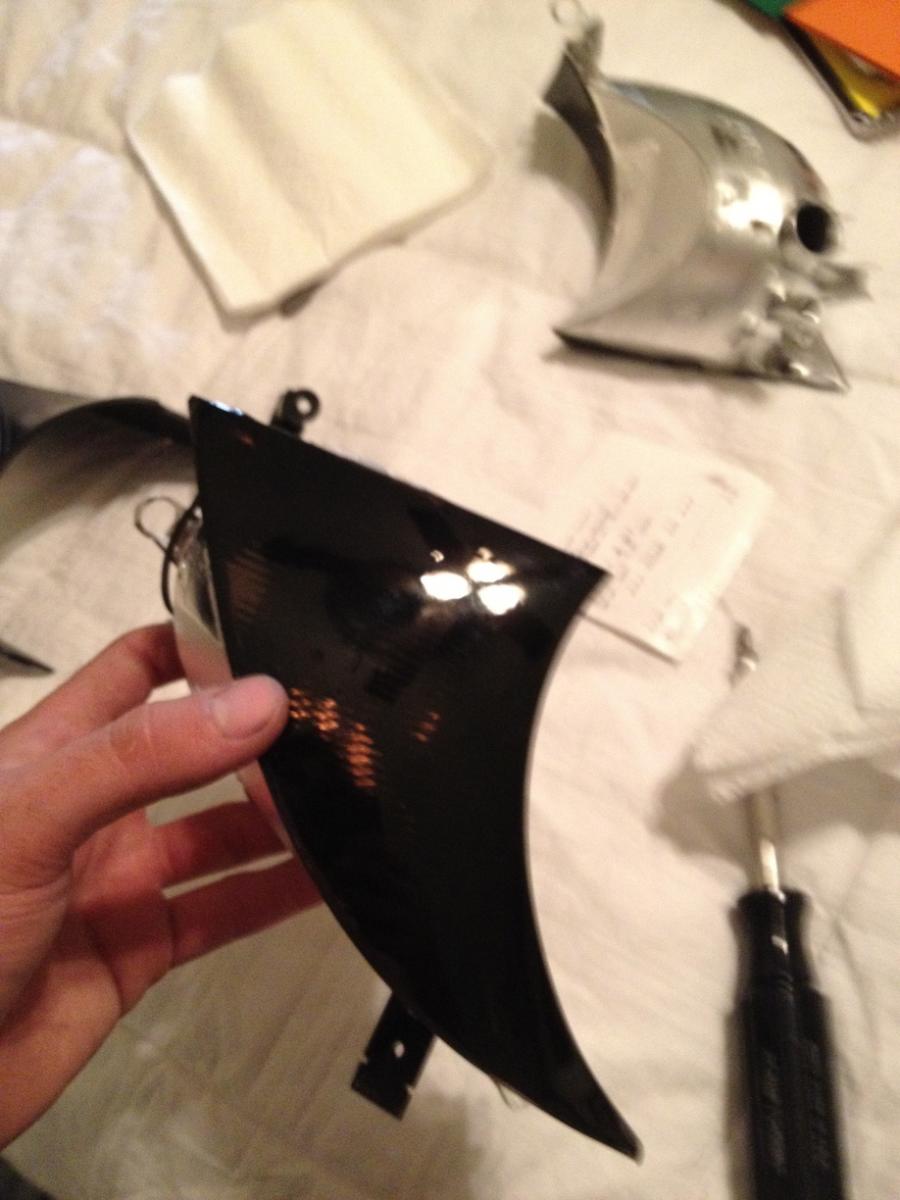
I screwd up hardcore on this part what i used was left over taillight tint film... looks great don't get me wrong but when i mounted my headlights yesterday i nocied it started peeling back!
Oh well.. lol pics below but haven't got pics of peel back..
so i id probably try using spray tail light tint, or something Share in the comments what you come up with. you can always leave it and it still looks fine

I then reheated the glue and added some silicone glue <-- because i fucked up the side marker i might have to re doo!
anyways put it back together buy reheating glue i dunno why i added silicone. but FML anyways waited for it to cool put it on the housings then mounted to the car Tested and 0 errors then i locked and unlocked my car. to figure i didn't connect my LED side marker
LOL well now heres a DIY for you guys not to screw shit up being the 5th time i write it its not exactly what was written before but i believe its good enough
sorry took so long between the teaser and this and might've spent a little over $150, but still a lot cheaper than others
Final.


DOne.
hope you found this helpful, and if you decide to tackle this and use this DIY please update with progress below.
Some video mounting tips. .
sorry for the crappy vids.. i will be doing a better video on how to install it all soon. just no time lol