As always, perform at YOUR own risk. You can easily damage your cluster and have to replace it. About a $1k mistake.
Tools needed:
T-10 torx
T-9 torx
Small flat head screwdriver
tweezers or small pliers
soldering iron
card - to protect gauge face
something flat to pry up the gauge needles
sharpie or transparent paint for painting needles
tape - to mask off part of needles
multimeter with diode check function
12 LEDs for just the gauges, 18 LEDs for the lcd. PLCC-2 1210 3528 LEDs
[IMG]
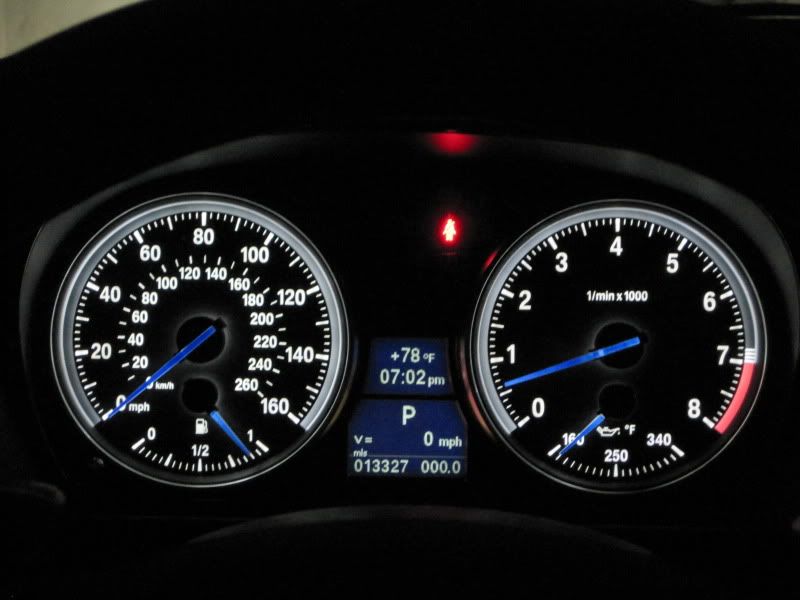
[/IMG]
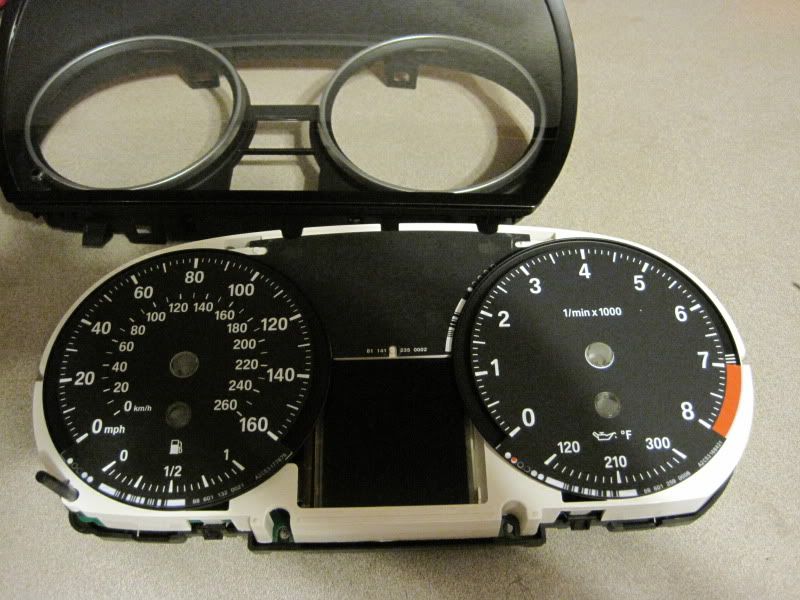
End result.
Lets get started!
[IMG]
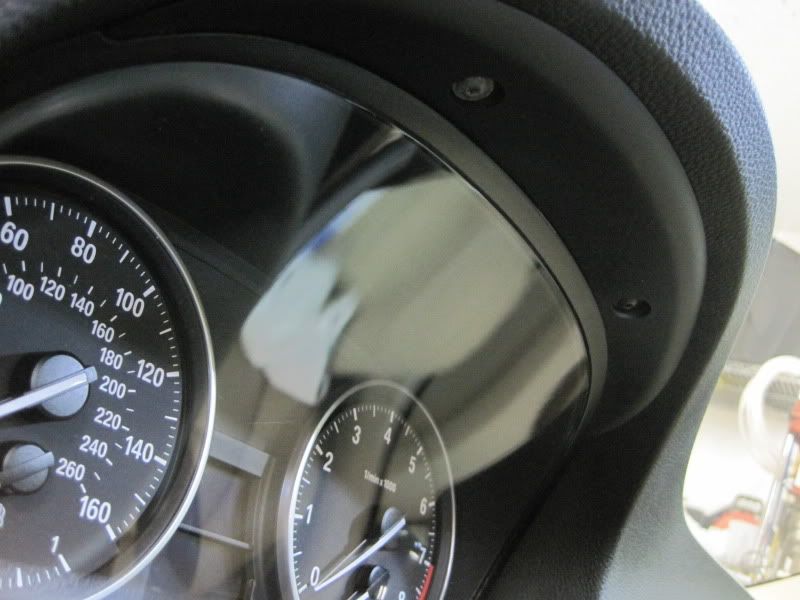
[/IMG]
Remove the 2 T-10 torq screws.
[IMG]
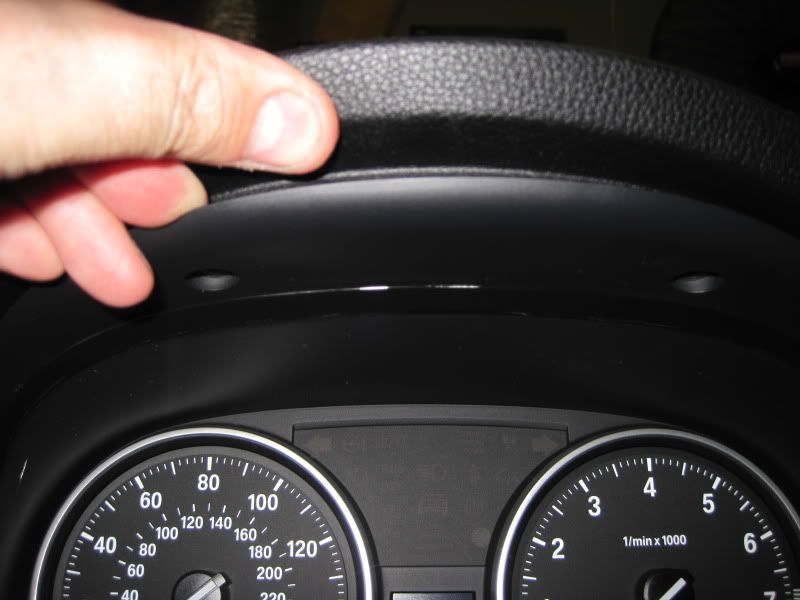
[/IMG]
Lift up the top of the dash and pull down and out on the cluster. It should come out pretty easy.
[IMG]
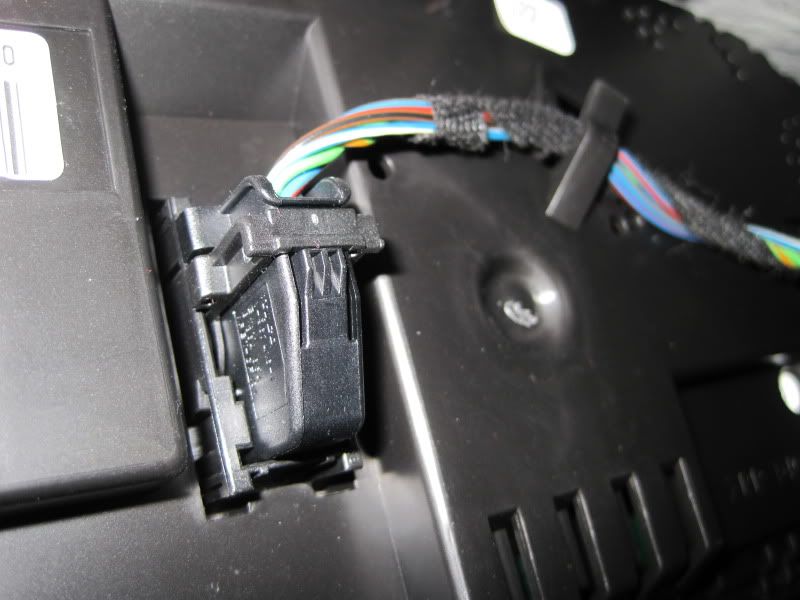
[/IMG]
Push down on the center tab and pull the lever all the way down to the cluster until it clicks and the plug will release.
[IMG]
[/IMG]
Remove the 4 T-9 torx screws from the back.
[IMG]
[/IMG]
Using flat screwdriver or fingers, release the 8 clips around the cluster.
[IMG]
[/IMG]
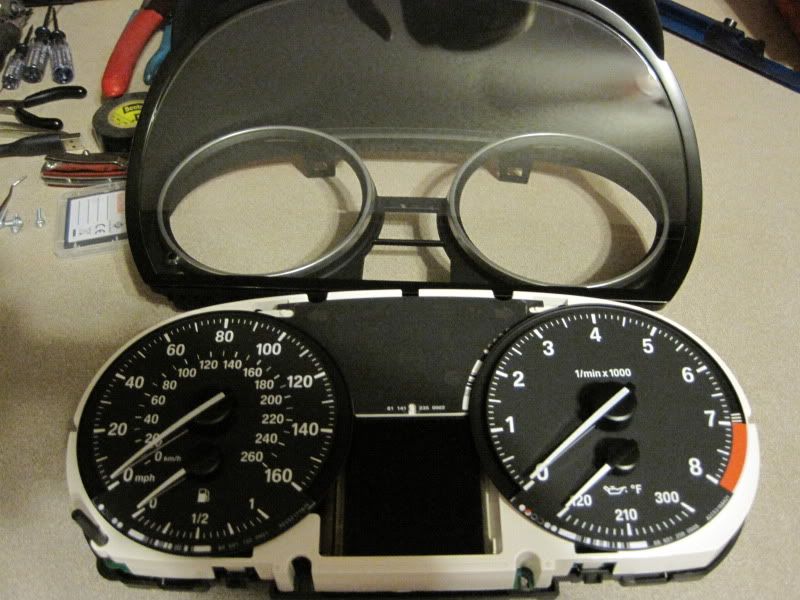
Lift off the front of the cluster. Now you have 2 pieces.
[IMG]
[/IMG]
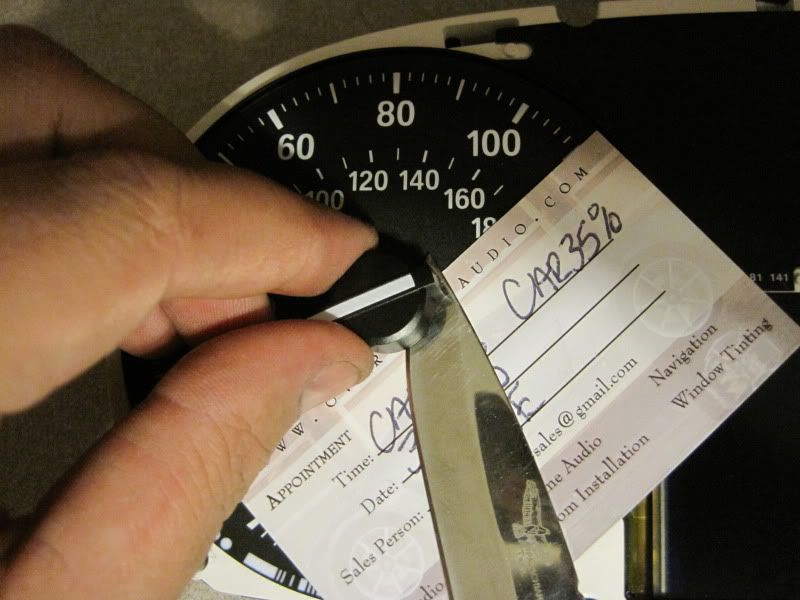
Using a card and something flat, pry off the needles. Bee sure to keep even pressur on both sides of the needle base. Also be sure no to damage the gauge face.
[IMG]
[/IMG]
Gauge without the needles.
[IMG]
[/IMG]
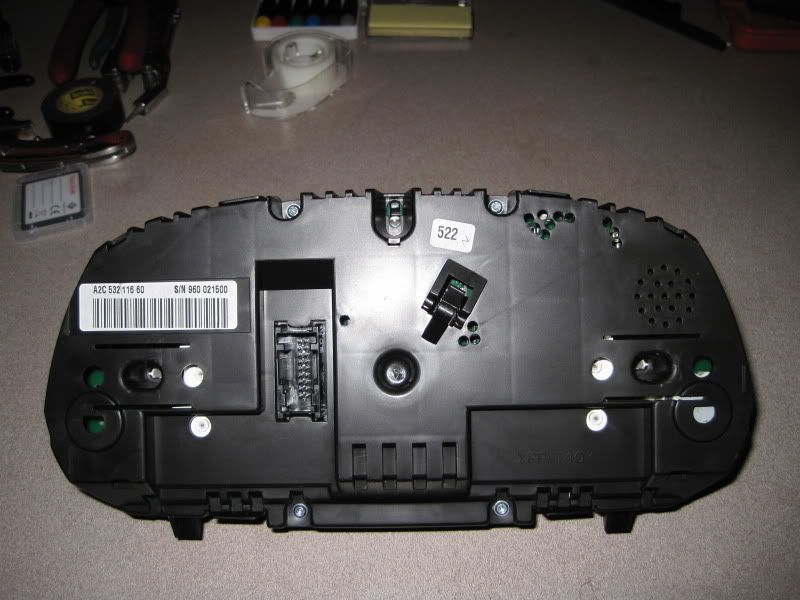
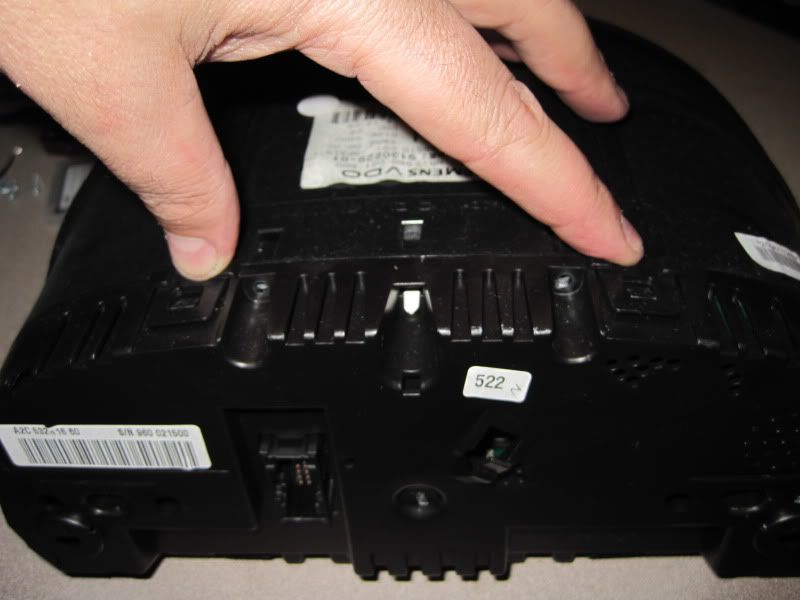
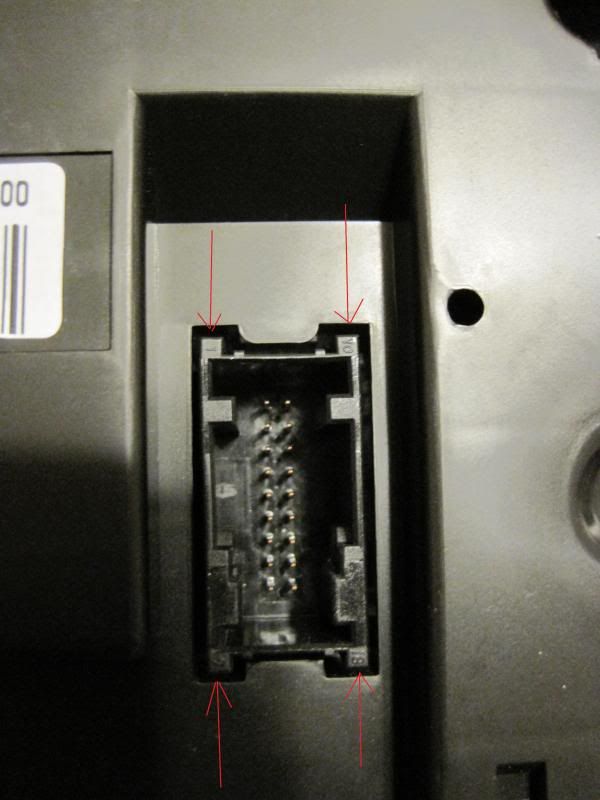
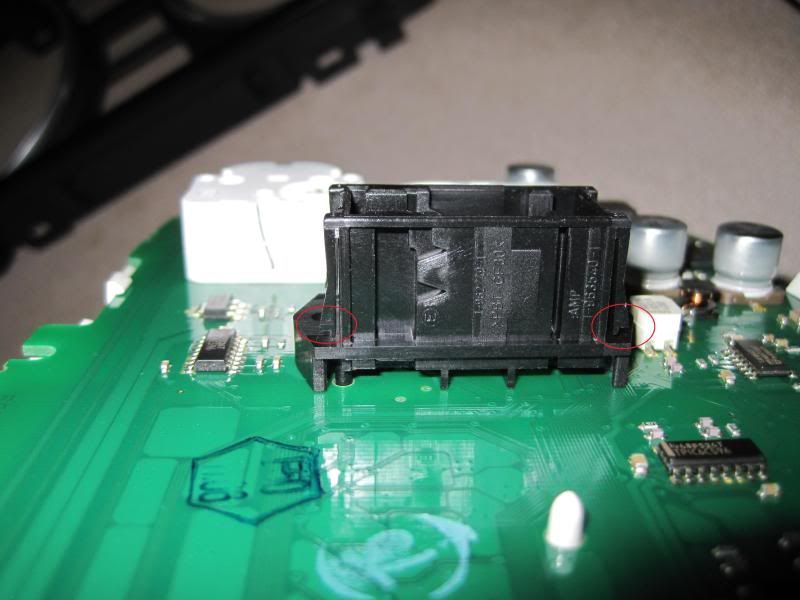
On the back, there are 4 tabs at the corners of the plug connector holding the rear cover to the gauge cluster. See next pic also. You'll have to push each of these in while applying pressure between the circuit board and the rear cover to seperate.
[IMG]
[/IMG]
4 tabs holding rear cover to gauge cluster.
[IMG]
[/IMG]
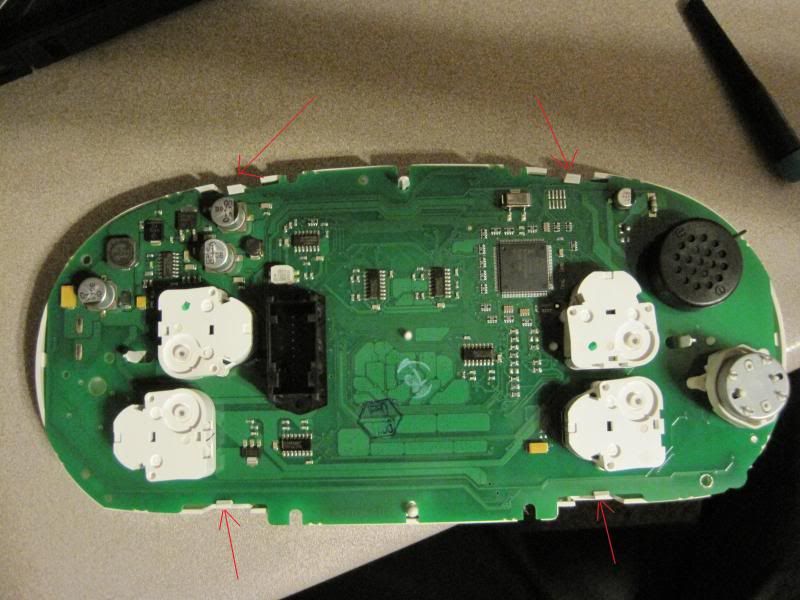
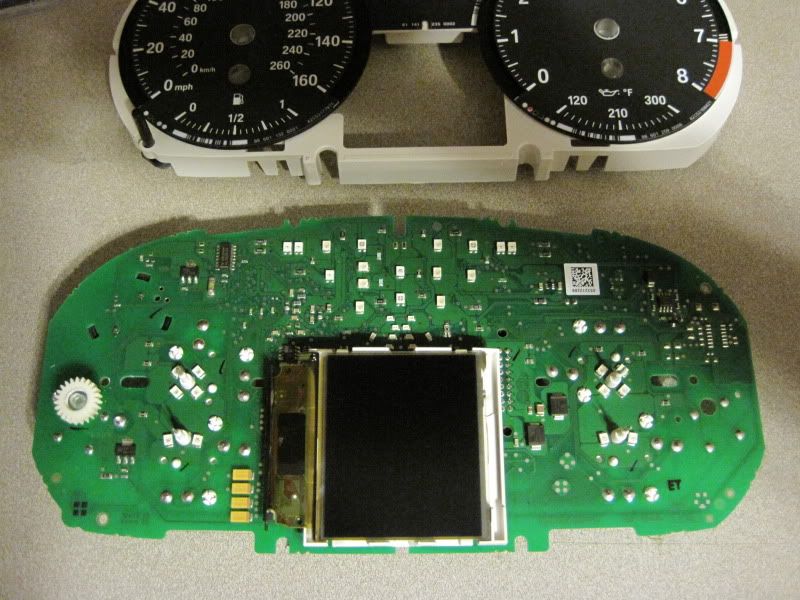
Back of the circuit board. You'll need to release the 4 white clips to remove the front of the cluster from the circuit board.
[IMG]
[/IMG]
Front of the circuit board.
[IMG]
[/IMG]
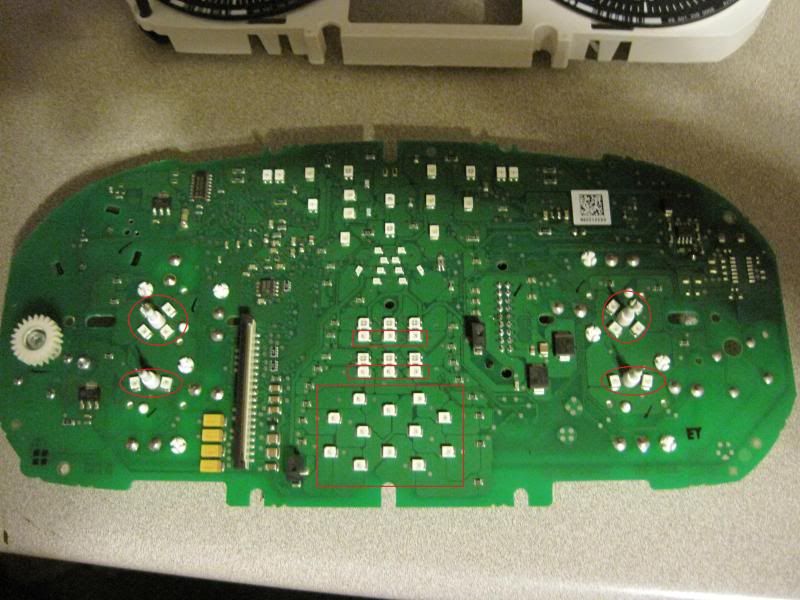
The LEDs I replaced are all circled in red. I found it easier to heat one side of the led while using a pick to pry up on the led. Then heat the other side while pulling up on the led with tweezers to remove.
IMPORTANT!!!!! Be sure to mark the + side of the led so the new ones are installed properly or they WILL NOT WORK!!!. I used the multimeter to check each one and placed a small dot, with a fine point sharpie, on the board next to the + side.
[IMG]
[/IMG]
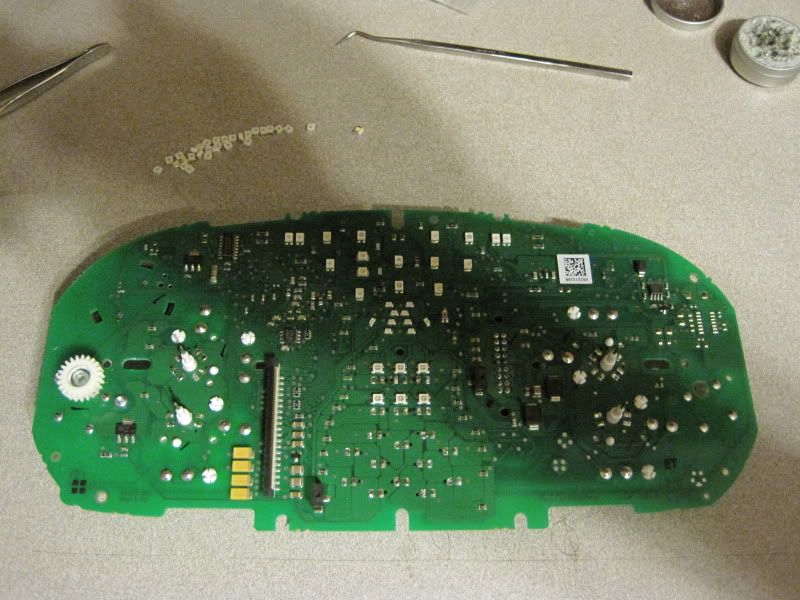
All the LEDs removed. Note the small black dots everywhere!
[IMG]
[/IMG]
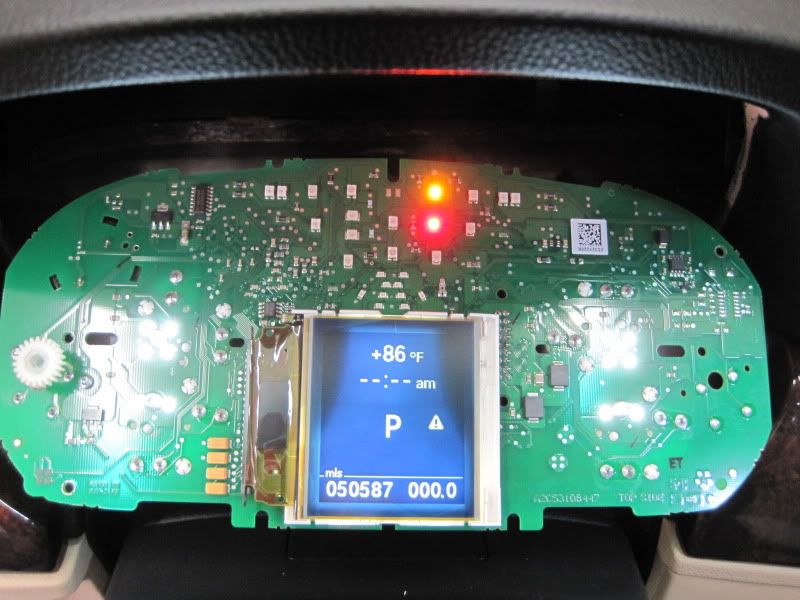
Gauge in car showing all leds functional.
[IMG]

[/IMG]
Needles taped off for painting. I used a blue sharpie on these and another set. Not really happy with this for coloring. Looking for better alternantives. You can also try leaving them white and paint later if needed.
[IMG]
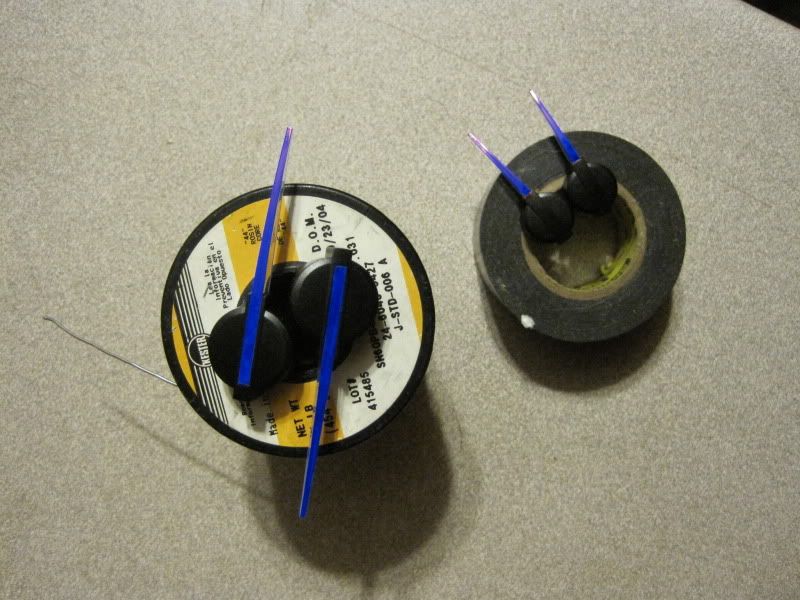
[/IMG]
Needles "sharpied". After several attempts, just not up to my expectation. Color is uneven. Your milage may vary!
Installation is reverse. Place everything back together EXCEPT for the front bezel. Connect the cluster to the car and hit the start button 1 time. Give it a couple seconds then push the needles back on. Everything should be at it lowest setting. Shut car off and disconnect gauge again. Put cluster back together then reinstall into car. You're done and enjoy your "new" gauges!!!