UPDATE: To see images, make sure to use Chrome as your browswer AND download the extension "Photobucket Hotlink Fix"
After being unsuccessful with locating a BMW vinyl roof DIY, I decided to create one myself. By no means am I an expert but I can say it came out fairly well being my first time. So, here it is on an E92. Hope it helps. Special thanks to Ofmalik who helped me out.
Tools required:
- 4x5 sheet vinyl for roof
- 1x5 sheet for roof rails
- Torx T20 screwdriver
- Blow Dryer
- (2) Spray Bottles filled with water and a little soap
- Razor Blade (preferably X-acto knife)
- Scissors
- Plastic squeegee
- Old Credit Card
- Thin laminated card (ie library card)
- Plastic Pry tool
- Masking Tape
- Clay Bar
- Goo Gone
- Dawn
- Alcohol
- Paper Towels
- 2x3 Cardboard
- Finally, another person to help
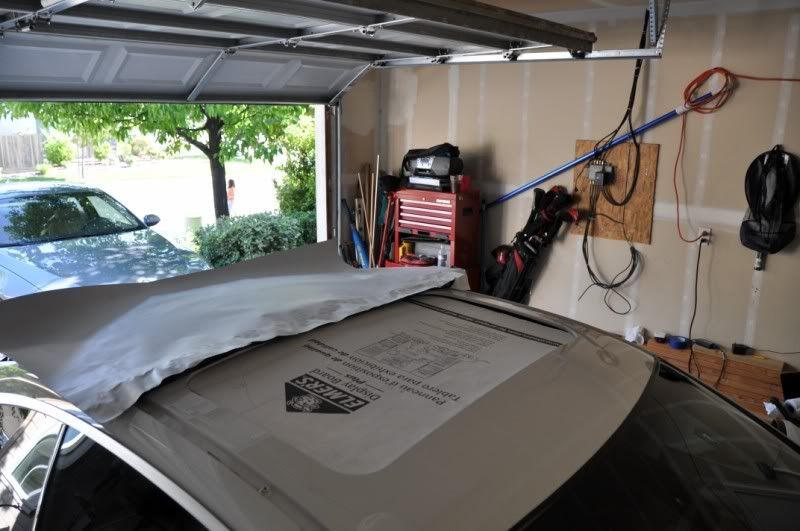
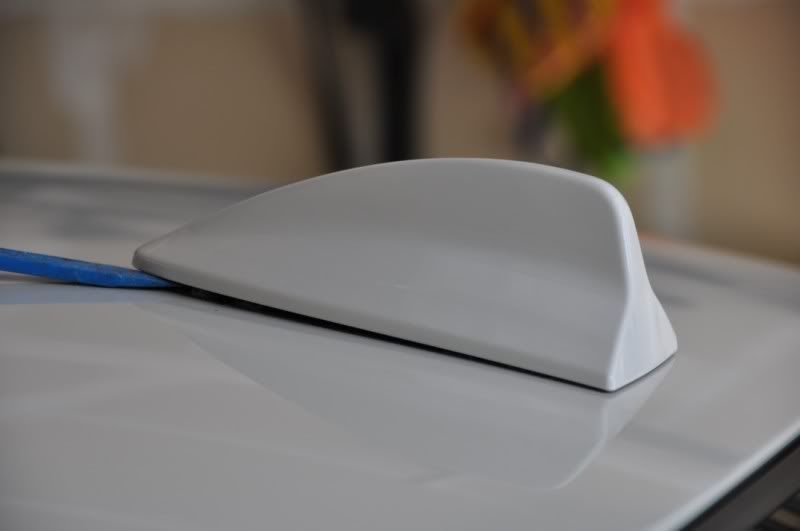
1) First wash the car with Dawn soap. This will remove grime and old wax. Then, move the car in the garage. You do not want dust getting on the vinyl's adhesive. Using the Blow Dryer, heat up the bottom edge of the shark fin. Once hot, use your hand and the plastic pry tool to slowly lift the fin. Pry front to back and not side to side. Otherwise, you may damage the electronics underneath.
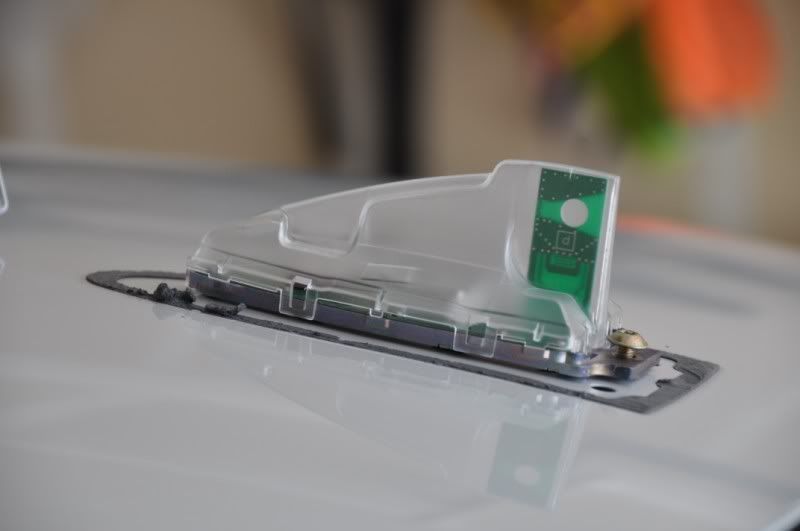
2) Now you'll need your Torx Screwdriver. Once the screw is removed, slide the antenna to the rear of the car and lift up.
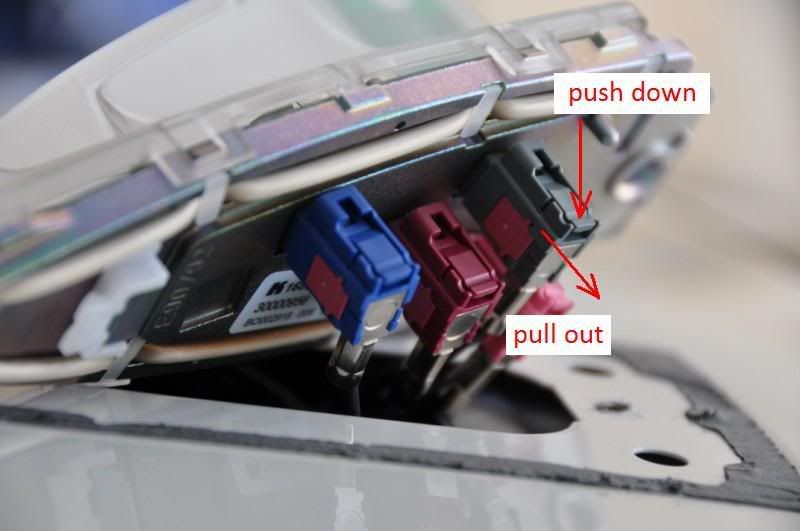
3) Now it's time to disconnect the antenna. Push down on the clip and slide out each connector.
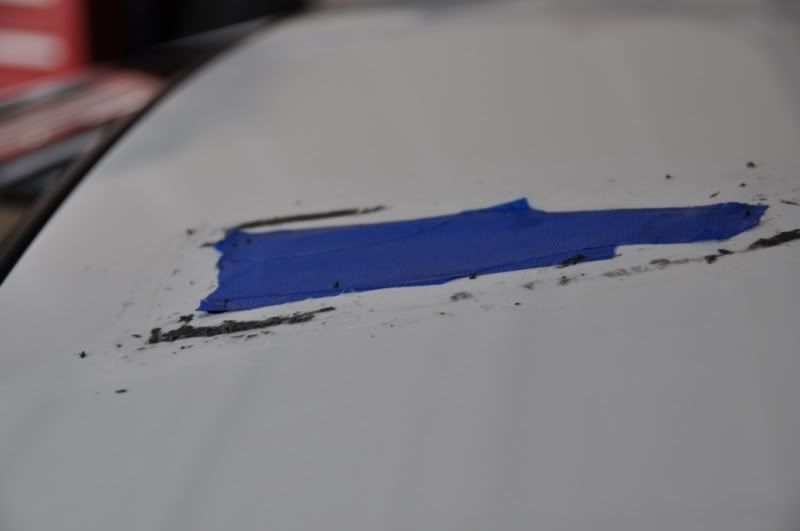
4) Now cover the hole with some masking tape.
5) Soak the adhesive in Goo Gone. Let it sit for a few minutes. Then come back and remove the tape. This took me 10+ minutes as there's a lot of tape. Use a fingernail to cut into the tape. DO NOT USE ANY TOOL OR CARD as it WILL scratch the paint.
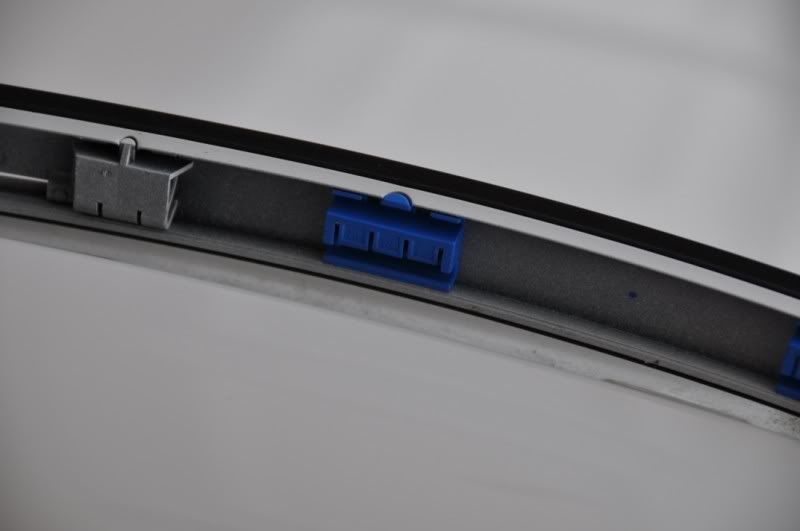
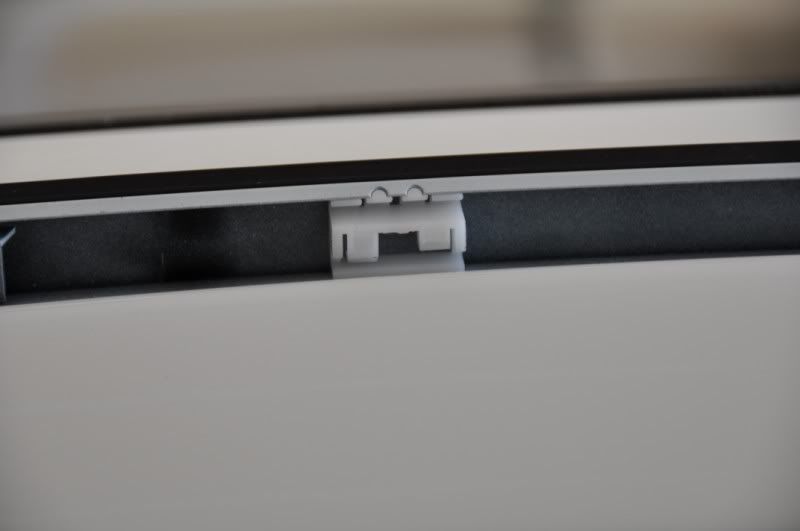
6) From the rear of the car, use your pry tool to lift up on the roof rail. As you do this, you will hear popping as the clips release.
7) This is what the clips look like. Each clip has 3 plastic sections. I probably broke 1 section on 3-4 clips. However, they will still hold. Just go slow.
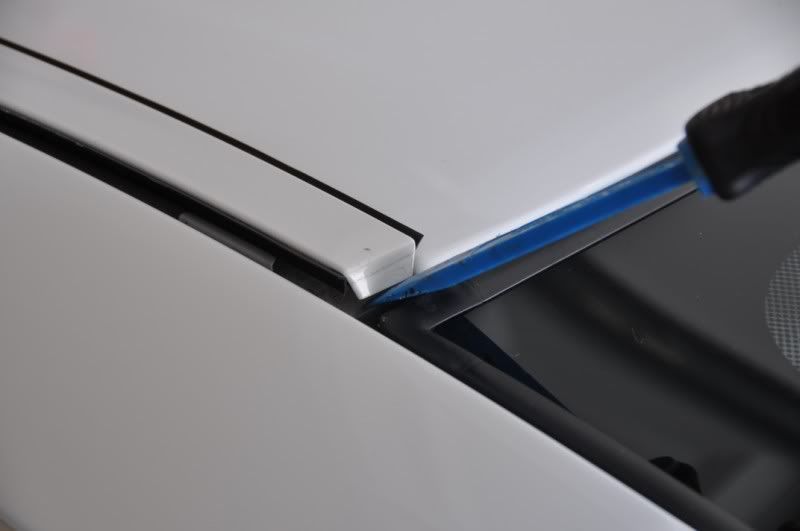
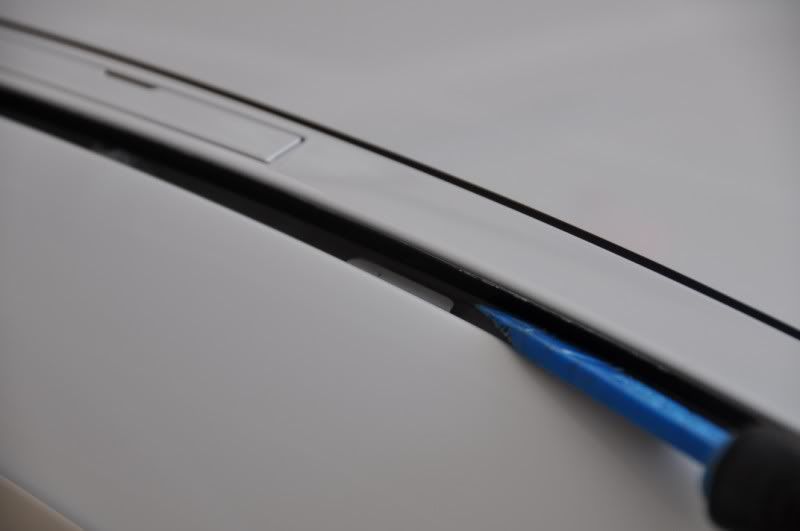
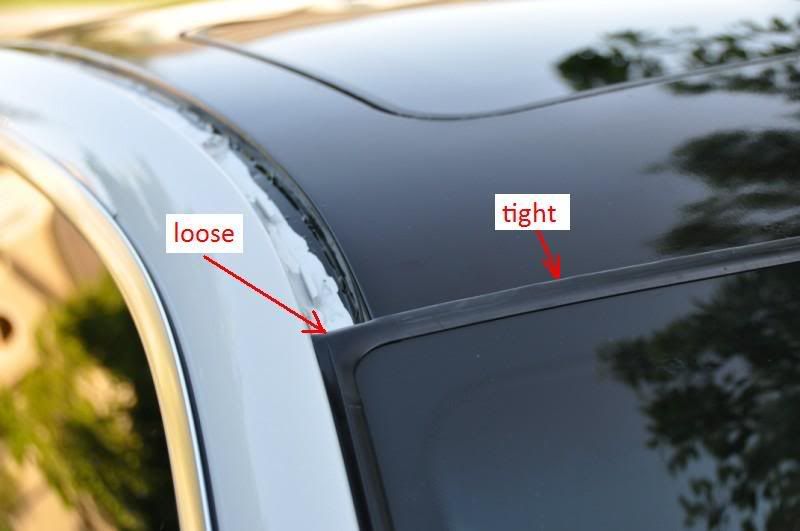
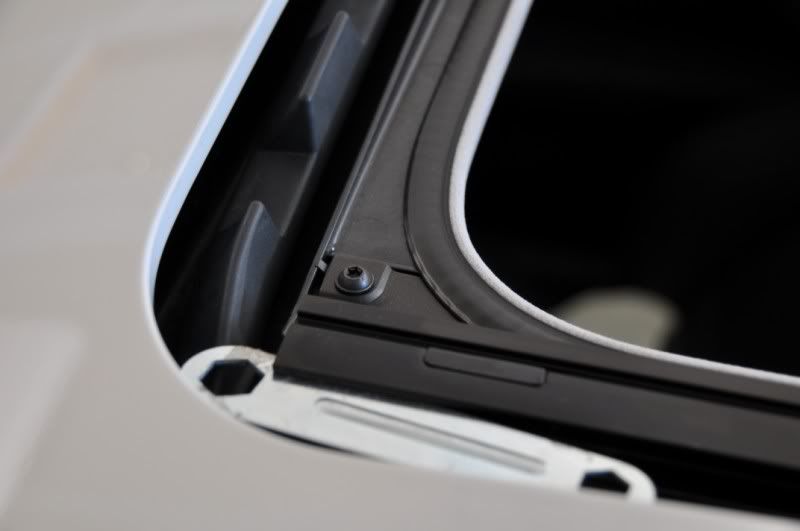
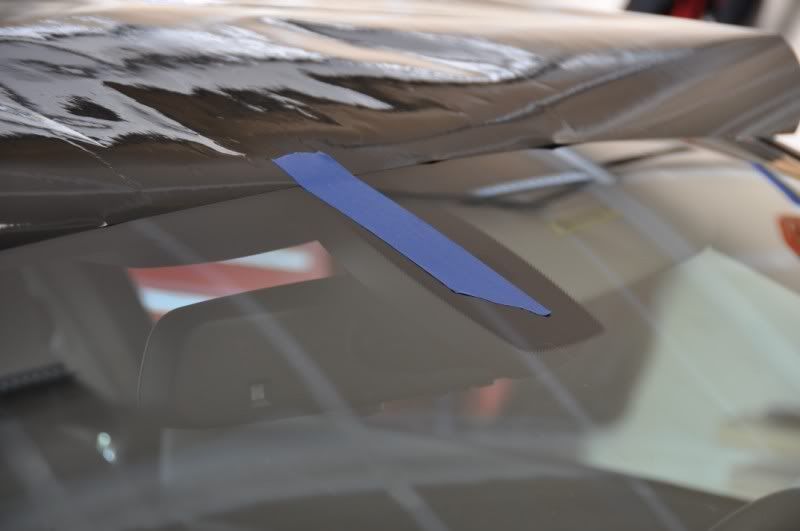
8) Prep the front windshield trim. You'll find that the section next to the roof rail is loose. But the remainder is glued down tight. Use your blow dryer and heat it up. Use the thin card to create a small gap under the trim. This will allow you to later tuck in the vinyl. 1/8" is sufficient.
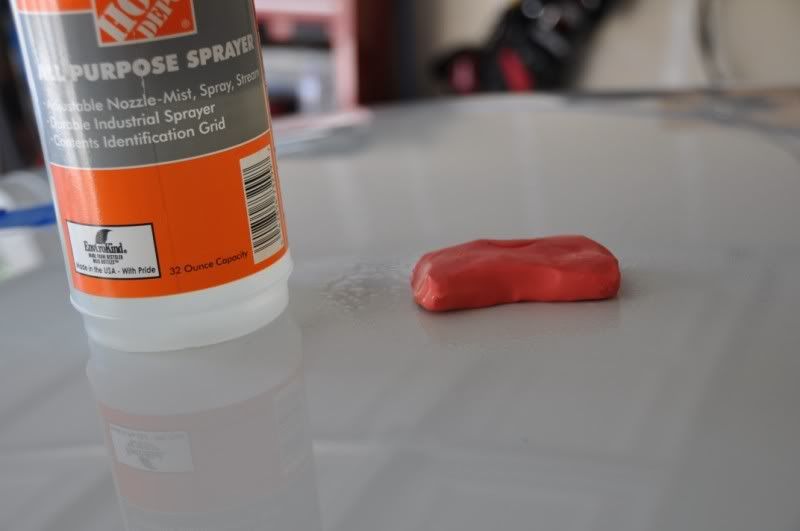
9) Bust out the clay bar and start cleaning. If you're unfamiliar with it, Zainostore sells some good stuff and their tutorial is located
here. Clean off all residue, wash down with dawn and dry. Alcohol works well if you have any clay bar residue to remove and it won't damage your paint.
10) Open the moonroof and hold the wind deflector down. I used a small tool in the track to keep it out of the way.
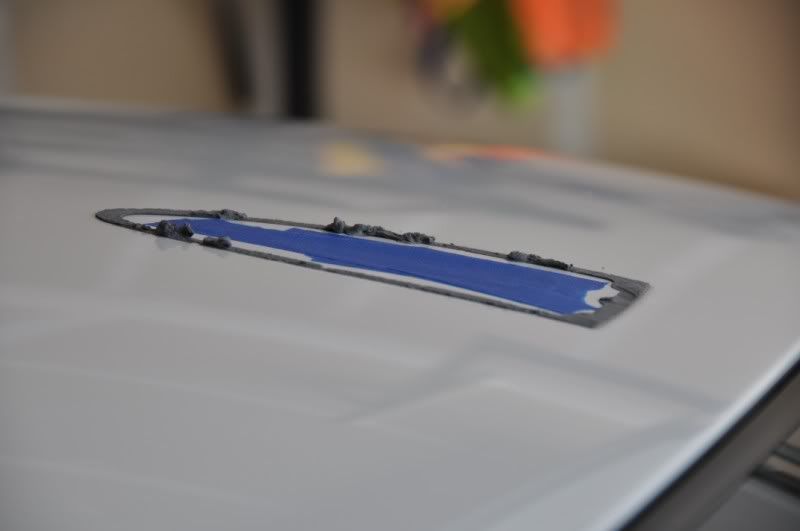
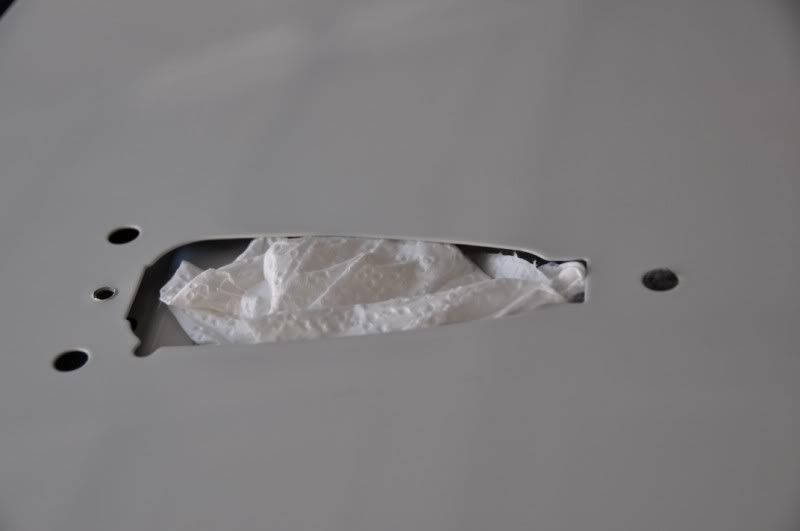
11) Insert cardboard into the moonroof opening and stuff paper towels into the shark fin opening.
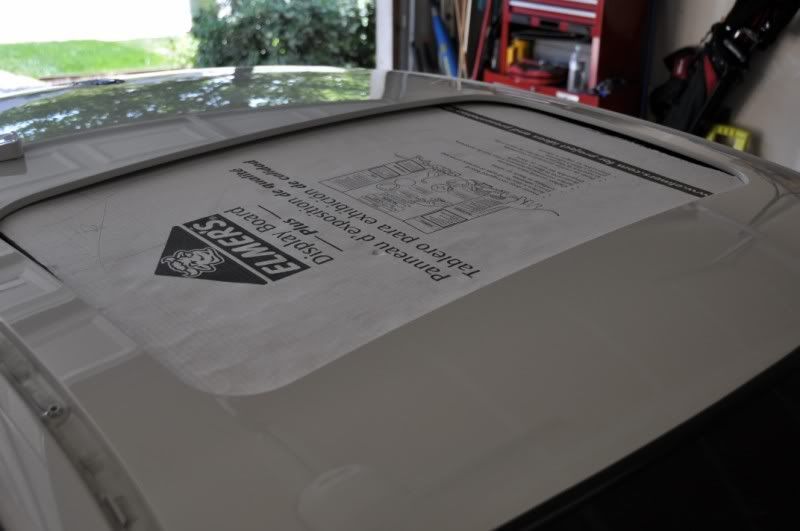
12) Lay down the vinyl and ensure you have sufficient coverage. Now, tape down the front onto the windshield.
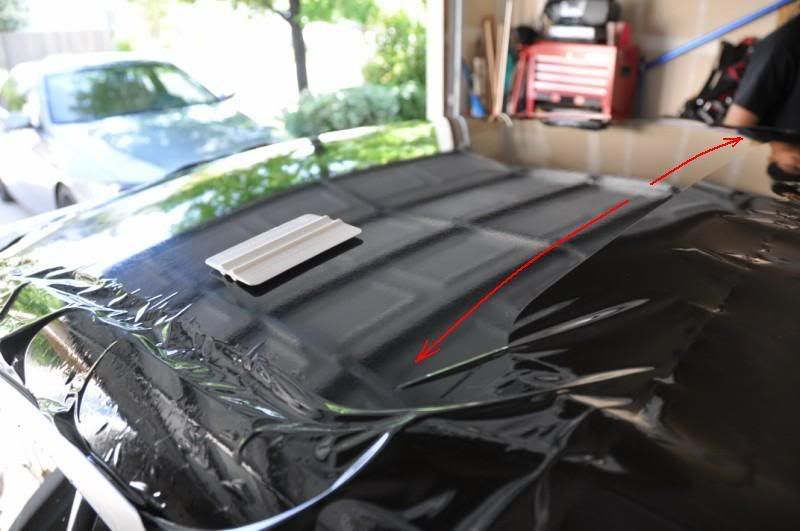
13) With your assistant, peel back the rear half of the vinyl. Do not allow the vinyl to fold as it may cause wrinkles or stick to itself. Mist both the roof and the vinyl. Cut off the vinyl backing. (NOTE: do not wet any vinyl backing as it will be a PIA to remove from the vinyl. There's less pictures here as we were focused on the install. Just be sure to first squeegee the center from center to side. Now, work your way towards the rear with overlapping strokes. Wetting the TOP of the vinyl will keep the squeegee from forming creases in the vinyl.
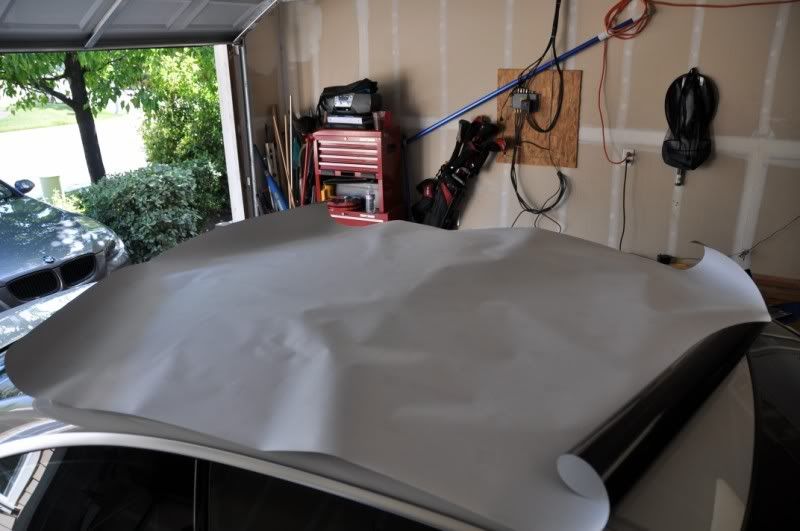
14) Getting closer.
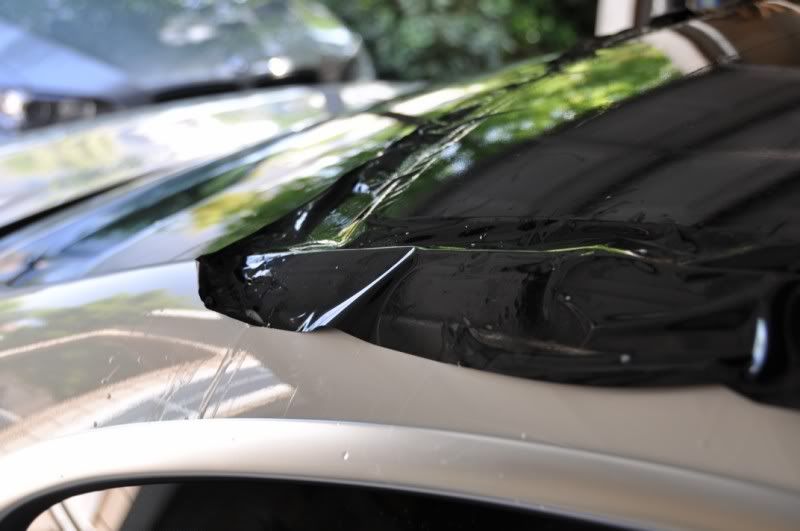
15) Now use your scissors to trim the sides and rear of the vinyl. You should leave about 1/4" excess on the rear and 3/4" excess on the sides. Refrain from using the X-acto knife unless necessary. Otherwise, you have a higher probability of a) not cutting straight and b) slicing the roof / rubber molding. Tuck the rear into the weatherstriping using a credit card. Fold over the sides. Do not cover the roof rail clips or screw openings.

16) Now peel off the remainder of the backing and finish the front.