Hi:
I finished this job at last - here follows my DIY. I hope this helps someone. It should be applicable for all E90's - not just the Xi model.
Enjoy

Jack the car up as high as possible.
The front is straightforward - jacking point is a steel extrusion between the front wheels. I placed jack stands beneath the front jack points. Once I had lowered the car onto the jack stands, I left the jack in place as a 2nd line of defense. (the 2nd jack is not in this picture at this point).
For the rear, I used a 4x4 piece of wood, about 10" in length on a second floor jack, placed at the point indicated in the picture:
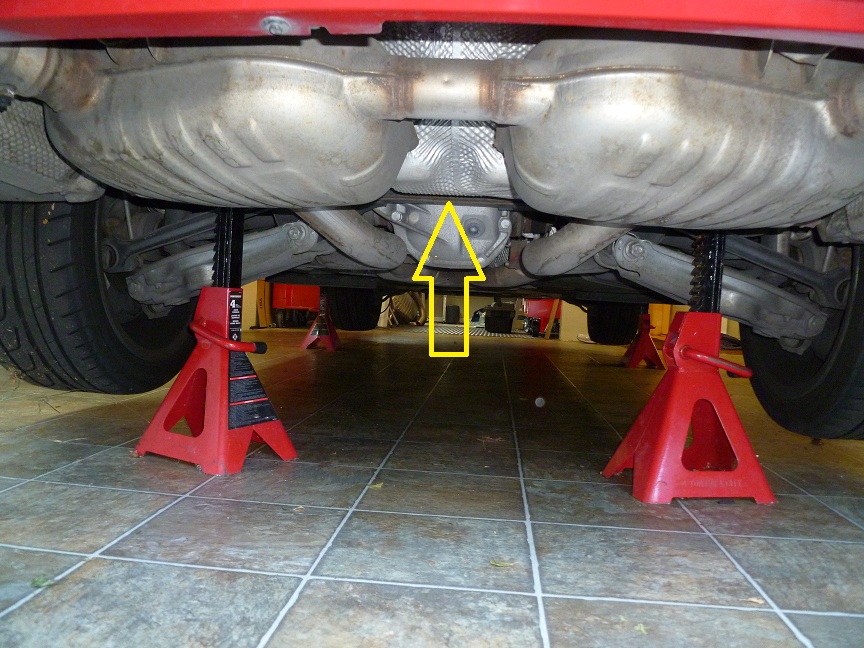
I used my longest jack stands here. They were placed as far to the left and right of the sub frame as possible.
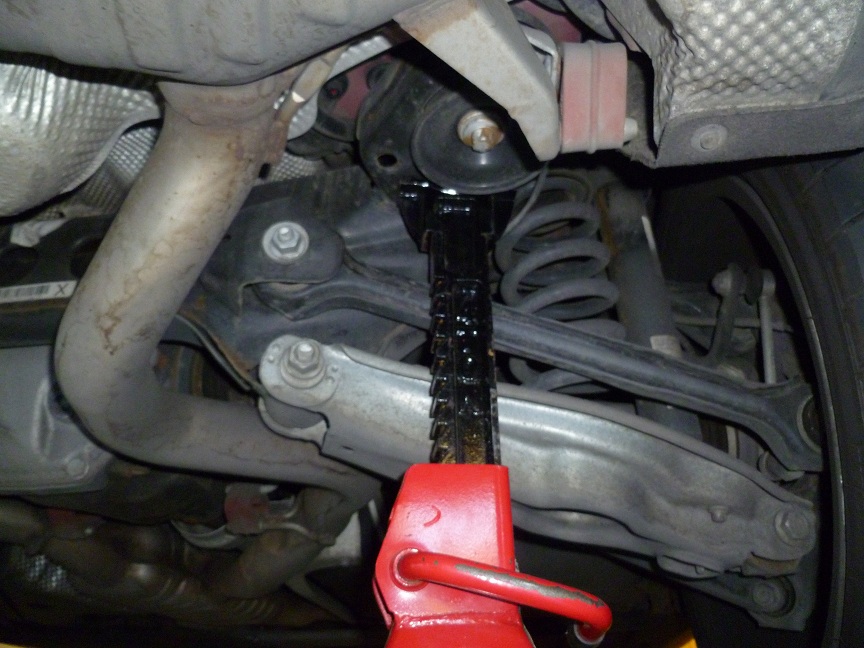
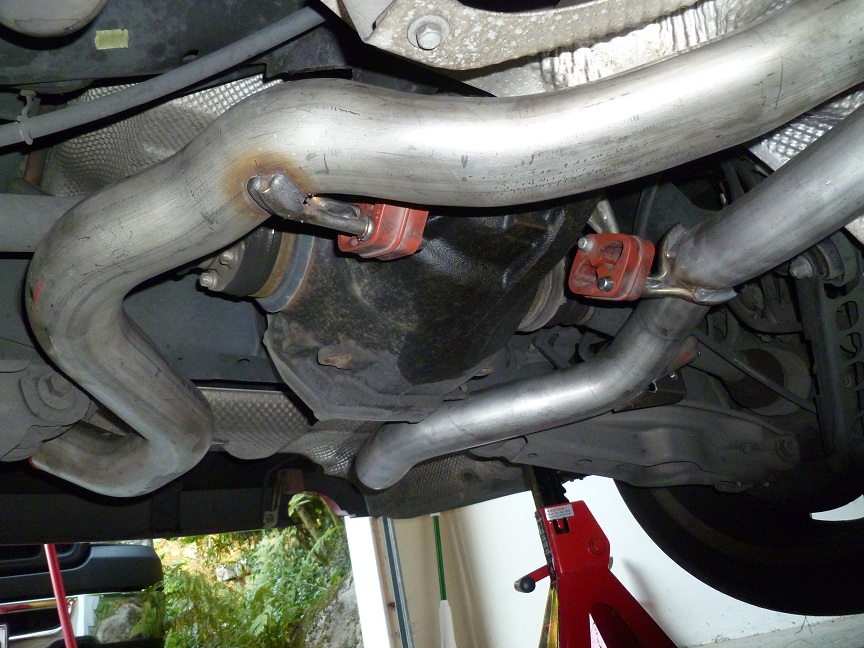
Next I removed the exhaust. I suppose you could (measure and) cut the exhaust pipes with it still mounted on the car and save an extra few steps, but I elected to remove the exhaust completely. I won't describe this in detail - its pretty straightforward starting with the 4 nuts attaching the exhaust to the down pipes to the nuts and bolts with secure the exhaust to the car with rubber blocks.
One thing I did want to document here is nuts which hold the down pipes to the exhaust pipe. I found mine were terribly rusted - my car has ~45k miles and is a 2007. In my case, both 'upper' nuts were removable but the lower nuts were frozen in place and no amount of PB blaster would loosen. I ended up cutting off both nuts using a grinder. Once I removed the exhaust, I ground off what was left of the stud flush with the face of the down pipe flange and then used the tools/process suggested by Steve above to drill and then grind out the remains of the stud.
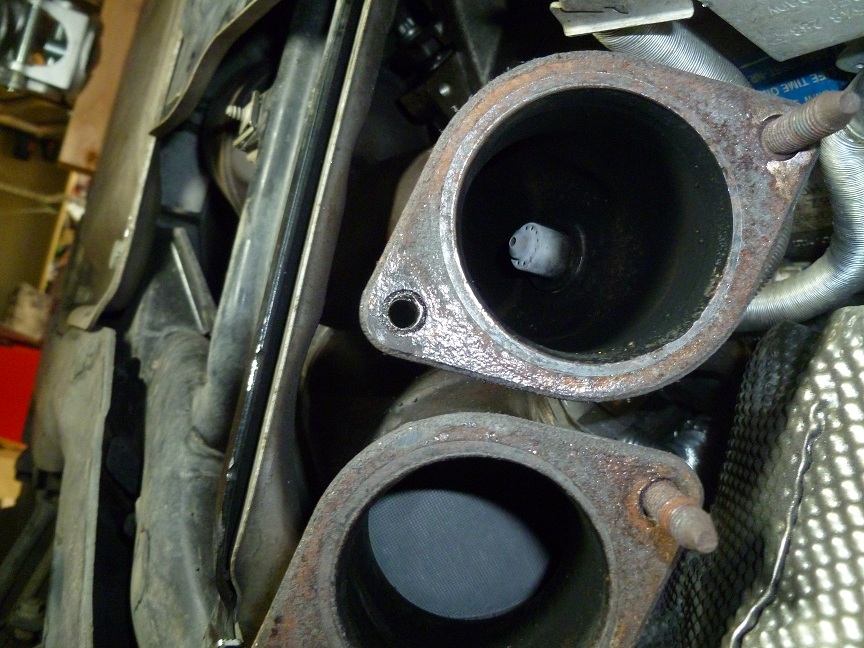

When I reassembled the exhaust, I used bolts in place of the studs - worked very nicely. I used lots of anti-seize compound.

My advice is to do all you can do to remove the frozen nuts - perhaps try a nut splitter or oxyacetylene torch to remove the nuts - I think I got a little impatient when I grabbed my grinder to solve the issue :-)
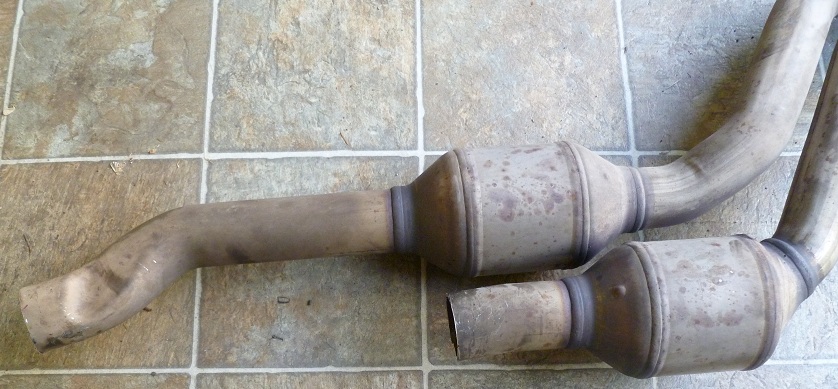
OK, so once you have the exhaust removed, you can line them up and compare:
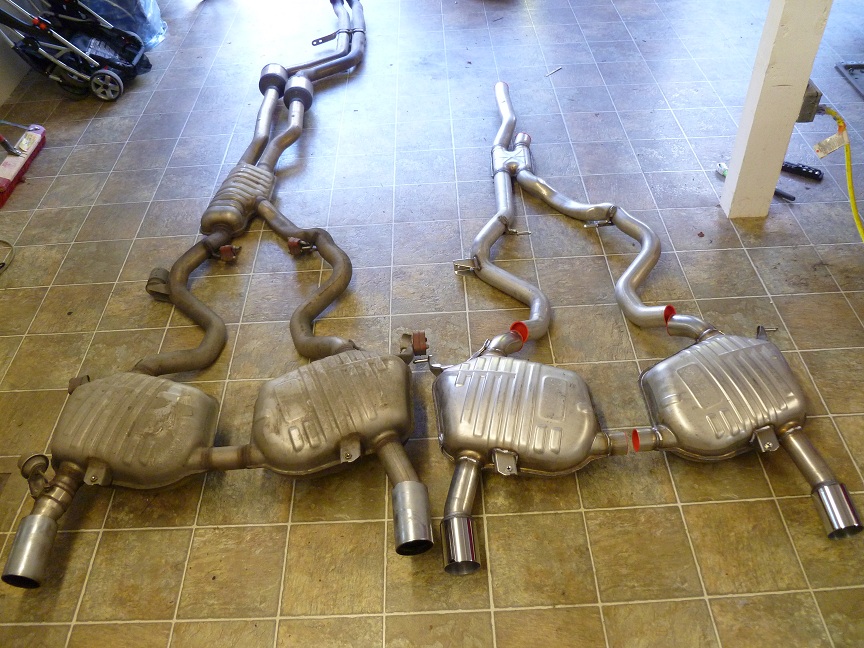
I mapped over the dimensions of the new pipe by overlaying it on the old pipe, taking lots of measurements to make sure I made the cut line in the right place. Since the BMW exhaust pipe couplers will compensate for the pipe being cut slightly short (but not long) I erred on the side of cutting too short - by about 1/2". Making the cuts was not entirely easy. I had a pipe cutter I had loaned from a local tool place but that only allowed me to cut the longer of the 2 pipes. On the shorter one, the pipes are too close together to allow the cutter to access the pipe and so I ended up once again using my trusty grinder and hacksaw to cut the pipe.
You should end up with something like this:
Next mount the front exhaust pipe back on the car, making the front nuts just finger-tight. Use an axle stand at one end to support the pipe.

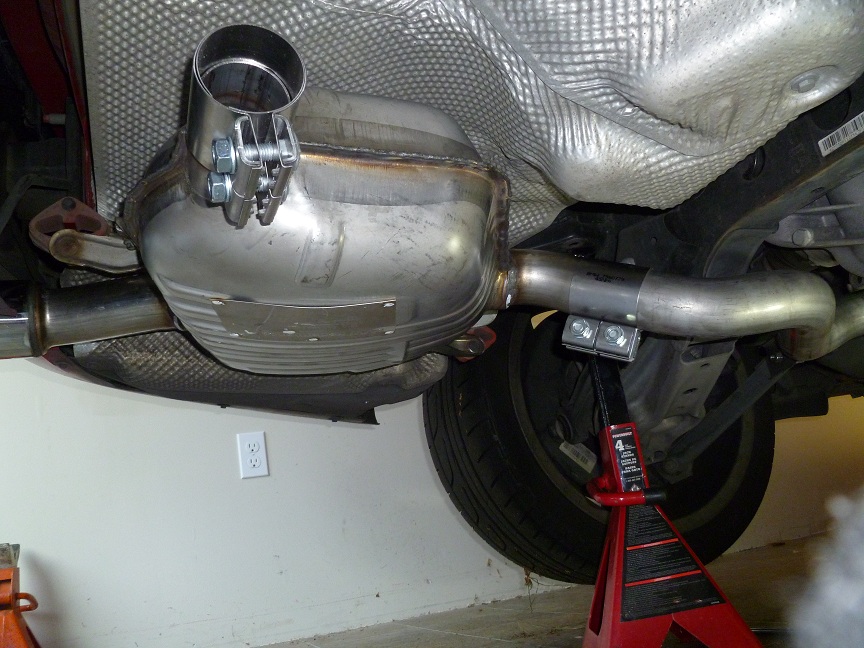
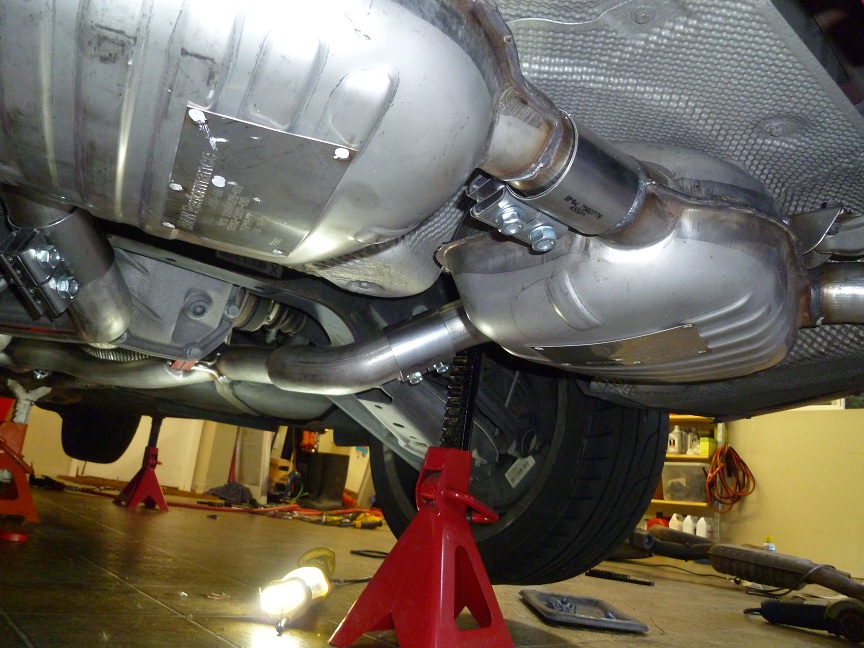
Install 2 exhaust pipe couplers and place the middle exhaust section in place. You should be able to use the rubber exhaust mounts to keep it in place.
Install another 2 exhaust pipe couplers on the rear of the middle section and install the left and right exhaust boxes. Use the 5th (small diameter) exhaust pipe coupler in he middle between the left and right boxes. Install the mounts to keep the mufflers in place. Note that at this point, I had not tightened anything.
Once the entire exhaust was in position, I started at the down pipes and started tightening up all the nuts and bolts.

All in all, it was not very difficult, and I would have been done in ~3 hours had it not been for the problem I encountered with the down pipe studs.
The exhaust sounds excellent - I went for a drive today and was pleased :-)

Cheers,
Michael
2007 335xi