Continuing from above, really dropping the subframe:
- I already had the floor jack positioned at the center jacking point on the subframe. I started loosening the six bolts that secure the subframe to the body of the car. There are four long bolts and two shorter bolts. The long ones are on the front and middle and short ones are on the back, going in at an angle to the body. I was watching if the engine support bracket was holding good the engine up there. I worked slowly loosening these bolts and dropping the subframe together with lowering the jack slow by slow. Watched out if any coolant or power steering lines were getting pinched or stretched on the way. When all done the back off the subframe completely got down and front of it was rested on the floor jack. If I were to remove the floor jack, the subframe would have been resting on the sway bar through the sway bar links connected to the strut/shock assemblies. The power steering lines going to the steering rack were long enough to allow this much drop.
- While dropping off the subframe, I lowered the front drive shaft on a propped up wooden block, so that it wasnt strained on the transfer case side of it. If I had removed the drive shaft bolts after dropping off the subframe this wouldnt had to be done simultaneously.
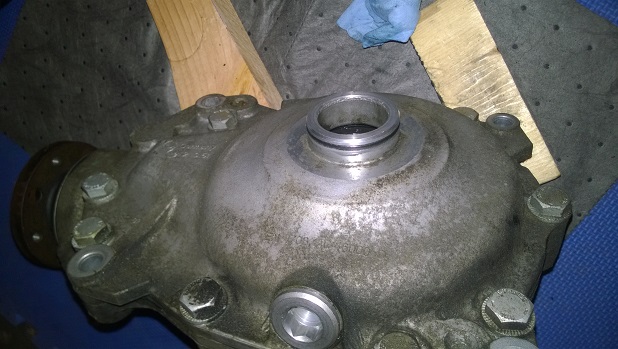
- Next thing was removal of the differential. I put back the drain and fill plugs on the differential to prevent dirt entering from those places, but didnt torque these down yet. Removed the four bolts that secure it to the oil pan and removed. I was able to do it without help of a jack to support it, but it was cumbersome and diff was somewhat heavy, it could have slipped from my hands and fallen down. The auto transmission models are mentioned to have a breather tube that needs to be disconnected from the differential.
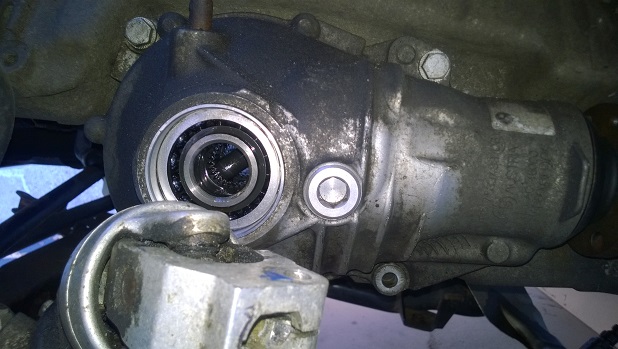
- As next step, I decided to work on the axle seals of the differential and pedestial as a break from lying under the car. Removed the axle seals with seal removal tool. In the past I had used channel pliers same way, but the tool makes it much easier. To drive the new seals I used conduit plus plumbing combination I had used in the pass to press in thrust arm bushing, since this turned out to be perfect size for the seals too. Details of this driving "tool" is in this post:
http://www.e90post.com/forums/showth...5#post17739455
I first placed the differential on two block that are higher than the o-ring carrying protrusion part of it that goes into the oil pan tube, so that it was protected. That o-ring carrying section is thin walled and could be broken while driving the seal in. Put some diff oil around the outer side of the new seal and slowly hammered it in until it was flush with differential case. Paid attention to drive the seal straight, if it was starting go crooked, I started to hammer the opposite side, and in the end it was there flush and straight. Did the same to replace the pedestal axle seal too.
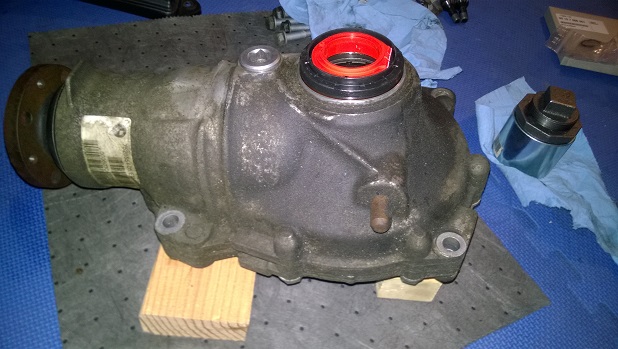

- Replaced the o-rings on both the differential and pedestal. Put again some oil on the o-rings for them to go in easy and seat well.
- The axle seals come with new c-rings for the axle spline ends. Replaced these two.
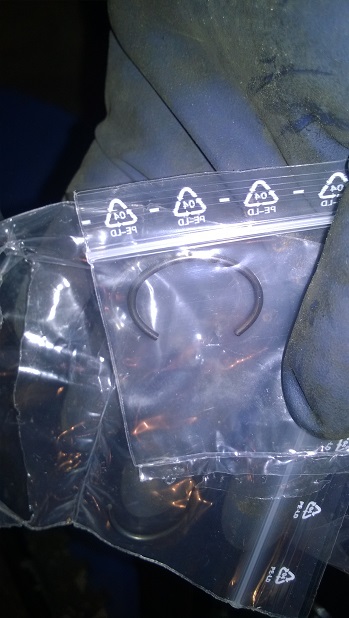
To remove the old c-rings from the axle spline ends, placed a thin small screw driver (a pick would work too) on one end of the c-ring, locking that end between the splines. Then with another but bigger screw driver pulled the c-ring from its other end until it came off. I wore eye protection while doing this in case that ring or something else popped off unwantedly. The new rings went in rather easily by placing them over their grove on the axle ends and pushing them down until they clip in place. Cleaned the ends of the axles with some compressed air and then put some oil on them. The oil would help with reassembly later on.
- Now back under the car, first I removed the nuts holding the engine mounts from above the engine using that 24 inch extension. This wasnt really necessary but it was easy to get them out of the way this way.
Next post removal of engine oil pan...