Morning y'all, before I give you a brief run down of my experience with CBU cleaning, I want to recognize Mik325tds for his assistance in this adventure. With that said, here goes...
BLUF: at 51K miles my intake track had significant CBU blockage. Cleaning it restored the power it once had. In my opinion, this is a must for anyone over 40K miles. Read on for specifics.
Specs: 2011 335D w/51K miles. Previous owner routine service completed by the dealer. The last service completed was at 50K miles. I took ownership a month ago and like I do with all my cars, I do as much preventative mx as possible prior to driving on a regular basis. So, the CBU issue had to be addressed up front. Oh and 4 days prior to taking ownership, I test drove a similar 2011 335D and it had a much stronger power band; however, it only had 28K miles on the clock. So this of course went into my thought process as I researched and finally decided to do the cleaning.
How I did it: After removing all the necessary covers and such that hide the intake manifold, the actual removal of the intake was quick and easy. Now keep in mind I've been wrenching on cars for most of my life (not a mechanic though, just something I like to do) Anyway, to remove the intake is fairly straight forward and only requires the basic tools. There are write-ups on that process so I wont cover it here.
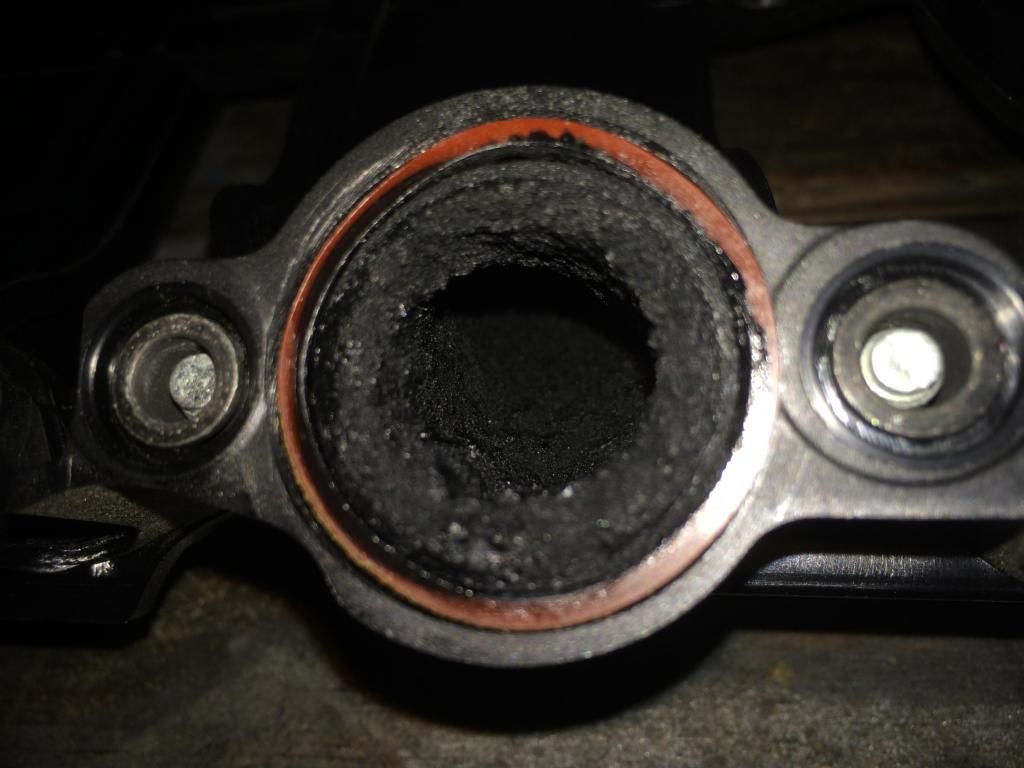
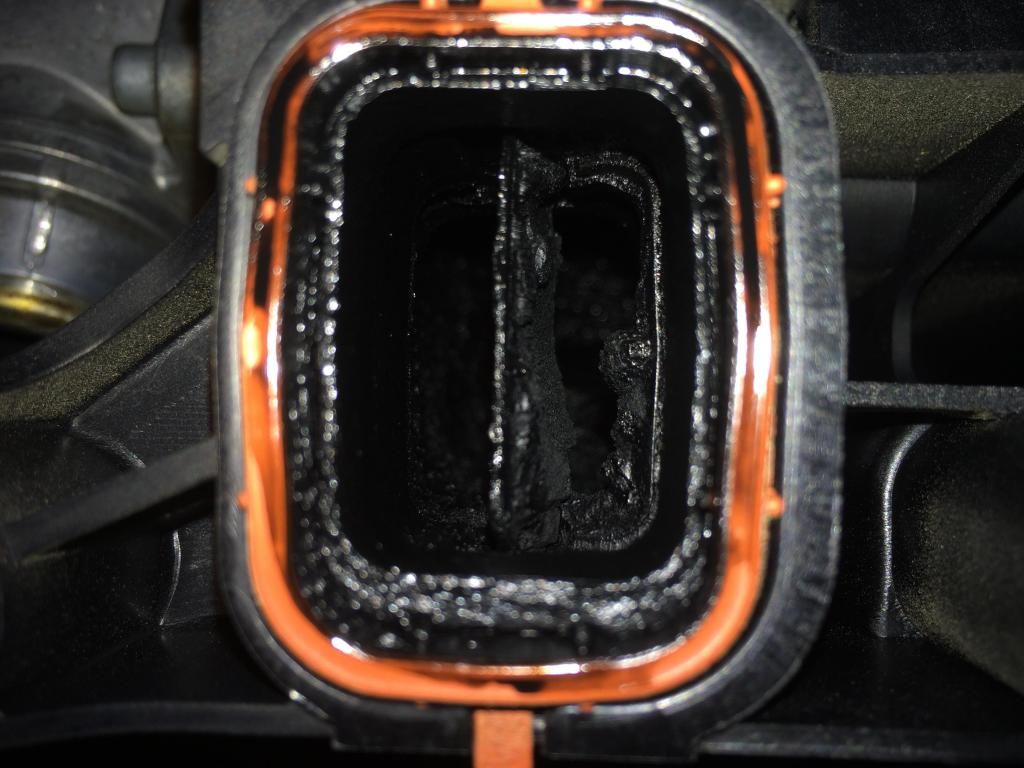
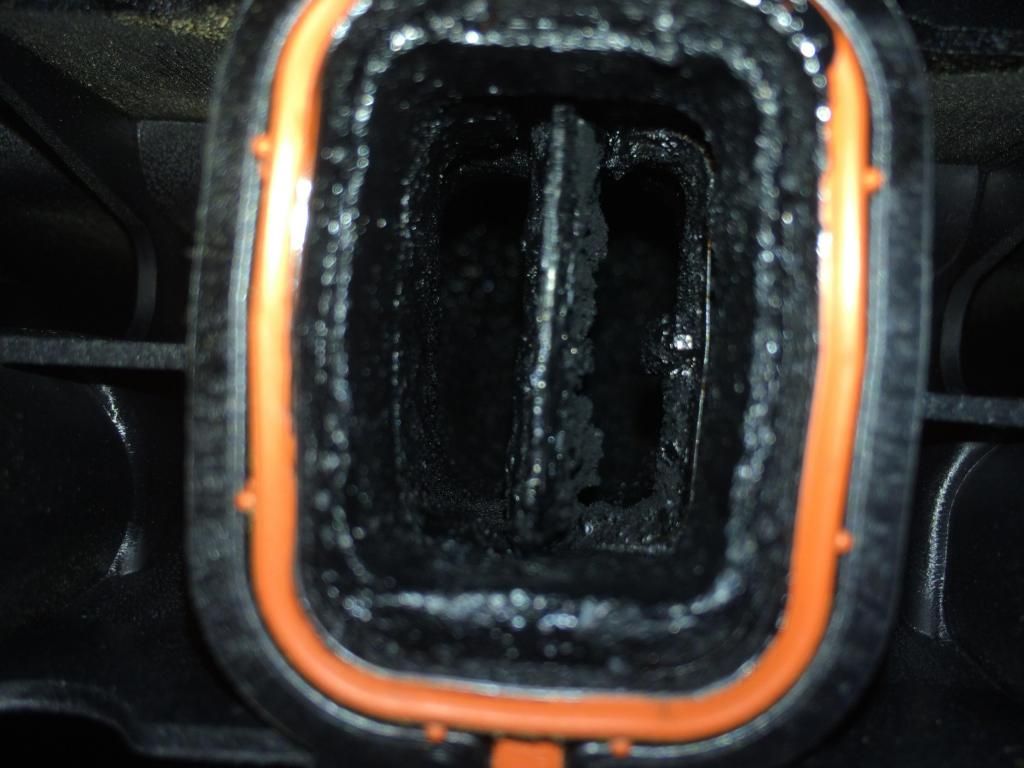
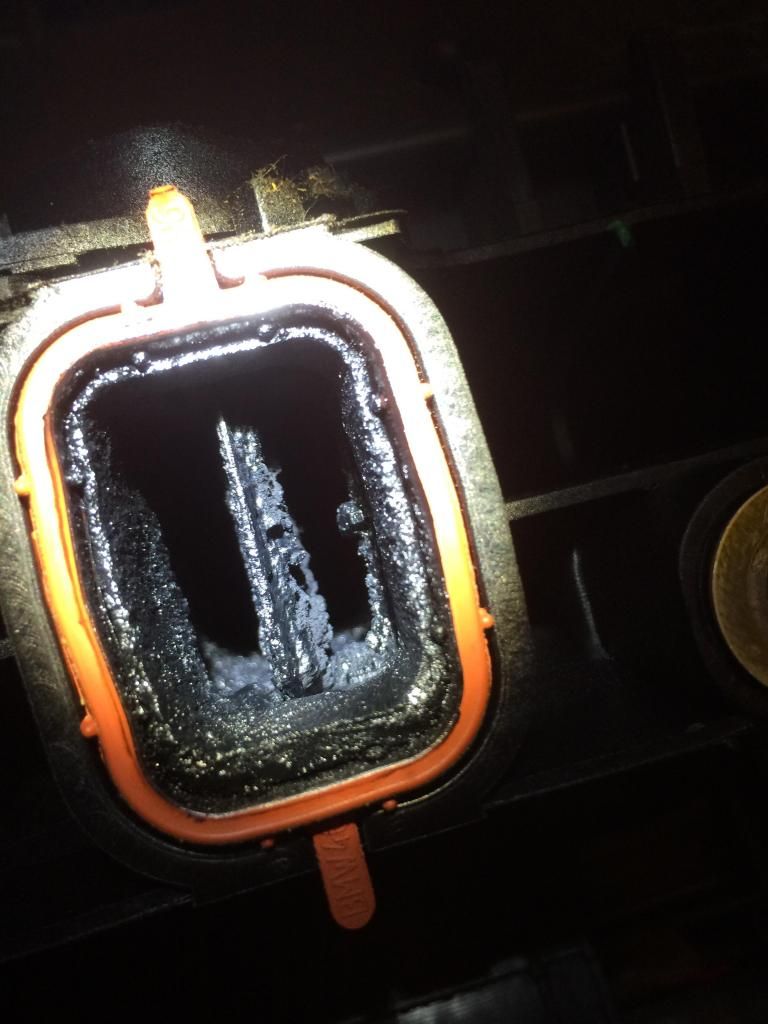
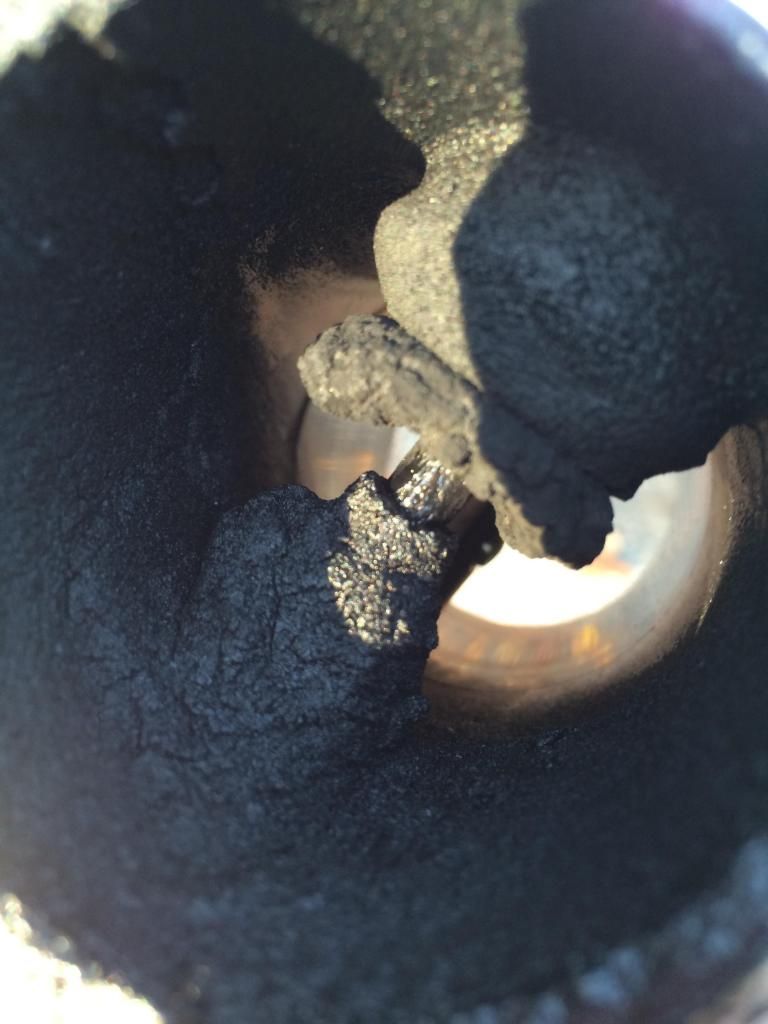
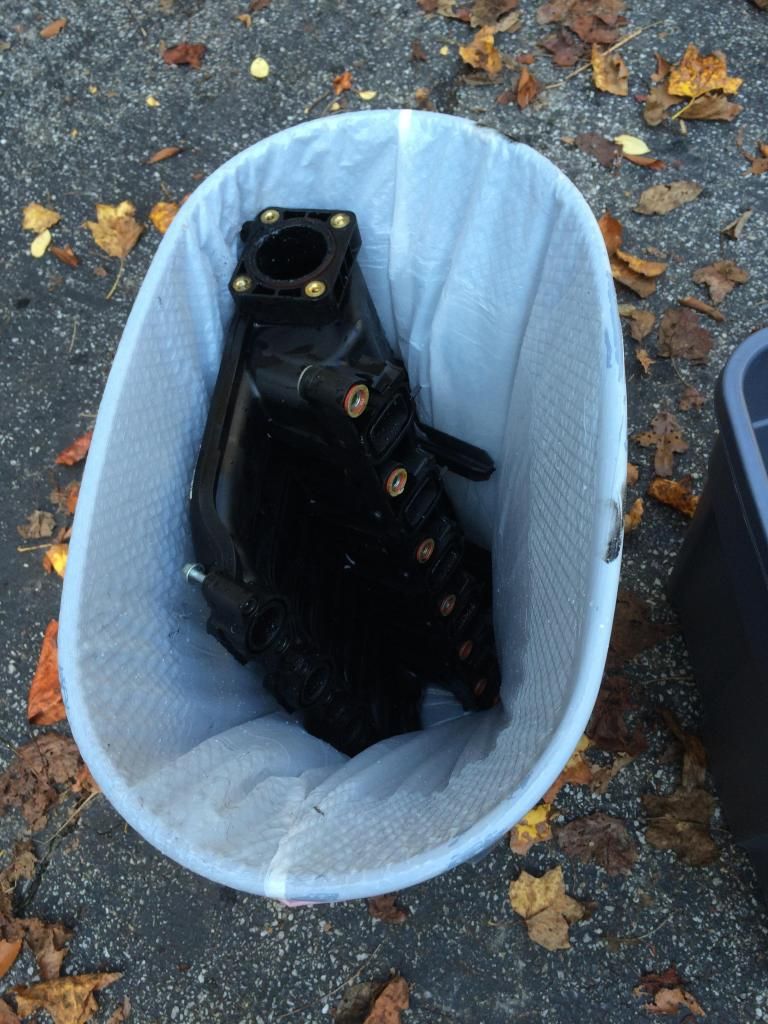
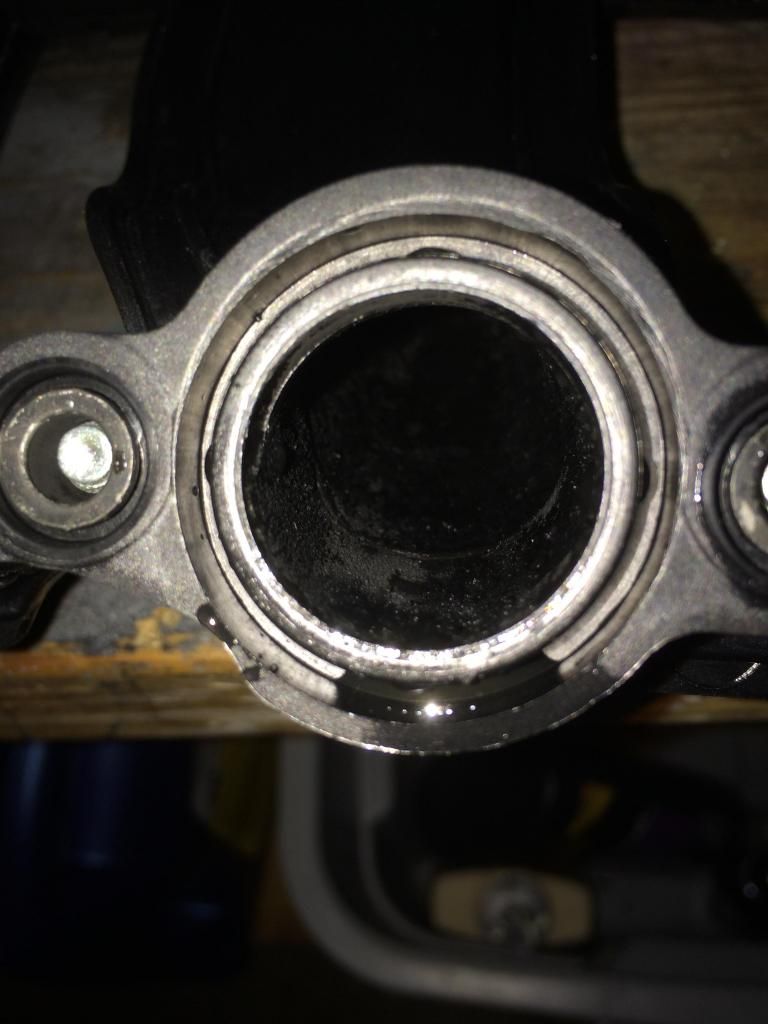
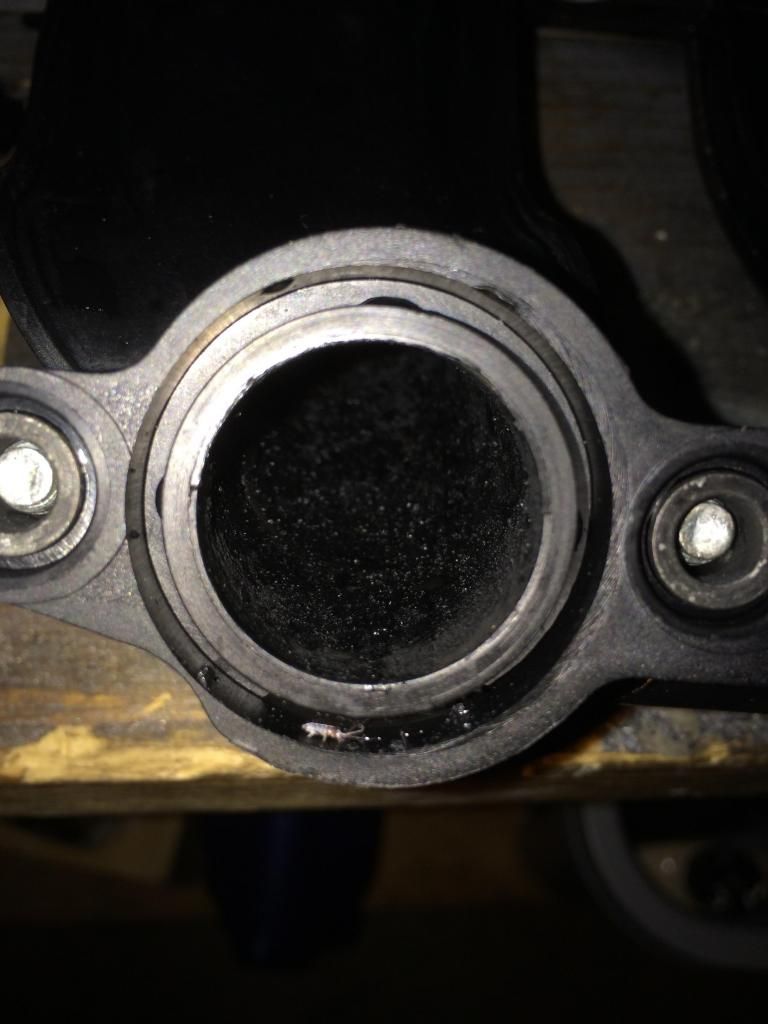
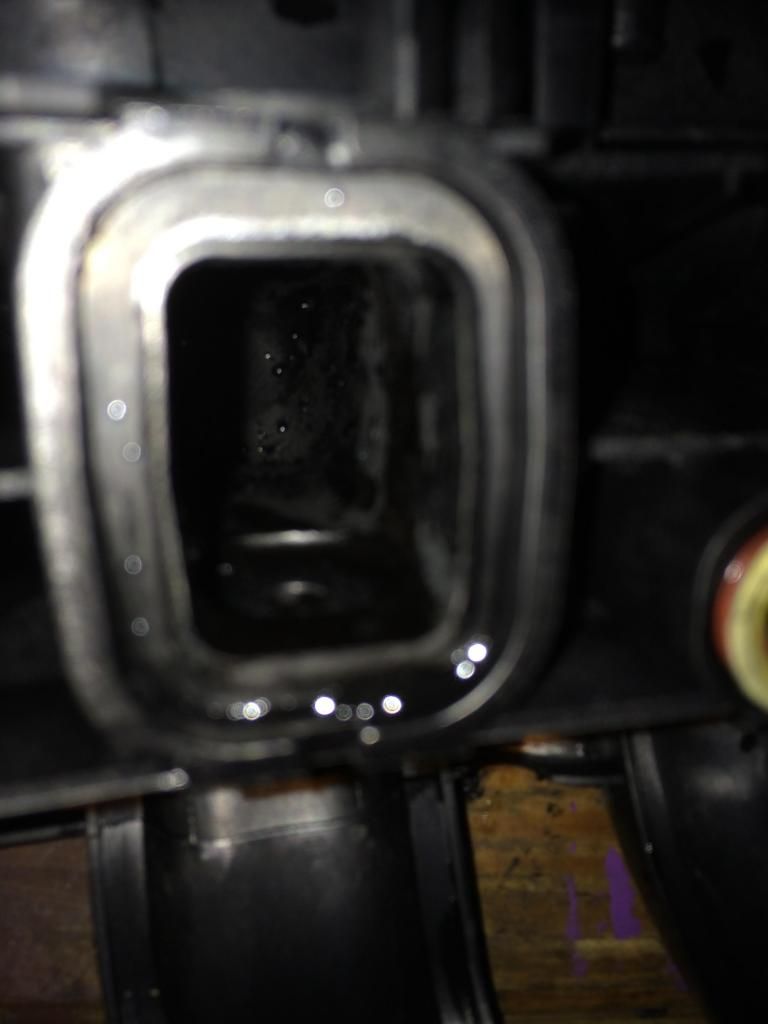
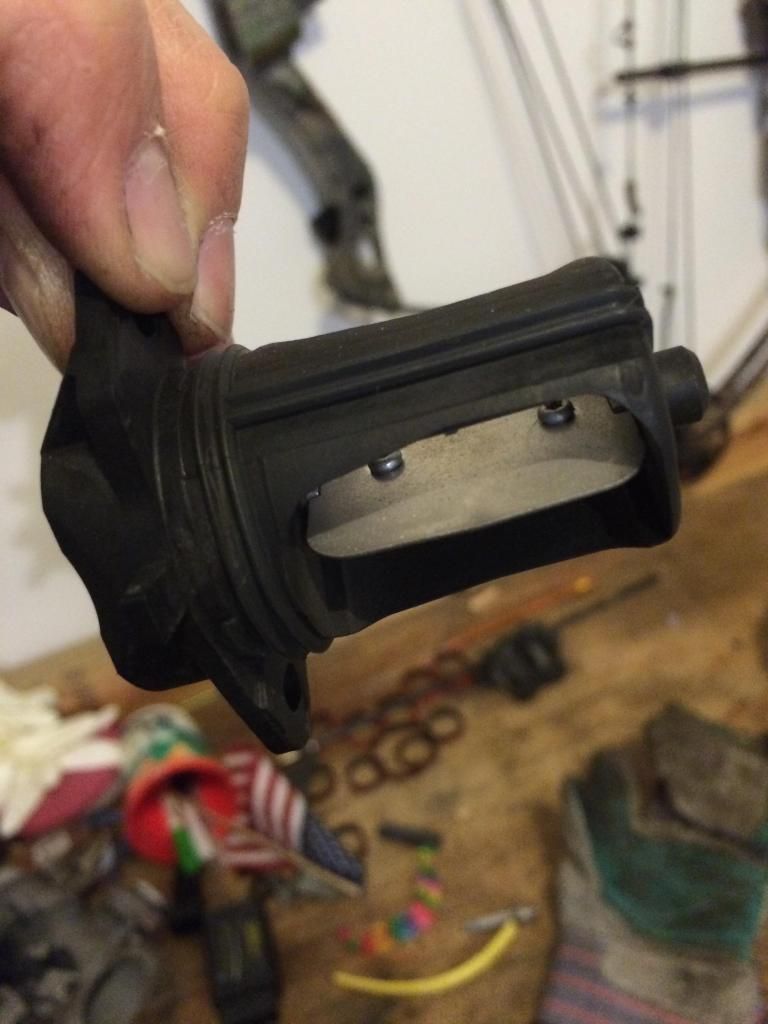
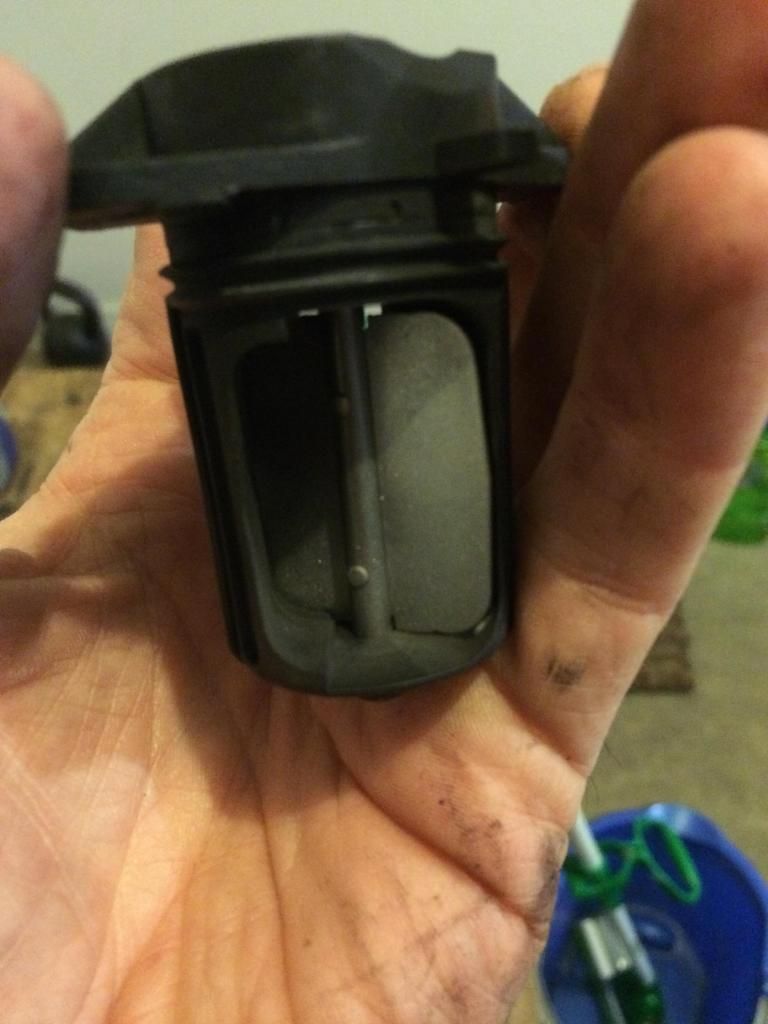
After removing the intake, EGR valve, and throttle body, it was apparent the CBU issue is a real problem. I didn't measure the amount of blockage for each runner; however, suffice it to say a picture is worth a thousand words.
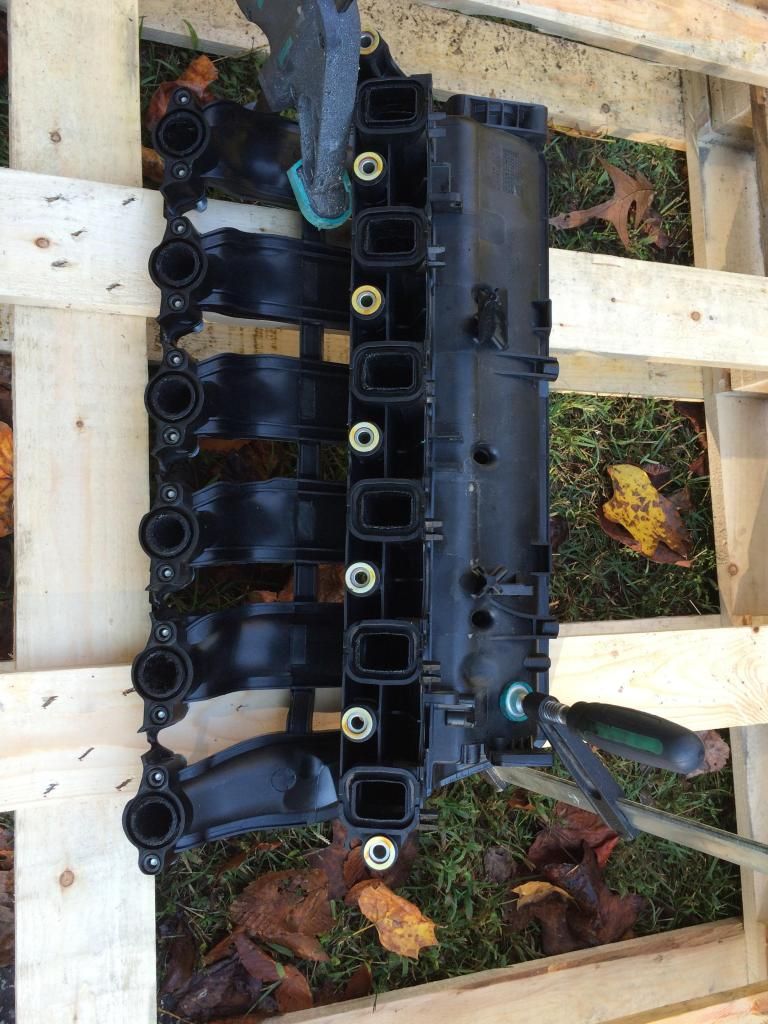
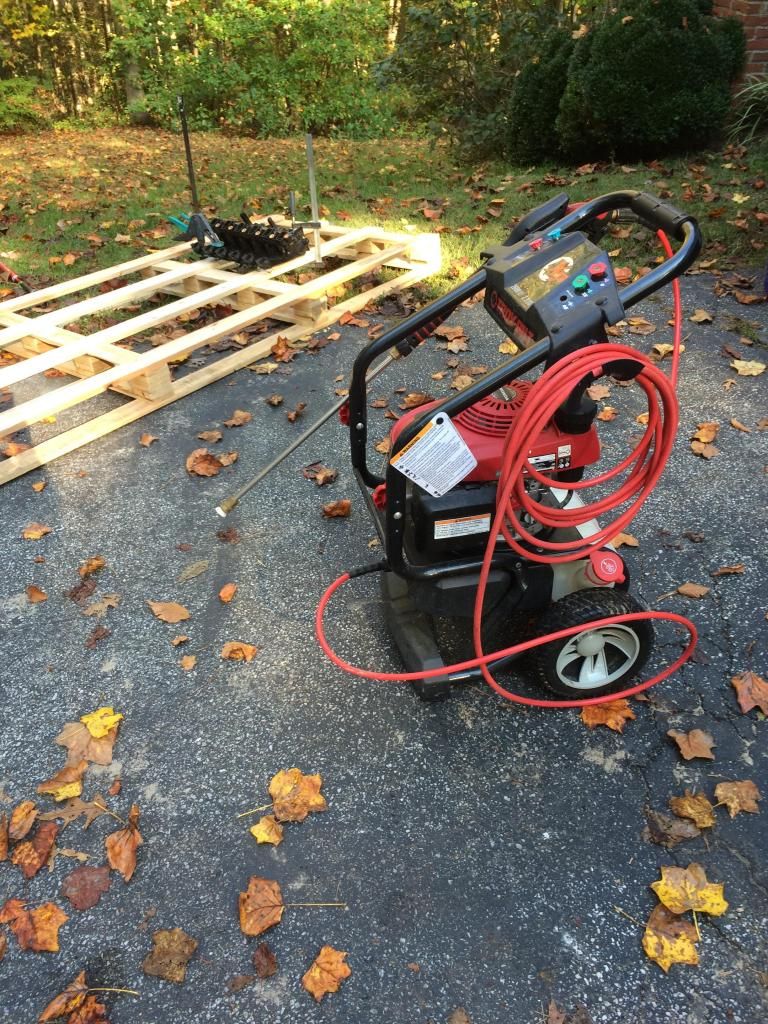
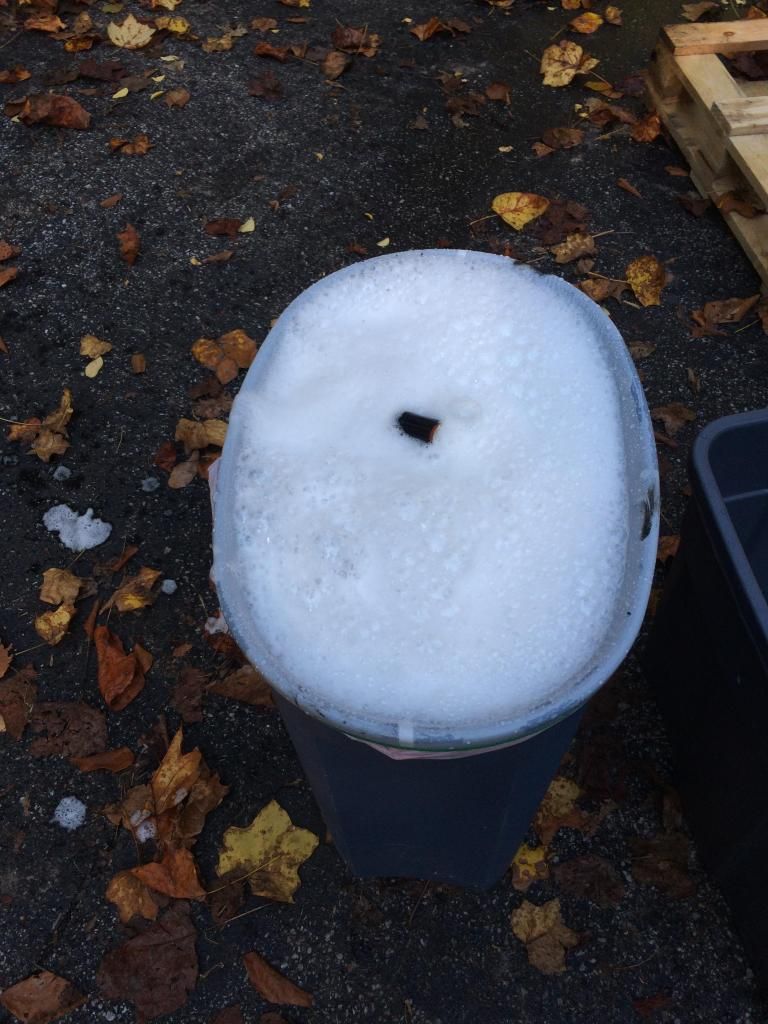
Now, I didn't have a fancy sonic cleaner so I did the next best thing, I washed it with hot water, degreaser and soap. The process I used was as follows: (be sure to remove the EGR/throttle body, swirl flaps and sensor from the intake before you start this process. Bottom-line you want to remove everything from the intake). If you have access to a pressure washer great, if not, don't worry you can still clean the intake. I used a pressure washer with the normal nozzle (with cold water at first (if I did it again, I'd of used hot water to start because hot water cuts through a mess much faster)). I used a couple clamps to secure it to a wood pallet. Blasted it for a few minutes then proceeded to step two. For step two, take a normal sized plastic trash can, fill it with hot water, degreaser/soap mix and let the intake soak for 2-3 hours (I also placed a plywood cover over the top to hold the heat in). After the soak, repeat the pressure washer phase using hot water if possible. Then empty and refill your trash can with new hot water degreaser/soap mixture. Let sit again for 2-3 hours. After soaking again, pressure wash again with hot water. For me, two cycles was all that was needed. My intake was 99% clean.
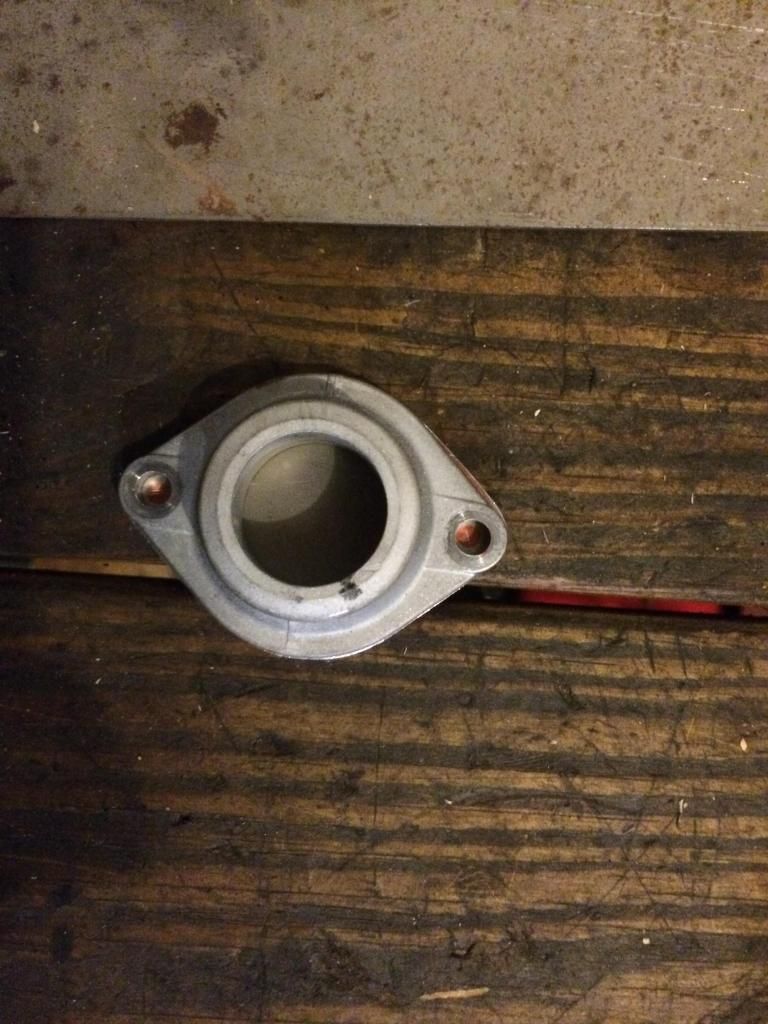
Next I had to address the EGR and throttle body. fortunately for me, I have a small cabinet blaster loaded with Soda for media. Using the soda media took a little longer to remove the carbon but it was gentle enough that I didn't have to worry about hurting anything. I also used the soda to blast the swirl flaps as well and would not use anything more abrasive than soda on the plastic flaps. Of course if you don't have access to a blasting cabinet then you will need to use the soap water solution for the swirl flaps. I used air from my compressor to ensure all the soda was removed. If you're not familiar with Soda blasting, its very fine media unlike sand or walnut shells that is courser and will remove material at a much faster rate.
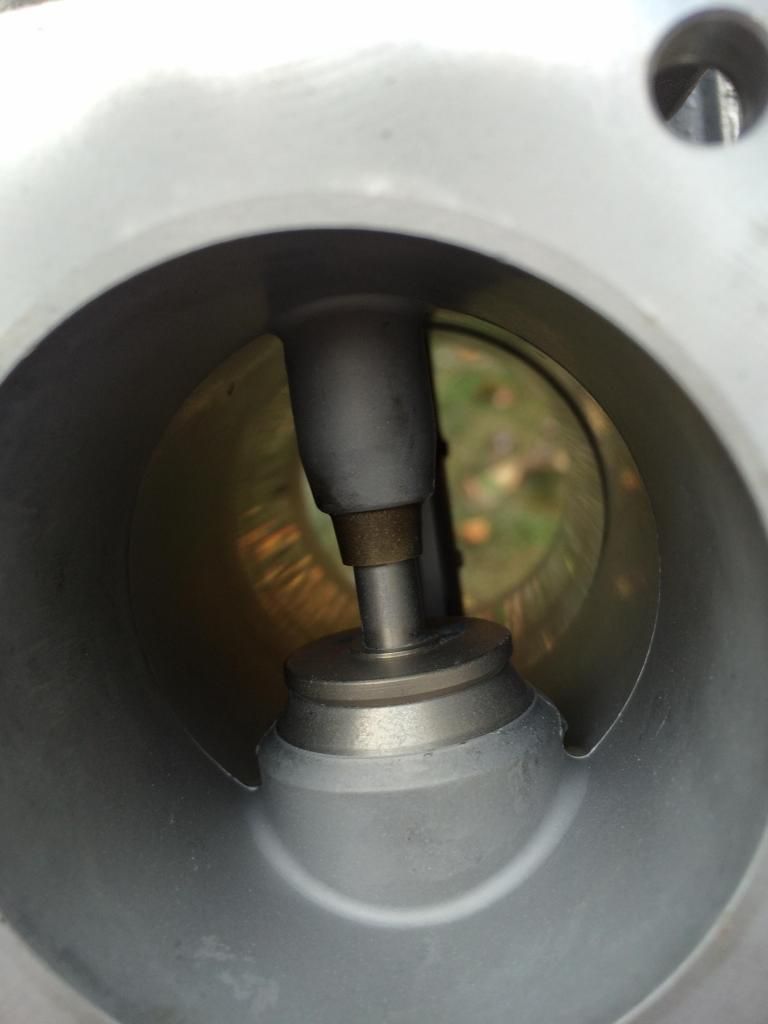
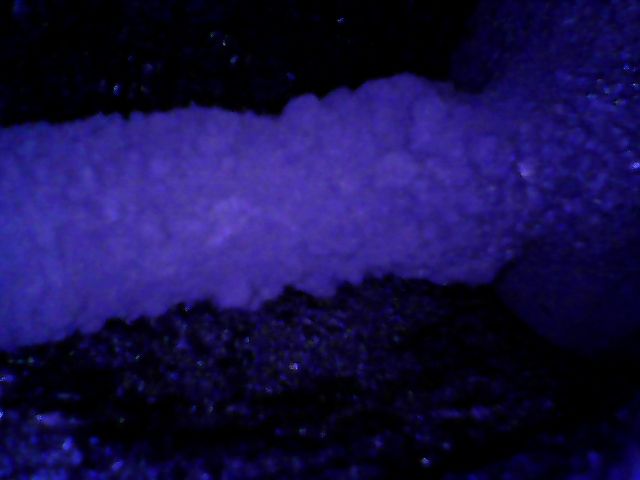
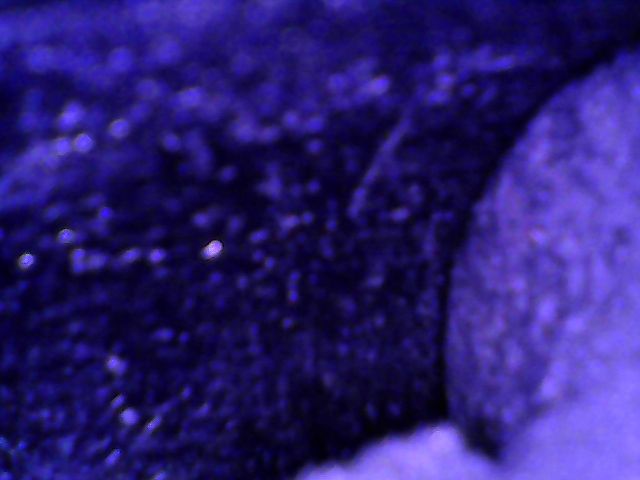
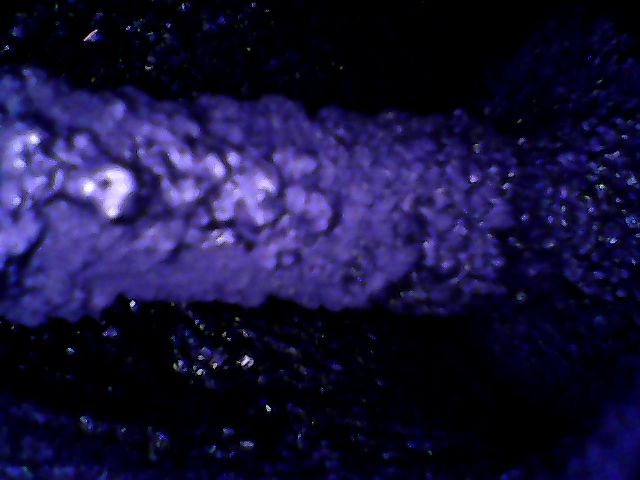
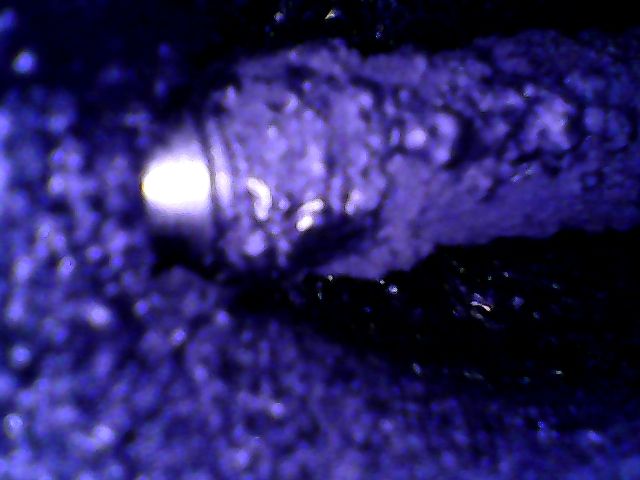
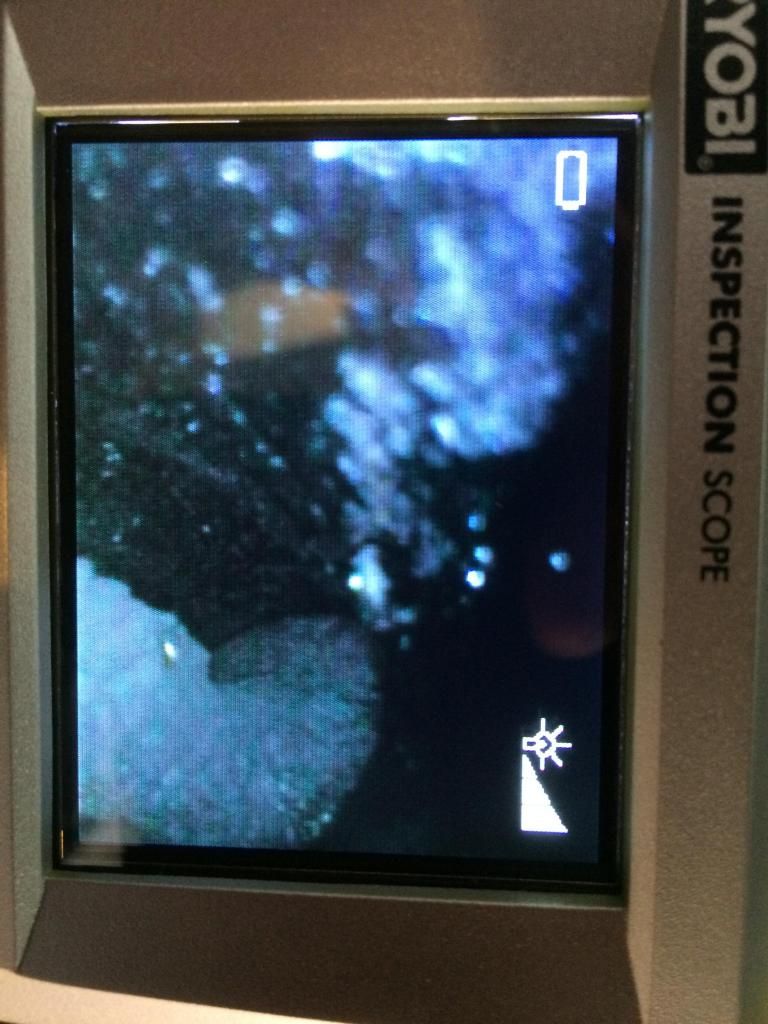
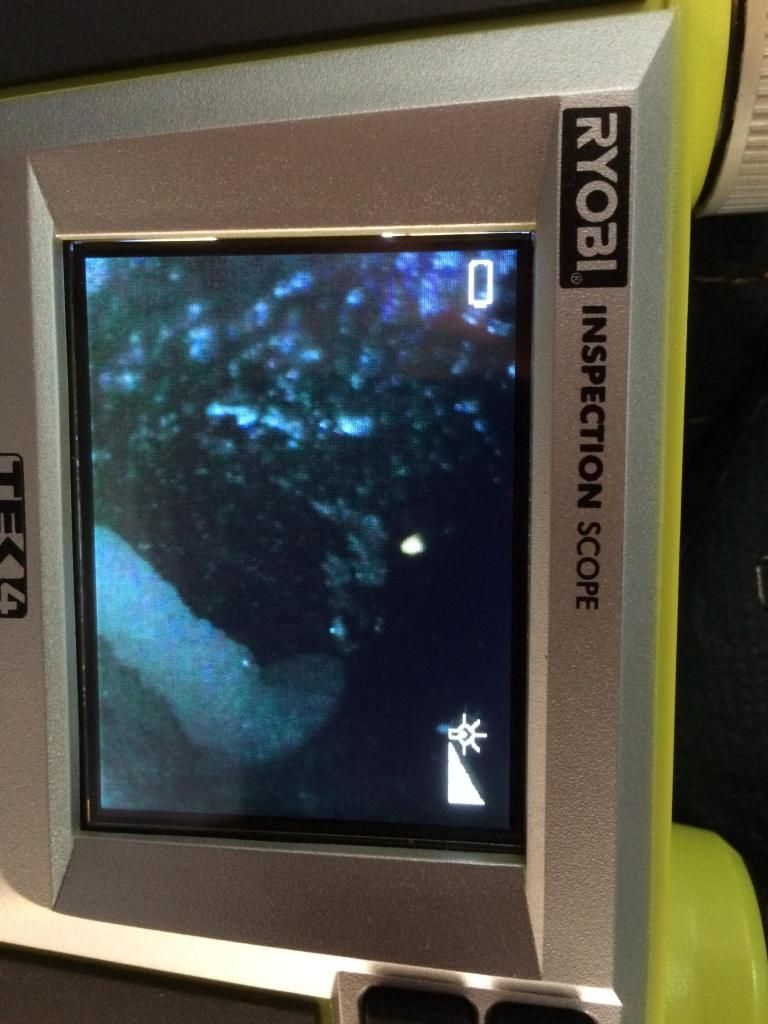
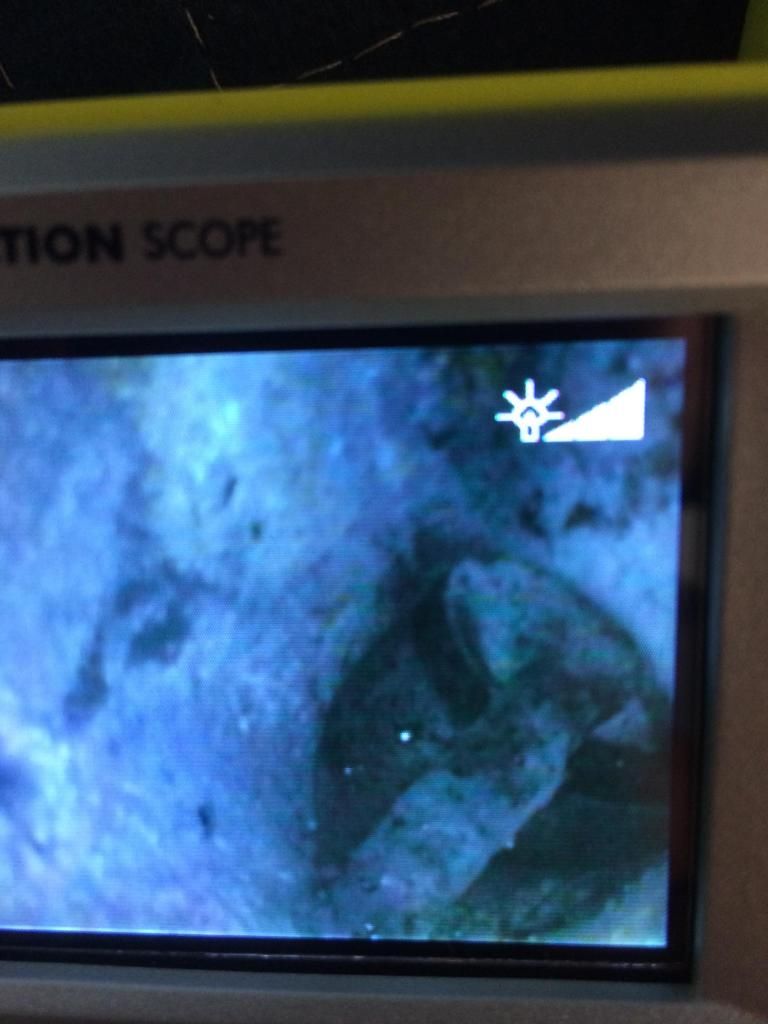
Now that my intake, egr and throttle body were cleaned, I had to focus my attention to the cylinder head. I purchased a cheap usb fiber optic camera on a 15 foot tether (it worked after I modified it. had to remove the lens case as it was too thick to get fully into the valve ports). What was nice about the USB camera, I could capture the pictures for analysis. Unfotunately when I started to clean the valves, the camera broke and because I was on a tight time table, I went to homedepot an picked up a cheap $99 Ryobi fiber optic camera. Boy of boy was it 100x better image quality and ease of use. if you don't own one, make it a priority. Well worth the $.
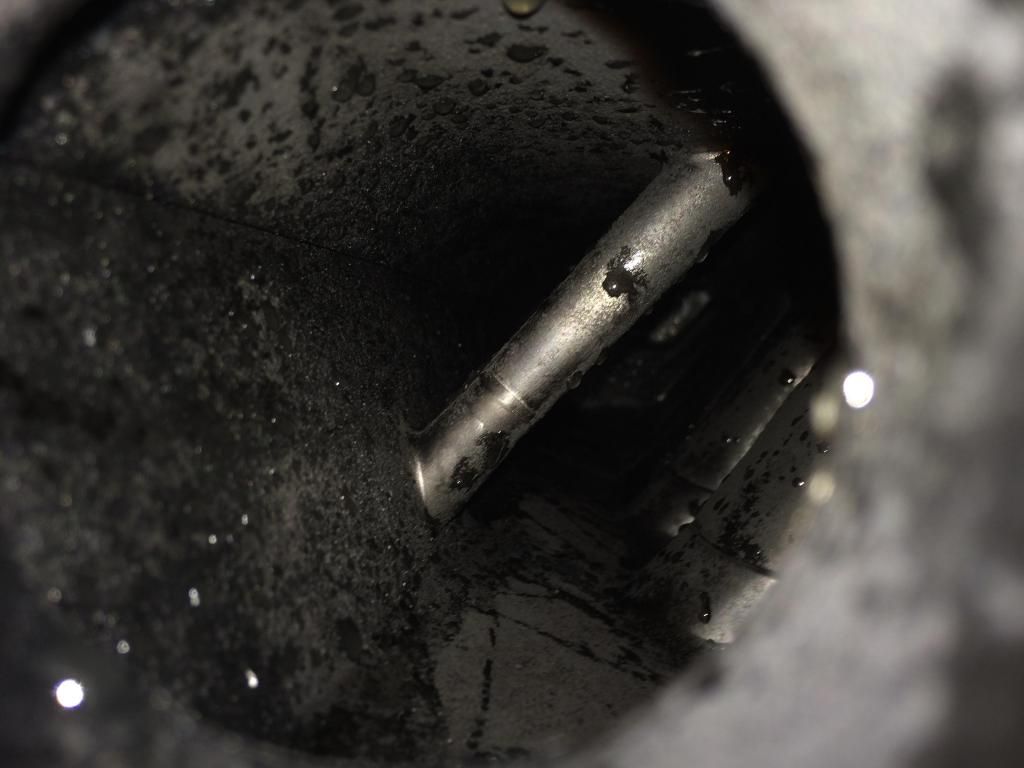
Anyway, the tools used were from the SIB released on CBU cleaning. Mik325tds was kind enough to allow me to rent all the required adapters and wands. I purchased my fine grade walnut shells from harborfrieght (25# for $24. I ended up reusing them several times with no issues. Some may scoff at this but I couldn't care less. That's how I did it and its how I'd do it again! Of course, I have a blasting machine, air compressor and shop vac. With all the right tools, the process was simple and pretty easy. I used the Ryobi camera to ensure my valves were closed and to validate the cleaning was done to an acceptable level. To close the valves, you will need to bump the starter by either purchasing a cheap jumper switch or do like me and wire up an old light switch. It was a crude setup but it worked. As you may know the starter has a continuous 12v hot and a circuited 12v. You wire one end of your switch to a 12v source and the other to the circuited 12v. Then bump your switch to engage the starter. If you jockey your camera right, you can watch the valve open and close while you bump the starter. Easy stuff guys!
***As you do this, be careful, the walnut shells will burn through plastic. So when cleaning the top ports, make sure you have your wands in the head far enough. you don't want to allow the media to clean the plastic valve cover.
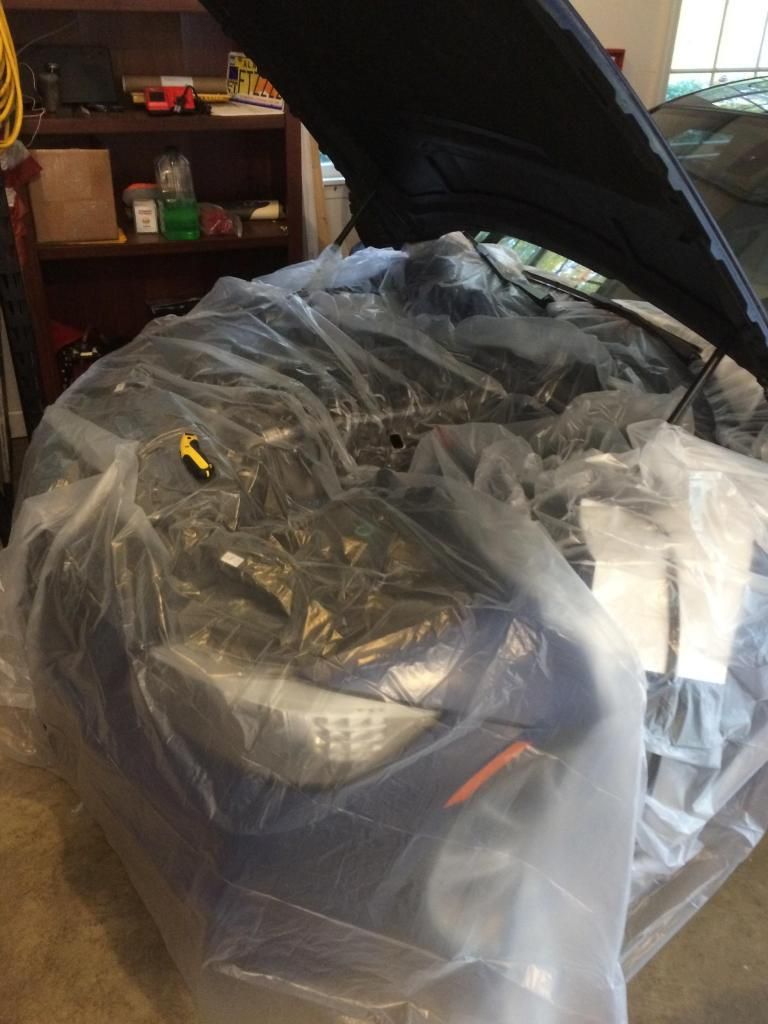
After several hours, I was done. I wont lie, the job was long and boring. Dirty too! I used some thin mil plastic painter cloths to cover the entire engine bay. This kept the dust and inevitable mistakes of media fall out from getting into places I didn't want it to go. Also be sure to tape off every port not being cleaned. Once cleaned and media removed (check and verify with the Ryobi camera) tape it off to prevent any shells from accidentally entering the port. Again, its a laborious process but its easy. Take your time. The old adage measure twice and cut once does apply here. If your not sure what an open or closed valve looks like, leave your camera in the port and engage the starter for several seconds to see the valve open and close. Once you see it, you'll know what to look for.
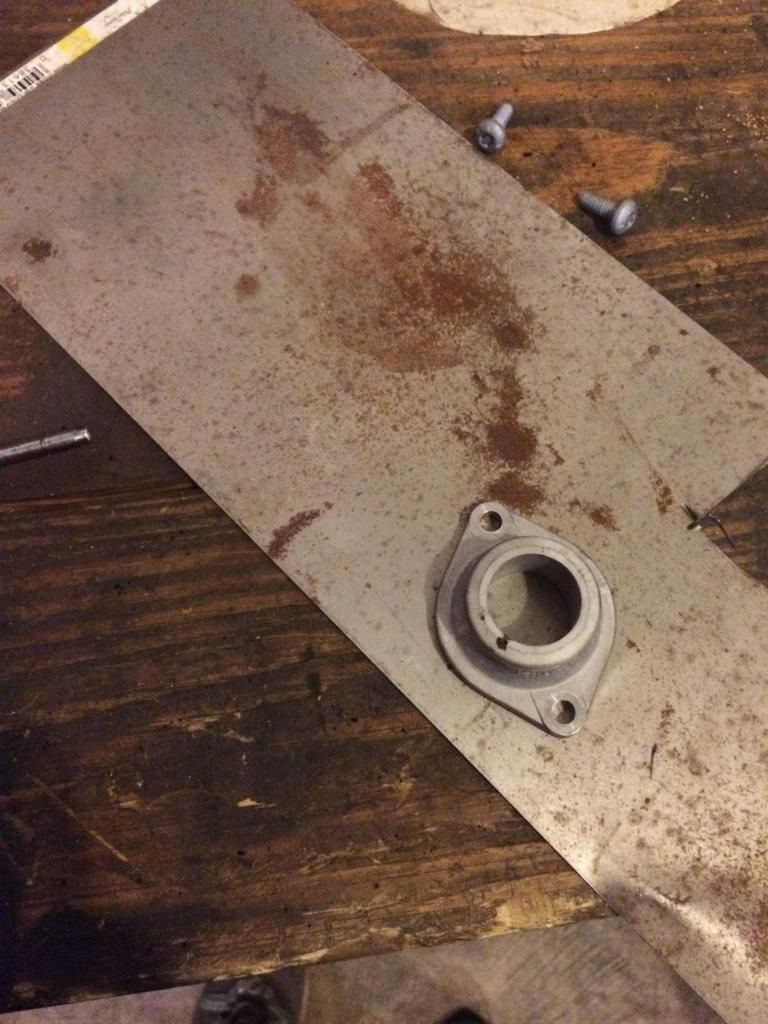
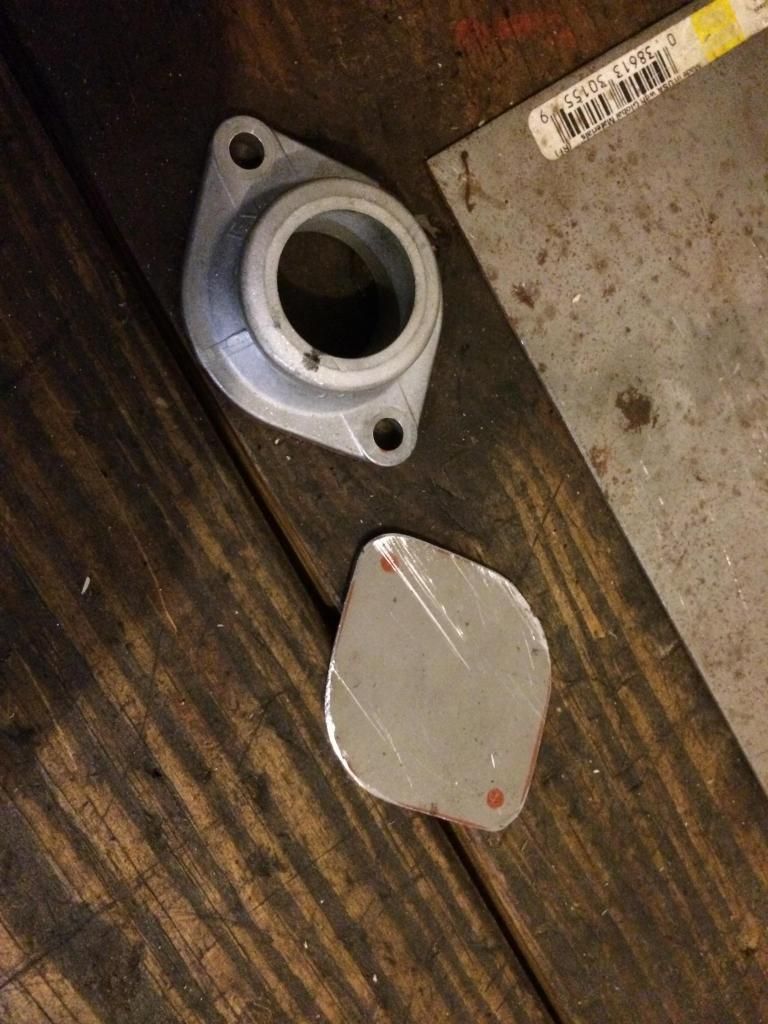
The CBU cleaning was now done. Now I wanted to prevent it from returning. So I then fabricated a piece of thin sheetmetal to place between the cooler and the EGR valve. I will eventually remove the cooler but for now I'm just blocking on the one end. I used a little silicone to seal the side that doesn't have a factory seal.
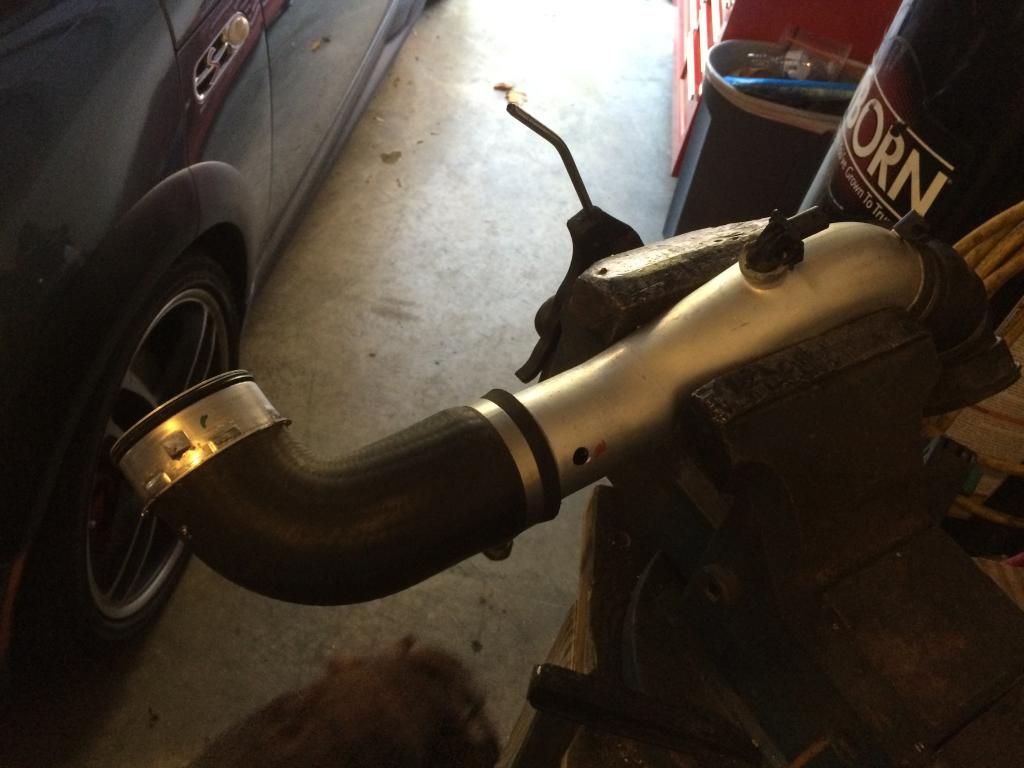
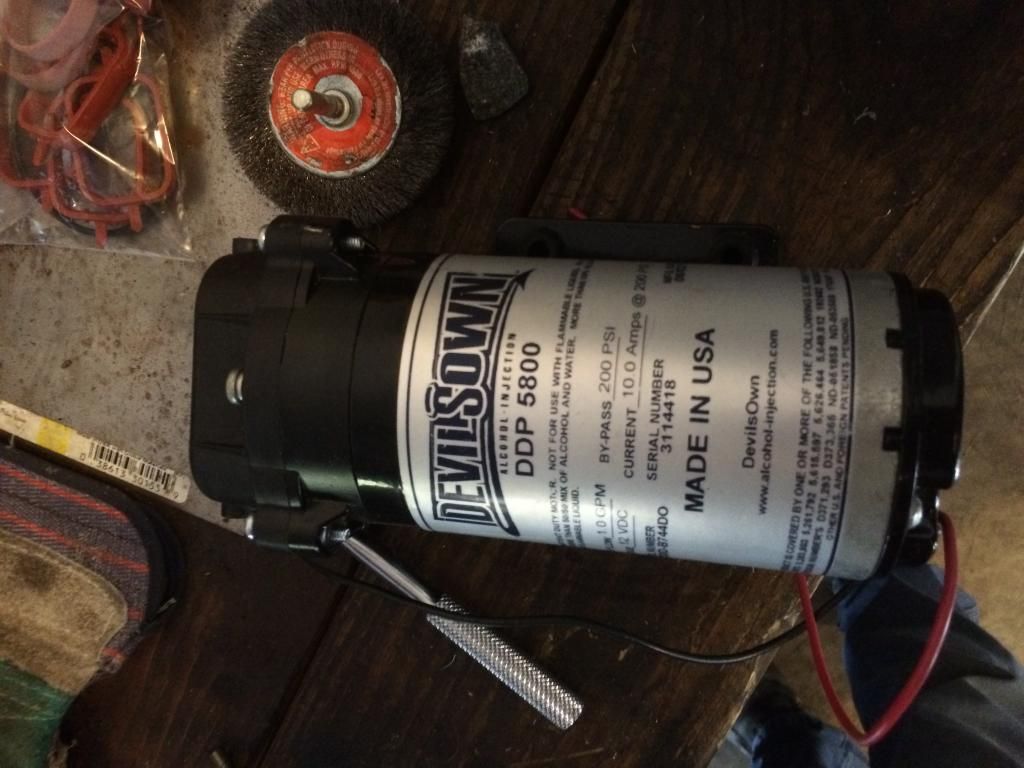
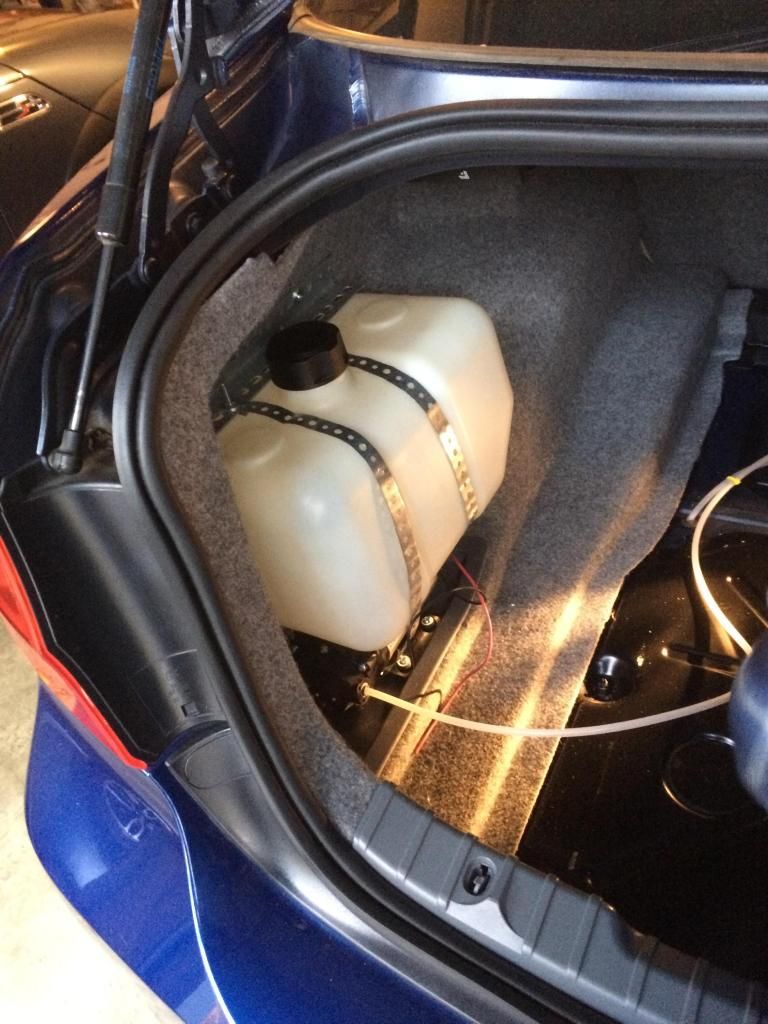
The final phase to my project was installing the meth kit. I purchased a Devils own stage 2 progressive controller kit. Its a universal kit with a 2.5 gal tank. I plumbed the line pre-IAT on the cold side charge pipe (with the bottom tray removed, the charge pipe is simple to remove as you can see the clip which holds it in place with the inter cooler). I also plumbed another 1/8 hose barb in the charge pipe to pull my boost reading for the progressive controller. The Meth install too a little while to install but it was not hard. Just time consuming because I wanted it to be hidden for the most part.
So, there is a lot of information here and some of it may be a little confusing so please feel free to ask me questions and I'll answer the best I can. Oh and to answer the big question...did the cleaning make a difference in power. ABSOLUTELY! Not using the meth, the power was back. If you have 40+K miles, then this is a service you need to start thinking about.
I have put 500 miles on the car since cleaning and all is running great. Of course I get the EGR codes every time I start the car but for now, I use my torque app to clear the code. Not a big deal if you have an extra 30 seconds every time you drive.
I've owned a lot of nice cars and while the 335D is not an all out sports car, its the nicest commuter with a decent sports car feel that I've owned. It has comfort, power and pretty good handling for an everyday driver. The fuel economy is outstanding, I commute 110 miles round trip daily in the DC metro area and the first fill up has me at 40 mpg avg. Bottom line, its a keeper!