

|
|
|
|
 |
|
 |
BMW Garage | BMW Meets | Register | Today's Posts | Search |
 |

|
BMW 3-Series (E90 E92) Forum
>
DR-JEKL's 335i Intro & Build Thread
|
 |
| 10-02-2018, 03:51 PM | #903 |
|
Colonel
 

656
Rep 2,139
Posts
Drives: 2009 e92 335i MSport DCT
Join Date: Jul 2015
Location: Sydney Aus
|
#theultimate335
Looks, power, handling all sorted.
__________________
When you doppelkaplung you doppel your fun.
|
|
Appreciate
0
|
| 10-02-2018, 06:07 PM | #904 | |
|
Major
 378
Rep 1,397
Posts |
Quote:
|
|
|
Appreciate
0
|
| 10-03-2018, 07:39 AM | #905 | ||
|
Major General

907
Rep 6,285
Posts |
Quote:
 Quote:
The best way I can describe it, is that the ride i still firm yet controlled and beautifully damped. So on some parts of the roads you may still feel some undulations and bumps but it's dialled down. The BC's in comparison were soft on compression yet firm on rebound. So this would result in the shocks riding on bump stops in high speed bumps and a less than composed ride. This also hinders grip in bumpy corners! On my daily commute theres a downhill decline, with a sharp dip. If I use to hit that at 80 km/h my rear tyre would scrub and you would feel the BC dampers almost hitting the bump stops, the ohlins simply absorbed it and I literally couldnt feel it! On the recent wheel alignment I found out that me rear left tyre had 4mm of toe (was supposed to have been 0.5mm) this is what I'd suspected as I could see it by eye and my rear right tyre never use to scrub at all.. In tassie I had a lot of scrubbing on some of the shit roads there, and the rear left tyre sidewall had copped it as can be seen in the pics below So hopefully with the alignment issue sorted and far superior dampers my 10.5" rear ZE40 rims fitted with 265/35 AD08R's wont scrub  |
||
|
Appreciate
0
|
| 10-03-2018, 05:43 PM | #906 |
|
Major
378
Rep 1,397
Posts |
It will be interesting to see how the 10.5" rims and tyres go as far as clearance from the guards. When I fitted my 9.5" GTC rims, the extra 0.5' of width was on the outside compared with the OEM 9" rim and the 265/35ZR18 Michelin PSS would scrub on the guard when the car went over a bump in the road. I rolled the guards and all is good now. Have your guards been rolled Shane?
|
|
Appreciate
0
|
| 10-03-2018, 10:02 PM | #907 | |
|
Major General
907
Rep 6,285
Posts |
Quote:
The new rims are 10.5" +30 whereas my old rims were 10" +25. So they're basically very similar in terms of where they'll sit inside the guards. I'll be running a 265/35 AD08R tyre on the new rays rims, the AD08R's have very square sidewalls so that may be a determining factor also.. (I was running a 275/30 on the old setup but the NT05 tyres have rounded sidewalls in comparison!) |
|
|
Appreciate
0
|
| 10-22-2018, 06:29 PM | #908 |
|
Major General
907
Rep 6,285
Posts |
So Since collecting my car Ive had the long arduous task of breaking the clutch in. The best method to break a clutch in, is in stop start type driving in traffic with lots of gear changes and taking off from a stop.. so pretty much daily commute style driving (I normally hit the open roads when driving the 335i and I have the mighty toyota corolla for daily driving duties) The spec stage 2 clutch isnt too bad, but unless you have ST or upgraded turbos Id definitely recommend the 550i & DMF setup. Its a lot nicer to use in traffic, not that the spec stage 2 and SMF is horrible, its just nowhere near as nice as the OEM like 550i! (heavier and can be difficult to get smooth engagement on inclines etc and requires a lot more revs than the OEM setup otherwise it shudders)
Id just racked up 900kms of driving (guideline by spec clutches is 1000 kays for break in) but with the trip with the guys from Vic to alpine pass looming up very fast I decided to start tuning the car to try and get the car ready! Tim (T1M is his user by memory) is a very knowledgeable tune based in Melbourne and is a great guy. I asked him if he would tune my car (I had paid for tunes by motiv to use but wasnt really happy with them TBH youd go a week or so between map revisions) so Tim sent me a baseline tune to get started with. Id had the OEM stage 0 MHD map & been very diligent to not got WOT, had given it a quick snap once or twice and it felt slow AF on stage 0 So I went to do my log and yeah knew straight away something was wrong it felt horrible but it didnt chuck a CEL uploaded the logs and I had 3 psi (so my clutch got broken in running no boost practically N/A mode!) In these scenarios you think the worse, perhaps a wastegate is jammed, is it jammed due to custom outlets not providing enough clearance etc etc I gave the engine bay a once over in the dark with a torch in my driveway, inspecting all vac lines on hot side (they were all fresh high temp silicon hoses as requested to be installed with the turbo install) I have a new chargepipe with vibrant HD clamp it was in place, all couplers were tight on intake and CP to FMIC connection I relayed this info to Tim and he suggested looking at the vac line coming off the Ts off the brake booster line that run behind the oil filter housing (under the airbox) sure enough both lines were absolutely rooted I had both of these lines replaced by advan 10000-12000 kays ago, the OEM lines have a heatshield over the lines these were just rubber vac lines that had been damaged by the radiating heat off the oil filter housing. #5&6 lines in vac line diagram below (on RH side) Talking to my turbo installer he said gates branded rubber hoses are great, even some of the silicon lines can fail and a lot of the rubber hoses are just junk. The rubber lines that were installed were all stiff and cracked at both ends on both hoses. There were major cracks on the hose coming off the t piece near the brake booster (one has had split straight through on both sides) minor cracks on the other end which slips onto the hard solid vac lines (which run over the top of the rocker cover to the bottom of the vacuum canisters). I just had to slip the airbox off then cut two new lines (I bought CRP branded silicon hose from FCP euro for the turbo installation). Upon removing the old lines they literally fell off they were so loose      Whilst I had cabin filter out etc figured I might as well install the fresh 95770 NGK plugs I had, and do the bimmerlife coil mod. I had upgraded to BL coils near 12 months ago and when I got them I was disappointed with the wiring loom connectors. They have a 3D printed plug and theyre very delicate and can be easily damaged.. They actually supply heat shrink wrap to use if they break on you, you use the wrap to hold the connectors together.. (BL have since upgraded these connectors to a higher quality 3D printed part but for existing owners wed have to buy the new harness) The Audi R8 coils looked like a great piece, with metal shielding and relatively affordable and easy to source from local suppliers in the case of failure. Then there was a big writeup on spool st that the coil wasnt sitting on the plugs properly. I had noticed that when seating the coils it didnt seem to be sitting all the way down So basically guys in the USA devised that by removing the heat shielding, filing down some of the coil prongs and cutting some rubber nibs off the rubber insulation this had them sitting further down inside the head and thus having a proper snug fit on the spark plug as they should have been.. So I went to work firstly gapping all of the plugs, which was a first for me! I have used OEM plugs exclusively for years with no issues (they dont require gapping) and used the coin style gapping tool. Basically the method I used was to check the plug gap first, then press down on my bench to close up the gap. Then when I got the plug gap close, put the plug in the socket and tap the plug using the handle of a screwdriver a few times (important to use the socket so the force is exerted on the metal portion of the plug, not the porcelain if you had plug against bench when tapping the porcelain is very fragile) FWIW I plugged mine at .024/0.6mm. For OEM coils guys typically use .020 ( being inch) plug gap I believe, but since I have the BL coils (much more powerful coil) I can run a wider gap.   The next time I gap a set a plugs I think Ill use a set of feeler gauges (that I can verify with micrometers) with the coin style taper tool you cant really measure it to verify, but at least all 6 plugs are gapped the same. With the coils I removed the metal sheaths (undo the two small metal prongs with a pair of long nose pliers) undo the black rubber cap then slide the shield off with a pair of pliers (take care you dont damage the insulation pulling the metal shield off otherwise youll get misfires) then I trimmed the 3 rubber prongs off the bottom of the coil, and used a flat file to file down the red plastic prong just past the 2nd ring to enable the coil to sit right down in the head on top of the sparkplug properly.         When initially installing the coils (prior to the BL coil mod) I had them in a 2 oclock 30 degree position before, now that they sit lower you can angle them more at 12 oclock position. I had issues with wiring being tight (had to unclip it from the clip on the rocker cover) and so pretty much ended up with most coils sitting at the 1 oclock position.. The car fired up great, idles smooth and I finally now have boost!! Gave it a squirt in 2nd gear and had the rear step out on me pretty savagely once it hit boost 3k ish RPM (it was raining and Im currently running 255 RFTs on OEM rims for the interim whilst waiting for my rays rims to arrive) My rays rims are due to arrive from customs this week according to the supplier. Been a massive 4 month wait so far (2-3 months was the initial guideline) and its really cutting it fine to ensure I have the car ready in time for the trip!!) I have a new set of TMS wheel studs, project kics R40 iconix nuts and a set of Advan AD08R tyres (245/40 18 & 265/35/ 18) waiting to meet the Rays ZE40s! 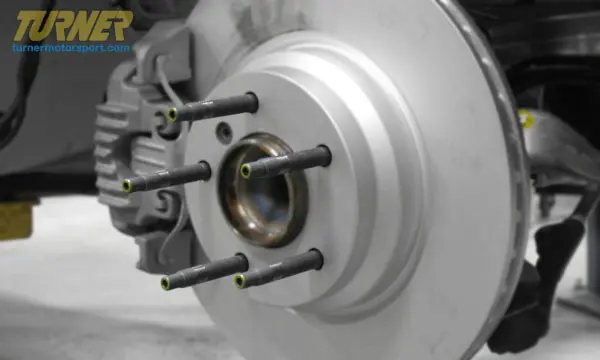 https://www.turnermotorsport.com/p-3...6-e9x/?pdk=Fg0  https://frsport.com/project-kics-wri...waAjNBEALw_wcB One other issue I have is on long sweeping right hand bends Im getting a vibration through the steering wheel.. Could be related to the steering rack, but possibly could be a front wheel bearing (but the bearing isnt humming in a straight line) and could be a wheel balance issue I need to top up the PS res as the fluid is sitting a little low and reassess and go from there! Theres always some niggly issues to iron out or something requiring attention on this car to keep me busy 😊 |
|
Appreciate
2
Aus335iguy656.00 vtl1499.00 |
| 10-23-2018, 09:12 PM | #910 |
|
Major
378
Rep 1,397
Posts |
Good work Shane. I had to replace those 2 plastic vacuum pipes and hoses on mine last year for the same reason. Good to hear that you are getting boost now. You should certainly feel the difference with those turbos installed. I got the same set up with the modified BL coils and NGK spark plugs. I had mine gapped to 0.024" but on some runs at the drags, I was getting a misfire on cylinder 6. I reduced the gap to 0.22" now and at the last meeting, I had no issues on the 3 runs. Whether that was the reason, I cannot be 100% sure.
|
|
Appreciate
0
|
| 10-23-2018, 09:17 PM | #911 | |
|
Major General
907
Rep 6,285
Posts |
Quote:
Oh OK, I've not had any misfires the 3 tune revisions have performed quite well so far! (310kw on VD @ 17 psi) |
|
|
Appreciate
0
|
| 10-24-2018, 01:57 AM | #912 | |
|
Major
378
Rep 1,397
Posts |
Quote:
|
|
|
Appreciate
0
|
| 10-24-2018, 02:27 AM | #913 | ||
|
Major General
907
Rep 6,285
Posts |
Quote:
Then once the trip is done finalise the 98 map (if its not done prior) then I'll be ready to start tuning on E30 DI only. I dont want added complexity, expense of PI and I don't think I need that level of power TBH. So my plan is to chuck the stage 3 LPFP in. If you get a good solid low feed this ultimately assists the HPFP which will be the limiting factor in fuelling for DI. I love how the car feels on E85, the advanced timing really wakes the car up and with these quick spooling turbos it will make for a fun street car. I'll just have to get Vince to mod my stage 3 LPFP wiring so I can use the exhaust valve to activate the 2nd pump instead of a hobbs. This should be much more effective than the hobbs and I dont have to worry about plumbing in a hobbs to my CP either  |
||
|
Appreciate
0
|
| 10-24-2018, 03:31 PM | #914 | |
|
Major
378
Rep 1,397
Posts |
Quote:
|
|
|
Appreciate
0
|
| 10-24-2018, 04:25 PM | #915 | |
|
Major General
907
Rep 6,285
Posts |
Quote:
So instead of using a rather crude on/off type hobbs switch which relies on boost pressure the exhaust flap solenoid can be wired up to trigger a relay for the second pump and you can tweak the torque request % for exhaust flap actuation in the DME flash itself! (so you essentially have DME control over the activation of the 2nd pump) |
|
|
Appreciate
0
|
| 10-24-2018, 06:00 PM | #916 | |
|
Major
378
Rep 1,397
Posts |
Quote:
|
|
|
Appreciate
0
|
| 10-28-2018, 05:05 AM | #917 |
|
Major General
907
Rep 6,285
Posts |
In my last post I mentioned I'd had small vibrations in steering wheel on long bends.. Took the car back to my turbo installer, and up on the hoist he found the issue within 60 seconds.. As it turn out I had two loose control arm nuts thus causing slop in the steering and the vibrations (he must have forgotten to torque them up)
") Nice simple fix and the steering felt so much more responsive afterwards & no more vibrations! I'd also been getting some groaning from the power steering pump under full lock when reversing out of my driveway. Since I'd had the M3 rack installed figured it may take a while to pump out any air in the system, but it's been a month now and it seems not quite enough fluid was in the system. Gave this a top up and it's been golden!  Bit of a rainy cool day here today so I spent a few hours today fixing a few small issues on the car. #1 engine cover bolts no longer secured the cover to the valve cover so satup high. This was made worse when running bimmerlife coils as the coils prevented the cover from being secured right down into position. Since I'd recently done the BL coil mod, I decided to tackle this one. Basically there is a small rubber washer in each hole. Being rubber of course they wear over time and thus tear out. I ended up finding some metal washers in my toolbox and nylon plugs. Before:  After:  I'd forgotten to replace the hood struts before the car went in for the turbo install, during recent install on the coilovers with the hood up and jacking the rear of the car up it slammed shut scaring the shit out of me! Slipped in a set of OE stabilus struts   Checking the engine bay noticed a small portion of the already trimmed fan shroud was rubbing on the front inlet, trimmed the edge off with a hacksaw blade by hand and also noticed one of the clamp screws rubbing on the aluminium chargepipe which I spun around to give more clearance  My car mainly see's the cosy confines of the garage wrapped in a cover with the battery being trickle fed, and when it rains I don't normally take it out. So after 6 years the bosch windscreen wipers are still fine, but unbeknownst to me the bosch wipers went away with the 'covers' that clip into place which looked a bit untidy IMO. Valeo are OEM so I bought a set of those for the cleaner look (car is filthy dirty in the pics after being daily driven for the past month racking up 1300 kays)     When installing the ohlins rear shock we accidentally dropped the damper adjuster inside the rear guard (it fell way down inside the rear guard) and there appeared to be no way to access it.. I had to buy an inspection camera from SCA with a magnet attachment. This took me about an hour as when I got the damper adjuster hooked on the magnet the gap in some areas of the guard was narrower than the adjuster so it would just fall off the magnet... I was sure damn sure careful once I'd fished it out, and went to install it on the rear damper!    Since the rear damper adjusters are behind the boot trims, I'd decided upon installing some plugs which require drilling a hole in the trims.   So when I wish to adjust the rear dampers it's just a matter of popping the cover off then slipping my fingers down to adjust them. Since I'd had the boot trims out, one thing thats been annoying me for years was the garnish trim where the boot latch goes. When buying my car back in 2012, the car was in great shape, but this trim was pretty scuffed up. The boot carpet etc was in good condition but it was obvious this trim had had a lot of wear from knocks getting stuff out of the boot... I decided to paint it satin black (like the M3) and sanded it down with 1200 then put a few coats of plastic primer before putting on 4 coats of satin black acrylic 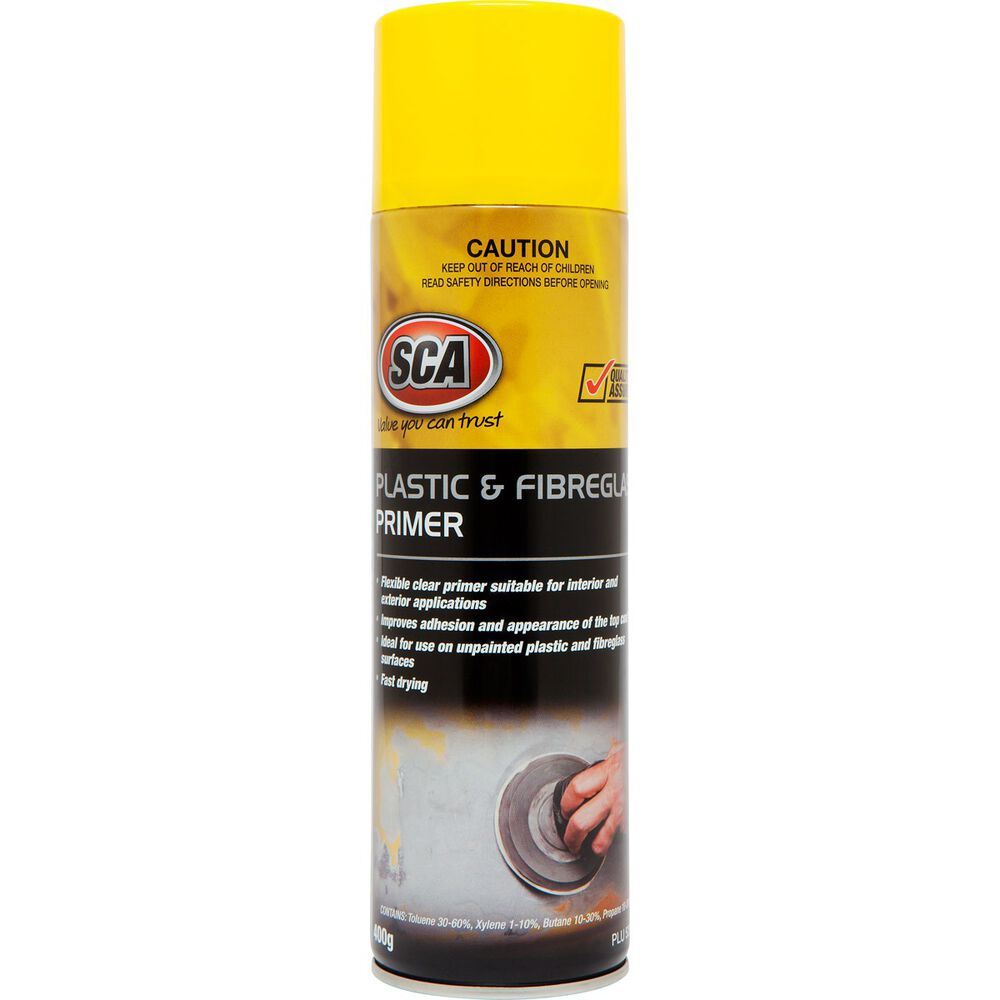 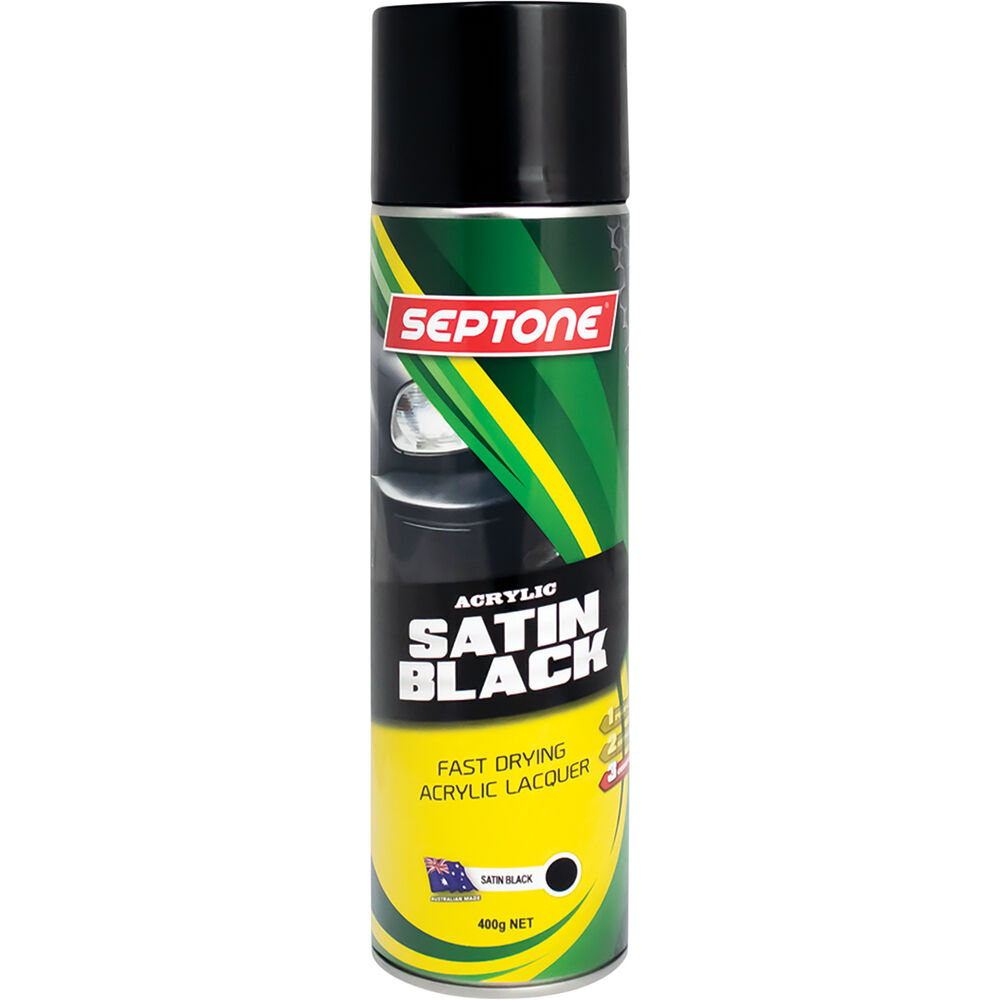    (I'd also painted the grey clips, small covers) Since I'd installed NBT the TV no longer works, and the cd stacker is not used I was hoping to remove this dead weight from the boot and hook up some canbus loops (when you d/c these components the canbus detects a this break in the loop and your sound etc wont work) unfortunately the loops I'd bought dont fit the plugs... So I'll need to do some further research to work out how to remove the TV module and cd stacker before putting all my boot trim pieces back in Blue plug in the TV module:  CD stacker:   |
|
Appreciate
0
|
| 10-28-2018, 05:23 AM | #918 | |
|
Captain

184
Rep 687
Posts |
Quote:
|
|
|
Appreciate
0
|
| 10-28-2018, 07:48 AM | #919 |
|
Lieutenant General
4634
Rep 11,945
Posts |
great write up as always mate... attention to detail is brilliant
 |
|
Appreciate
0
|
| 10-28-2018, 08:58 PM | #920 |
|
Colonel
656
Rep 2,139
Posts
Drives: 2009 e92 335i MSport DCT
Join Date: Jul 2015
Location: Sydney Aus
|
Not sure about CAN BUS loop but the audio MOST fibre loop is a pain in the ass to dia
Not sure about CAN BUS loop but the audio MOST fibre loop is a pain in the ass to diagnose when faulty because it's a ring and any break in that ring means no audio. Fortunately loop connectors are 5 dollars a throw on eBay. I recommend keeping a spare as they come in handy when you lose sound and don't have any errors logged.
__________________
When you doppelkaplung you doppel your fun.
|
|
Appreciate
0
|
| 10-29-2018, 04:43 AM | #921 | |||
|
Major General
907
Rep 6,285
Posts |
Quote:
I'm not expecting the rattle can spray job to be all that durable, but I dont use the boot all that much TBH so should be able to keep it looking OK andit should look a lot nicer! Quote:
Quote:
(so you cant just remove stacker etc) |
|||
|
Appreciate
0
|
| 10-31-2018, 02:04 AM | #922 |
|
Major
378
Rep 1,397
Posts |
[QUOTE=DR-JEKL;23911329]
Since I'd had the boot trims out, one thing thats been annoying me for years was the garnish trim where the boot latch goes. When buying my car back in 2012, the car was in great shape, but this trim was pretty scuffed up. The boot carpet etc was in good condition but it was obvious this trim had had a lot of wear from knocks getting stuff out of the boot... I decided to paint it satin black (like the M3) and sanded it down with 1200 then put a few coats of plastic primer before putting on 4 coats of satin black acrylic That trim looks great painted black. I might do the same with mine for exactly the same reason. |
|
Appreciate
0
|
| 10-31-2018, 04:16 AM | #923 | |
|
Major General
907
Rep 6,285
Posts |
[QUOTE=Coupes33;23924093]
Quote:
I reckon it should hold up ok and looks nice and fresh and new  |
|
|
Appreciate
0
|
| 11-01-2018, 06:20 AM | #924 |
|
Major General
907
Rep 6,285
Posts |
After 5 months of waiting my Rays ZE40's are finally enroute to me from Melbourne!
It's bittersweet as they'll arrive on Monday, I was hoping to partake in the Alpine Vic Drive with the lads which is this weekend... If only they had arrived a few days earlier Cant help bad luck, but cant wait to get these rims, wack a few coats of gyeon rim ceramic coating on them and get them mounted up and finally hand over the 18" OEM rims to the guy who bought them off me a month or so ago! |
|
Appreciate
0
|
 |
| Bookmarks |
|
|


