

|
|
 |
 |
 |

|
 |
BMW Garage | BMW Meets | Register | Today's Posts | Search |
 |

|
BMW 3-Series (E90 E92) Forum
>
M3 rear subframe swap DIY
|
 |
| 04-21-2015, 01:14 PM | #1 |
|
New Member
11
Rep 8
Posts |
M3 rear subframe swap DIY
I completed an M3 rear subframe swap end of last year but have only just got round to writing all this up. Hopefully this will be useful for anyone considering carrying out the swap.
If this is not the best section for this please feel free to move. This is just my experience and how I carried this out, is only for entertainment and I will not be held responsible if you try this and something goes wrong. Any work is at your own risk, you need to confirm things for yourself and take responsibility for any work you do on your car etc. You will need trim tools, metric sockets, Torx and inverted torx of various sizes together with breaker bars, flare spanner and other normal tools for working on your car. The only specialist tool is the rear diff spanner which is a narrow 50mm. Numerous posts on this forum were really helpful particularly N111CUK 's post together with a number of others who contributed to other threads and provided a lot of the information to enable me to tackle this myself. There is also a lot of info on baby bmw I have listed most of the links I can remember below for reference. Apologies to any I may have missed as I read a lot of threads. Hopefully this post adds to the other threads. For most conversions MT & AT you will want to find the 3.15 DCT M3 rear diff as detailed in the below links. You will need to get a custom prop shaft made up, I have detailed what I did towards the end of this post. Below are some posts and youtube links which I found really useful in showing how to remove various components. http://www.e90post.com/forums/showthread.php?t=321625 http://www.e90post.com/forums/showth...9#post13781329 http://www.babybmw.net/viewtopic.php?f=20&t=58970 http://www.babybmw.net/viewtopic.php?f=20&t=52881 http://www.1addicts.com/forums/showthread.php?t=513534 https://www.flickr.com/photos/93145858@N04/8467211511/ https://www.flickr.com/photos/93145858@N04/8467211617/ http://www.flickr.com/photos/93145858@N04/8468305924/ ECS Suspension change HYPERLINK "https://www.youtube.com/watch?v=4YkVs_jm9R4" HPF Clutch change HYPERLINK "https://www.youtube.com/watch?v=gaK7xdeob1k" Pelican Parts service info, interior trim removal, handbrake cable removal, propshaft removal. HYPERLINK "http://www.pelicanparts.com/BMW/techarticles/tech_main_e90.htm#brakes" http://www.pelicanparts.com/BMW/tech...e90.htm#brakes 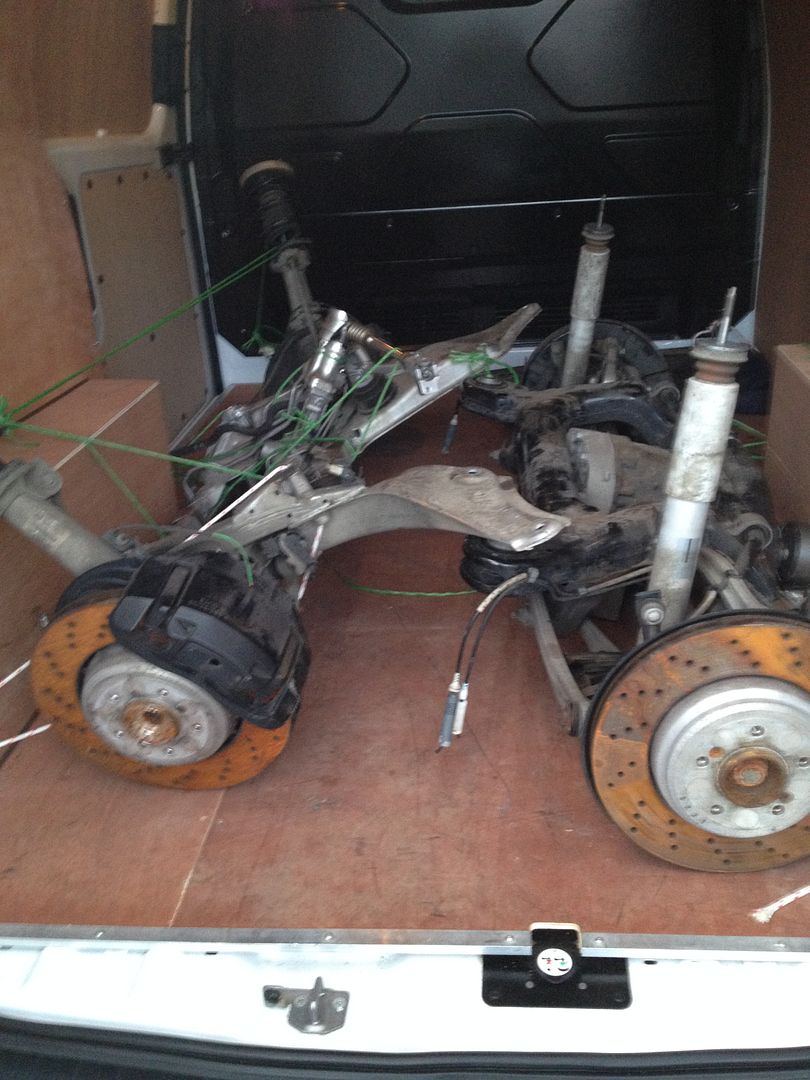 Front and rear m3 subframes 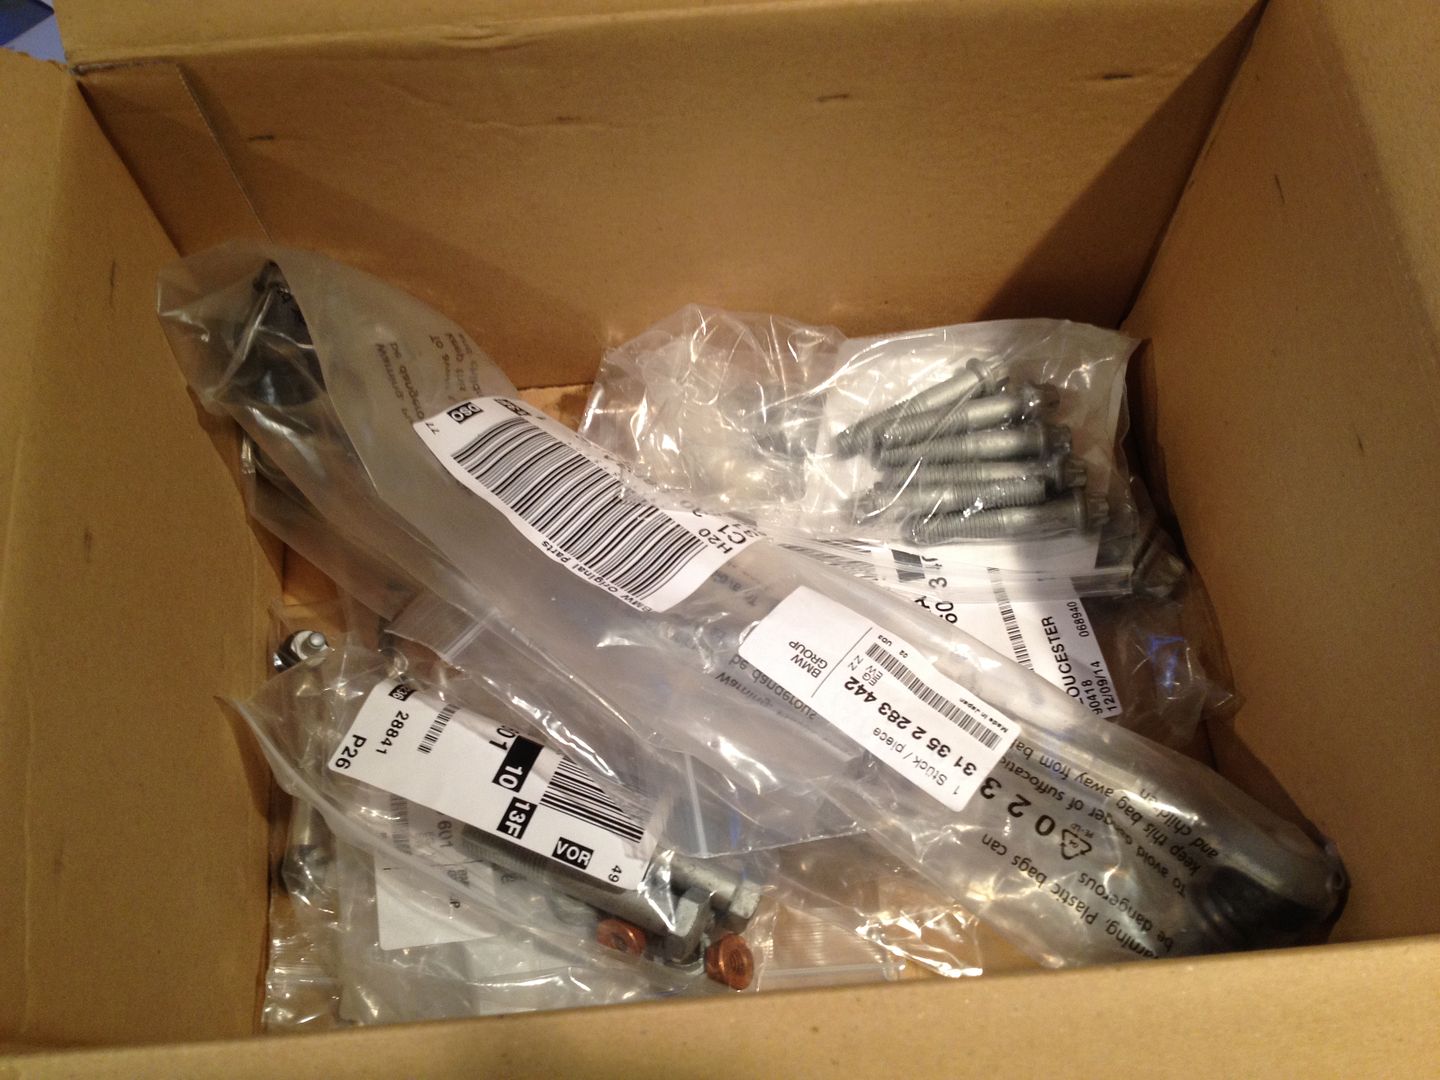 Box of bits! Parts list Subframe mounting bolts x 2(as spares) 33326760340 Turbo Exhaust gaskets x 2 18307553603 Hex nuts (exhaust) 18307620549 Diff bolts x6 26117526322 Guibo bolts x3 26117527475 Guibo bolt nuts x3 26127536563 Brake fluid to bleed and top up the system. These are the parts I ordered you may choose not to order the subframe bolts I just wanted to have them available in case. You could probably re-use the guibo nuts and bolts too. Before jacking the vehicle up its easier to strip out the interior to enable you to release and replace the handbrake cables. Assuming the rear axle you have bought still has the handbrake cables attached. There are plenty of guides of how to remove the interior and they were a big help, the BMW TIS manual was not! After spending ages looking for clips that didn’t exist I just ignored it and took apart what I could see. Most of it is pretty straight forward. I’ll give a basic description. Remove the rear seats, to do this pull up on the front of seat bases the bases will then pull out. Remove the small piece above the rear console, this just pulls out. To remove the rear console, unscrew the screws below the rubber cover, remove the trim piece at the rear of the centre arm rest, just gently pull it out, I was able to just use my fingers. The trim section on the rear console needs to be released trim removal tools made this straight forward. 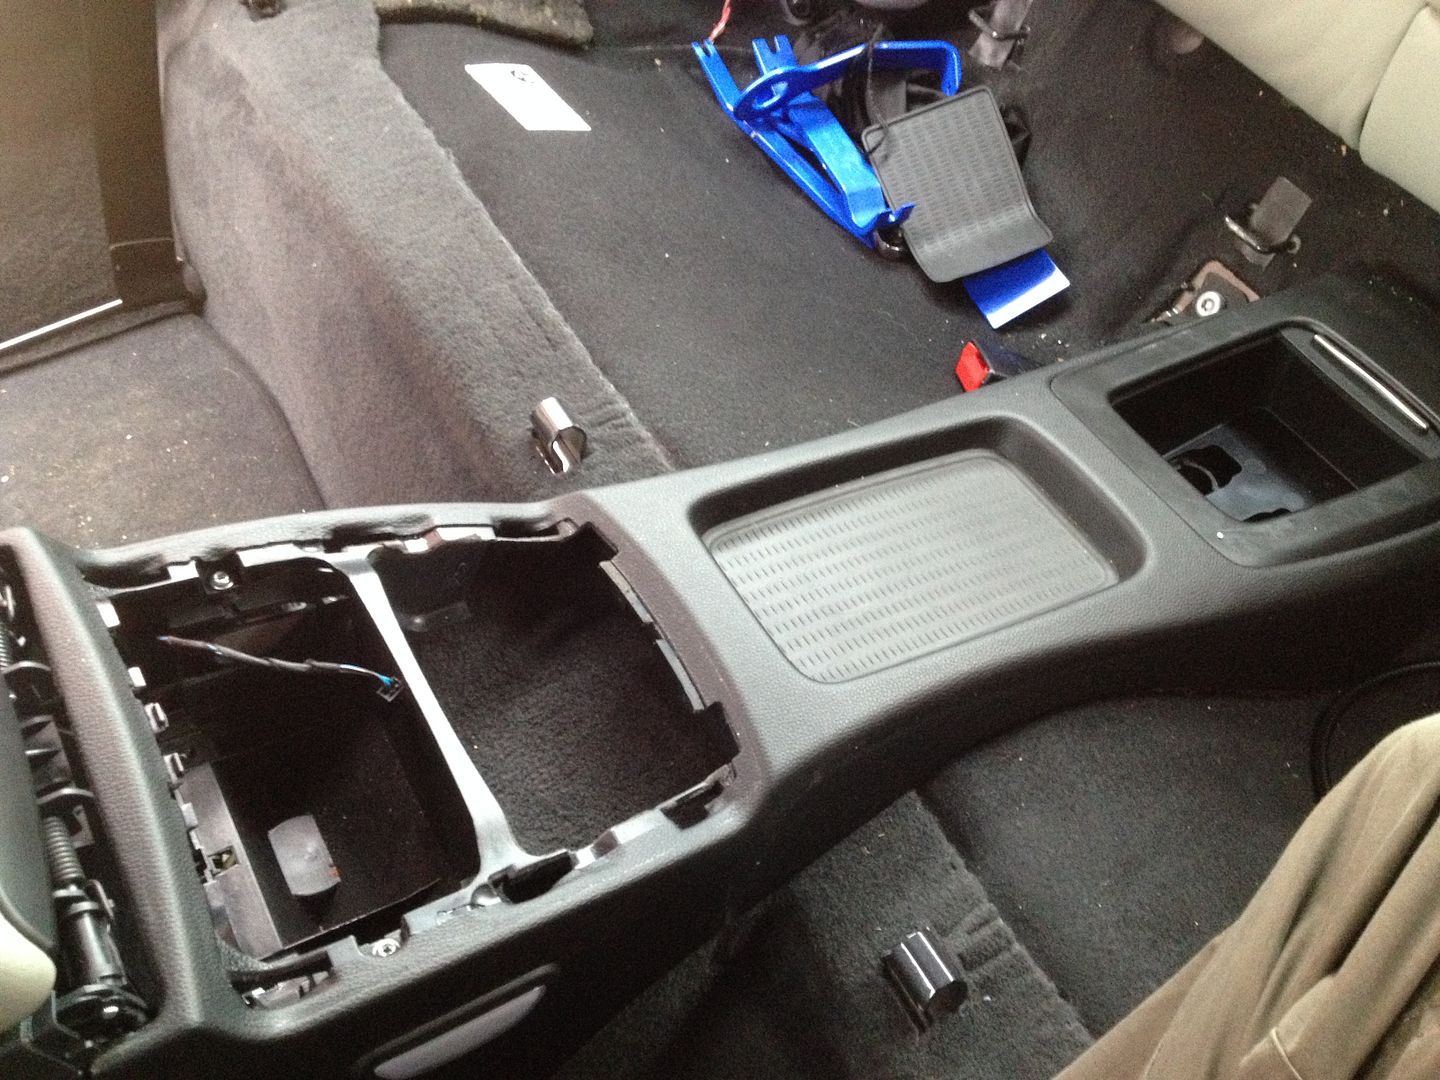 Removing rear centre console Remove the two screws holding the side lights in place, the lights then just pop out. Unclip the wires feeding the lights and take note of how they run. The rear console should now lift upwards, there are locating tabs to mate the rear section to centre console these slide straight out as you lift it up just be aware for re-assembly. 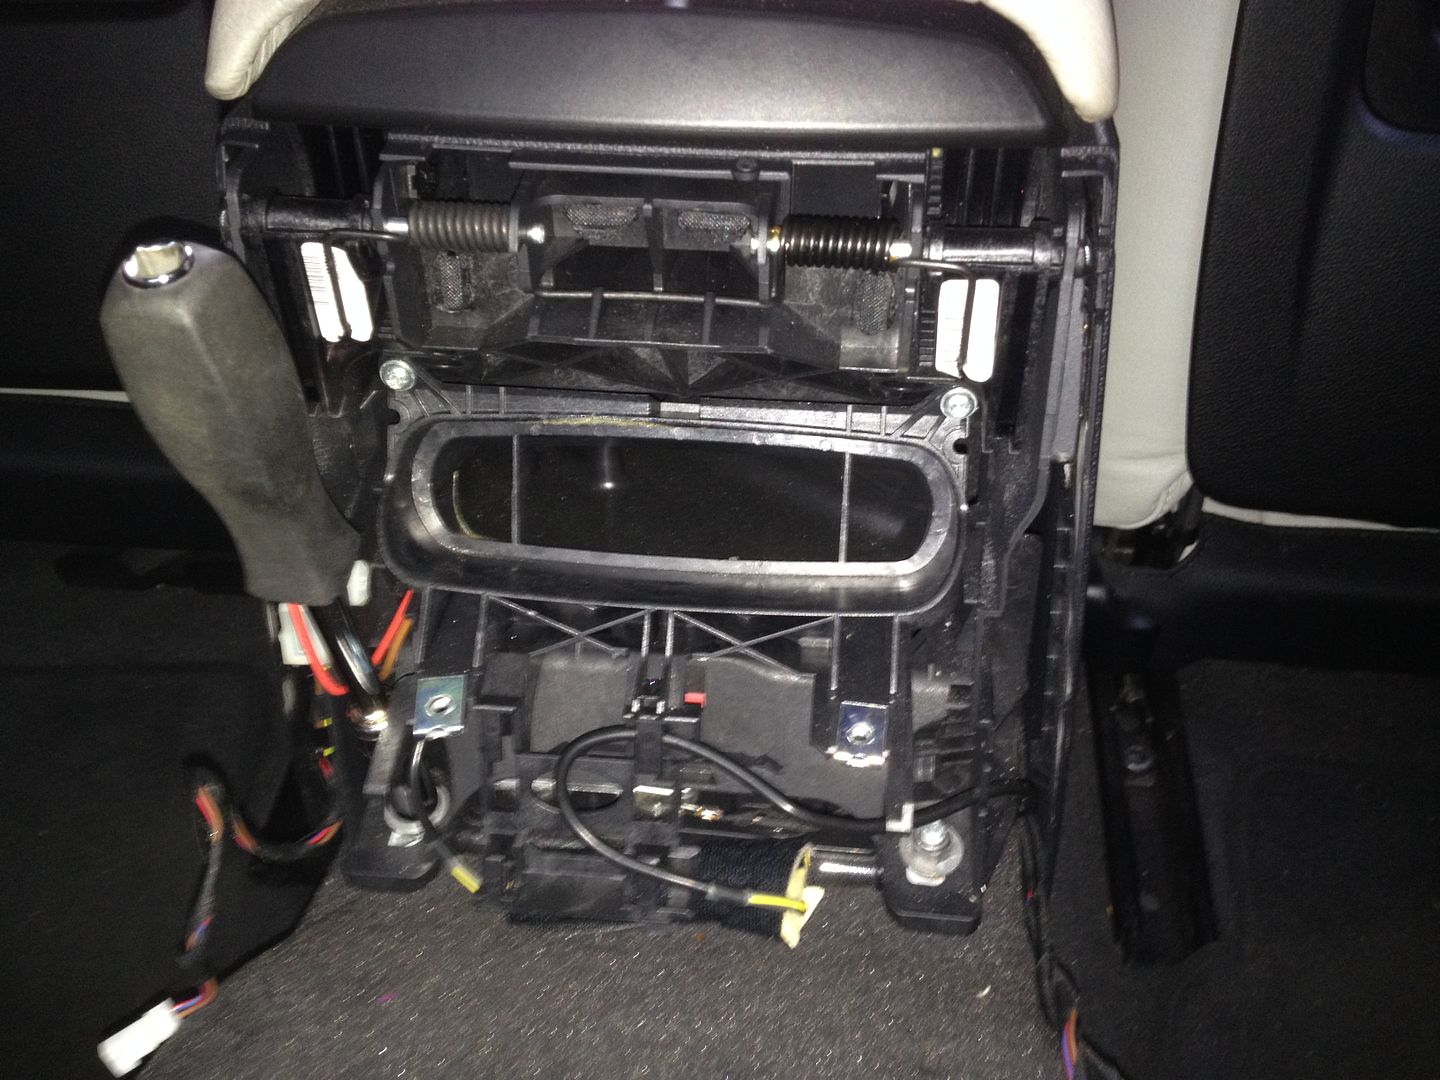 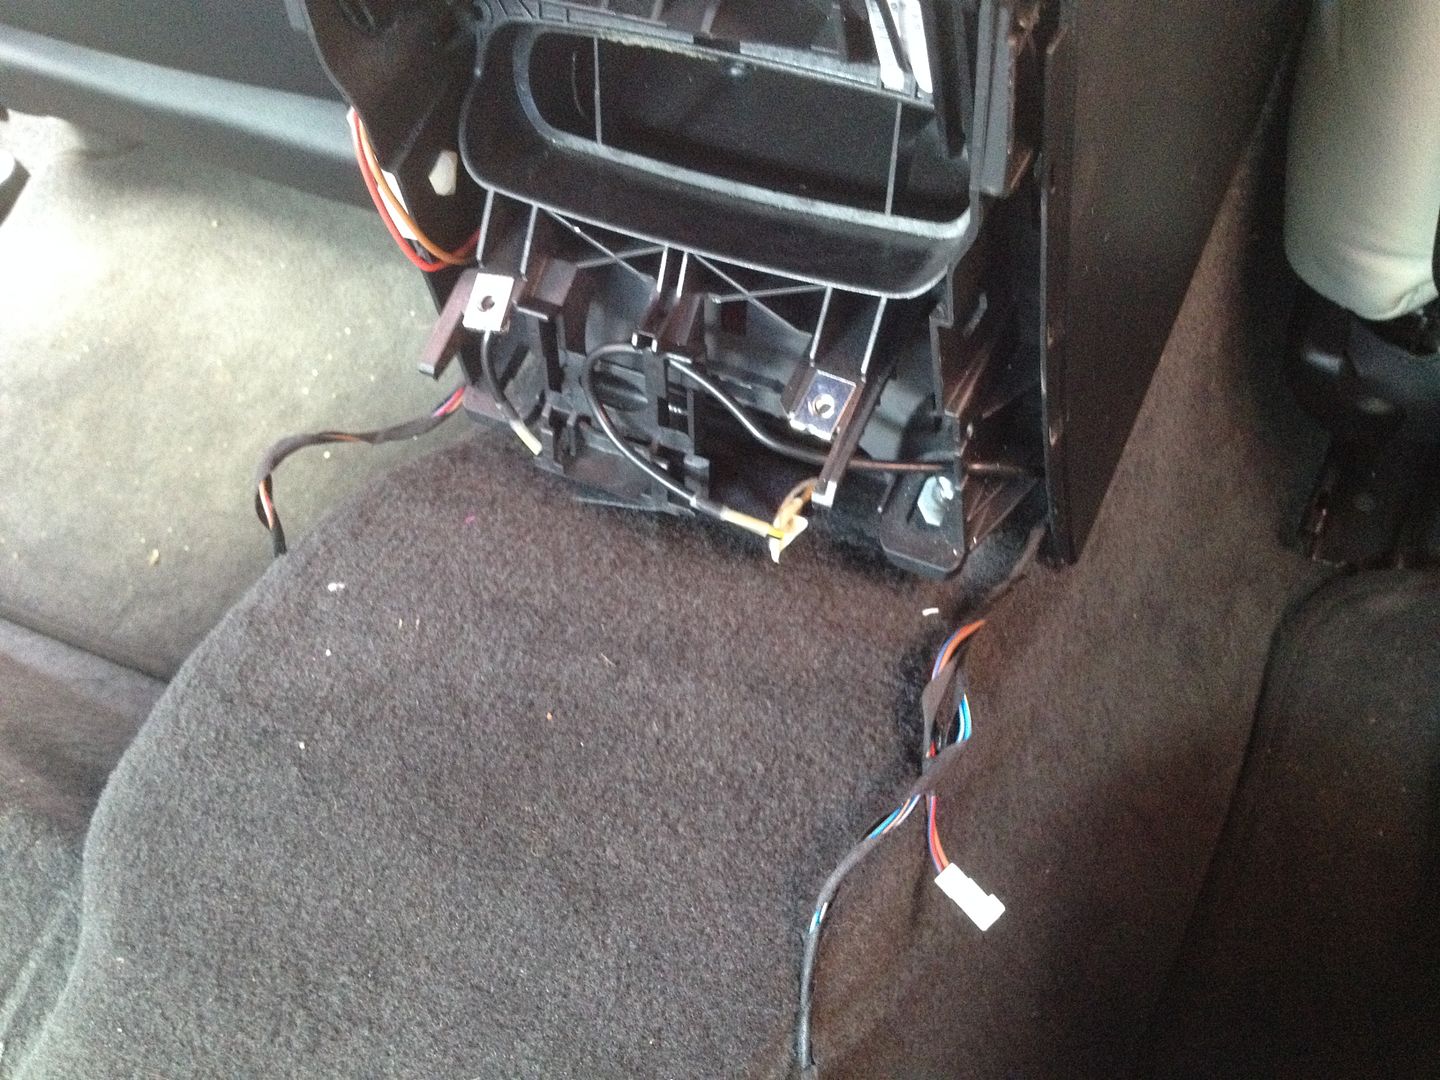 You now need to remove the centre console I was surprised how well the trim fits together and recommend using trim removal tools, these are pretty cheap from ebay. Put the car in gear and pull upwards the gear knob should come off, its worth removing the gaitor before but it just pops out with the gear knob. From here just take out the foam insulation and work your way down taking off the plastic covers and removing the screws. There are a number of cables that need disconnecting and some zip ties you will need to cut.The Pelican parts link was really helpful. 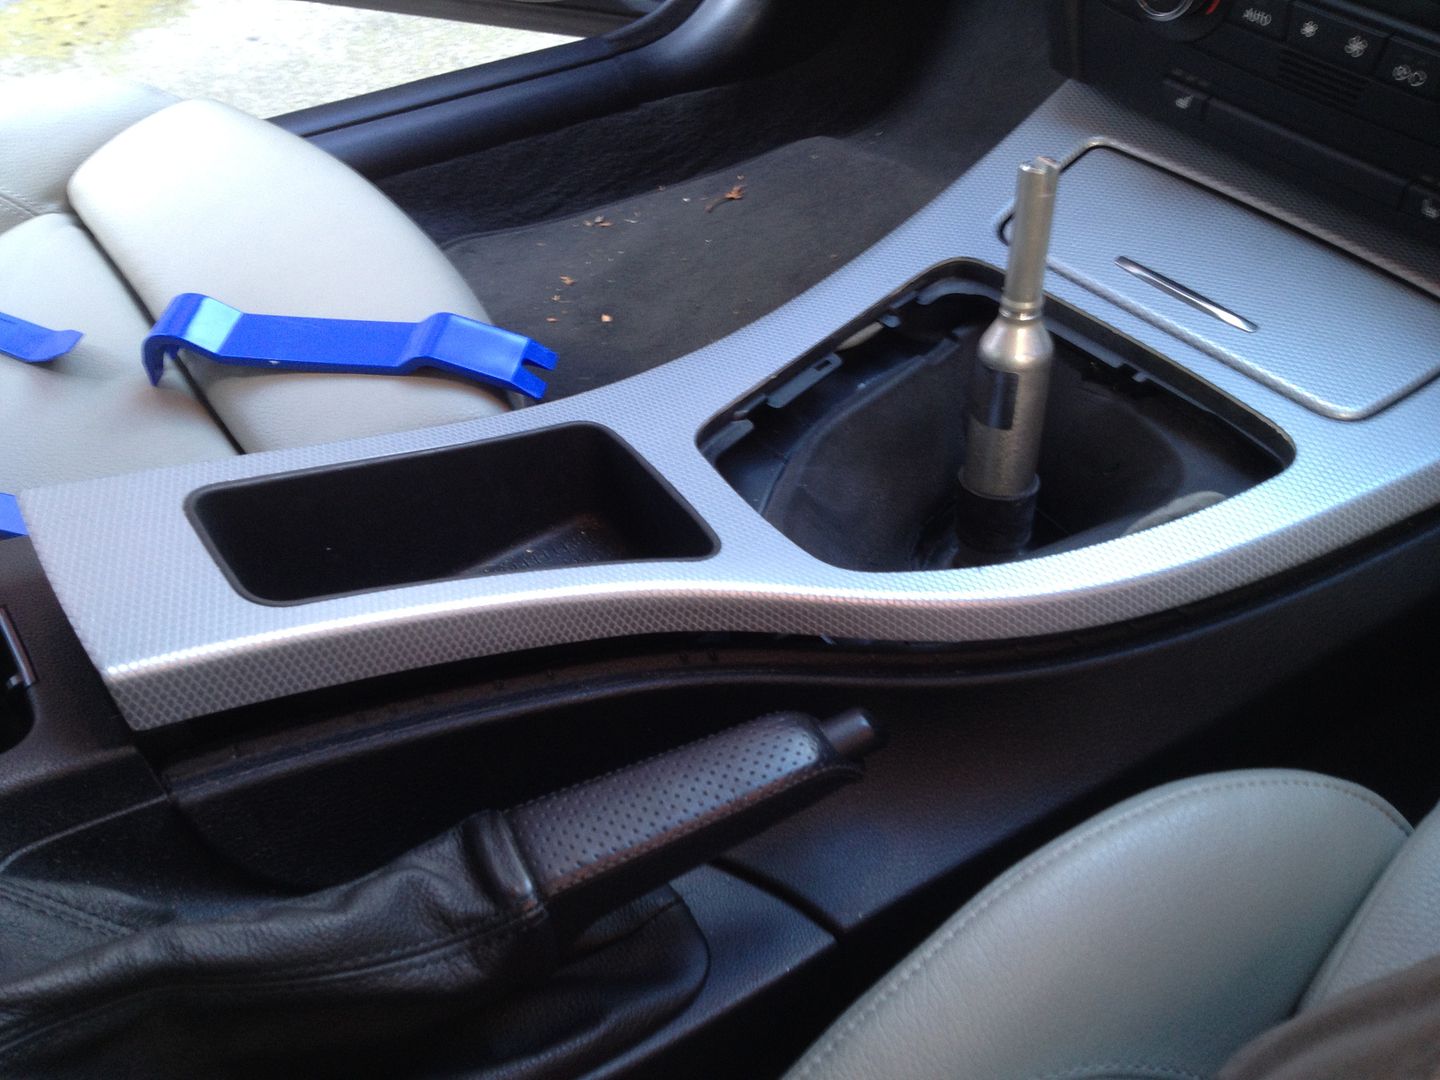 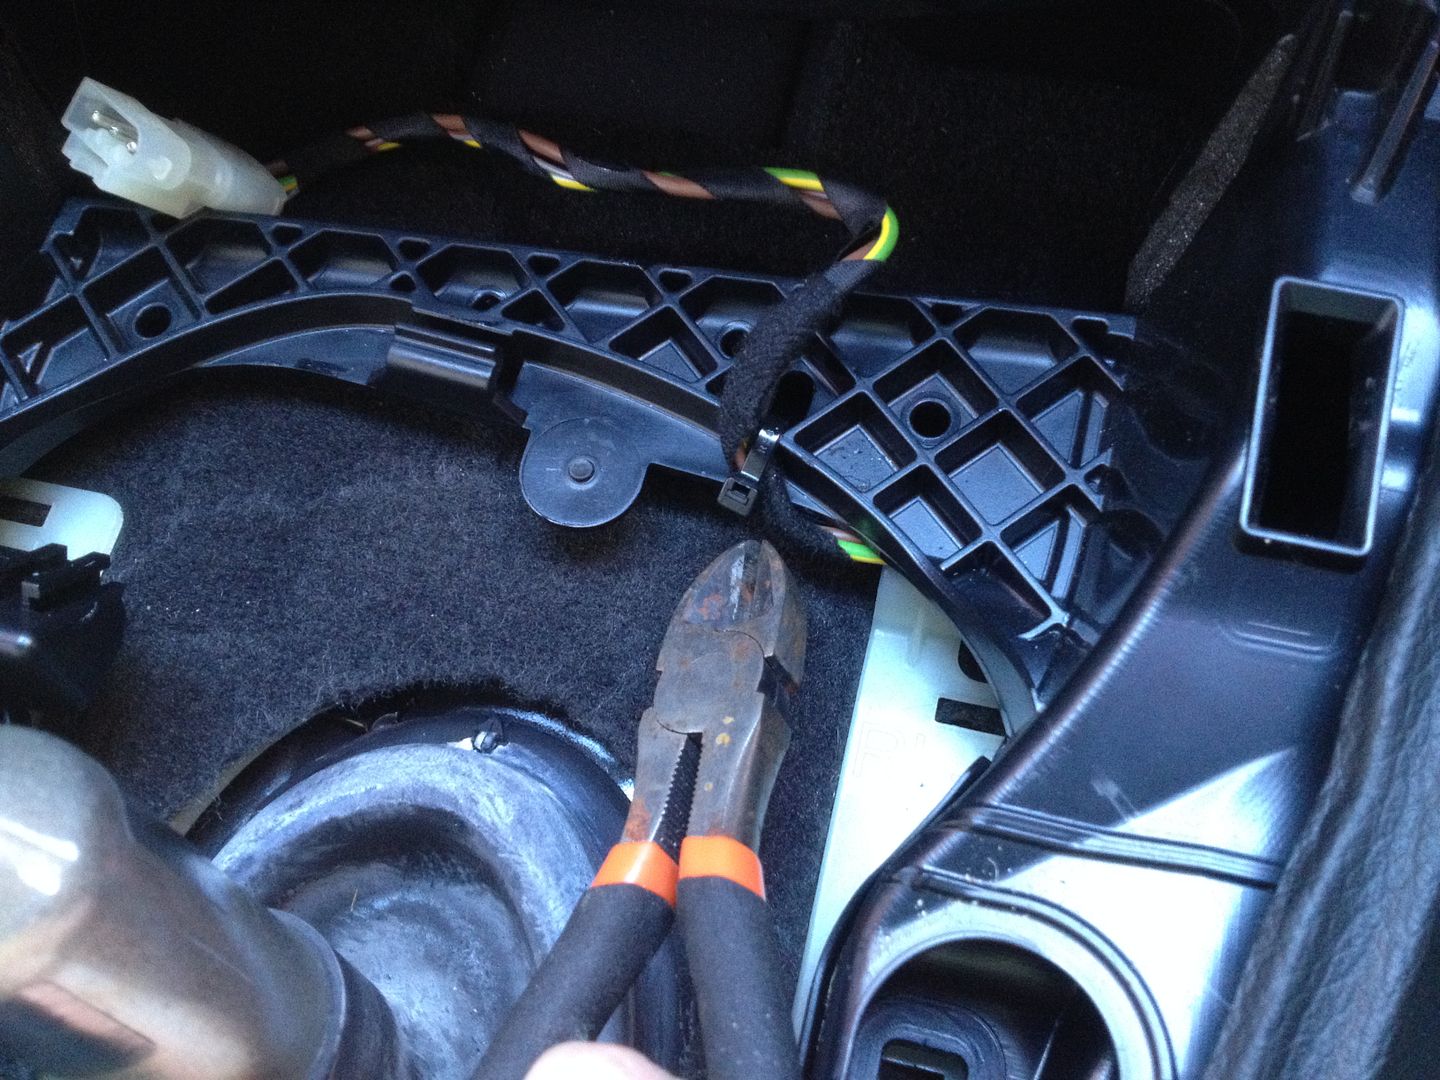 Pop the handbrake gaitor out and thread it inside the console. The biggest tip I found when it came to lift the centre console out was pulling the handbrake up as high as possible. In order to lift the centre console over the handbrake if it is too low its really difficult/impossible. Pull it up a few more notches and it was easy! 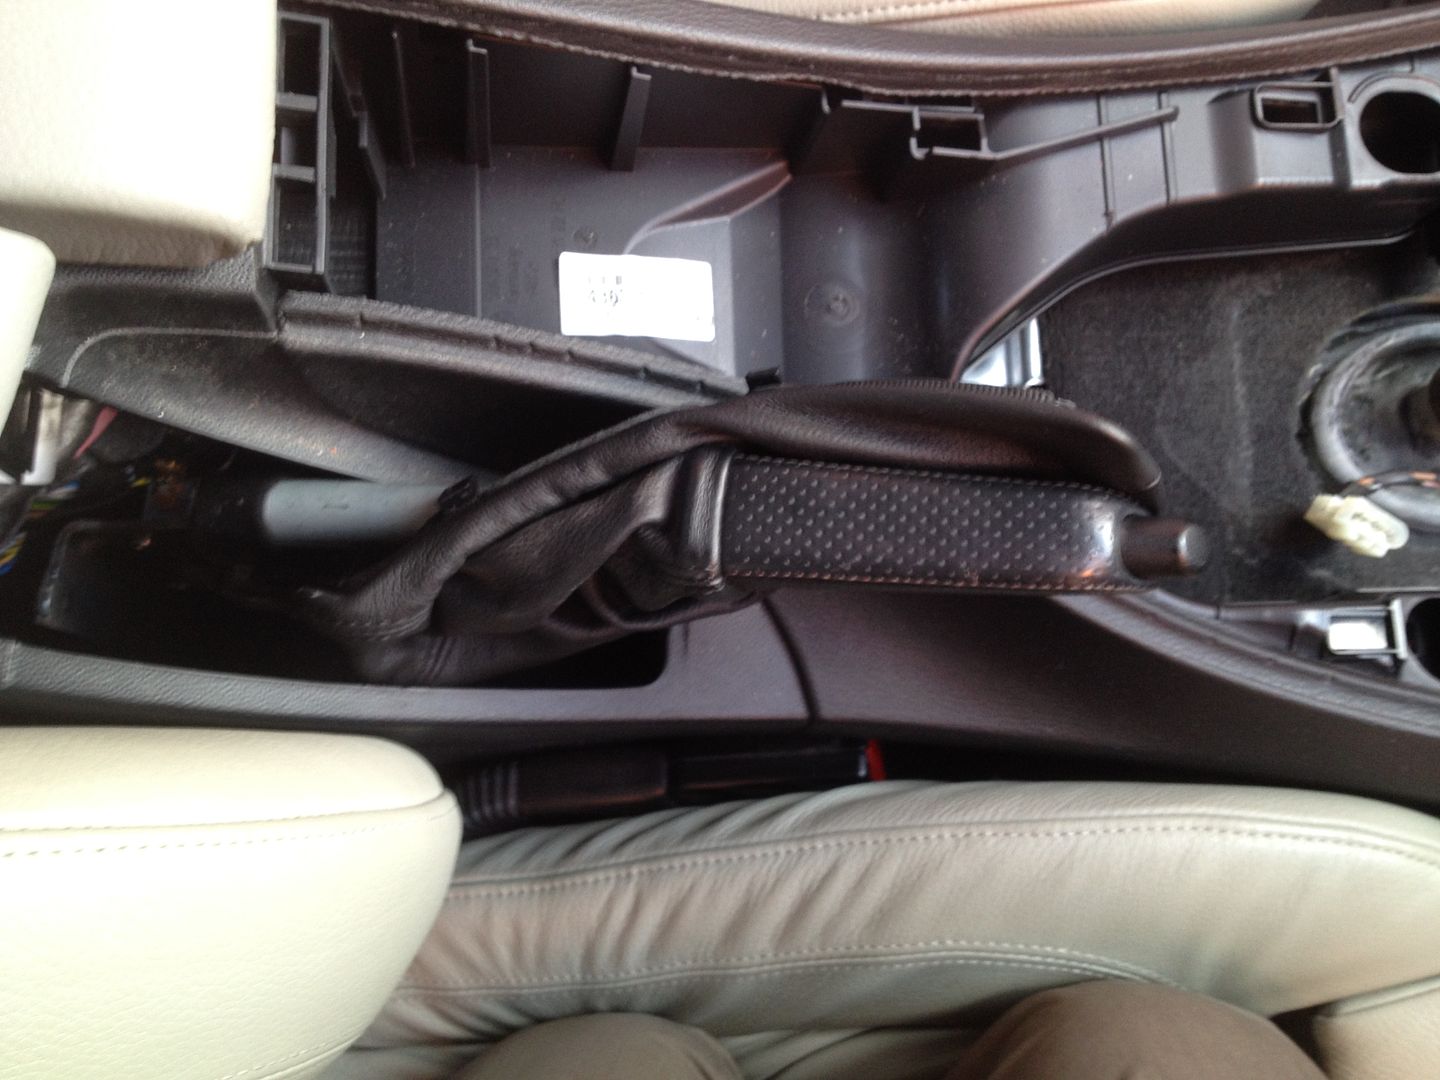 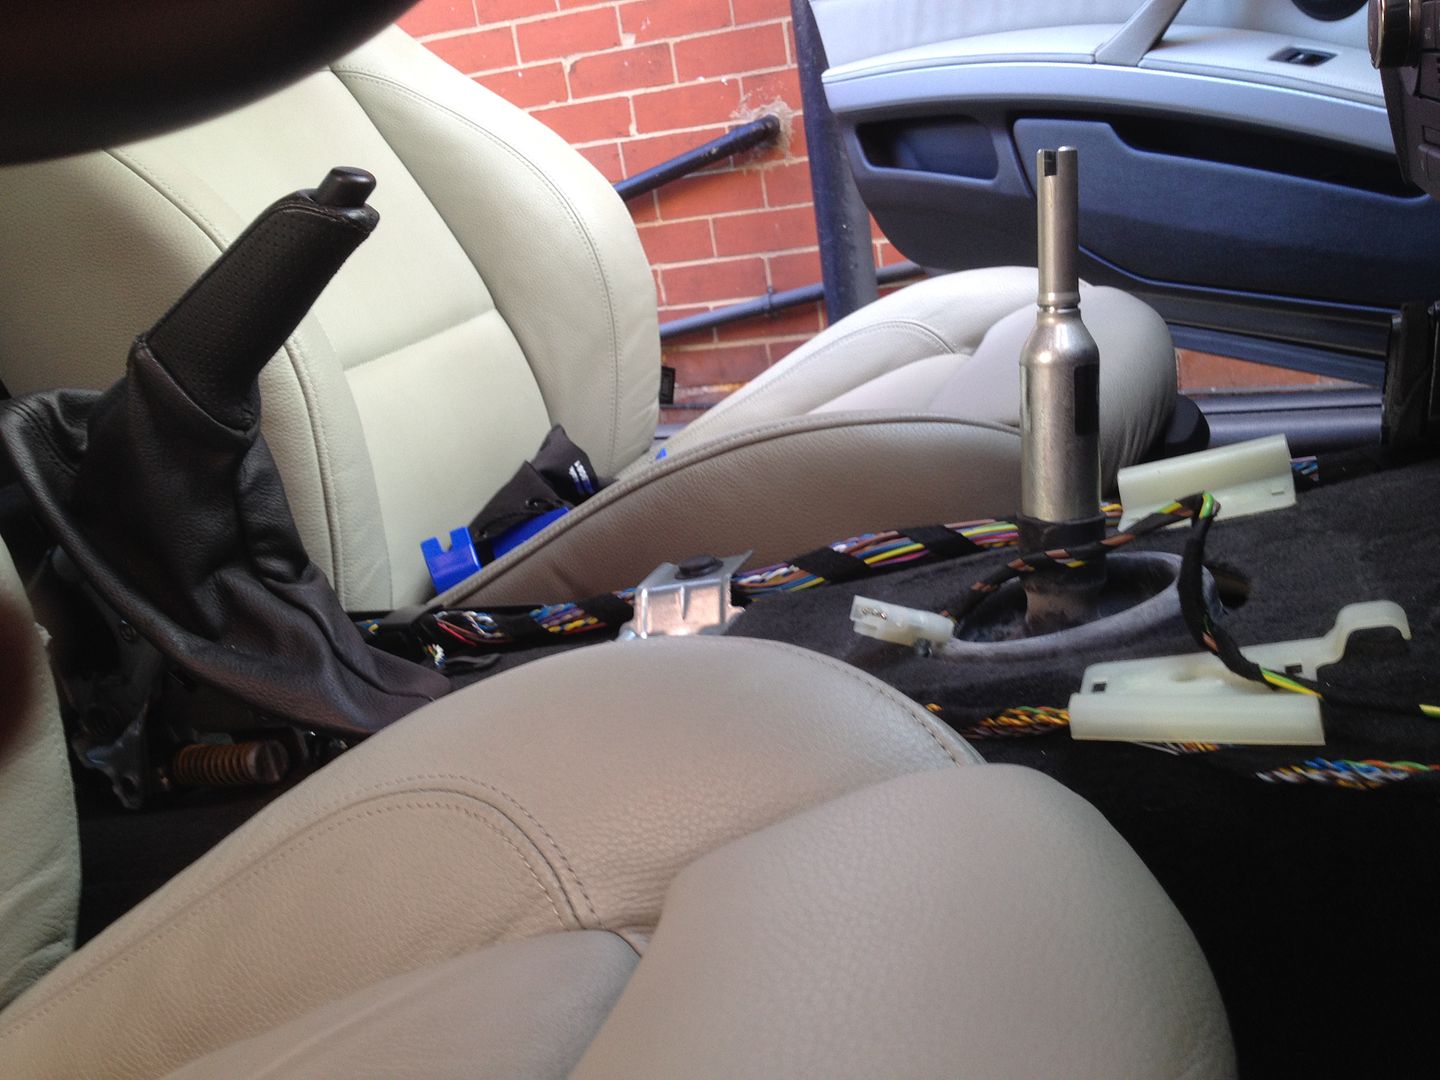 You will then be left with the airbag control unit, I waited until I needed access to the handbrake cables before removing this just to be cautious. Just be careful and remove the screws, moving it to the side while you access the cables. They are a simple ball and clip, just pop them out they will slide out when you drop the subframe. 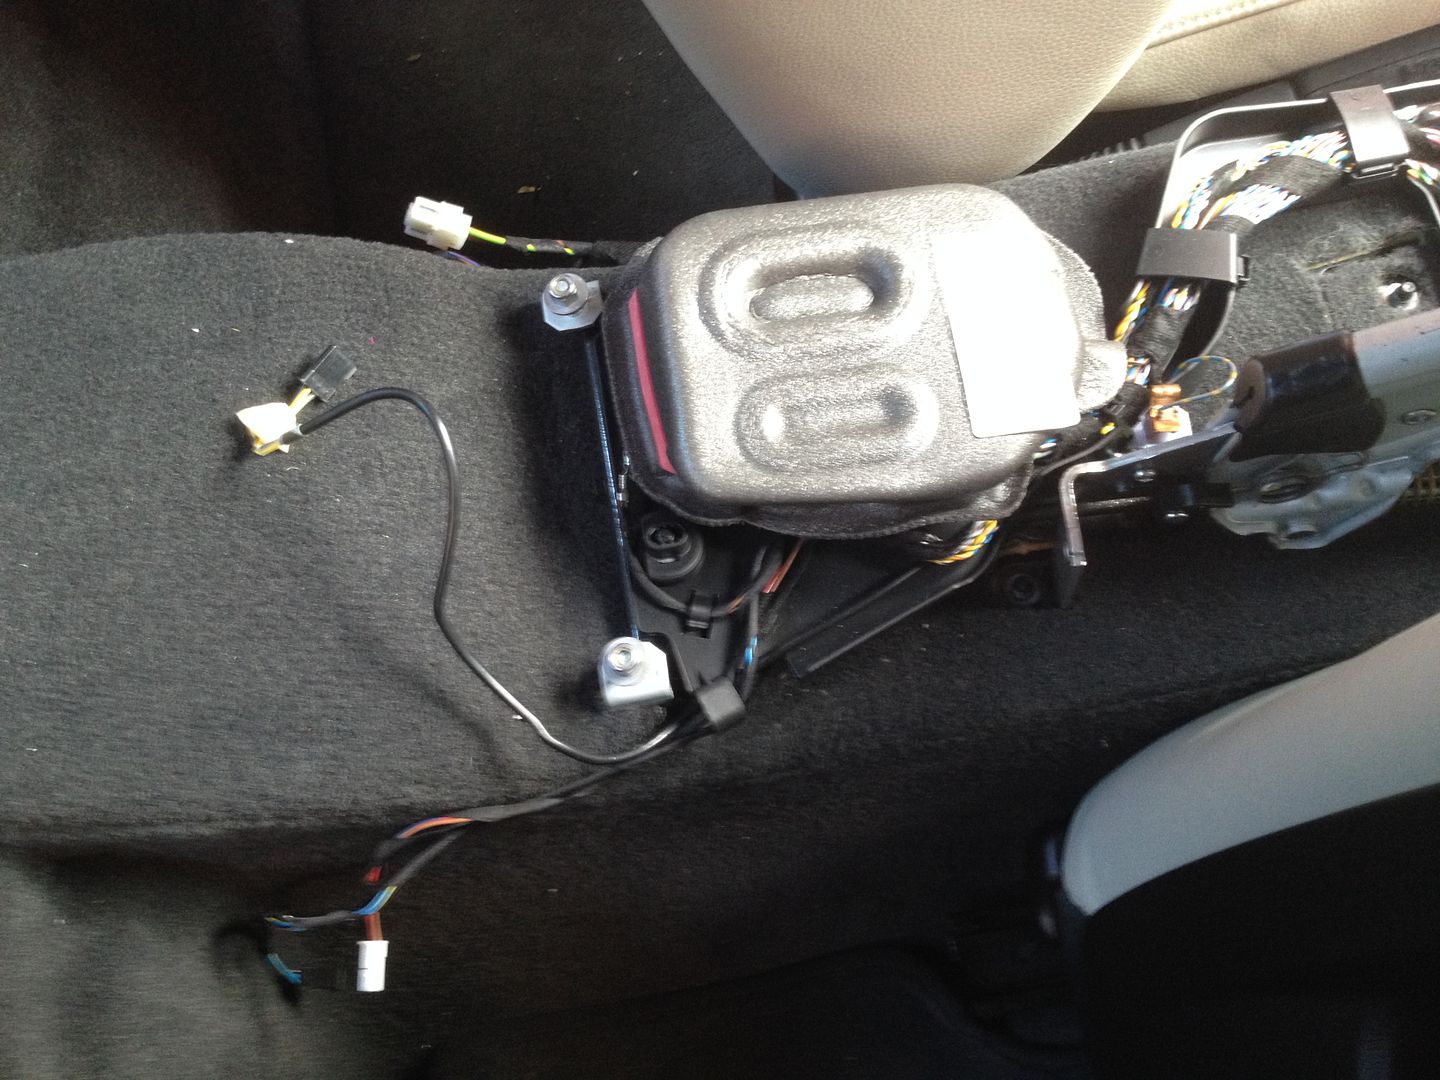 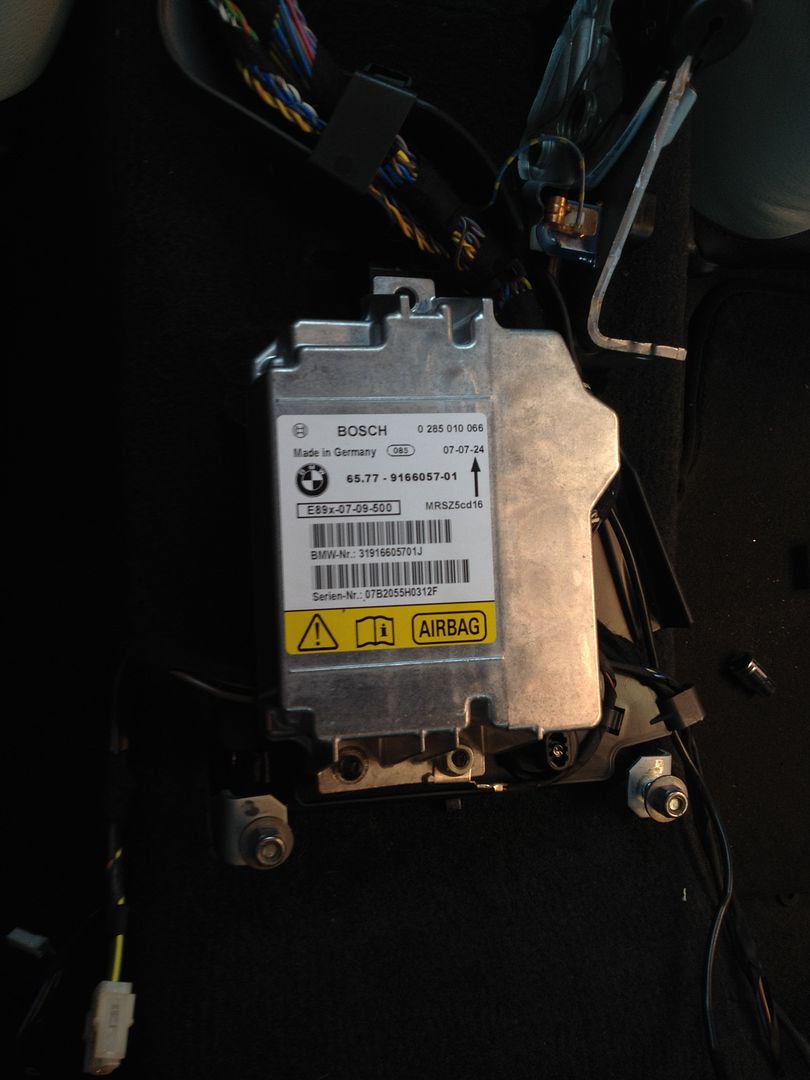 You now need to move to the boot area to gain access to the tops of the rear dampers, you could just bend the trim over as in the ecs video but its pretty simple to remove and I didn’t want to have creases or bends left in the trim. ECS video link Pop out the amp cover, just lift up one edge and it comes out, remove the battery cover at the other side, twist the plastic tabs and lift it out. You then need to remove the plastic trim protector in the centre of the boot. You will find some screws and plastic trim clips that you will need to remove, again the trim removal tools made this simple other that a couple which stuck and needed some extra persuasion. To remove the clips lift the centre section then once it has popped up you can remove the whole clip. Once all the clips are out remove the interior carpet/trim, it sits under the edge of the upper boot and just slides out. 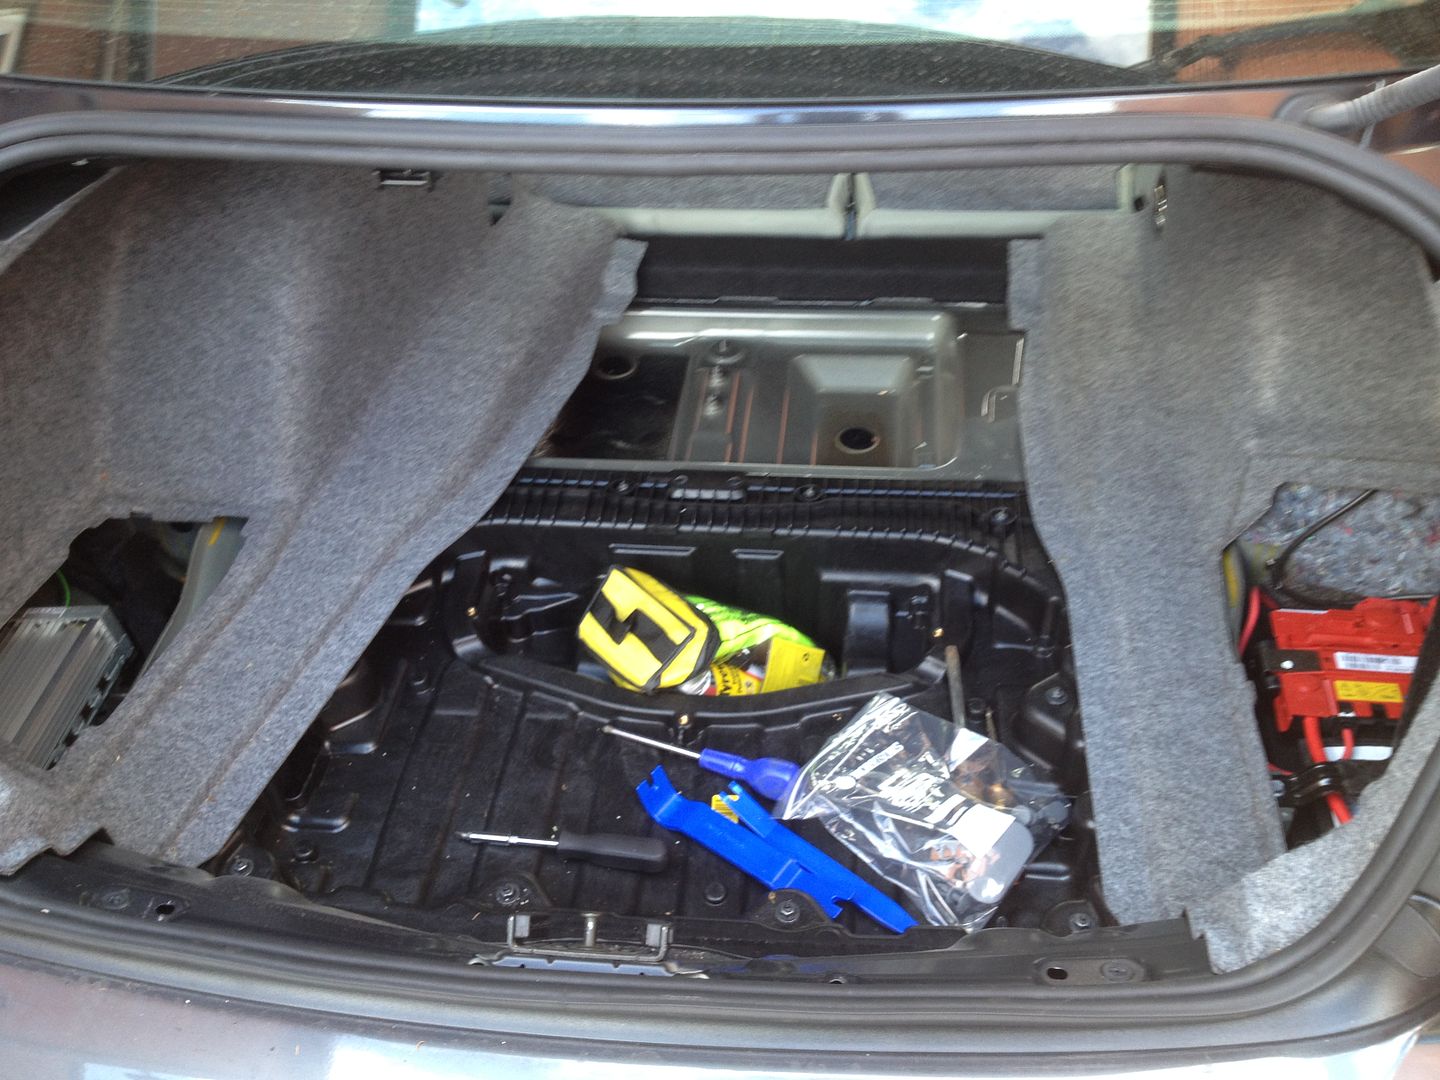 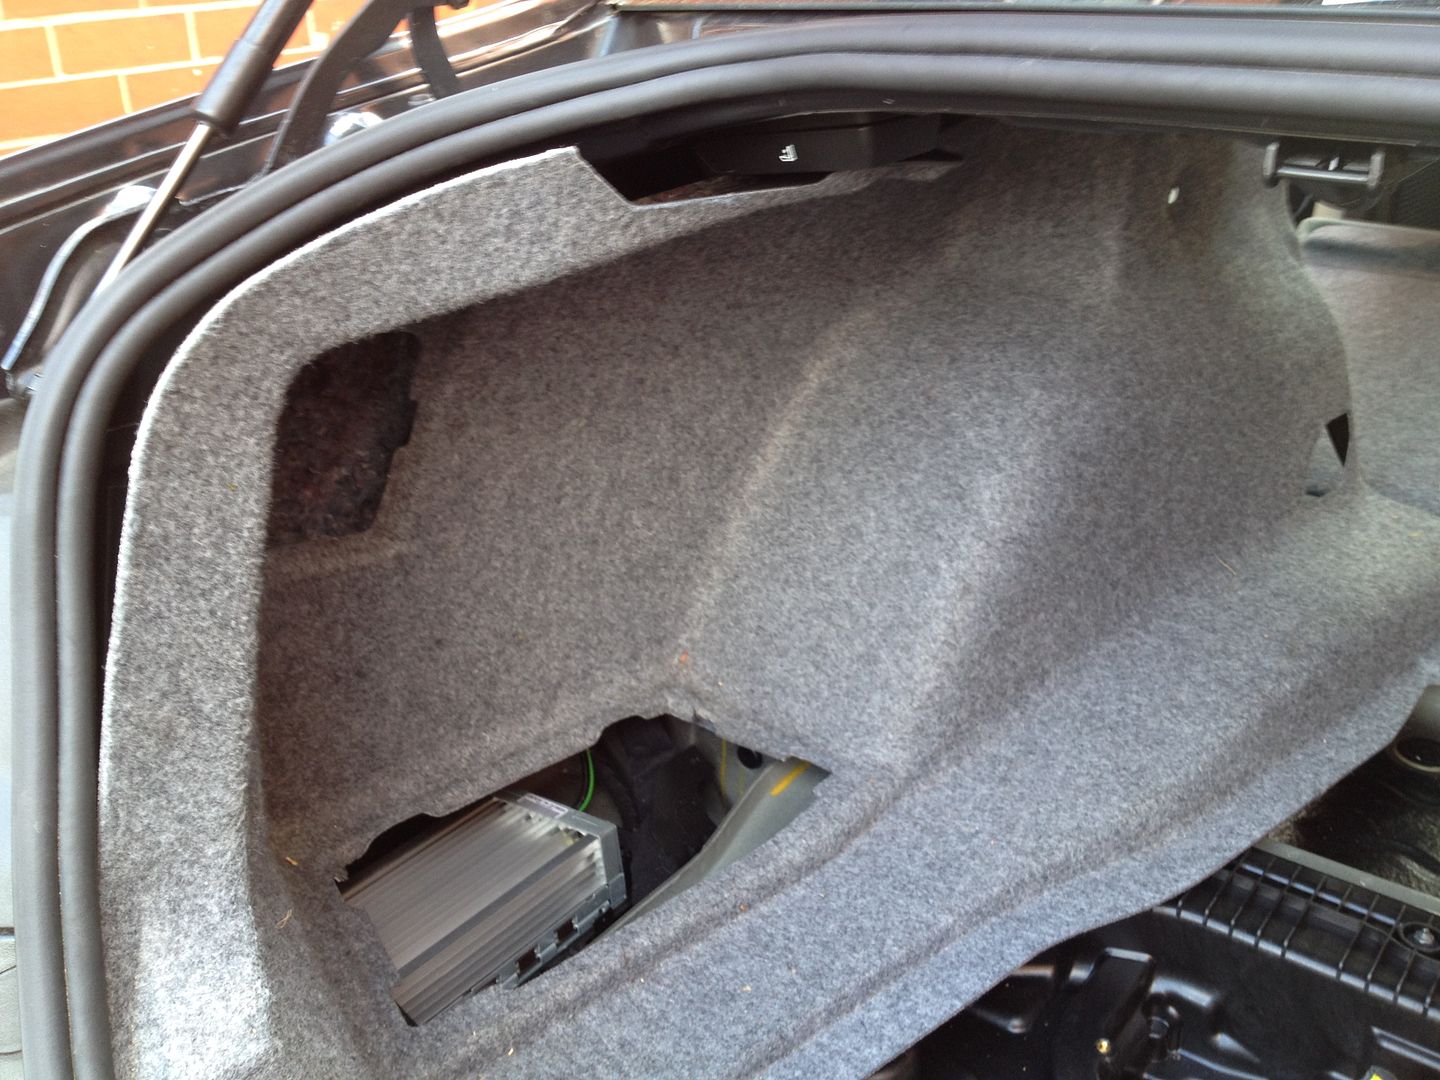 You will then remove the rubber covers which provide access to the top of the rear dampers. 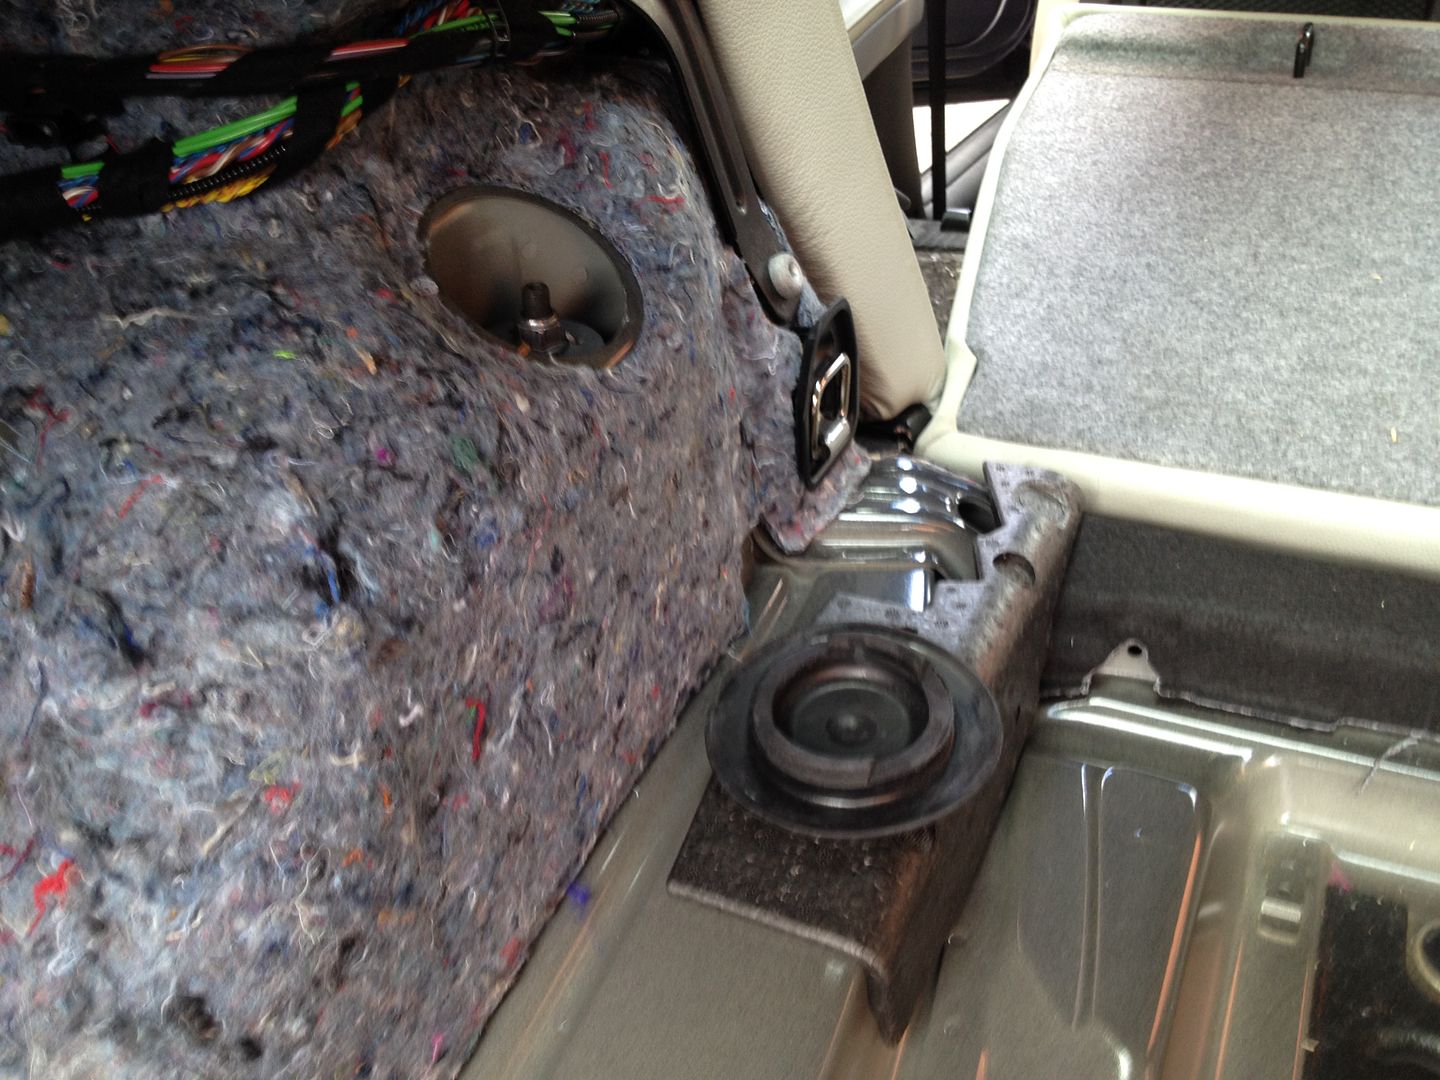 At this point I jacked the car up onto four axle stands to keep the car reasonably horizontal and improve access under the car. 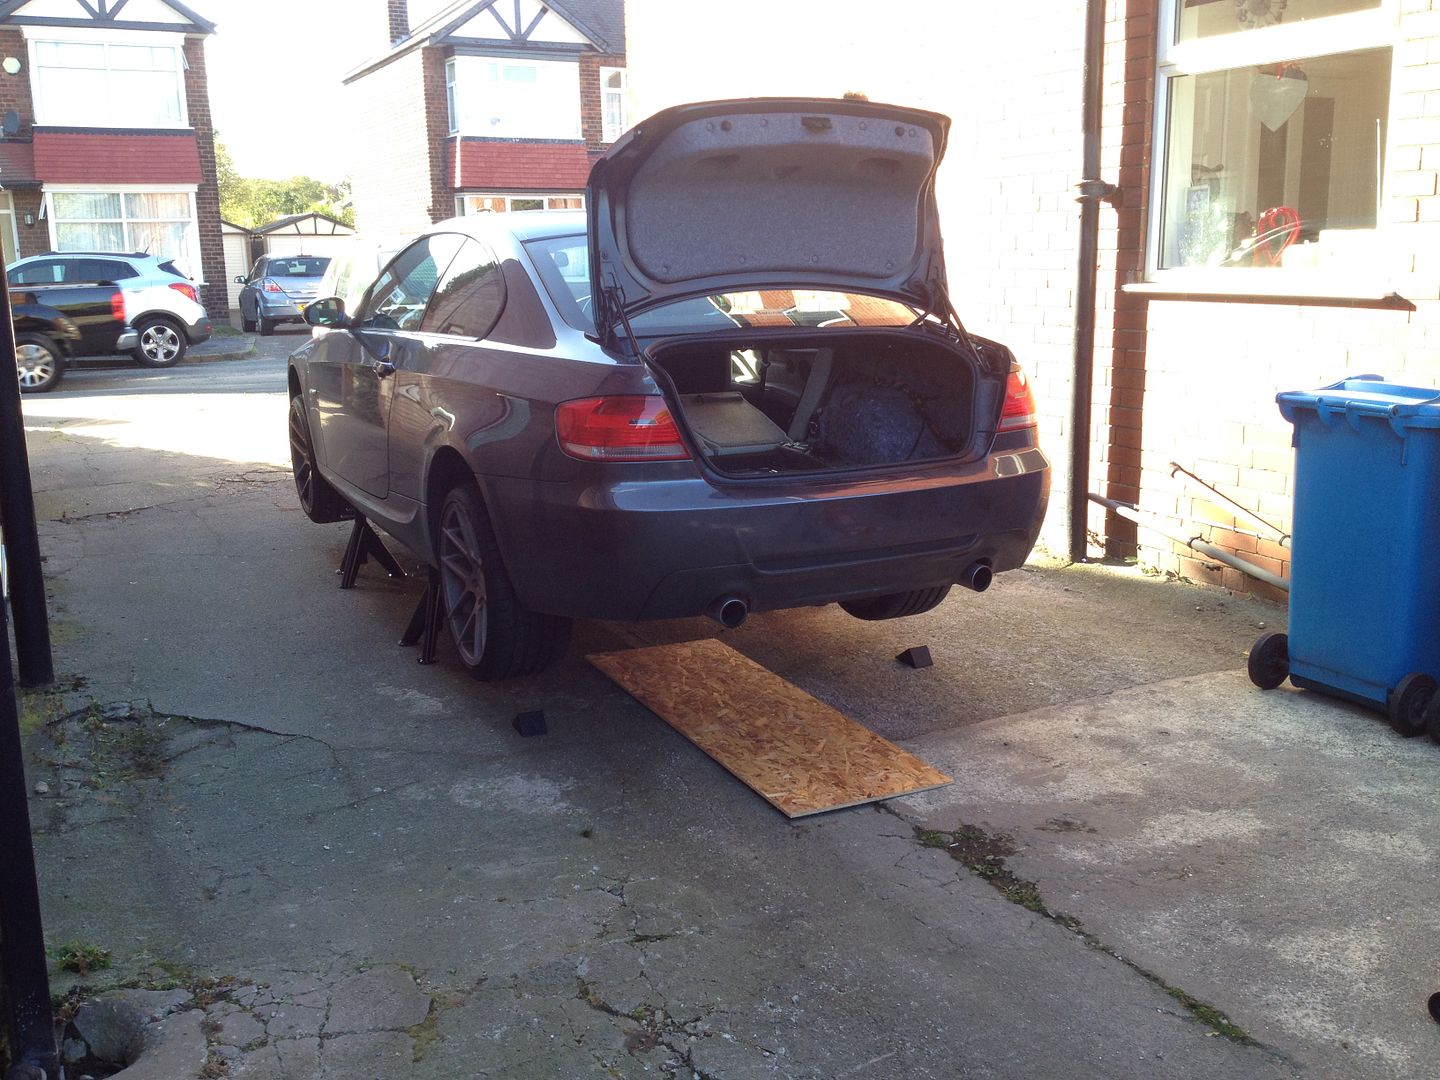 Remove the nuts securing the rear dampers, you will need to hold the centre shaft while removing the nut to prevent the shaft spinning. Again the ECS video was helpful. 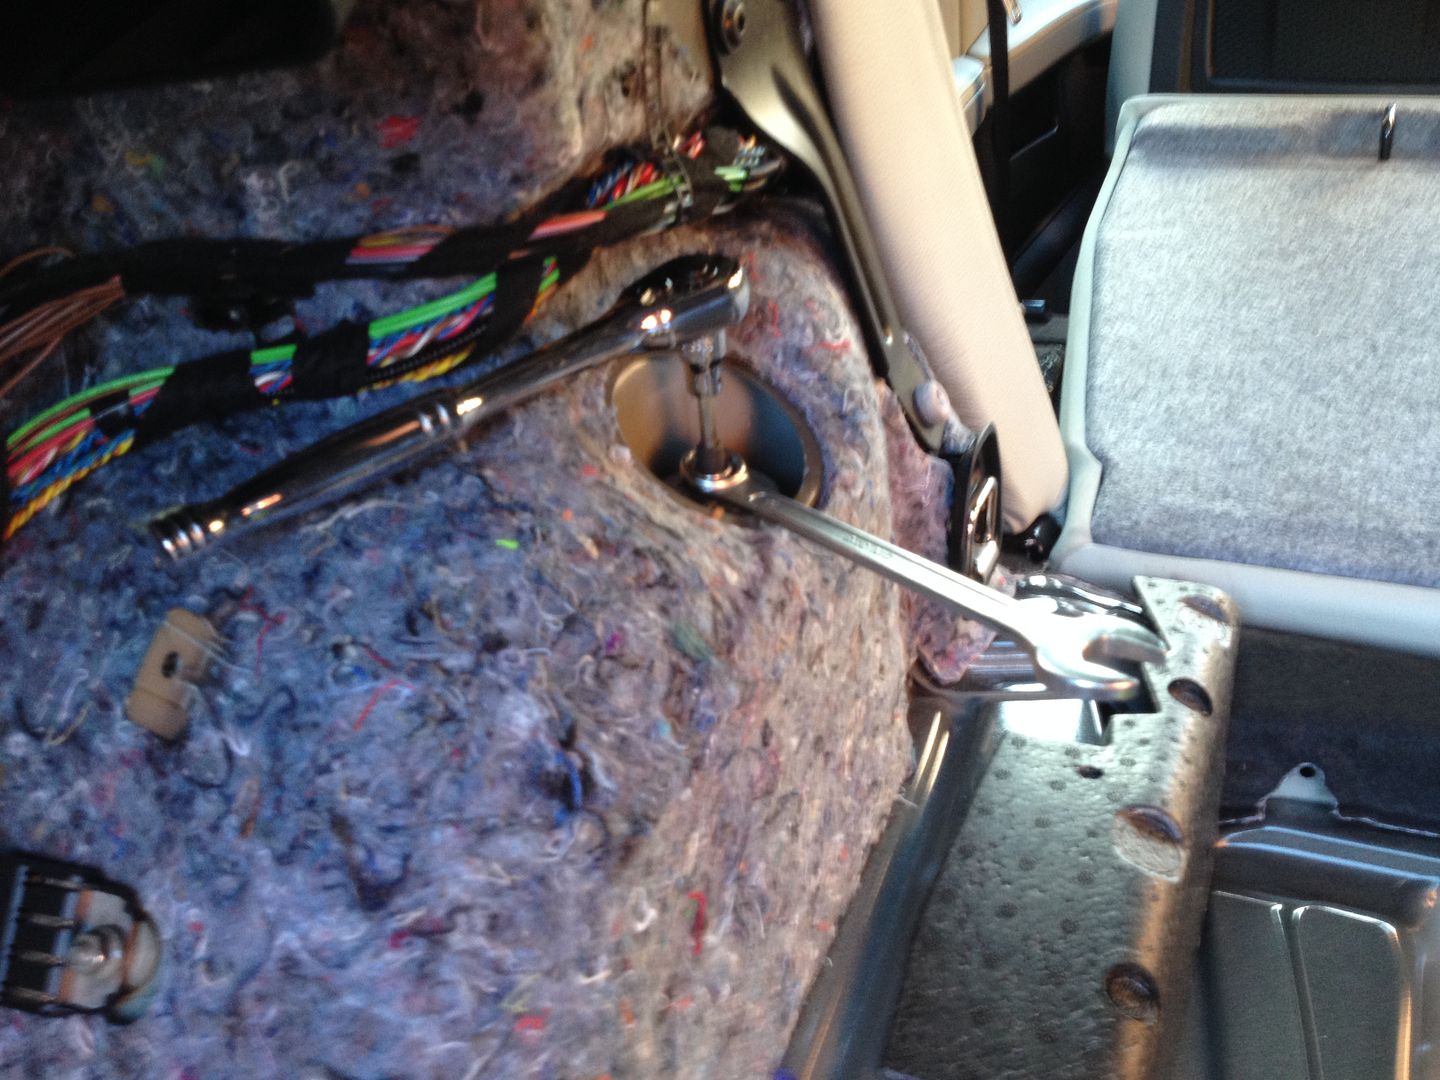 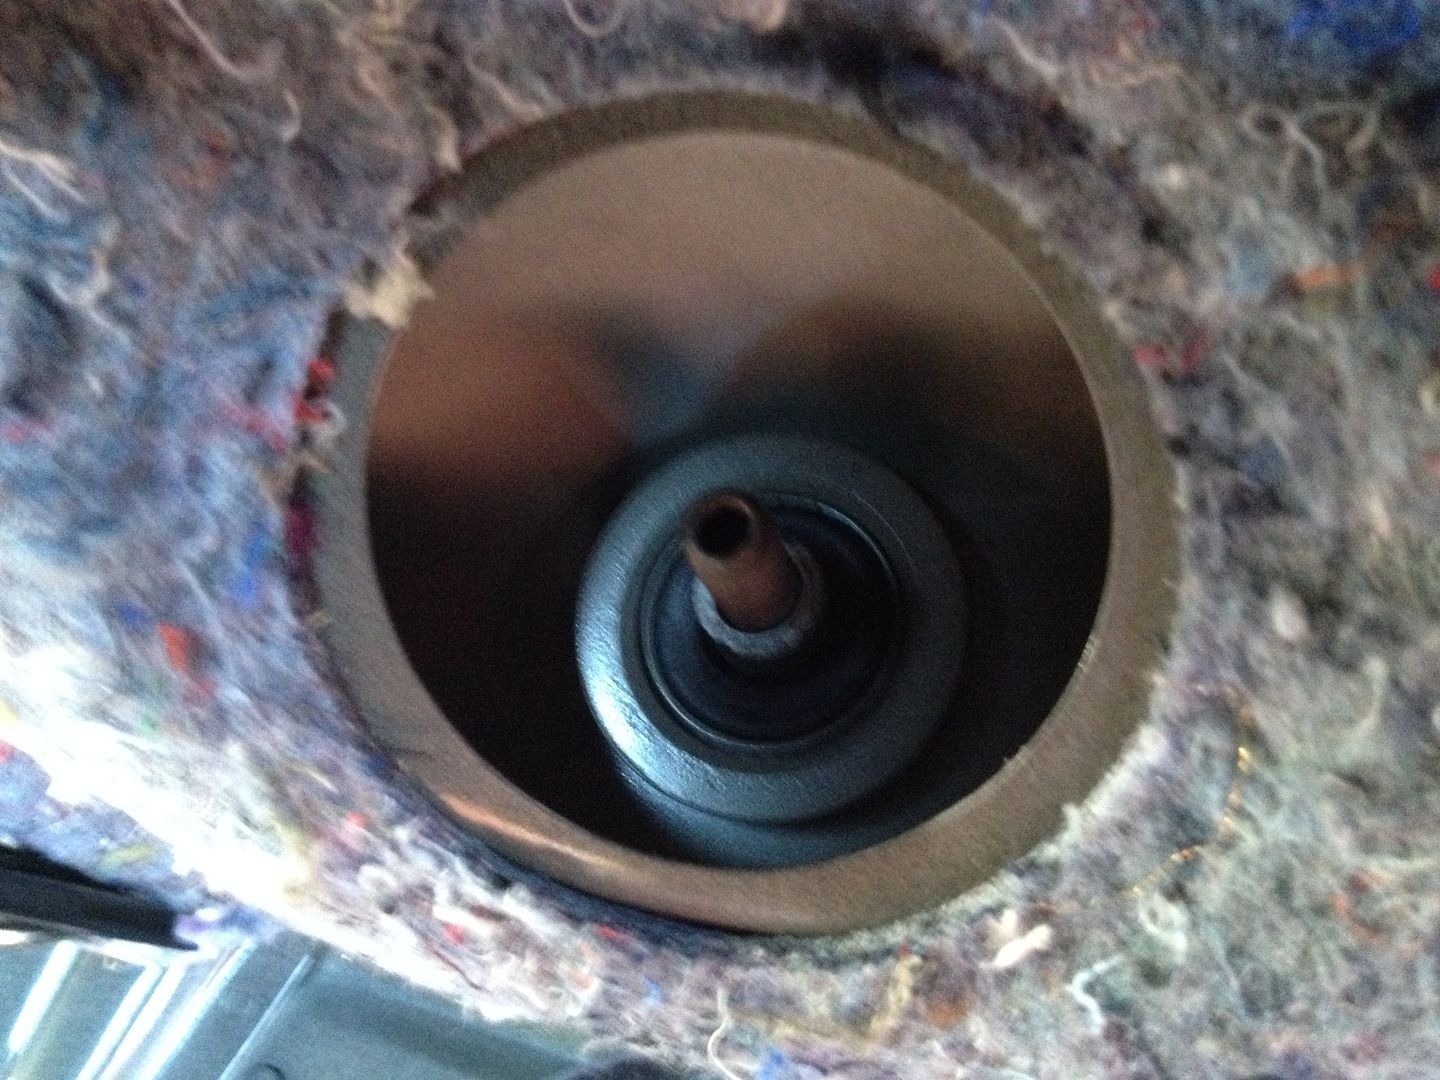 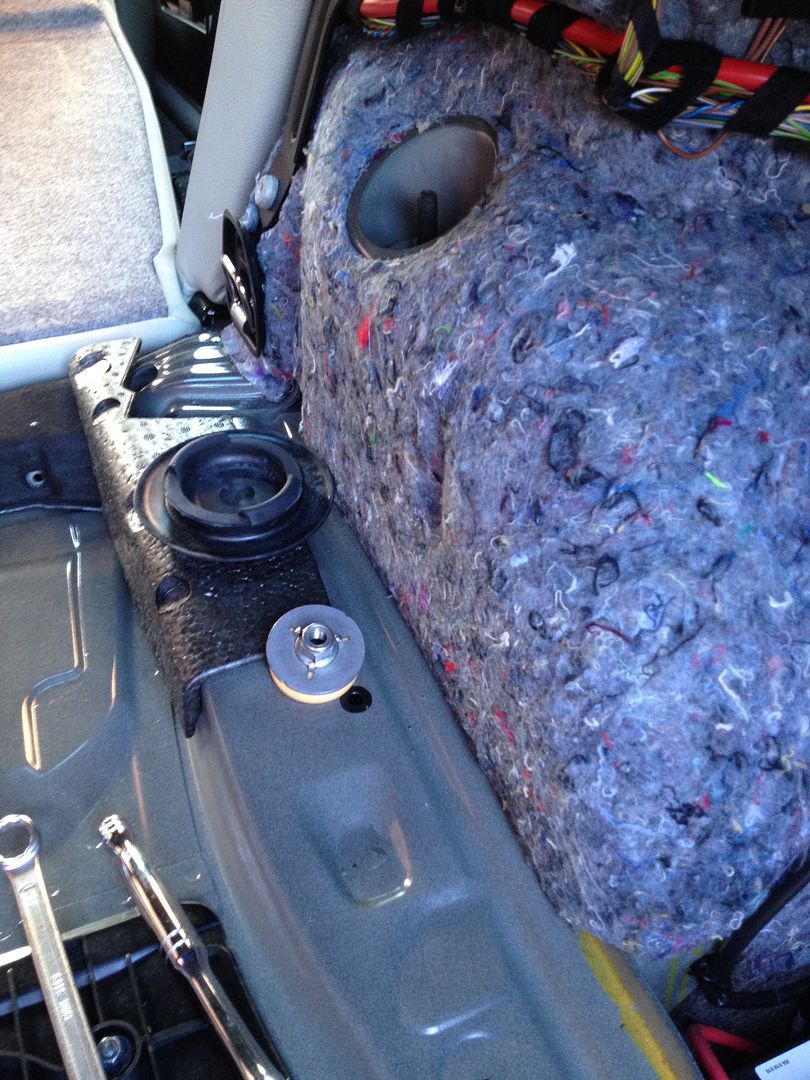 Now move under the car and loosen the lower nut, again you will need to hold the damper body to stop it turning. You can then loosen the bolts on the lower arm under the car to allow it to swing down and remove the spring and damper from the vehicle. 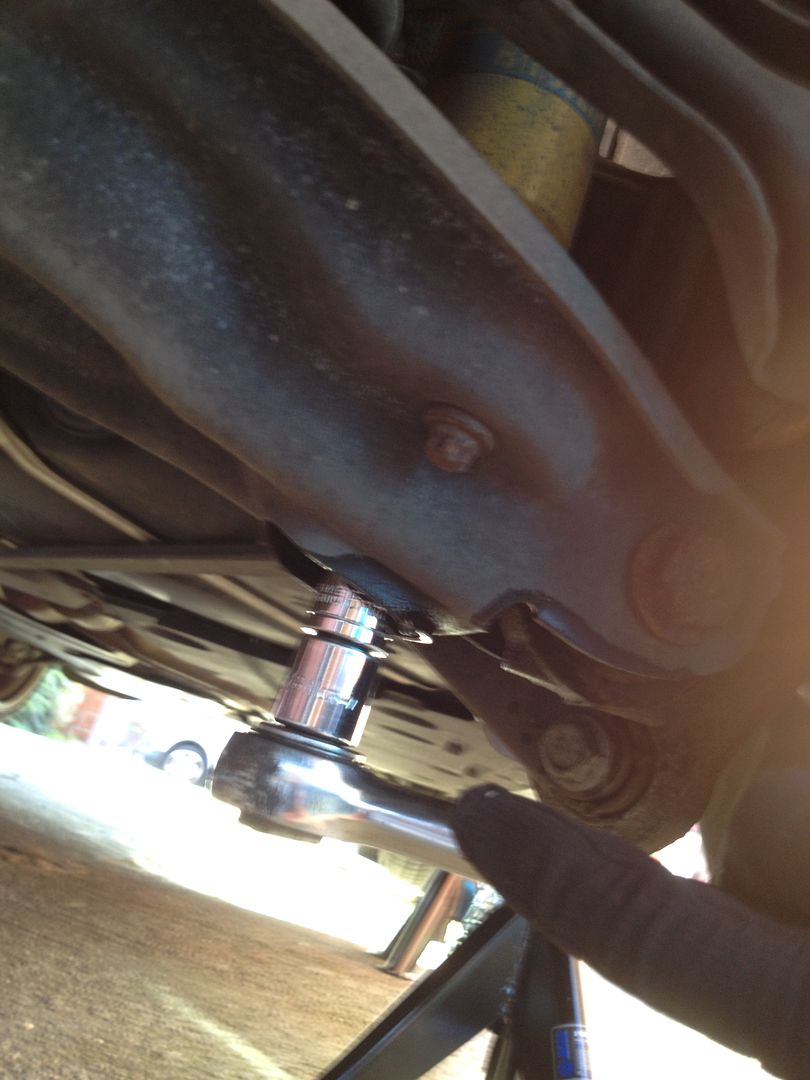 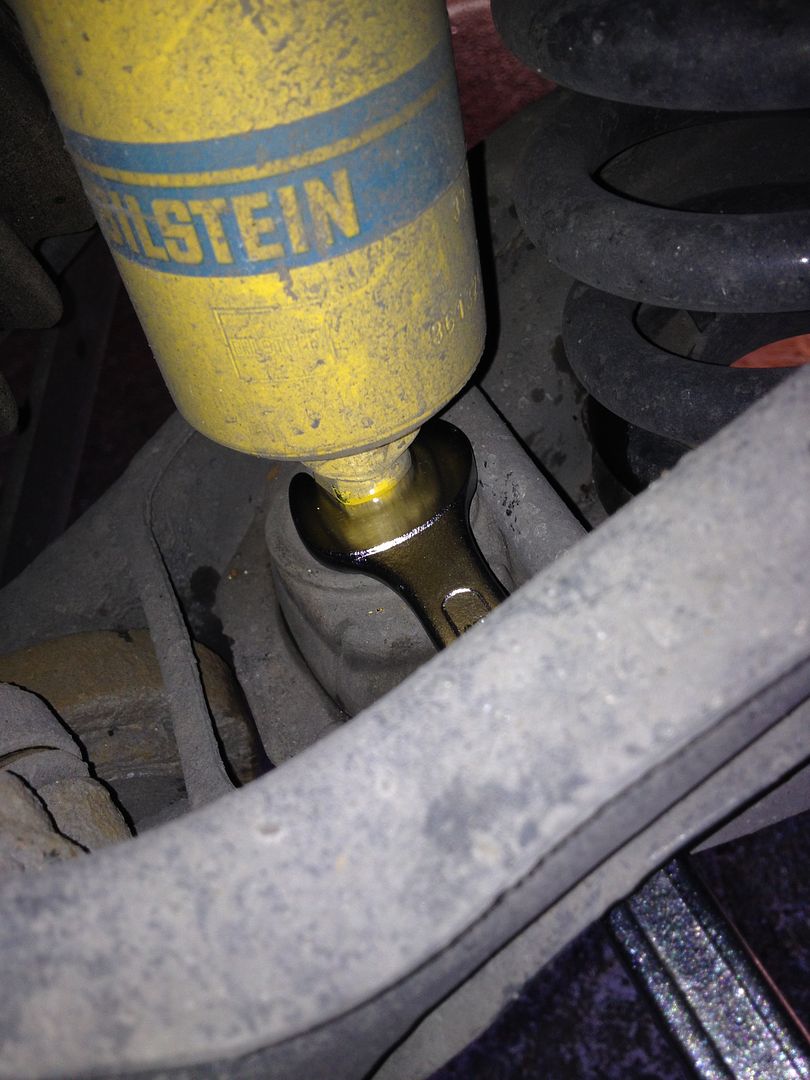 Take note of the rubber shields and bushes that sit on the top of the rear damper. Remove the spring and damper from the other side. Sorry there are less pictures in this section as my neighbour joined me to give me a hand at this point and things moved along quite quickly. The most troublesome bolts of the whole process were the exhaust bolts, as you would expect, heat cycles and exposure to the elements meant these looked more like cones than nuts with no real flats left on one! Once removed after heating with a small blow torch things were much easier. 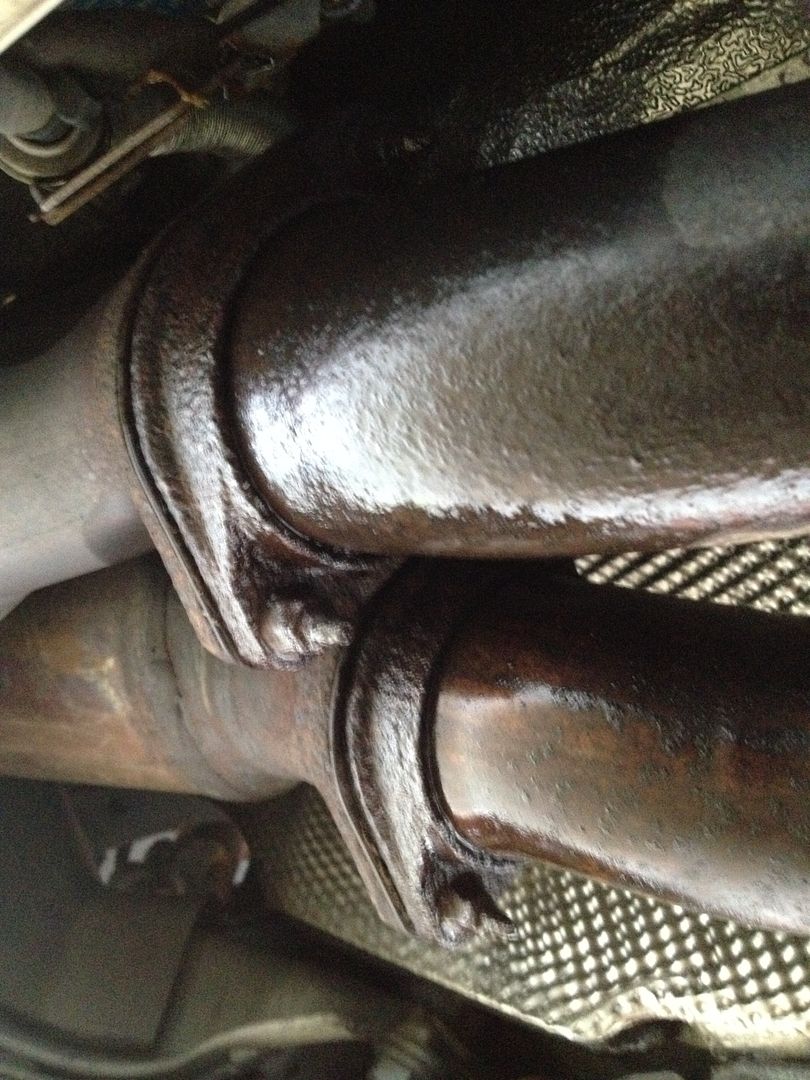 Remove the exhaust/under body brace. 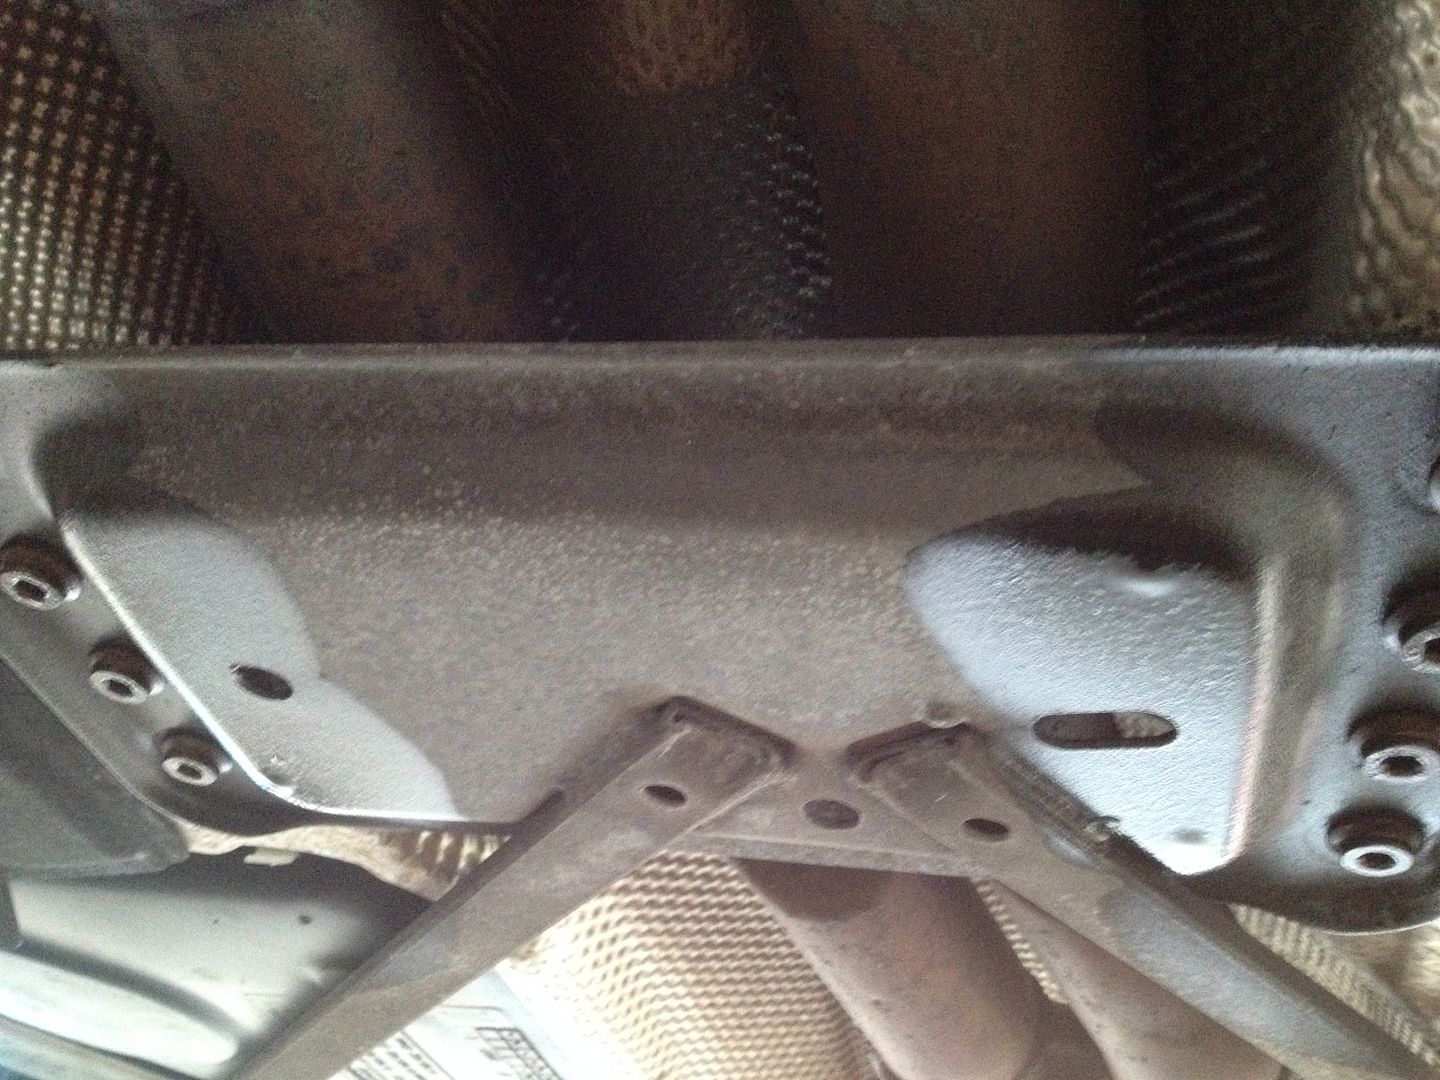 To remove the exhaust, rather than removing the rubber mounts just remove the bolts holding the mounts to the vehicle. You can remove the exhaust on your own but it is pretty heavy, use a jack and some axle stands to support it and lower it down. I wrapped the tips and placed some sheets of wood under the car so that I could slide it out. Then remove the heat shielding, this will mean you need to remove some of the nuts holding the under body panels at the edges where the heat shielding sits underneath. Just take your time as they can be a little brittle at some of the edges. The HPF video on clutch replacement was useful and shows how these come off HYPERLINK "https://www.youtube.com/watch?v=gaK7xdeob1k" 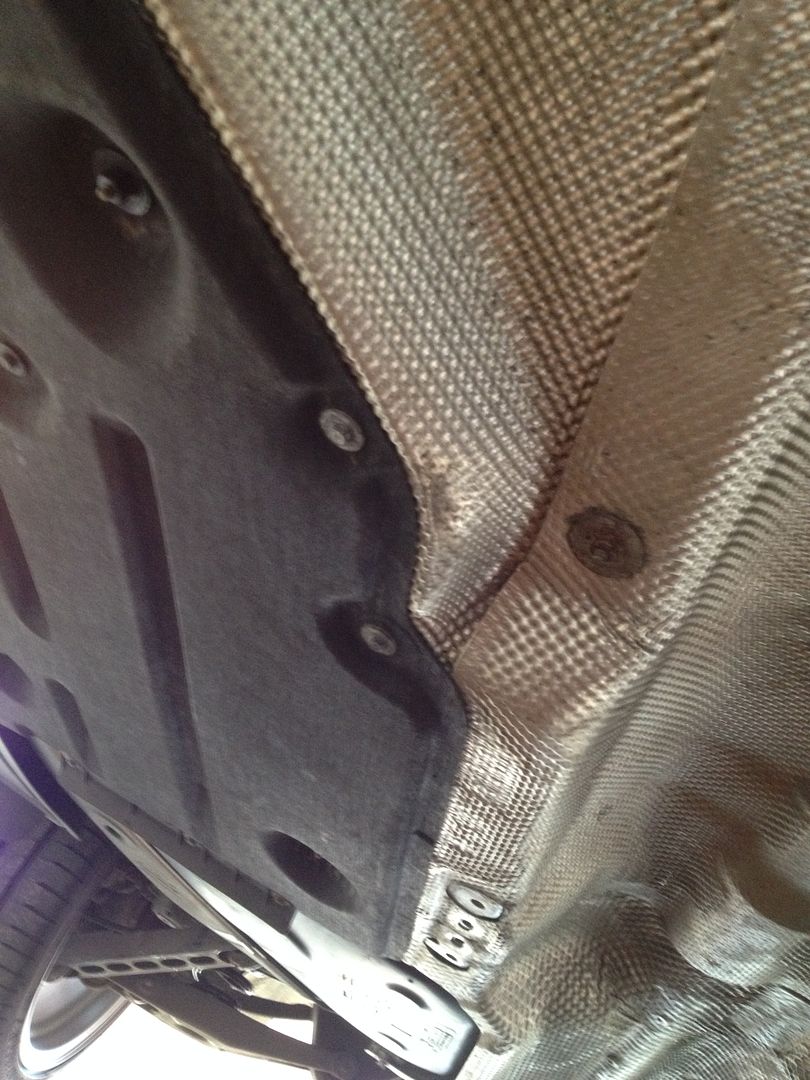 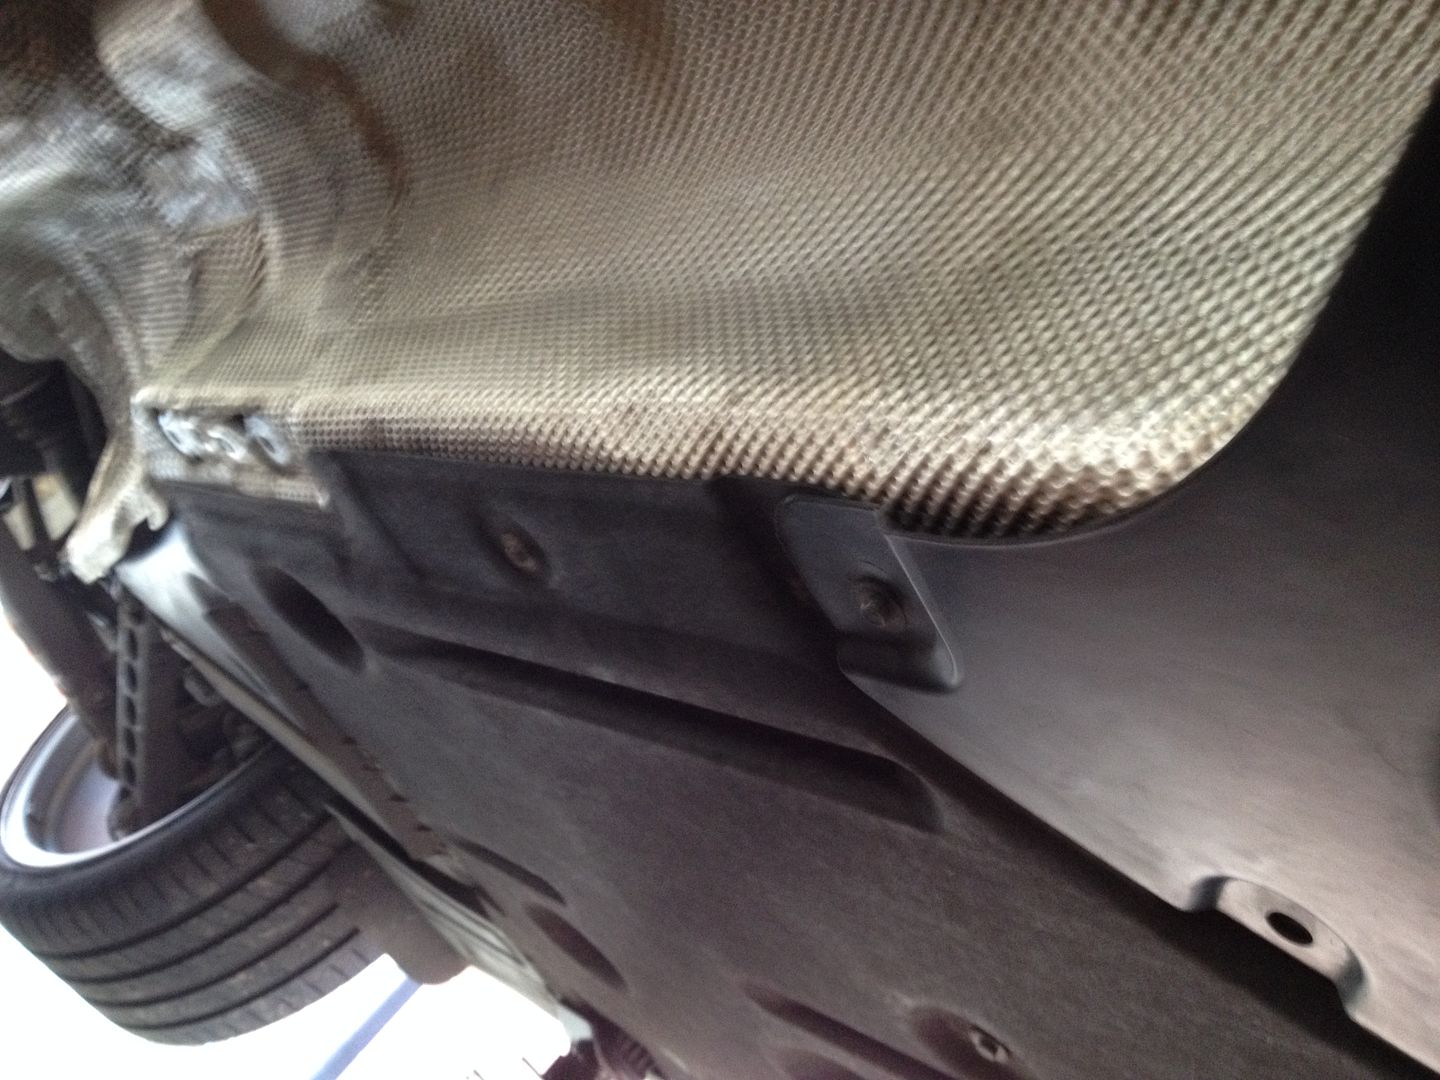 You can then gain access to the prop shaft, you will need either the AR designs spanner or a narrow 50mm spanner. Some have ground down spanners to fit, I chose to order the most expensive spanner I now own as shipping and import cost added more that the cost of the spanner! So to remove the rear prop-shaft nut you will need to apply the handbrake and undo the nut, this unscrews CLOCKWISE. I used a breaker bar in the spanner to gain extra leverage. Having a second person to apply and release the handbrake while the bar was moved each time in the limited space was much easier. Once loosened enough the spanner could be used on its own. Next remove the three bolts connecting the front of the prop-shaft. These should slide out easily. Now you will need to remove the bolts holding the centre bearing and pull the prop-shaft out, try to keep it level and straight as you remove it. 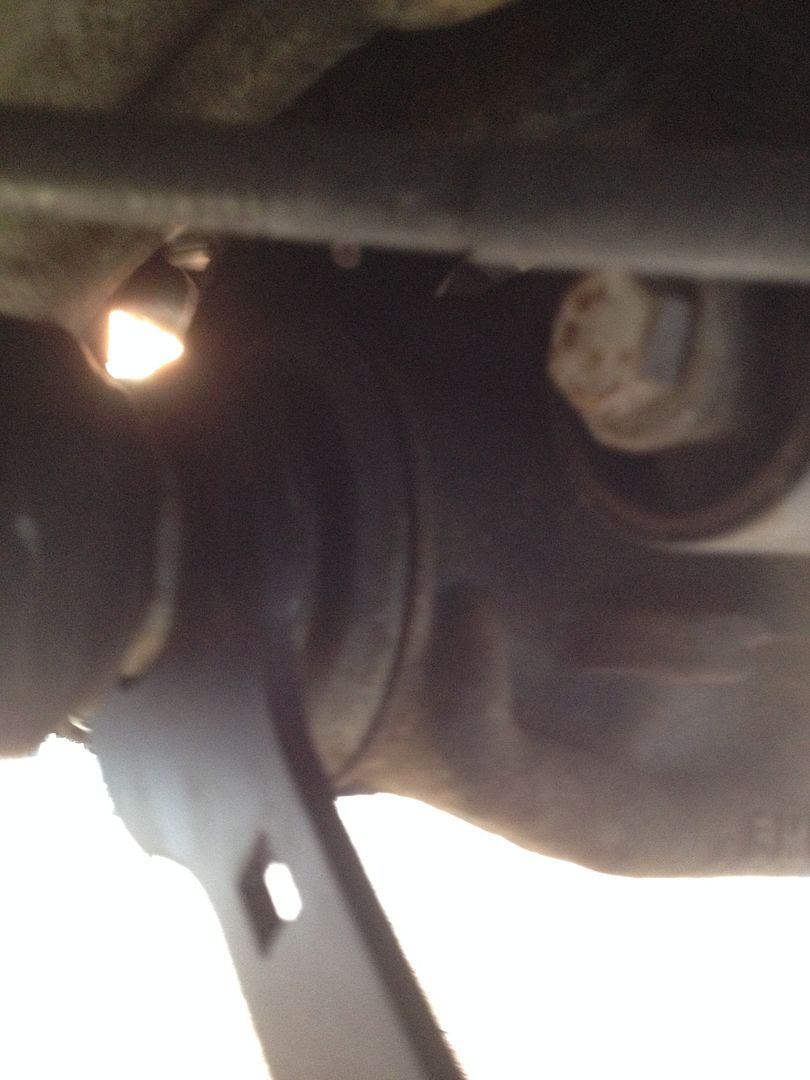 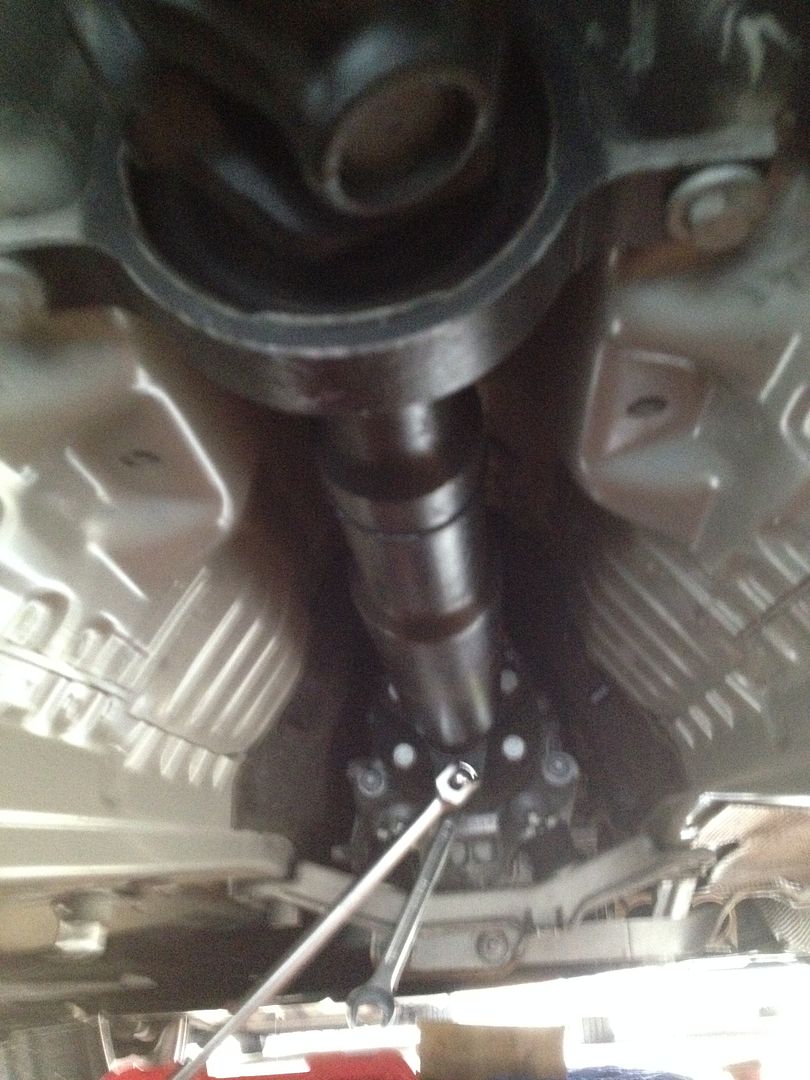 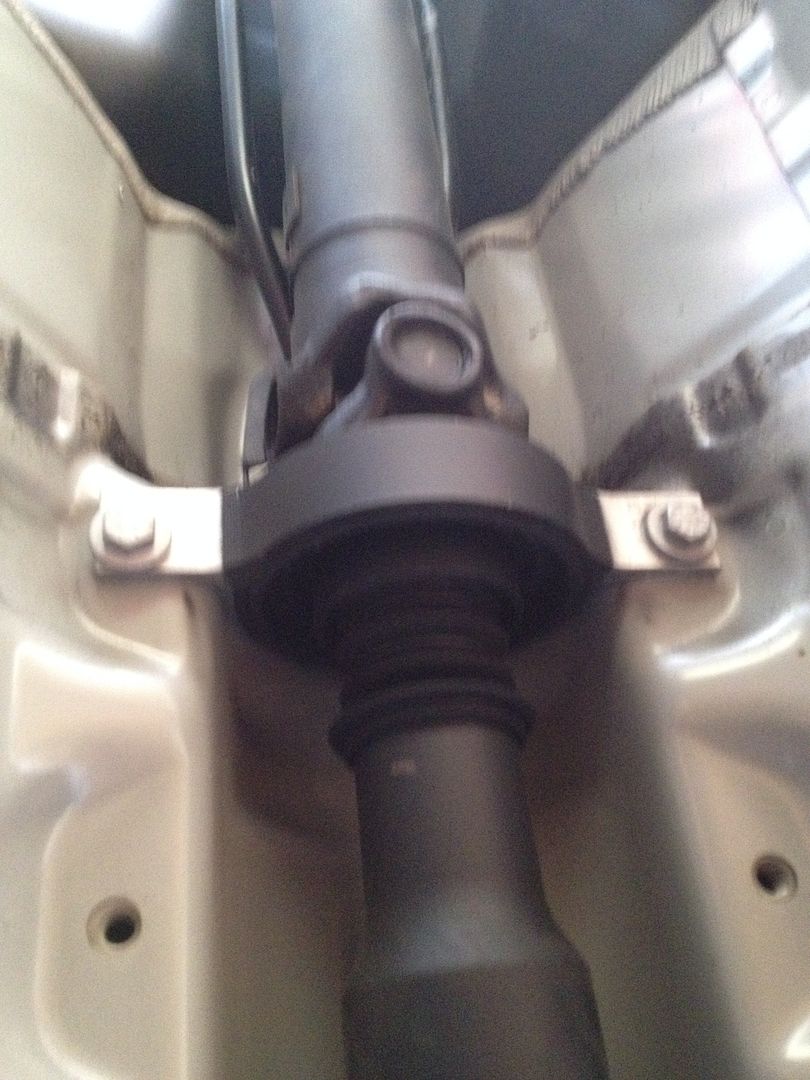 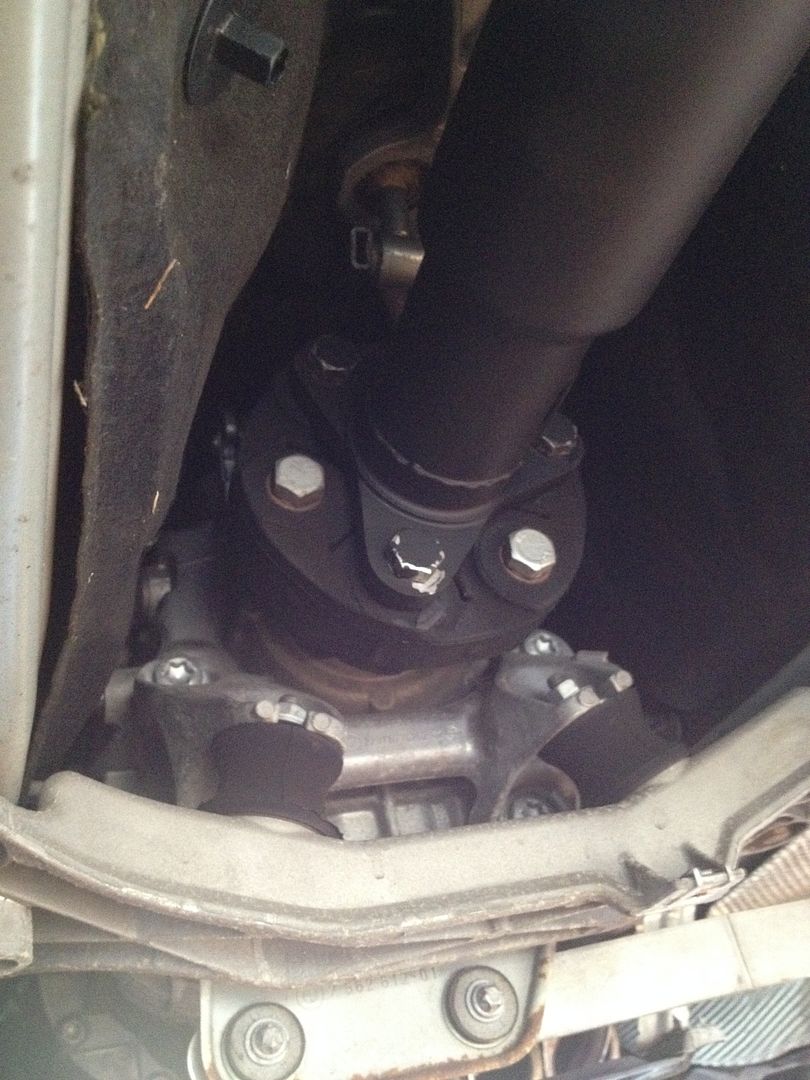 That’s it, prop-shaft out! Now on to the rear subframe, there are numerous bolts to remove, make sure you either label them in bags or keep them together where they came from. Do not remove the four main subframe bolts, these attach the subframe to the car. 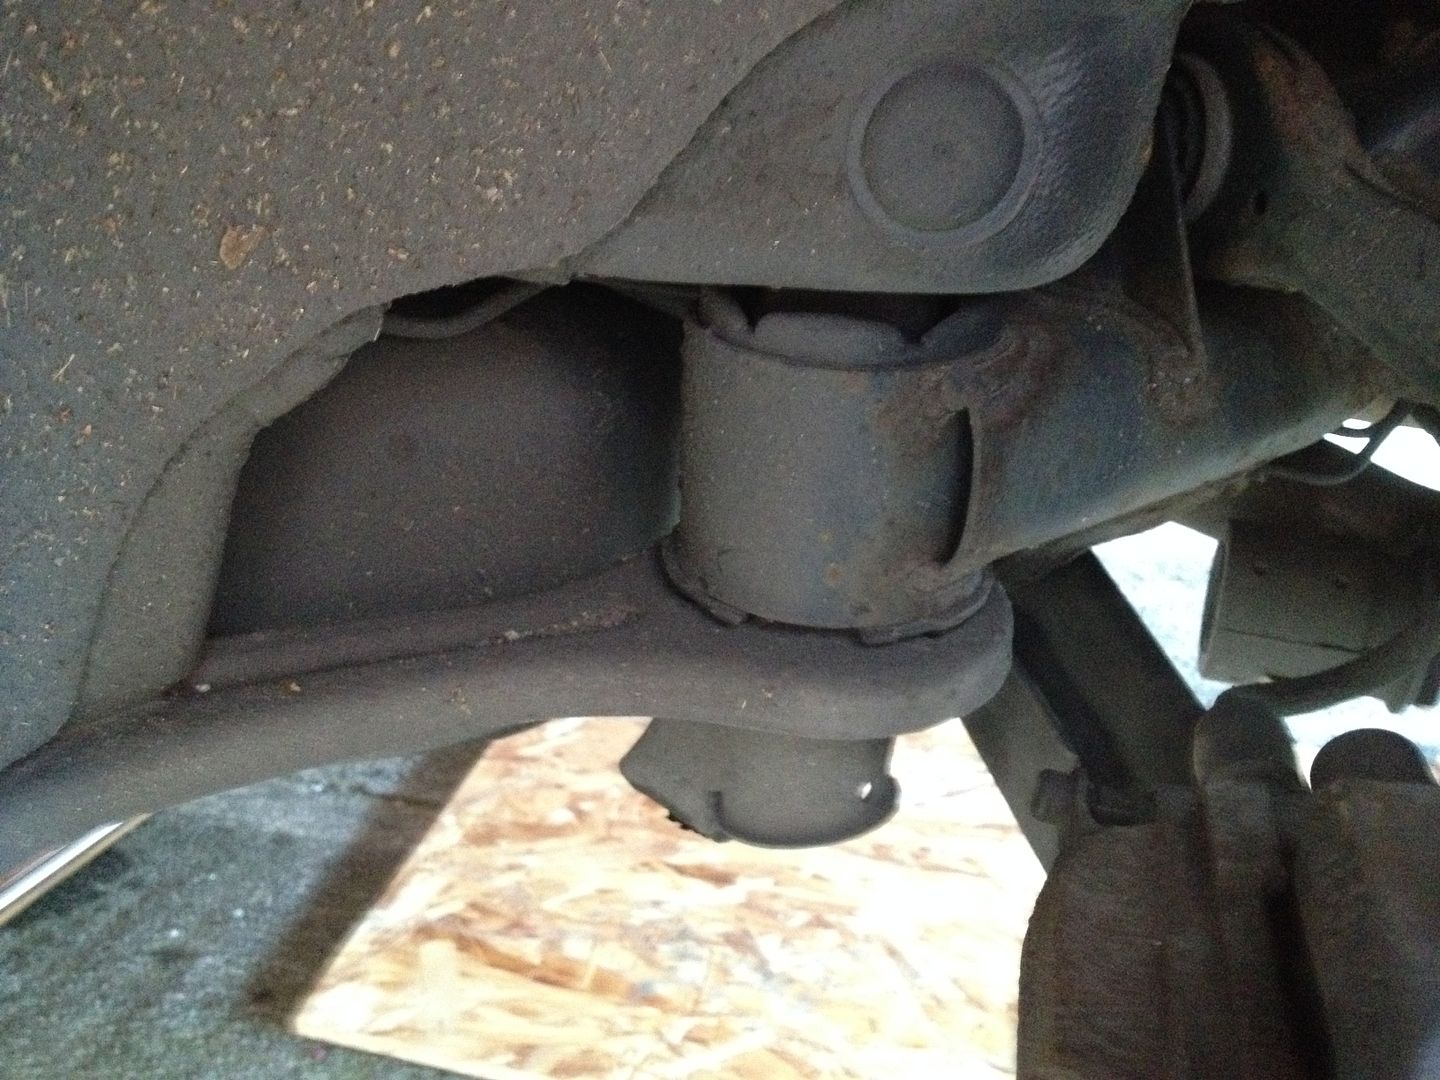 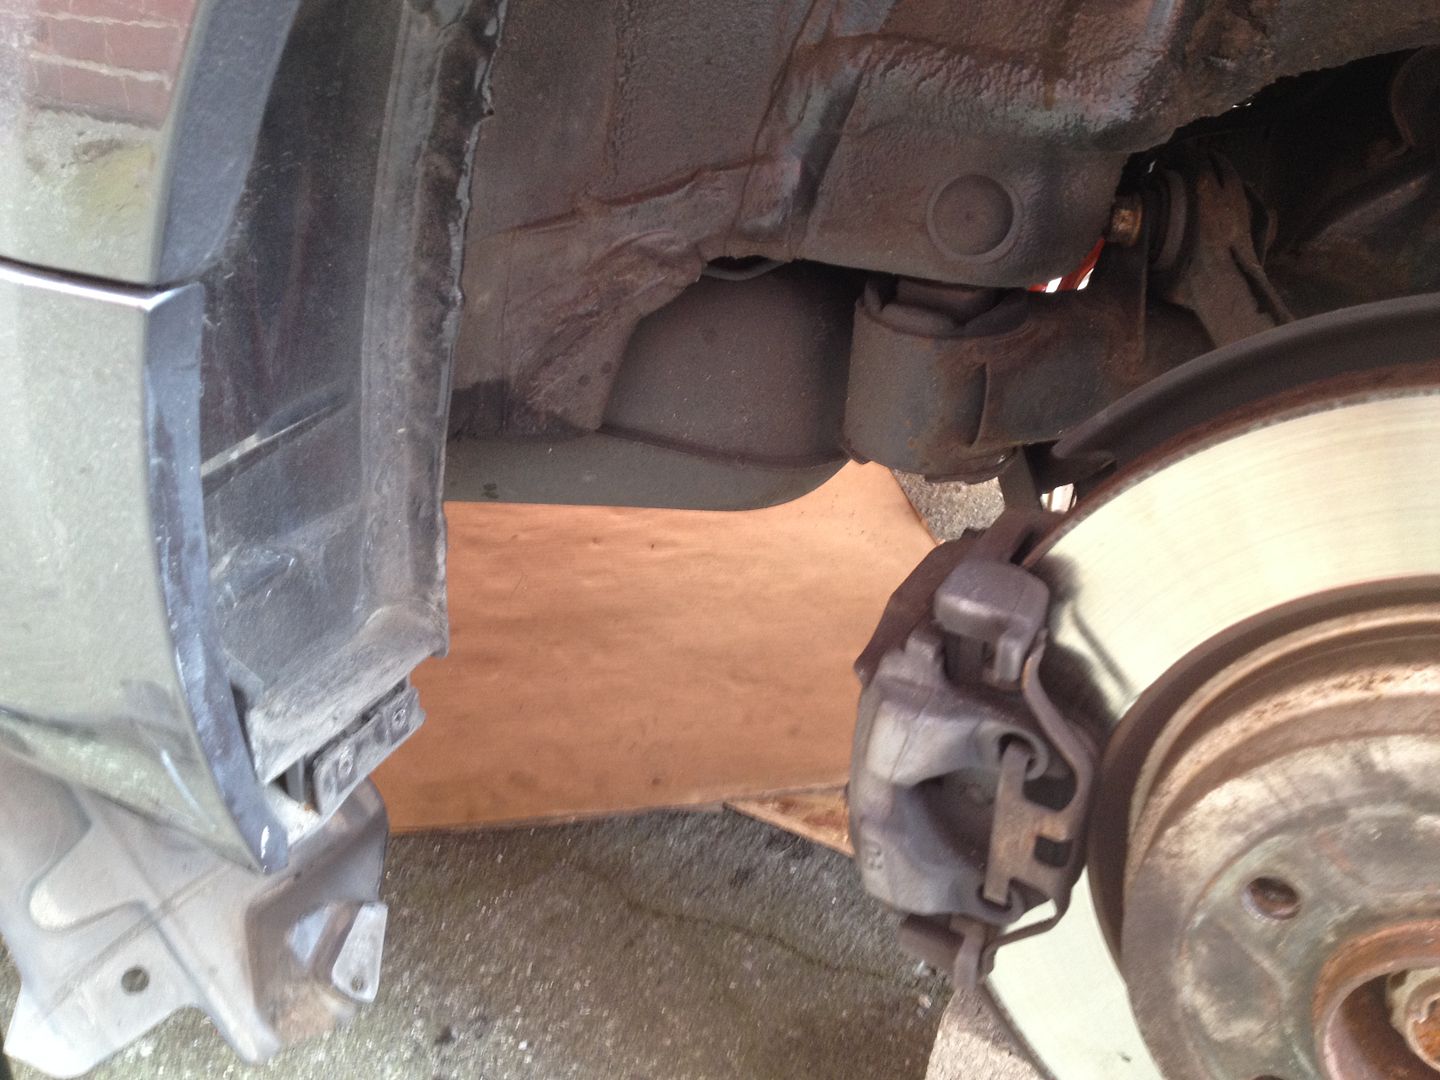 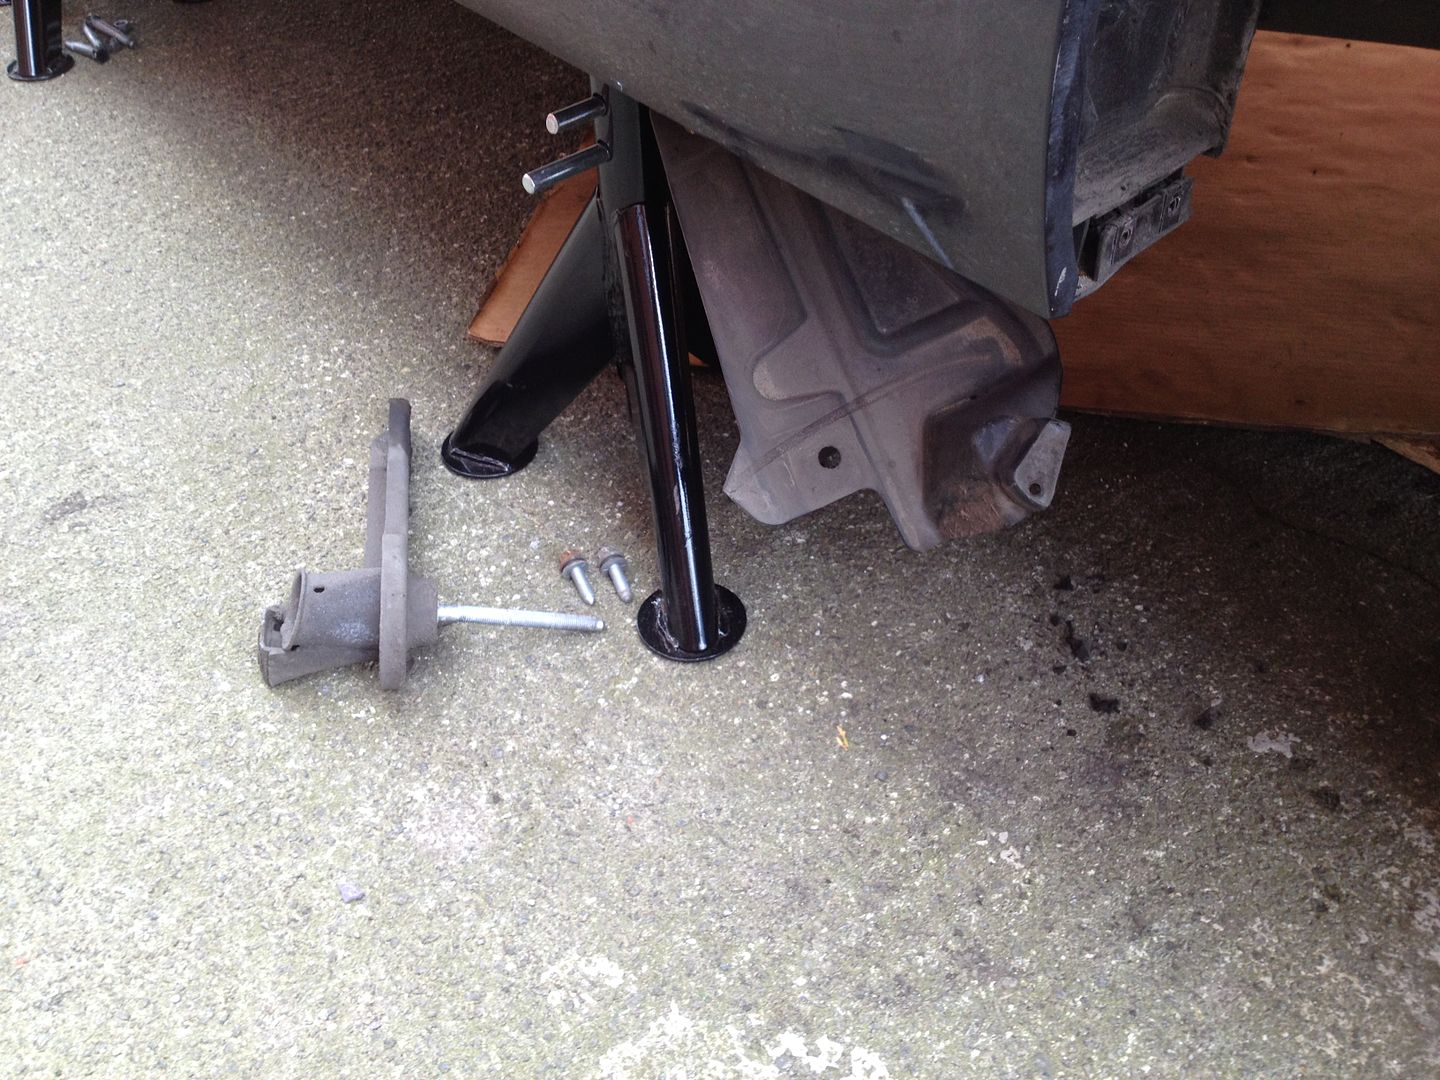 To remove some of the bolts your will need to remove the wheel arch liners, these come out easily by removing a few plastic fittings. Disconnect the wheel speed sensors and brake sensors. Once all the bolts are out you will need to disconnect the rear brake lines at the subframe, clamp the flex hose to minimise fluid loss. Do a double check and make sure that you haven’t missed any bolts. Remove the handbrake cables from inside the car if not done yet and pull them out of the metal guide tubes. We cracked the four main subframe bolts next, not removing them but just freeing each bolt to ensure they would turn freely. To drop the subframe I used a trolley jack. Make sure you plan where your going to move the old subframe to and how you’ll get the new subframe to the car. My drive isn’t that smooth so I made a path of wooden boards I had around to make it easier to pull the jack along. 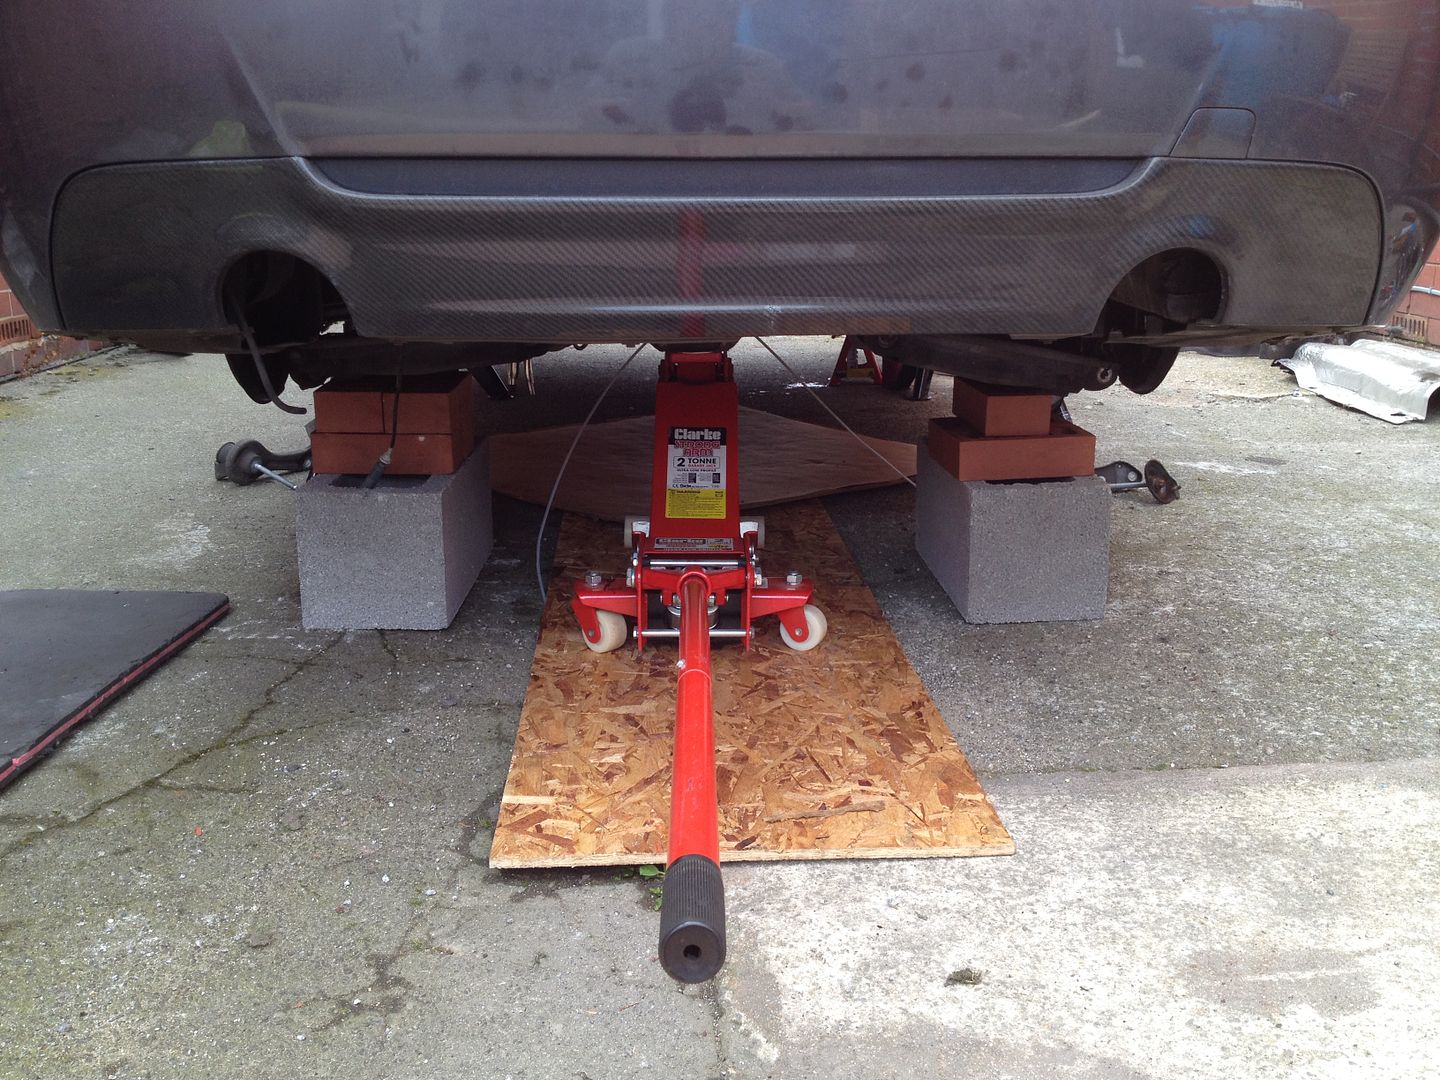 Put the jack under the rear diff and take the weight, try and ensure it is as central as possible on the diff and not pressing on the rear cover. Remove the four bolts completely. Now have a second person steady the axle from one side as you slowly lower the subframe, the second person isn’t taking any weight just stopping the axle tilting. Obviously the axle falling off would be bad and could cause damage, hence try and ensure the jack pad is central both left to right as well as front to back. I had bricks under the axle each side just in case for the initial lowering, they could have been useful or could of made things worse if it had fallen off, thankfully I didn’t find out, once it was balanced they were all removed. Once the subframe is clear of the underside of the car you can slowly pull it backwards free of the car and take it to where ever it is going to sit. It was really pretty stable even when we had to swing the axle through 90 degrees to get it through the gate onto the patio. Car looked quite sparse at this point with northing underneath it. You now need to balance the M3 diff onto the jack which is more challenging as the diff doesn’t have a nice flat base like the 335 one. It does balance it's just less stable. Due to the diff cooler and the angle of the jack I recommend putting the jack entry from the propshaft side not the diff cooler side as once you start to lift the subframe the jack will foul on the diff cooler, tipping the whole subframe forwards and potentially damaging the cooler/rear cover. Thankfully we figured this before getting under the car, so I got under the car and pulled the subframe in using the handle of the jack with my neighbour keeping it steady. Once in close location you can start jacking it up slowly and moving it around to align it with the holes in the chassis. We dropped it down each time it needed adjusting just in case it fell off the jack while being moved, which it did once! Thankfully it only slid to the side so just needed to be pulled back onto the jack pad. Then jack up, use an alignment tool (pointy metal bar) to locate the subframe holes through the rear bushes and install the bolts. Ensure it is correctly centred as you jack it into location. Install the bolts half way, you can then install the springs without having to loosen or undo any bolts on the subframe. We just checked it was balanced and installed the bolts halfway on one side this meant we could tilt the whole axle left to right to gain extra space to fit the springs. This was after we fully installed all the bolts but forgot about the springs! At least this meant that the trolley jack could go in from the rear of the car rather than under it! Torque setting for the main subframe bolts in TIS was 100nm. Stand back and feel good! Then realise that there is still a load of work to do before you can drive it. Thread the rear handbrake cables through the metal guides and connect in the cabin. Replace the air bag control unit. Reconnect the rear brakes at the subframe. Replace the propshaft, you can use axle stands to support it, slide the front in and drop a couple of bolts through then connect the rear and do the same. You can then loosely fit the centre bearing, fit all the bolts and tighten them evenly working round the front and star pattern on the rear to ensure it pulls down evenly. Torque all the bolts down. You will need to keep taking it in and out of gear/applying the handbrake so that you can torque the bolts. Centralise the propshaft (if you are using a 335 front section as it will move back and forth to adjust) and rear CV, then tighten and torque the centre bearing. Make sure the faces are clean, the bolts should slide straight through easily and the proud sections on the rubber guibo fit into the recesses on the propshaft. 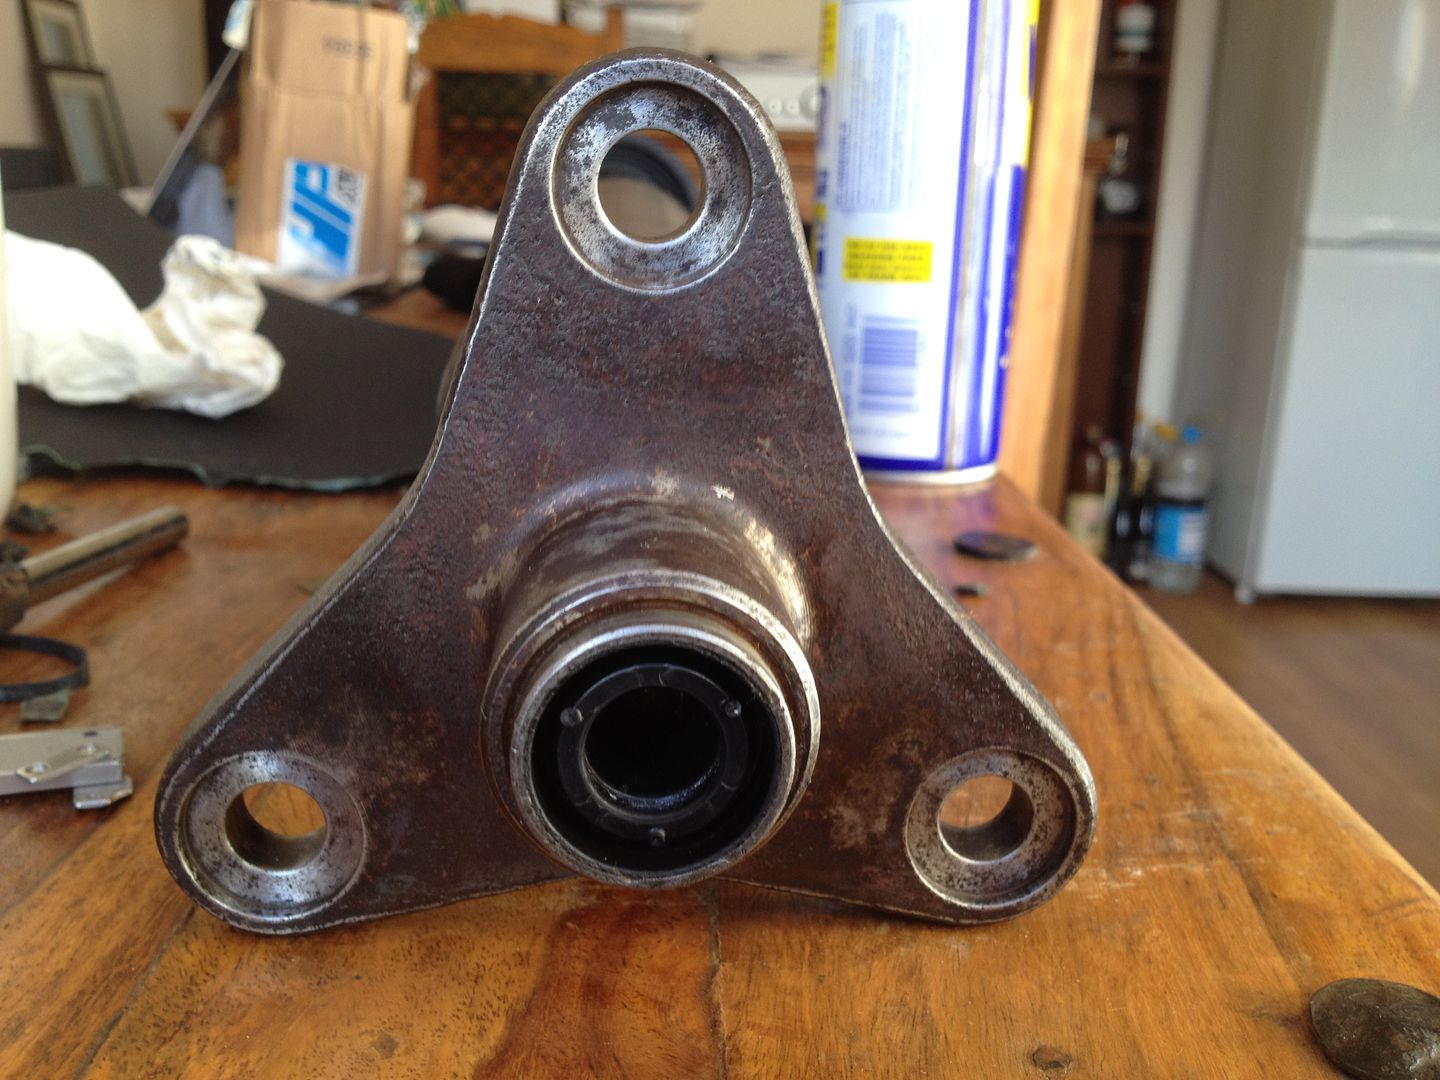 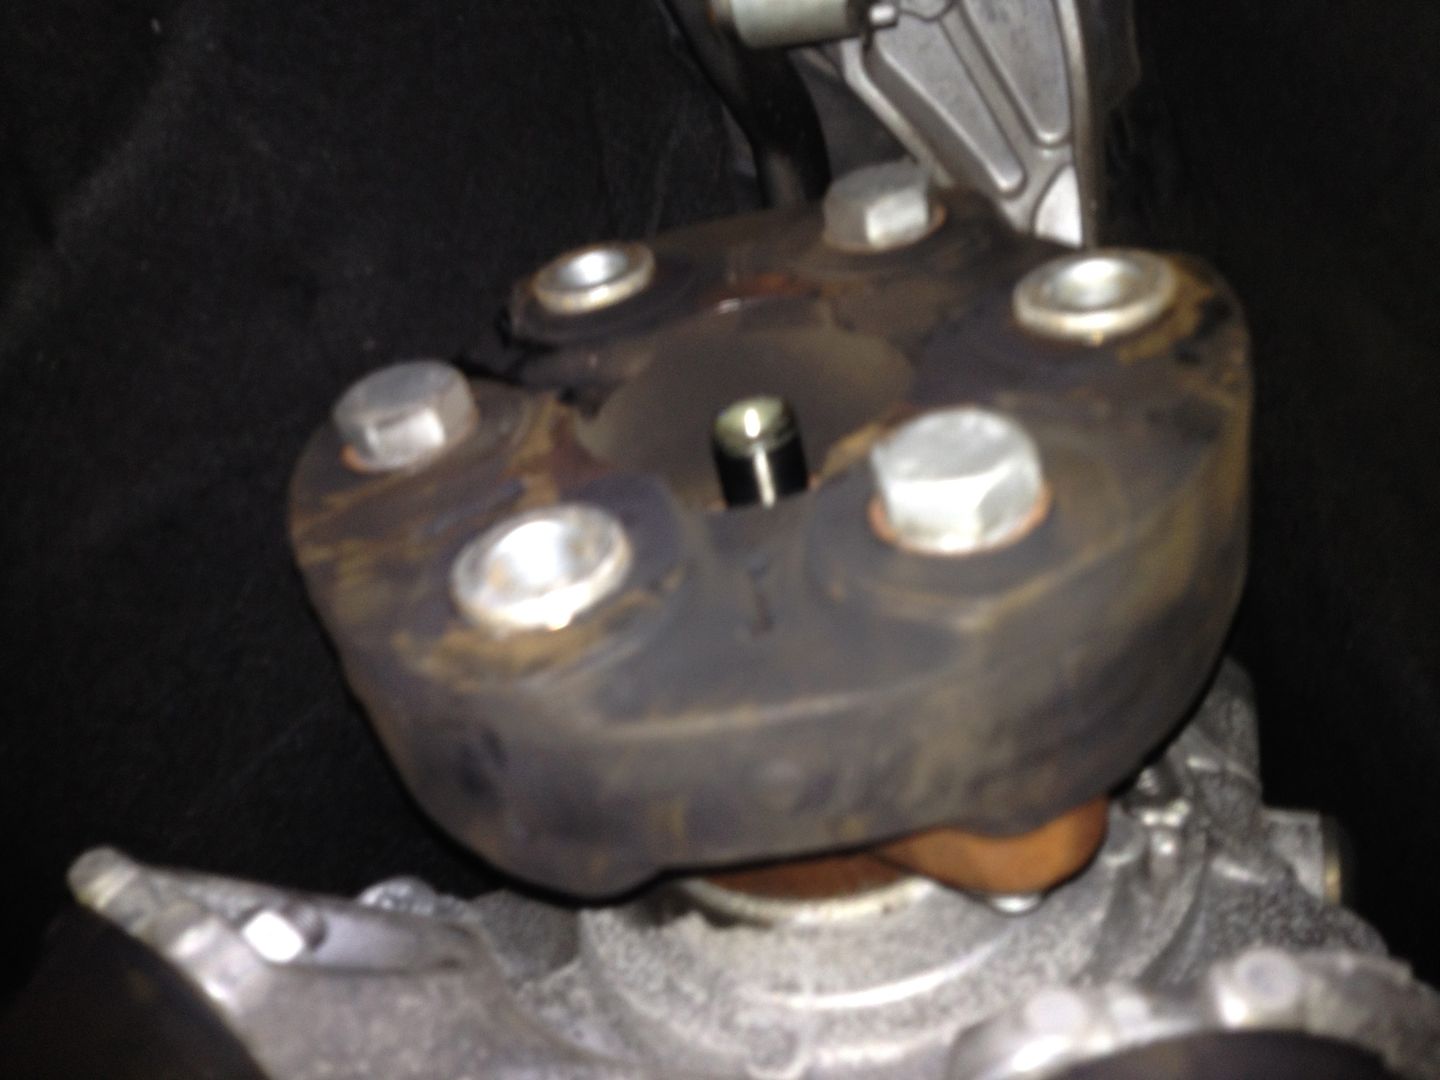 Subframe in place, you can see the diff cooler to the rear. 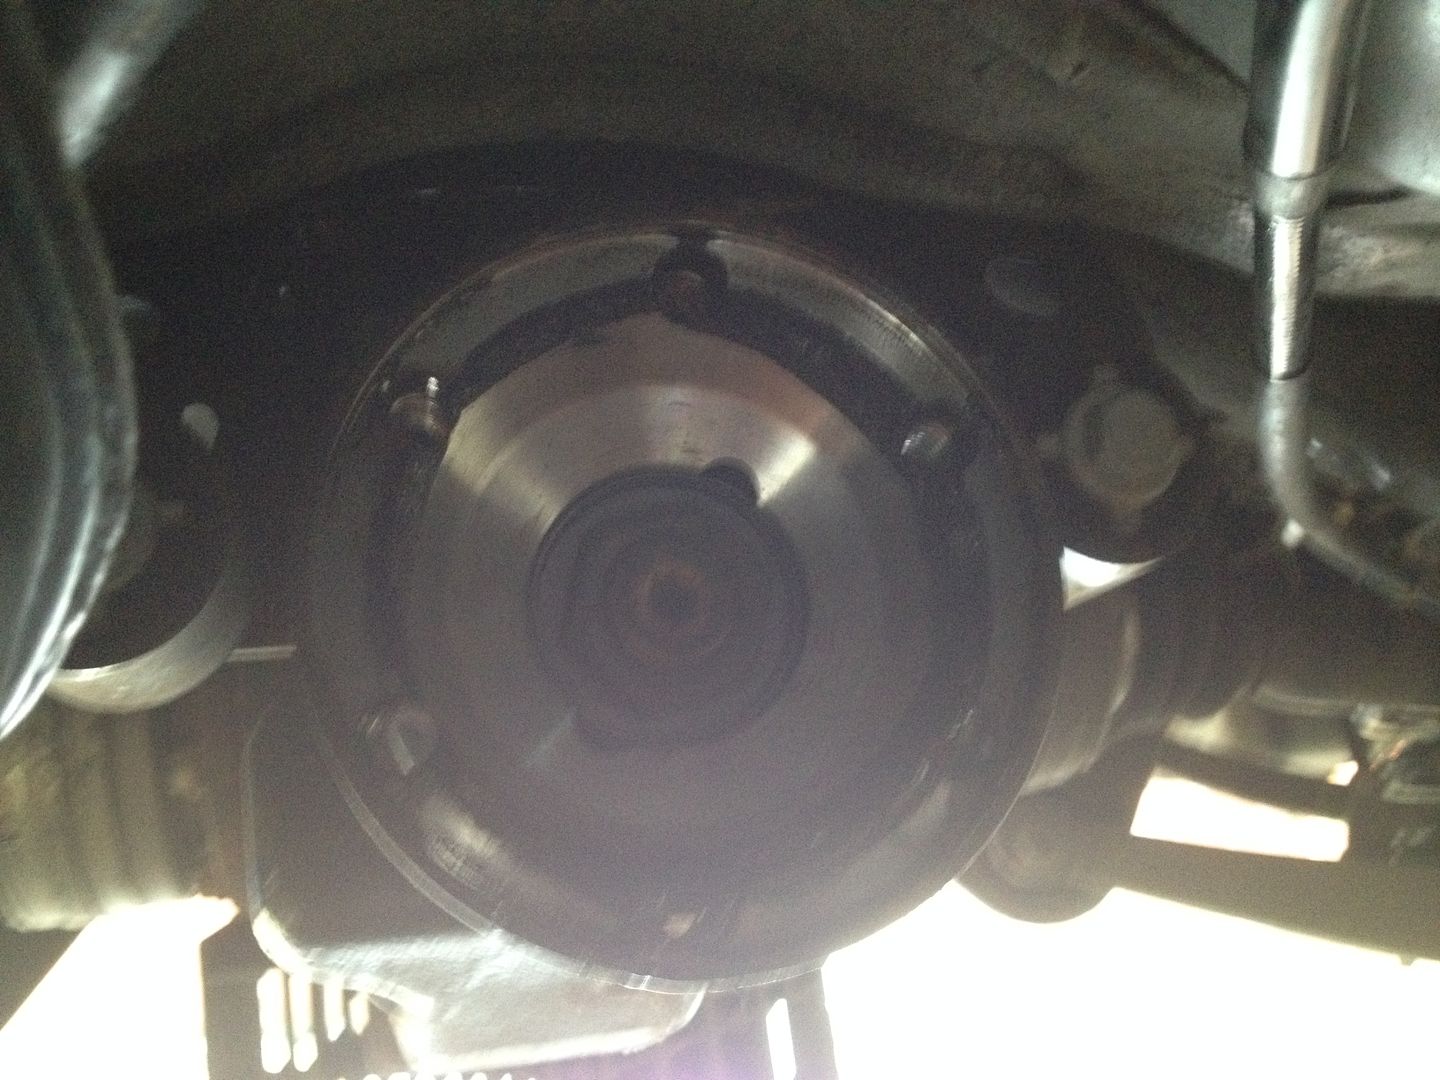 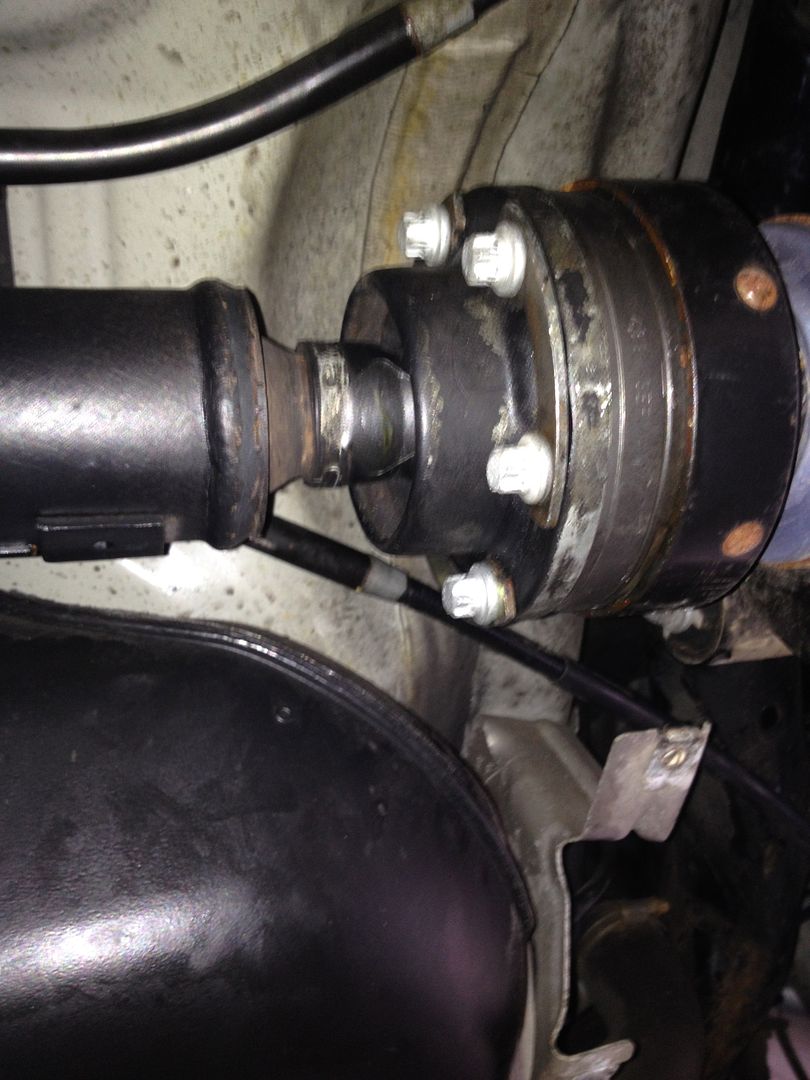 I can’t get into BMW TIS at the moment as I don't have a laptop with the correct OS but seem to remember the torque settings around 65 nm gearbox side, 20nm centre, 56nm rear diff. Check yourself to be sure. Replace the various bolts and fittings around the subframe, reconnect the wheel speed and brake sensors. Hopefully your new axle still has these installed. Install the rear dampers, M3 dampers are much easier to fit. Ensure that you have the correct bushes and rubber shields for the top of the struts. Check the old dampers or real OEM to confirm. Refit the wheel arch liners. Heat shielding and lower trim. Everything fits the M3 subframe perfectly. The only modification I needed was to make some spacers for the section of heat shield that goes over the rear CV, due to the larger size of the CV the heat shield was rubbing. Some metal washers glued together to the correct size and gentle bending of the rear of the heat shielding had it looking like it left the factory like that! You will need to leave off one of the fittings from this due to the spacers as one of the studs is too short. These were the only compromises and the heat shield is completely solid with the other fittings with no vibration or rattles etc. 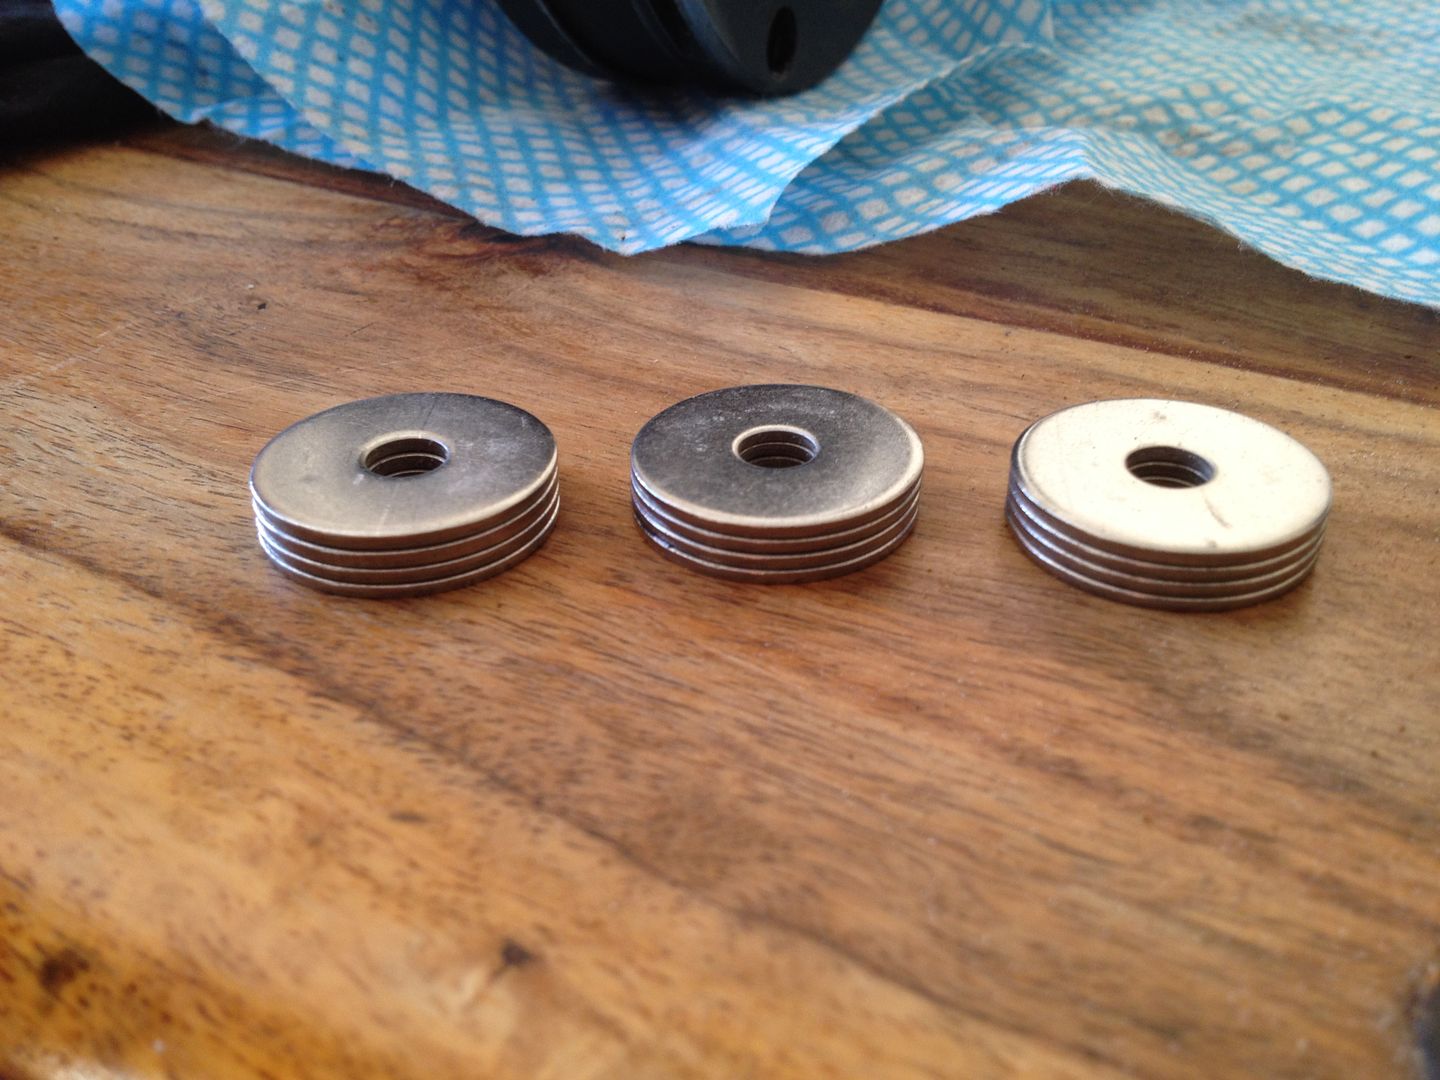 Refit the exhaust, use new gaskets. Marvel at how lovely the new non-corroded nuts are. Check everything, I must of double and triple check everything at each stage just to be sure I hadn’t forgotten or missed a nut or bolt. Key bolts were all torqued and marked so I knew they had been tightened correctly. Bleed the brakes, lots of youtube videos for this. Do not over fill the reservoir once you have bled the brakes as the float in the top cap displaces fluid as you refit so check as you top up after finishing the bleeding. Drop the car back to the ground. Refit the interior, use the pictures you took while taking it apart (you did take pictures right?) to ensure the cables and zip ties are all back in the same place. No lights, no codes or anything from doing this, took around 7-8 hours including breaks, lunch etc. not including removing the interior which I did previously to save time. Just took our time, sure more experienced people could do it quicker, but wanted to make sure everything was right. Propshaft measurements. I used a 335i prop from a breakers together with a 740i prop to create the hybrid prop. The 335i has a splined front section so has a degree of adjustment and doesn't need modifying. The rear section needs to be shortened and have the 740i rear cv fitted. I was lucky and picked up a damaged M3 prop so was able to take measurements to ensure the rear section was the correct length. The 740i prop has bolts fitted but these easily tap out with a hammer to leave you with the holes needed to install into the M3 diff. You can re-use the metal supports between the pairs of bolts. Below are some pics of the finished prop together with my prop when removed from the car so you can see the difference and the measurements. 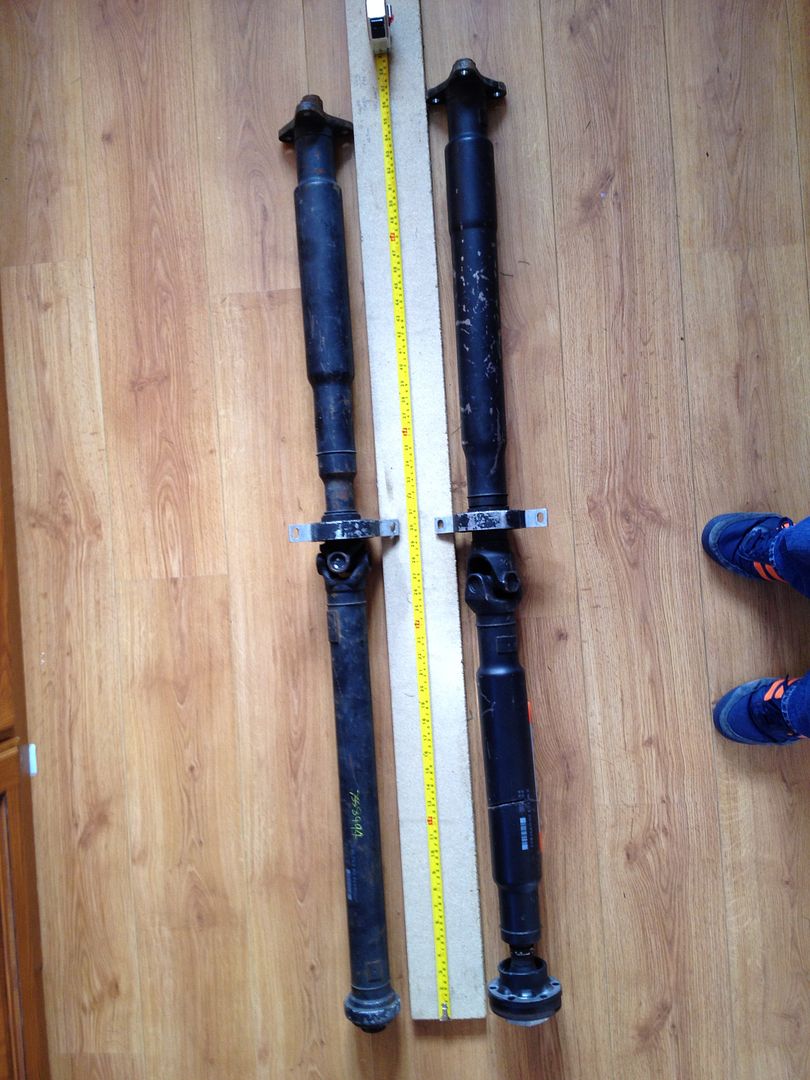 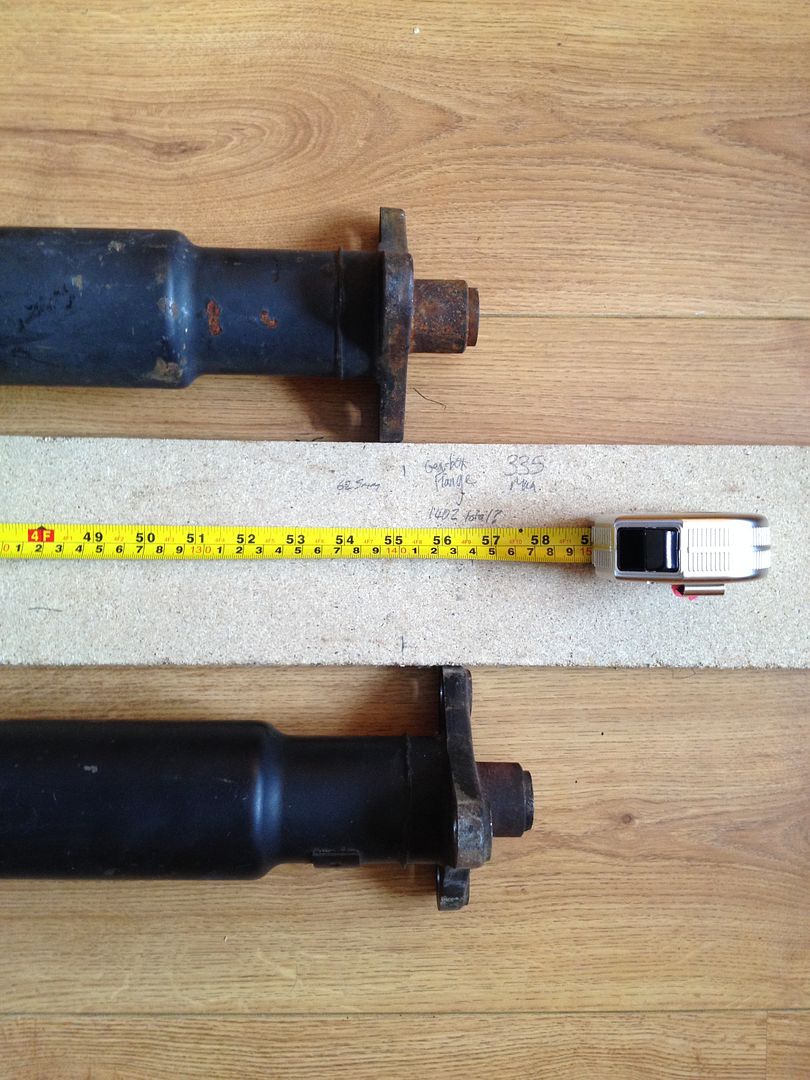 335i prop and damaged M3 prop 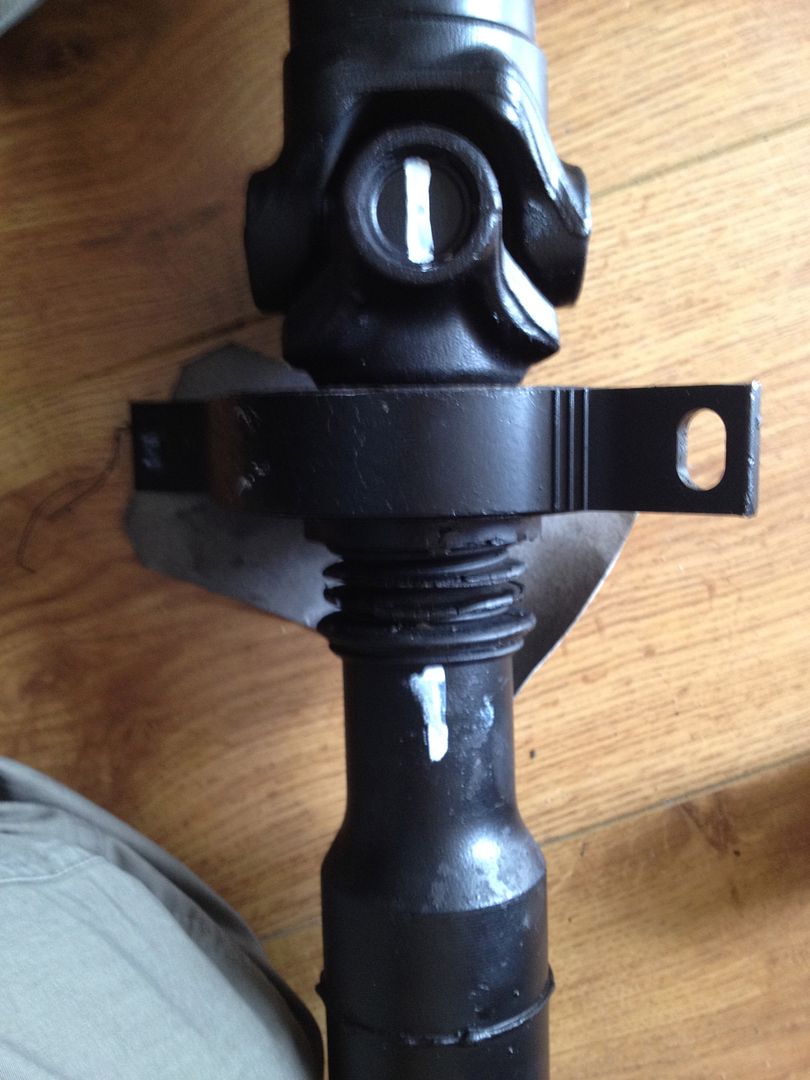 Marked up to be split to replace old gaiter. 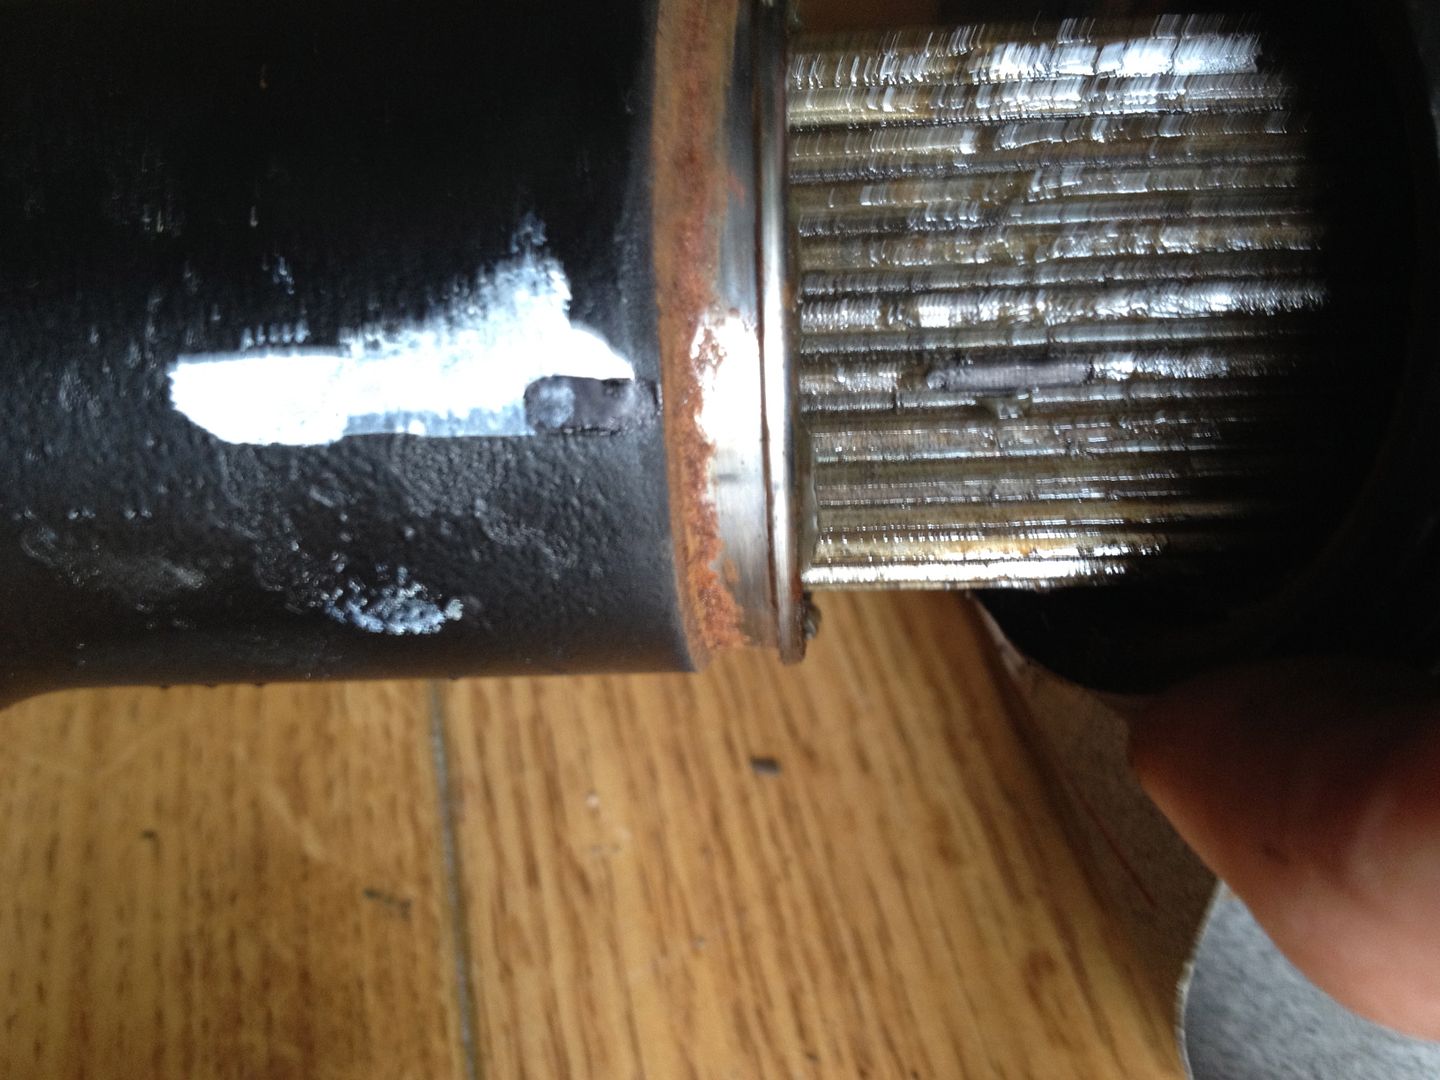 Splined section 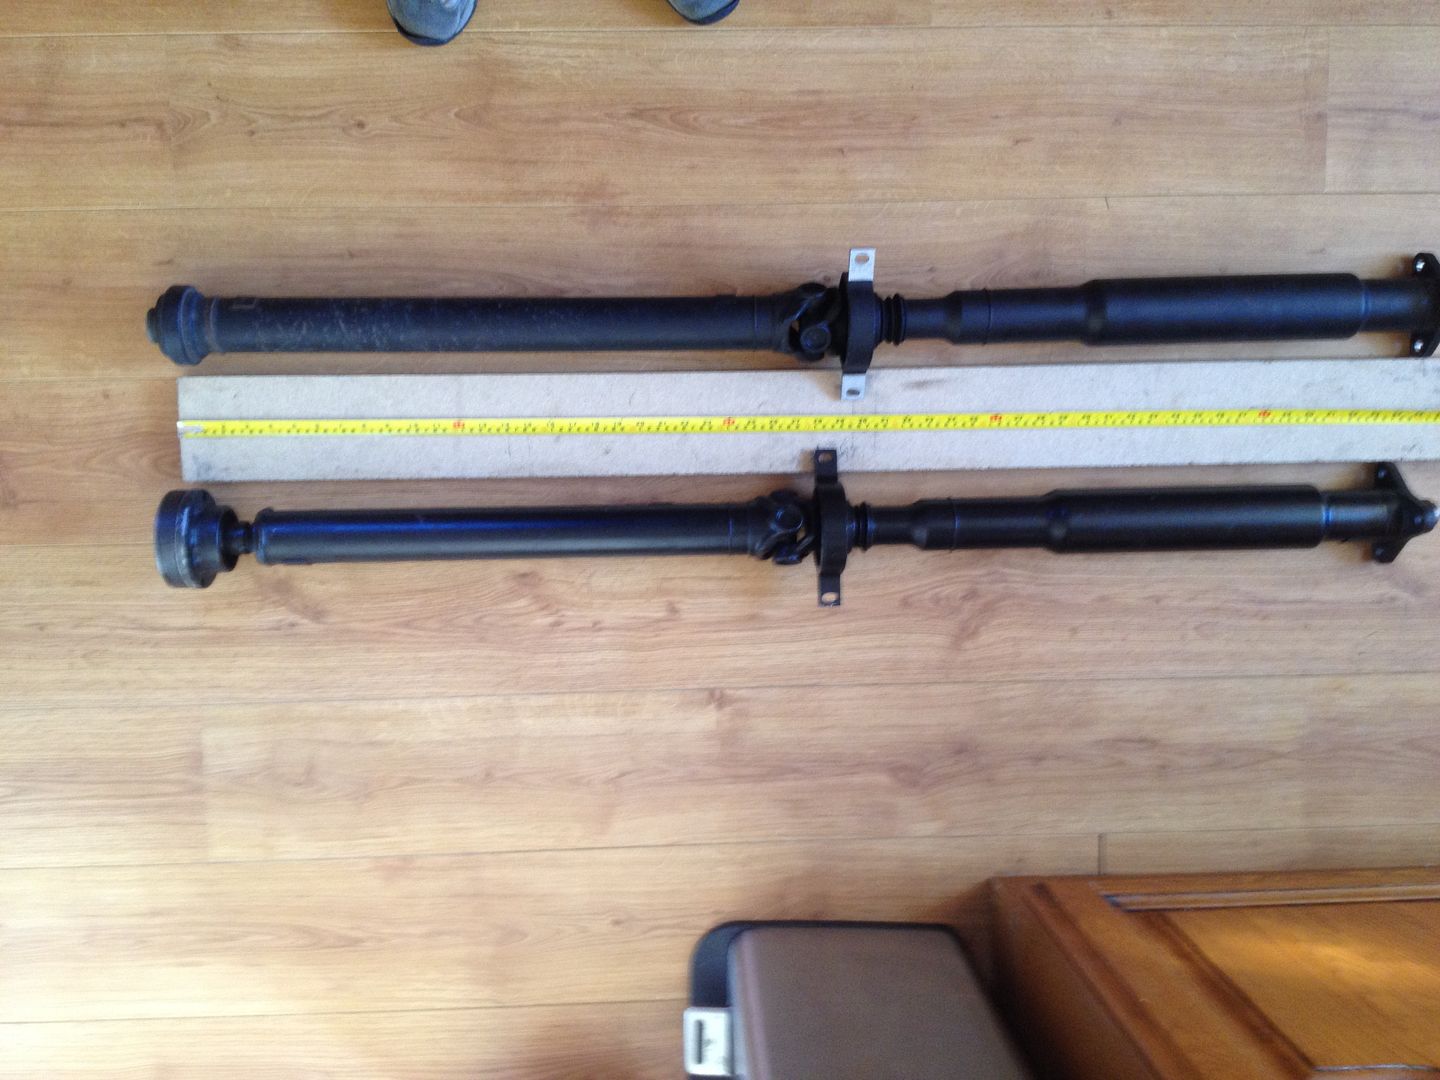 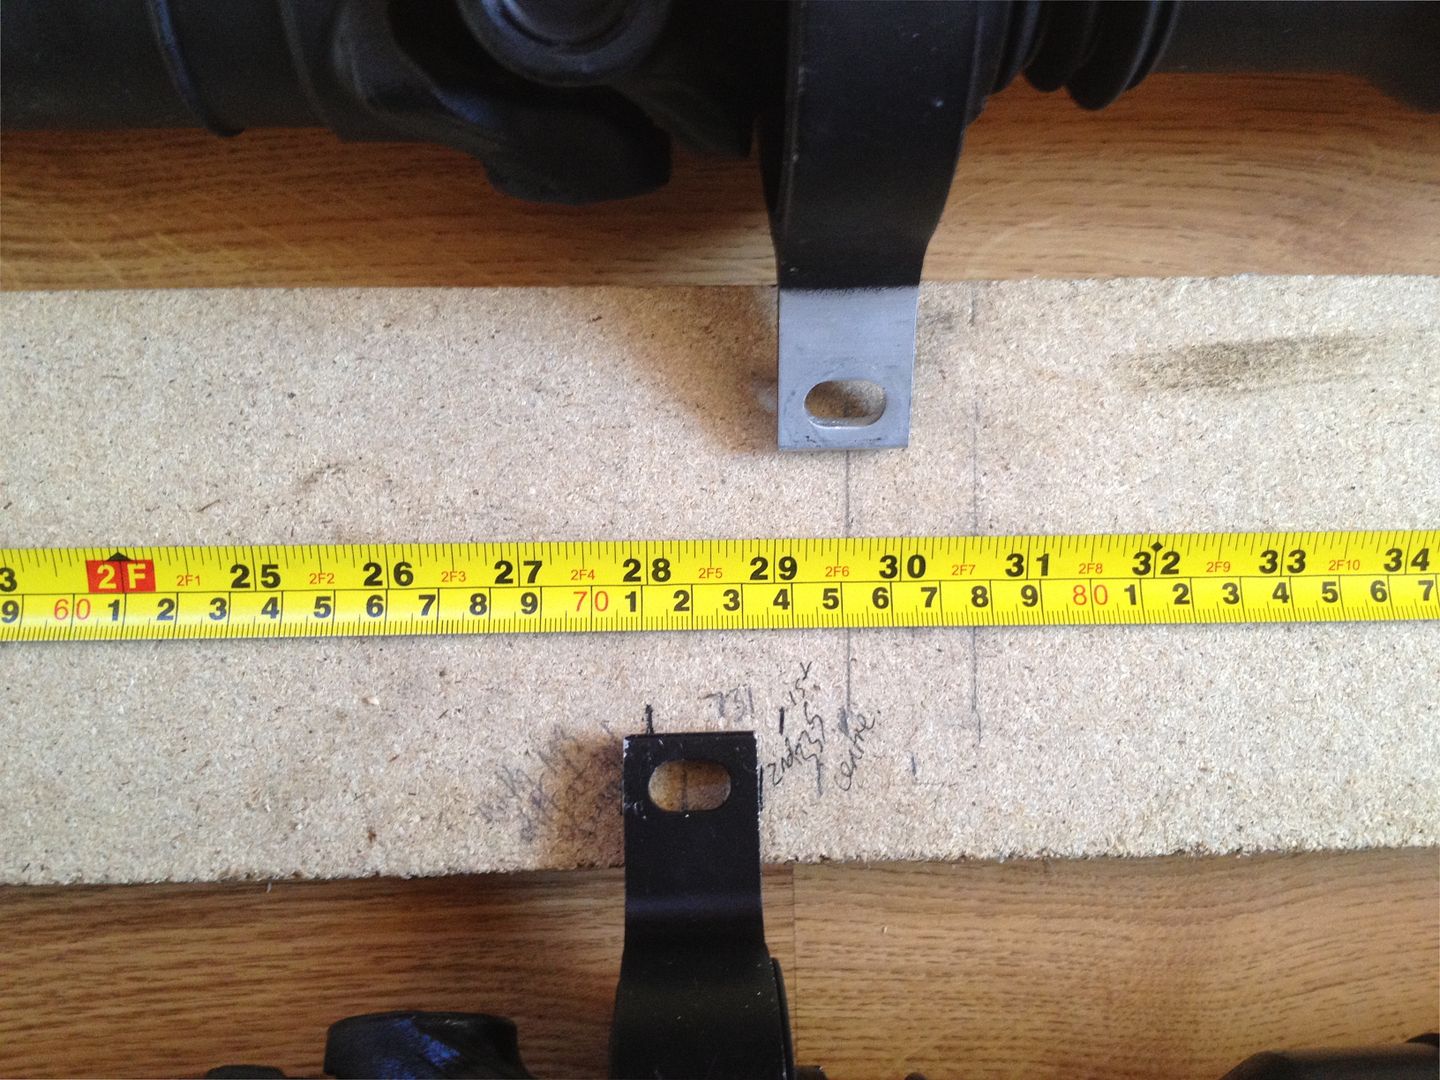 Hybrid prop and original prop. Some have taken an M3 prop and modified it to fit, in this case the rear section is the correct length and the front section needs shortening, however you need to fit the 335i centre bearing to maintain the correct angle from the gearbox. The centre bearing mounting is the common location on both cars just the differences in the diff or gearbox length that determine the section to adjust. Costs Rear Subframe £400 335i prop £95 740i prop £40 New centre bearing £70 Prop modification £120 Nuts and bolts £80 Lots of people have mentioned how much these cars benefit from the installation of a LSD and M3 components. Doing the whole thing means you get everything all at once. It is a substantial improvement over the standard components and provides a much more solid feeling at the rear. You may of seen from the earlier picture that I happened to have a complete front subframe too. I managed to get it all for a decent price so it seemed like a good idea! This meant I have ended up with a complete M3 suspension and brakes conversion including the steering rack which is programmed in and running servotronic. This is a massive improvement, slightly heavier at low speeds than an M3 I have been told, possibly due to a different pump size. However a week after fitting I was completely used to it and find it so much better than the old rack. I was pretty daunted when I started considering it but kept thinking, well its just four bolts holding the subframe on… Last edited by submab; 04-21-2015 at 04:54 PM.. Reason: Corrected image links |
| 04-21-2015, 01:58 PM | #3 |
|
Brigadier General
 676
Rep 4,260
Posts |
You need the url links will be listed as IMG
__________________
OG M2 7sp DCT Masata FMIC - Masata Boost Pipe - Cobra Catless DP - Powervalve Exhaust - Devilsown Methanol Injection BM3 Stage 2
|
|
Appreciate
0
|
| 04-22-2015, 12:35 AM | #6 |
|
Brigadier General
 676
Rep 4,260
Posts |
No problem mate , good write up.
__________________
OG M2 7sp DCT Masata FMIC - Masata Boost Pipe - Cobra Catless DP - Powervalve Exhaust - Devilsown Methanol Injection BM3 Stage 2
|
|
Appreciate
0
|
| 04-22-2015, 04:22 AM | #7 |
|
Brigadier General
 
615
Rep 3,193
Posts
Drives: E92 325i MSport Coupe
Join Date: Apr 2012
Location: UK South East
|
Great guide. So impressed you manged it without the use of ramps! Would be more useful if this was in the 'DIY Guides' section:
http://www.e90post.com/forums/forumdisplay.php?f=172
__________________
E92 pre-LCI 325i - Ohlins R&T; H&R spacers; M3 strut brace; Swift thrust sheets; 3 x chassis braces; diff brace; N53 V-brace; 034 subframe inserts; BMS clutch stop; BMS CDV; RE g/box mounts; Delrin shift bushes; Saikoumichi OCC; Cyba scoops; BMW Perf Exhaust; HEL s/steel brake hoses; M3 rear spoiler; Recaro Sportster CSs; M3 white dash LEDs; LED Angels; LED side repeaters; BMW Perf black grille; CSL reps; SSDD carbon diffuser; Monster Wrap black roof/clear front
|
|
Appreciate
0
|
| 04-23-2015, 02:51 AM | #10 |
|
Brigadier General
 1675
Rep 3,279
Posts |
Great write up!!
But for many the amount of work needed will put people off. Remember many people don't even feel confident enough to install a JB4 or an oil change themselves. To get a local garage to do this kind of work your have to be very friendly with them to negotiate either a very good hr rate or a up-front cost, with a specific deadline. But very impressive from the OP, don't think it's something I would have ever tried to do my self on my old 335i...I can barely change the spark plugs without worrying about breaking something  |
|
Appreciate
0
|
| 04-26-2015, 11:01 AM | #11 | |
|
New Member
11
Rep 8
Posts |
Quote:
How do I get it moved to the 'DIY Guides' section? Had a look in the edit tab but couldn't see anything, does it require a moderator to move it? |
|
|
Appreciate
0
|
| 04-27-2015, 09:54 PM | #12 |
|
Second Lieutenant
 59
Rep 235
Posts |
Nice work! Did you wire in the servotronic to the JBE? Did you also swap in the m3 front subframe? I was thinking of doing the same thing and was curious about the motor mounts fitting.
I just came across a m3 rack, I already have front and rear suspension and rear subframe swapped. Makes a huge difference, anyone that says "why didn't you just put in suspension and a lsd" just does not understand ALL of the benefits of this swap. |
|
Appreciate
0
|
| 04-29-2015, 04:10 AM | #13 | |
|
New Member
11
Rep 8
Posts |
Quote:
Same to you with your build!  I didn't swap the front sub frame, considered it but couldn't be sure of the motor mounts and location points as you mention. Also with the 1M having the same subframe as the 335i but with all the same steering and suspension components as the M3 it is a straightforward swap. But sure your already aware of this. I took the rack for fitting at a specialist as knew it would require coding etc. What they found was that my car (an 2007) would accept the sevotronic software however it did not have the hardware in the JBE. With my production date being around the time of the hardware change it could not run servotronic even though the module had the software available. This required a newer JBE to be swapped in from a later vehicle to allow it to run the servotronic. |
|
|
Appreciate
0
|
| 04-30-2015, 04:42 AM | #15 |
|
New Member
11
Rep 8
Posts |
|
|
Appreciate
1
|
| 09-12-2018, 11:47 AM | #16 | |
|
Nomore

149
Rep 793
Posts |
Quote:
I also have an early build '07. I have had to swap my JBE for different reasons, but bc of that im somewhat familiar with the way it works and how it would be orderee by part number as per options in your car.. ie Servotronic, idrive, heated seats, etc... Thanks! Great DIY!!!!! |
|
|
Appreciate
0
|
 |
| Bookmarks |
|
|