

|
|
|
|
 |

|
 |
BMW Garage | BMW Meets | Register | Today's Posts | Search |
 |

|
BMW 3-Series (E90 E92) Forum
>
Camaross305 Plug and Play HID ANGELi DIY
|
 |
| 09-11-2009, 12:08 PM | #1 |
|
135
Rep 1,825
Posts |
Camaross305 Plug and Play HID ANGELi DIY
Total install on the plug and plays is about 15-20 min. Very easy with simple tools.
Tools alll you need is 1. 10mm socket 2. 13mm socket 3. zip ties (provided) scissors to cut the excess 4. flat head screw driver Before you even start as a note. The circuit it self is kinda fragile just be careful not to drop it or break any of the components. Also when handling the HID bulbs themselves DO NOT TOUCH THE GLASS ITSELF unless you have latex gloves on. Because the grease on our finger will ruin the bulb in no time. First off here is the parts included. 2 ballasts, 2 bulbs, the circuit in the small box, a resistor, and the wiring harness.  Ok your circuit should look something like this. Some of you requested it in tape so that its easier to mount in the headlight area. 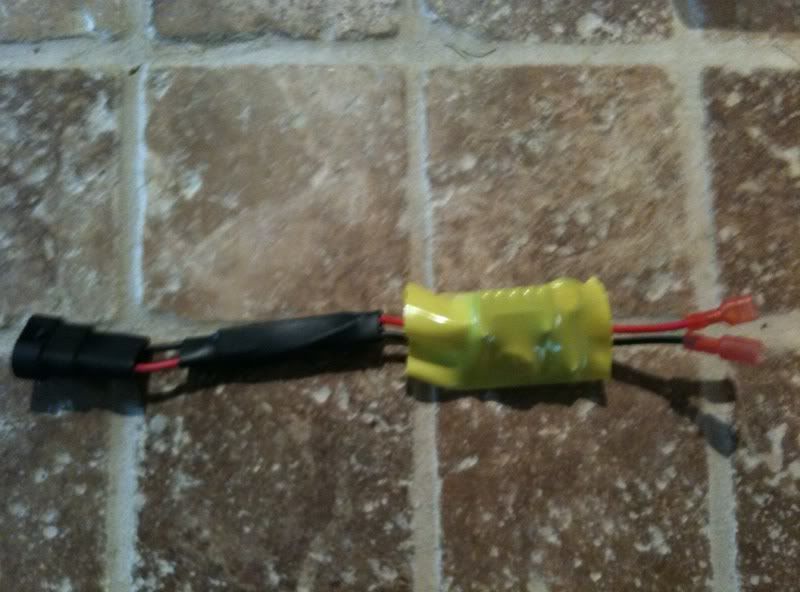 If you want to use this circuit enclosure youll have to pop off the headlight lid. And flip it over. Youll see a system of protruding plastic vains from the molding process youll have to cut these off to fit the circuit in the headlight area with the box around it. 1. First off disconnect your battery in the trunk. (if you dont know how to do this there is a few DIY on it) 2. Next remove the plastic cover that is over the positive post shown here here is where it is located in the engine bay 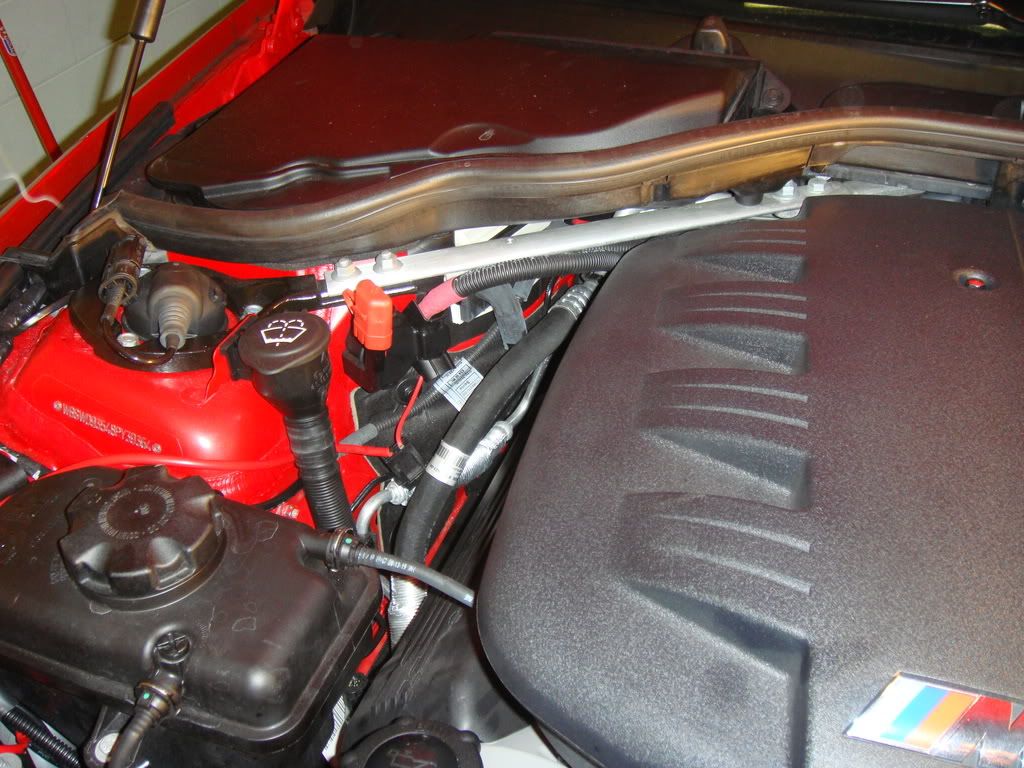 Here is the cover up close 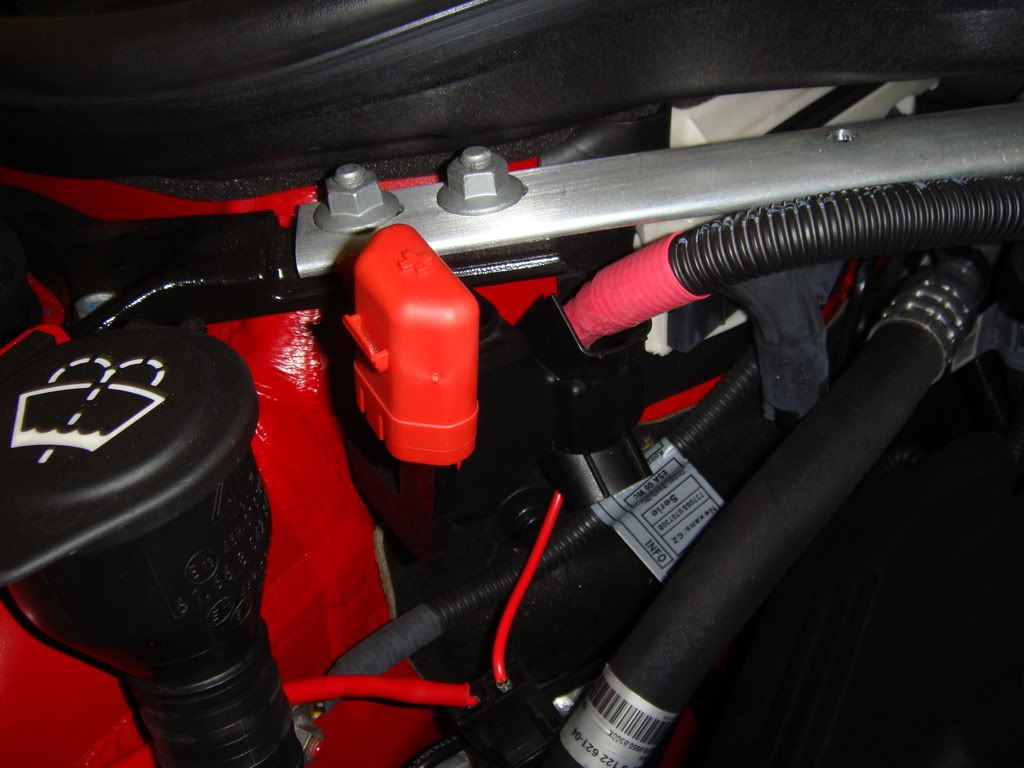 should look like this after removed 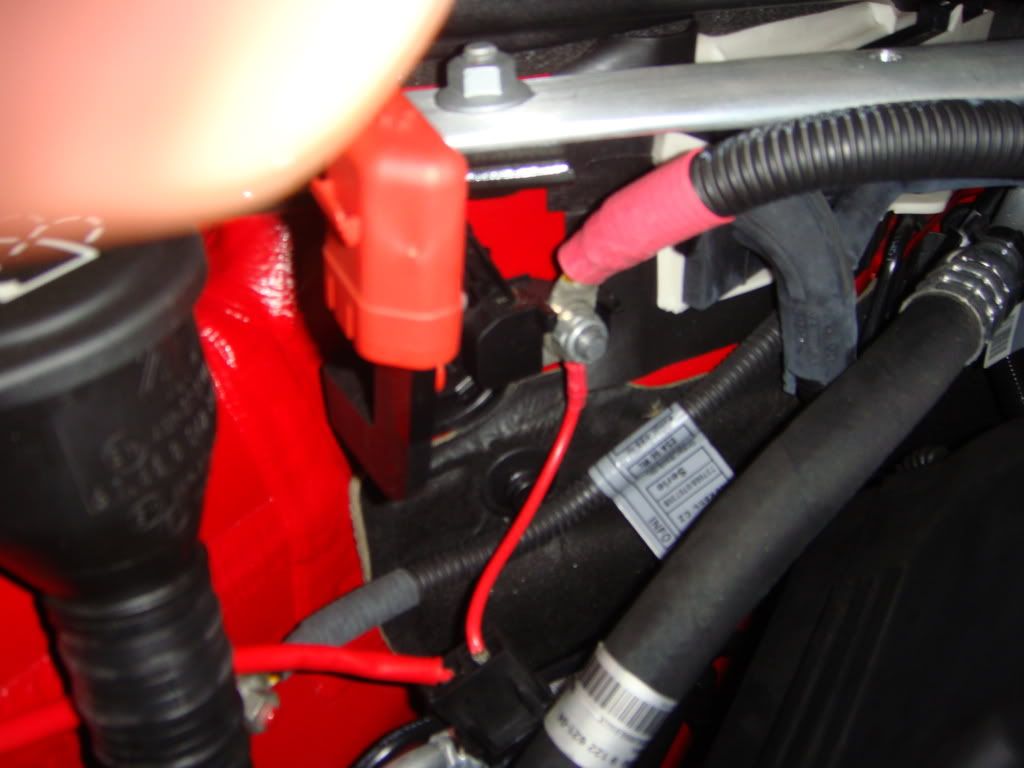 3. Next unscrew the bolt shown in the pic above with a 13mm socket 4. Take the thick red wire that looks like the one shown bellow with the ring terminal on it from the harness and attach it to the threaded shaft and bolt down the connection like shown above. Make sure it is pointing down so the plastic cover goes back on 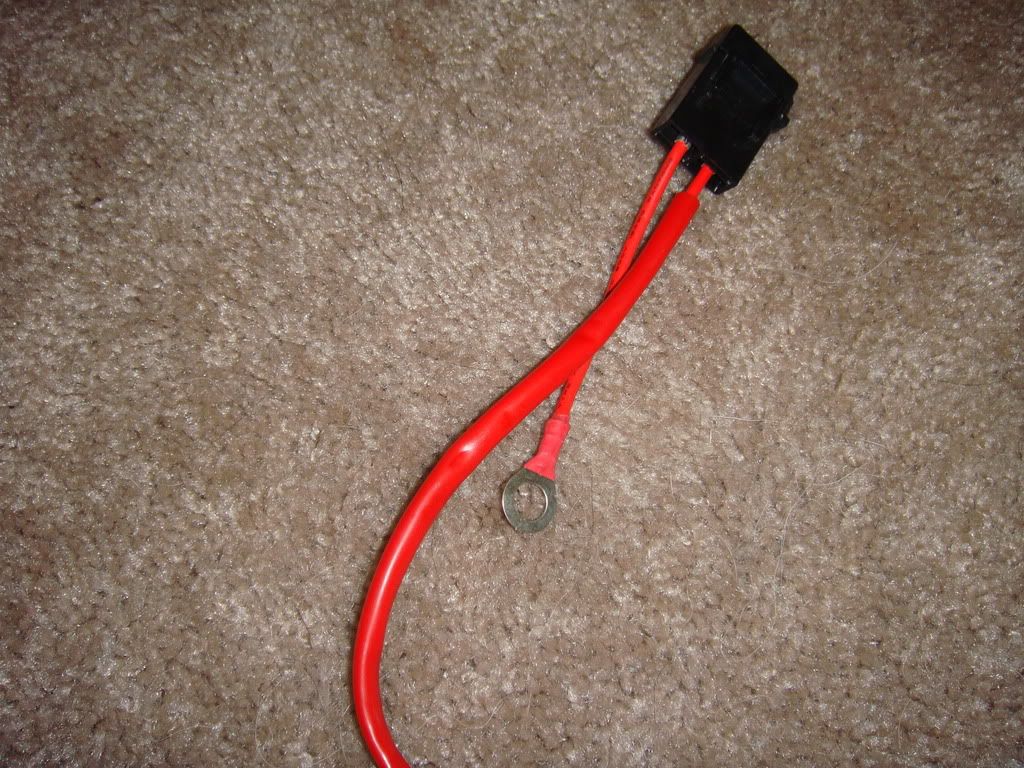 ( Part 4 Cont) some of you with the newer style harness have a black wire for a better ground like this in harness. 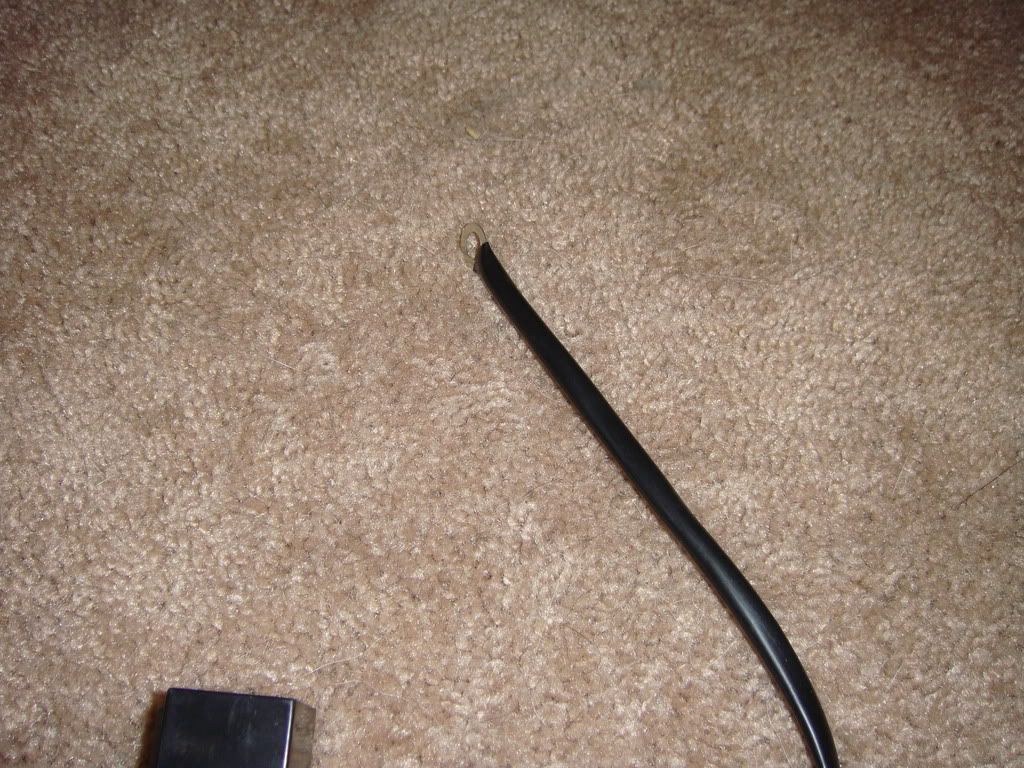 5. As for the passenger side ballast ground. You will see 3 grounds behind the windshield fill neck. 2 painted and one non-painted. Put the ground on the bottom (more toward the ground) of the two painted ones that has nothing on it. 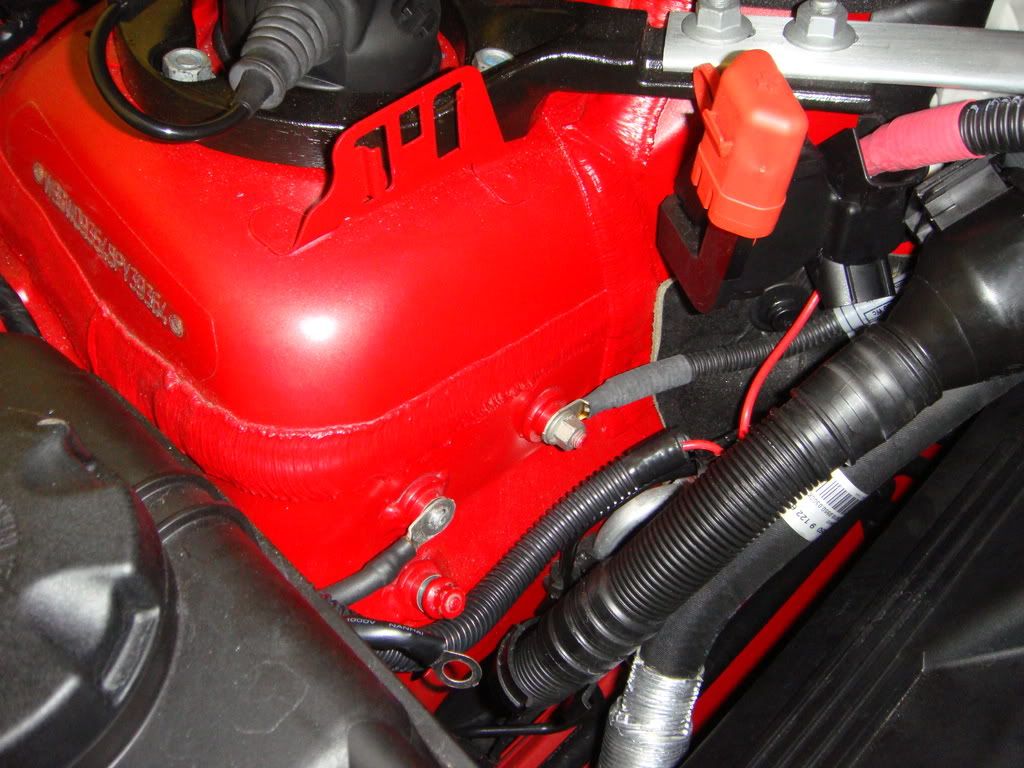 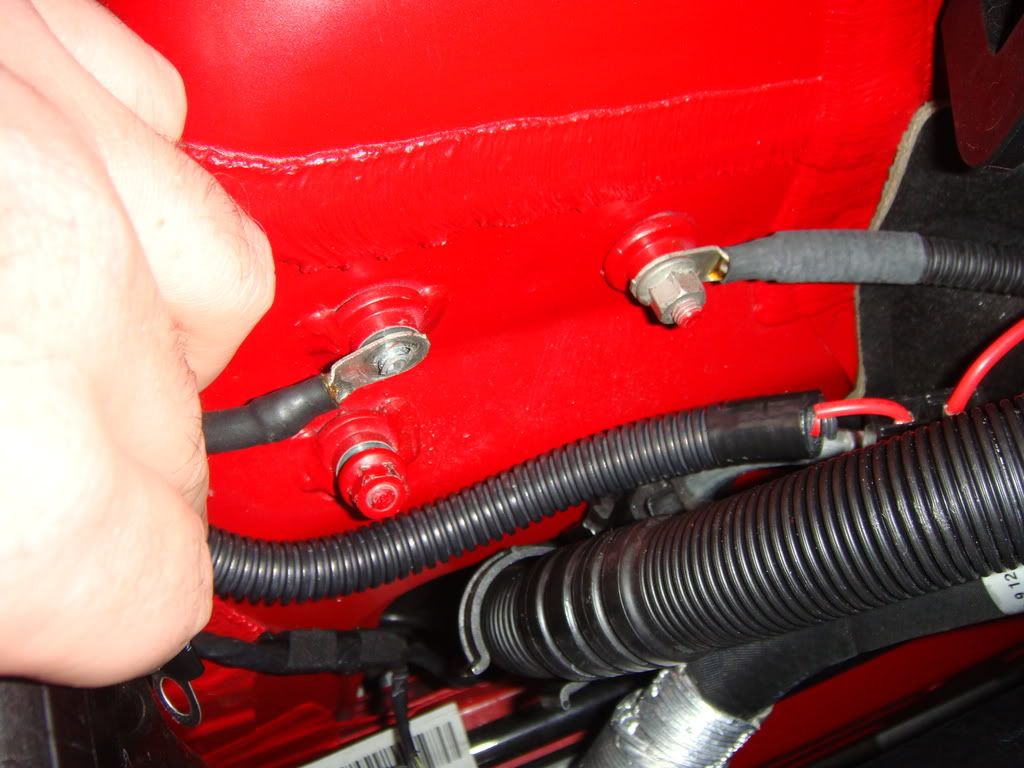 6. Run the wire in the wire behind the winshield washer tank neck and route it as shown. I put some wire loom to make it look cleaner. After running the wire this is how it should look 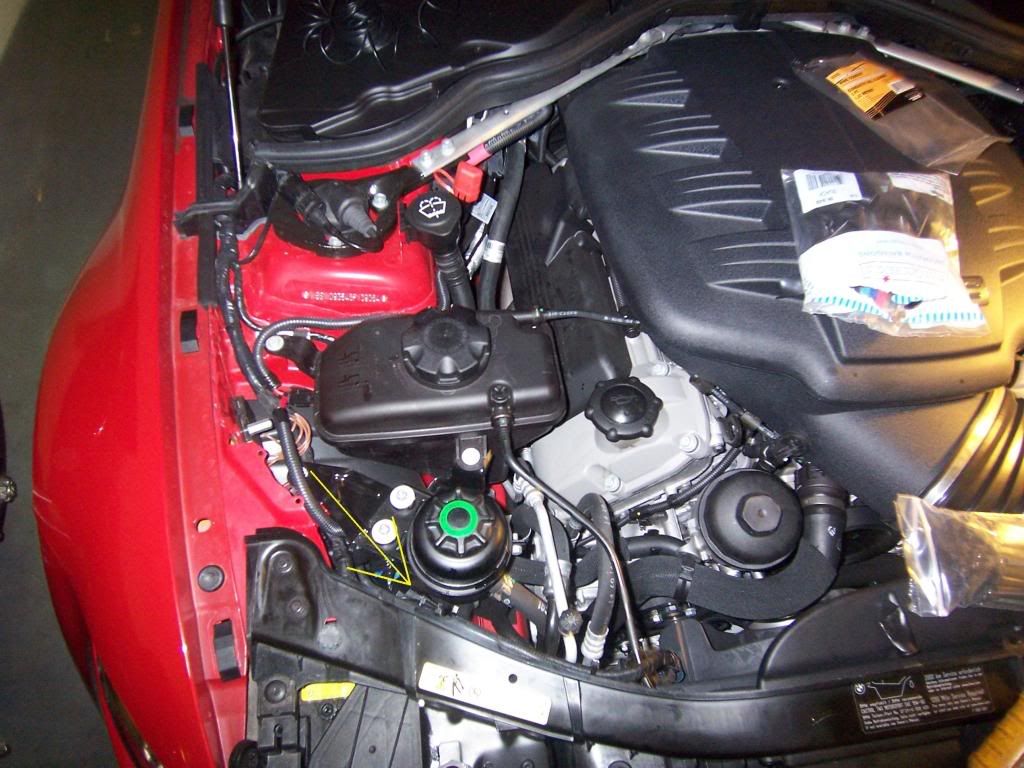 7. Next open the lid that contains your halo's bulb. Lift the tab as shown. 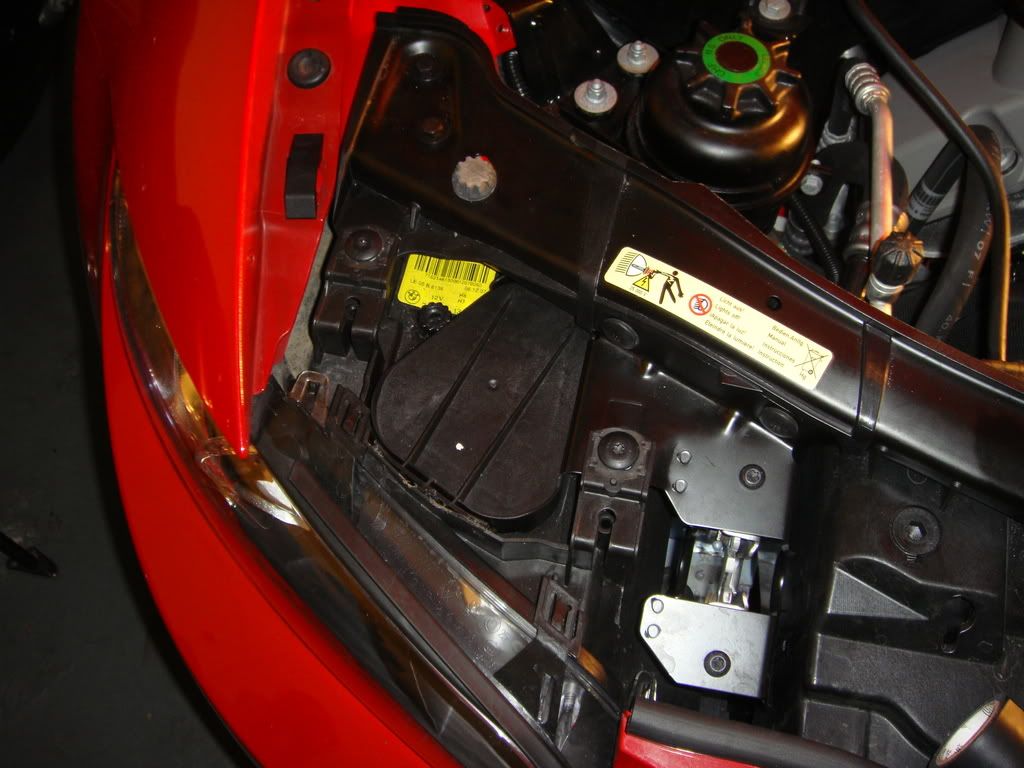 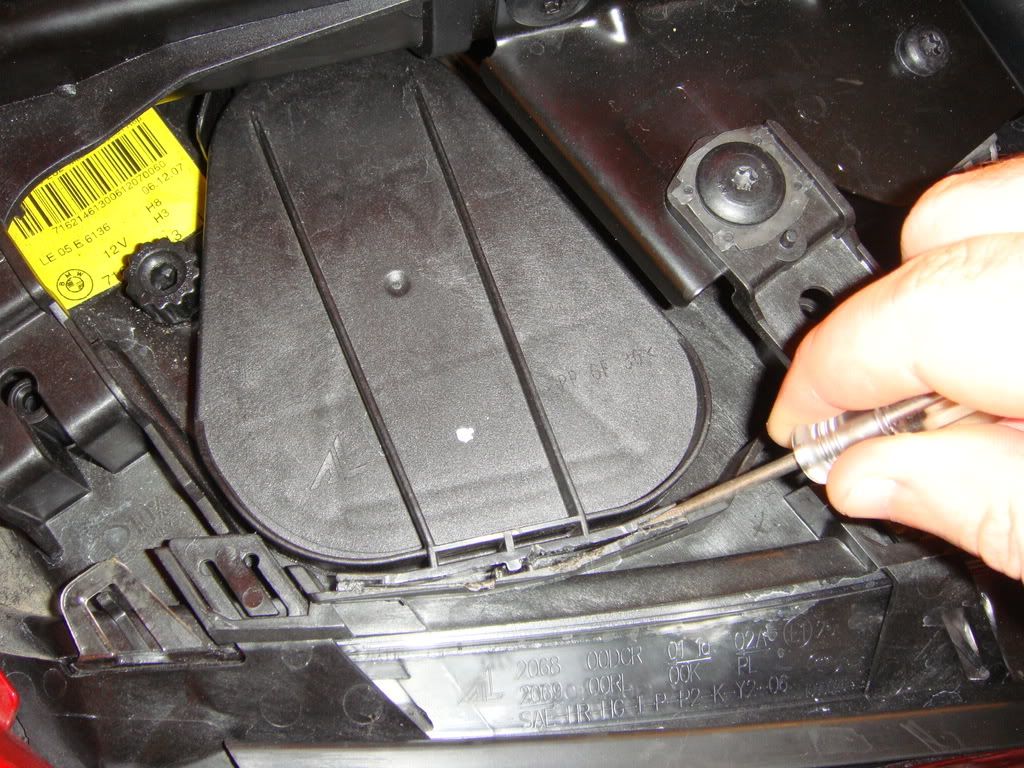 8. Next located the stock bulb you can see it here in the headlight are after the lid is removed 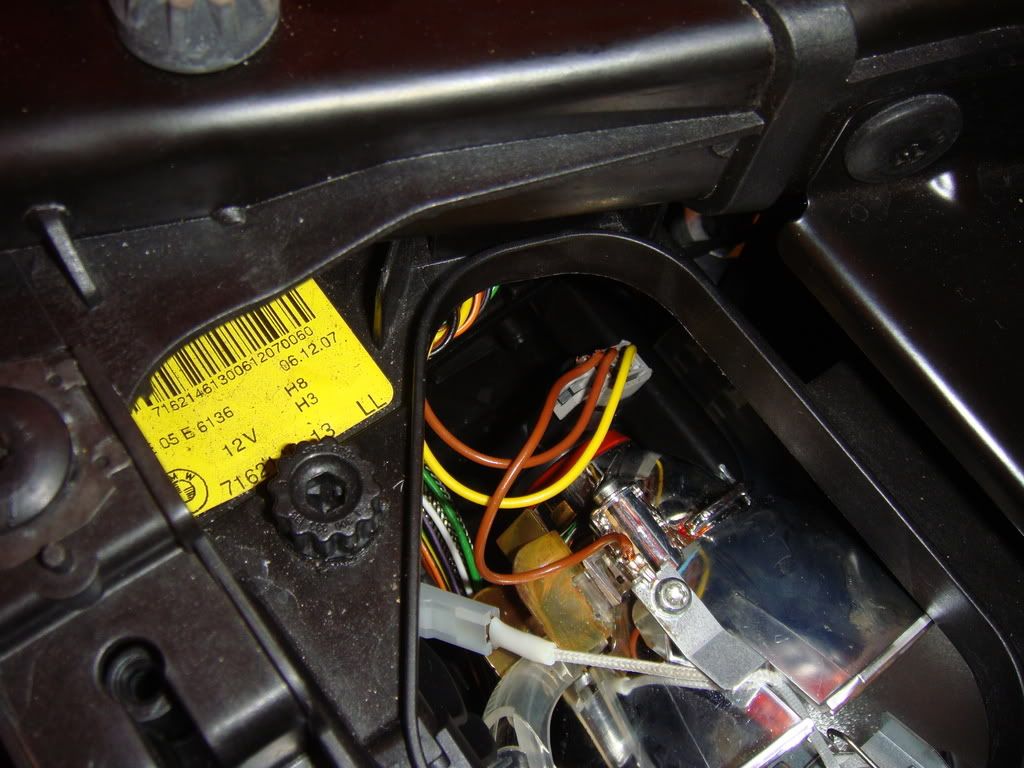 Twist it counter clockwise and pull it out like so. 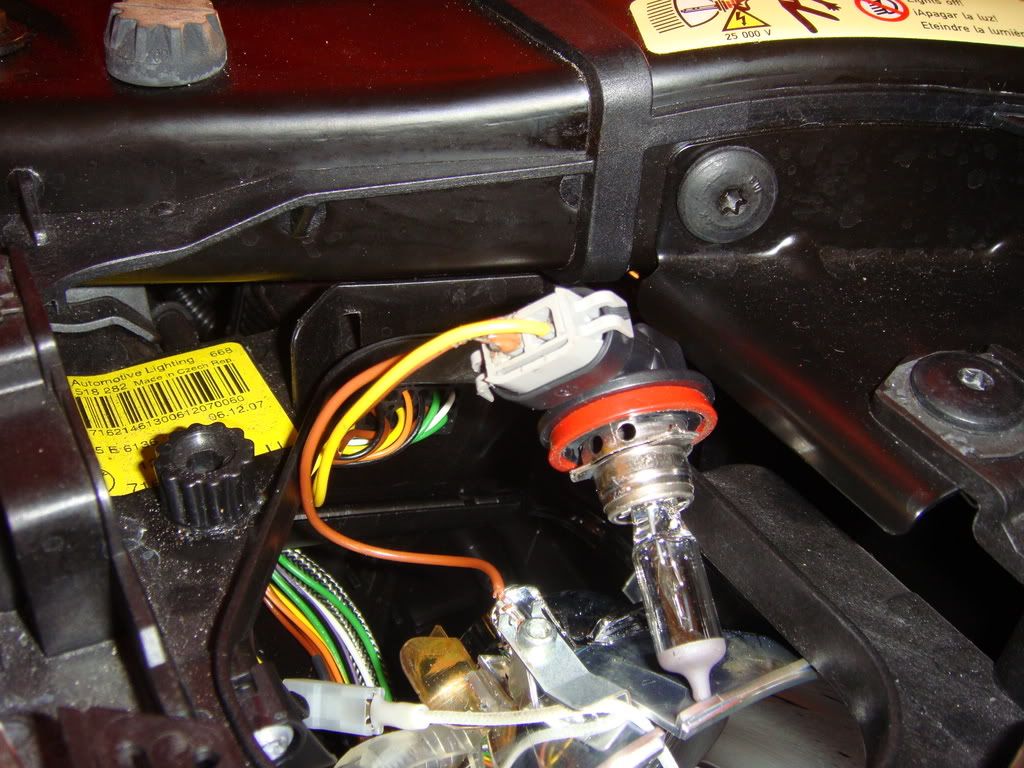 Disconnect the factory wiring harness from it Next put in the new hid bulb in the socket. This step is kinda difficult but i find it much easier to put the bulb in bottom first like shown here and use a screw driver or skinny object to maneuver the HID bulb into the socket. 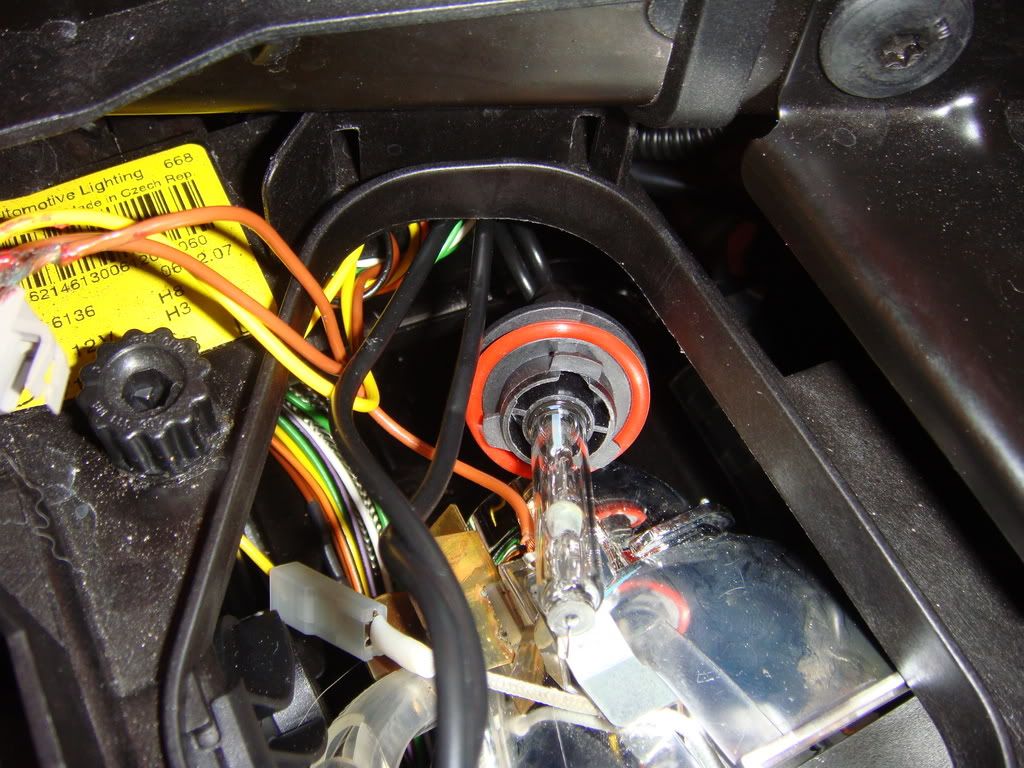 Its going to take some twisting and turning around to get it to fit but trust me it fits. Make sure you leave the plugs from the HID bulb outside of the cannister so the lid can go back on. Run the wires comming from the circuit in the same fashion. I notched my lid in the back as shown to be able to run the wires out. Just make sure you dont cut the actual rubber seal 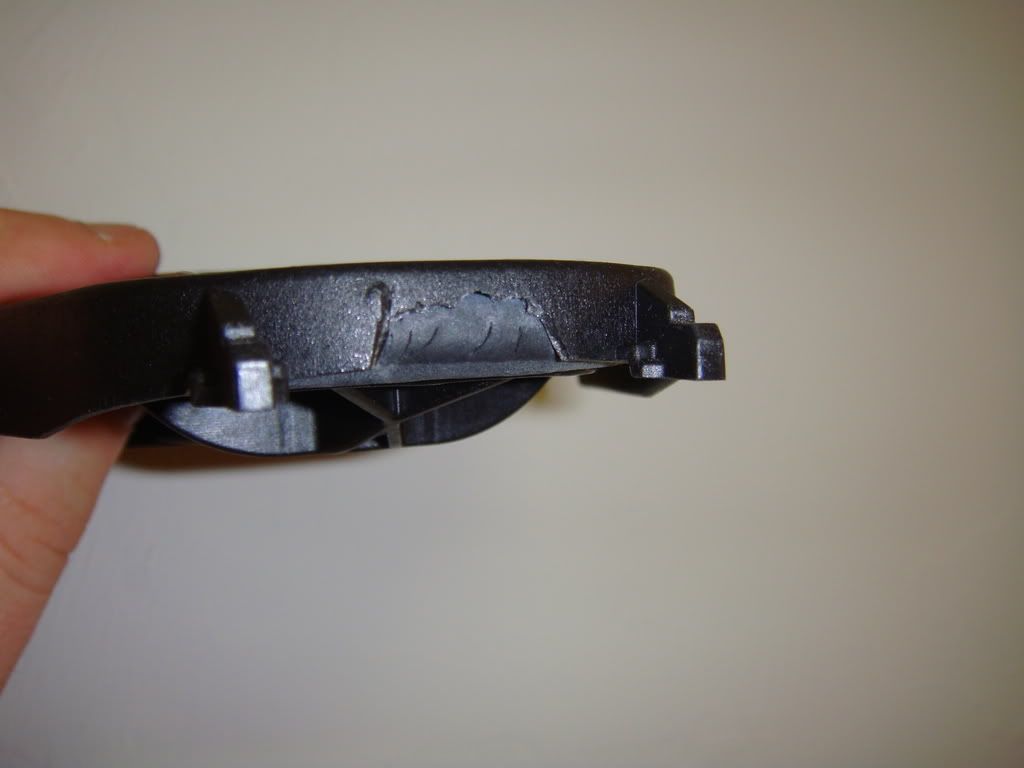 This is how i placed the wires toward the back of the lid so you dont see the wires 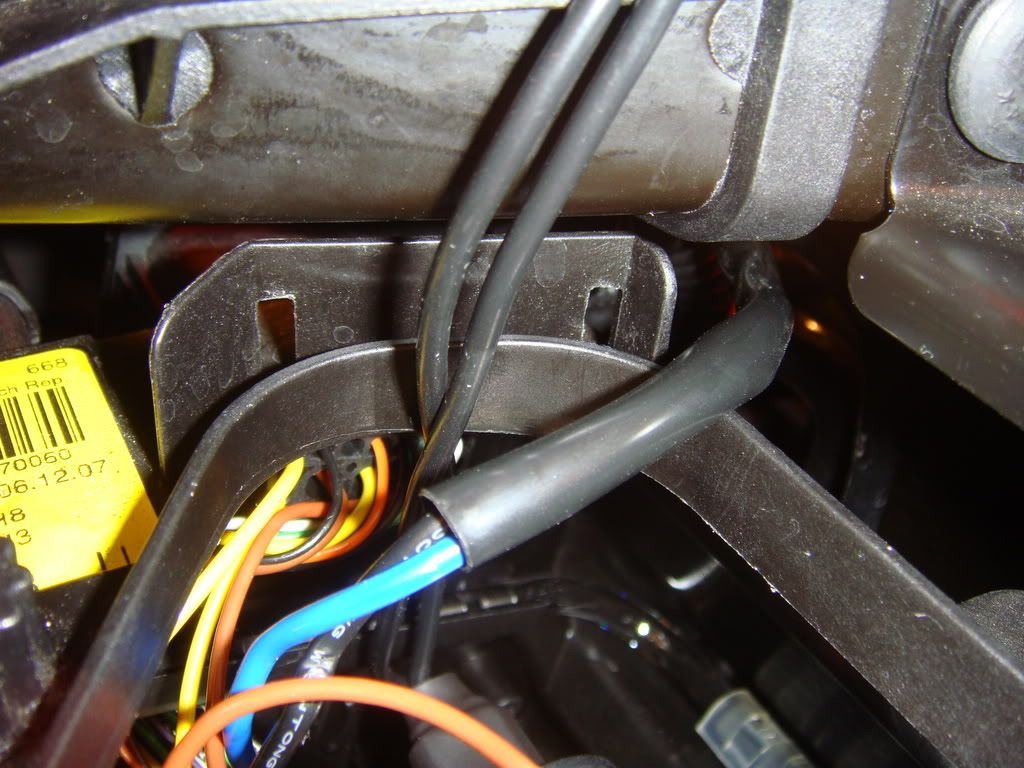 9. Connect the circuit with the plug and play connectors. It should only go one way (so you cant mess it up) but the red or yellow wire should be connected to the yellow wire on the factory plug like this. 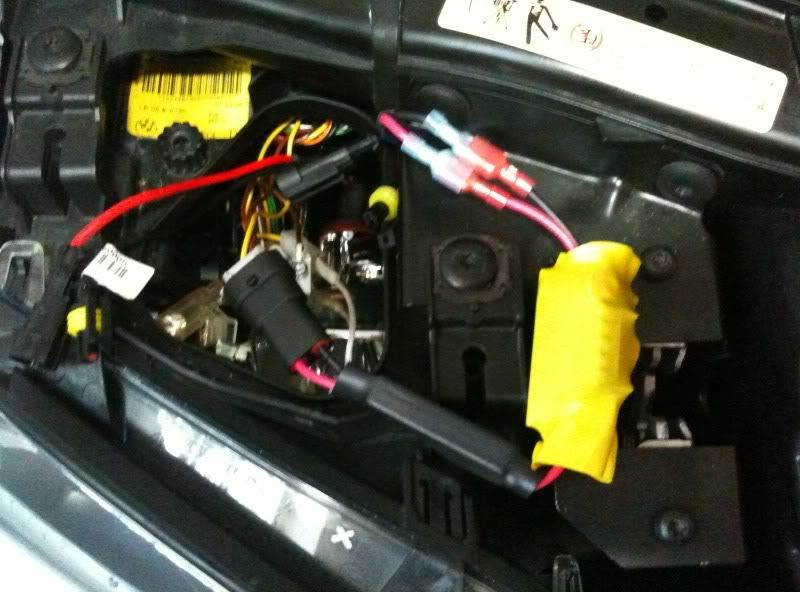 10. Then connect the connectors coming out of the circuit. They two should be opposite and impossable to reverse but in this case the red connects to the blue and the black to black with plug and play opposite connectors. 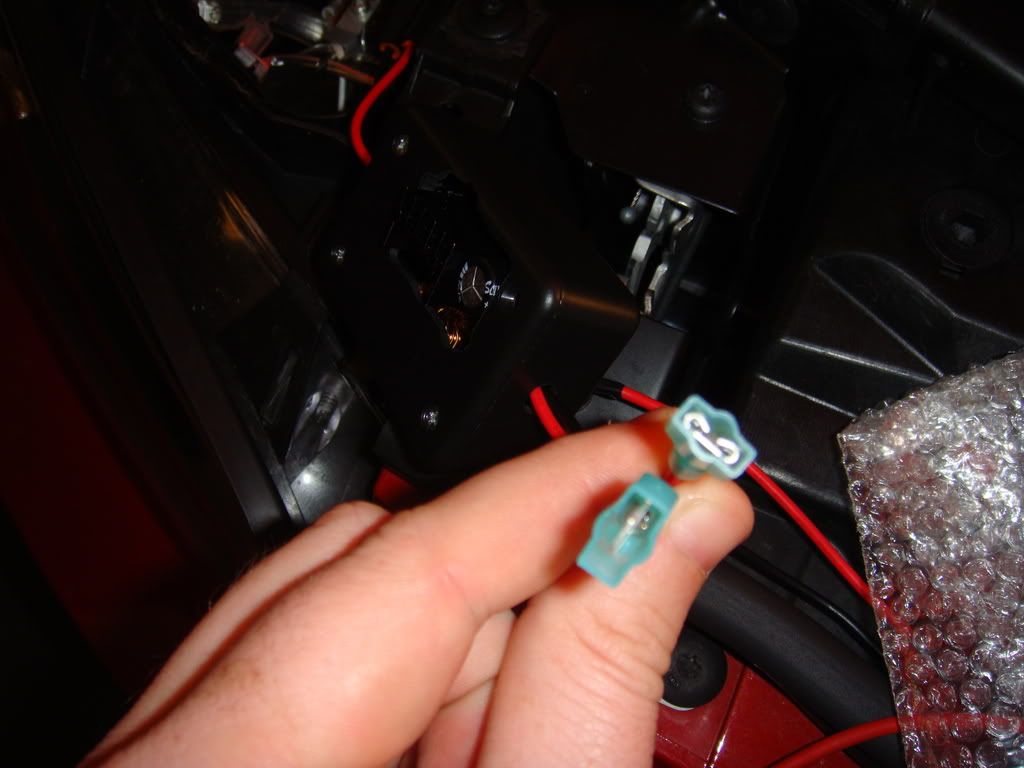 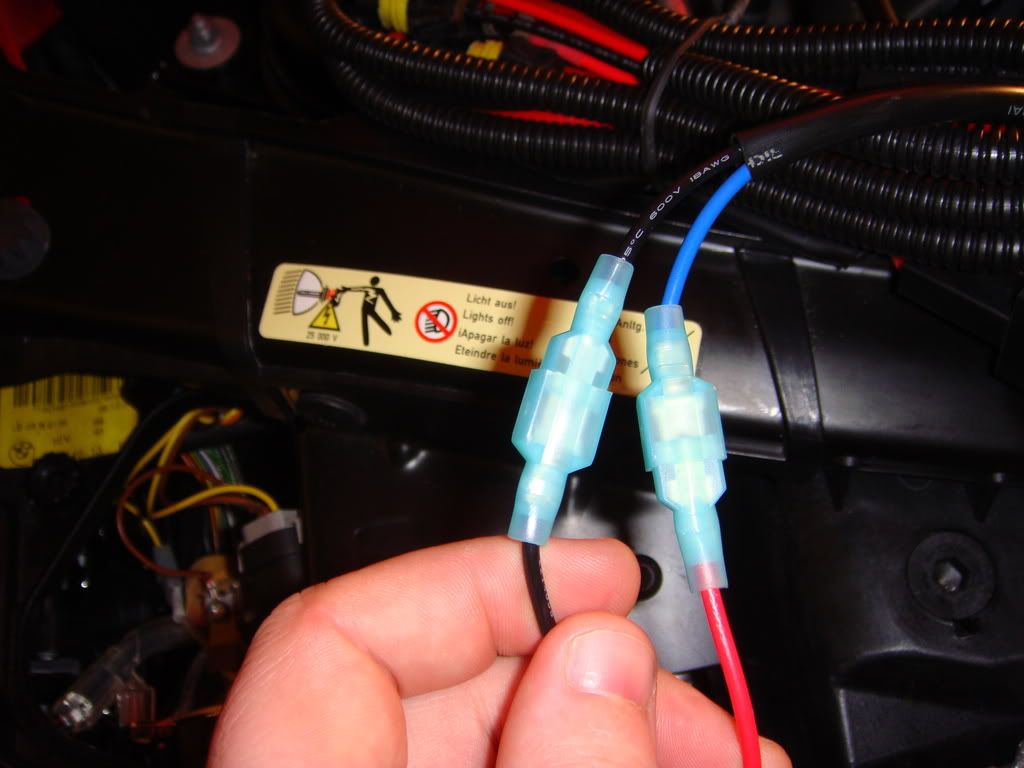 11. Next connect the plug and play plugs from the hid ballast assembly to the bulb. Here is the balast plugs connected and ran underneeth the metal brace out the back of the lid...also run your wires from the harness to the circuit under here to keep all the wires hidden. 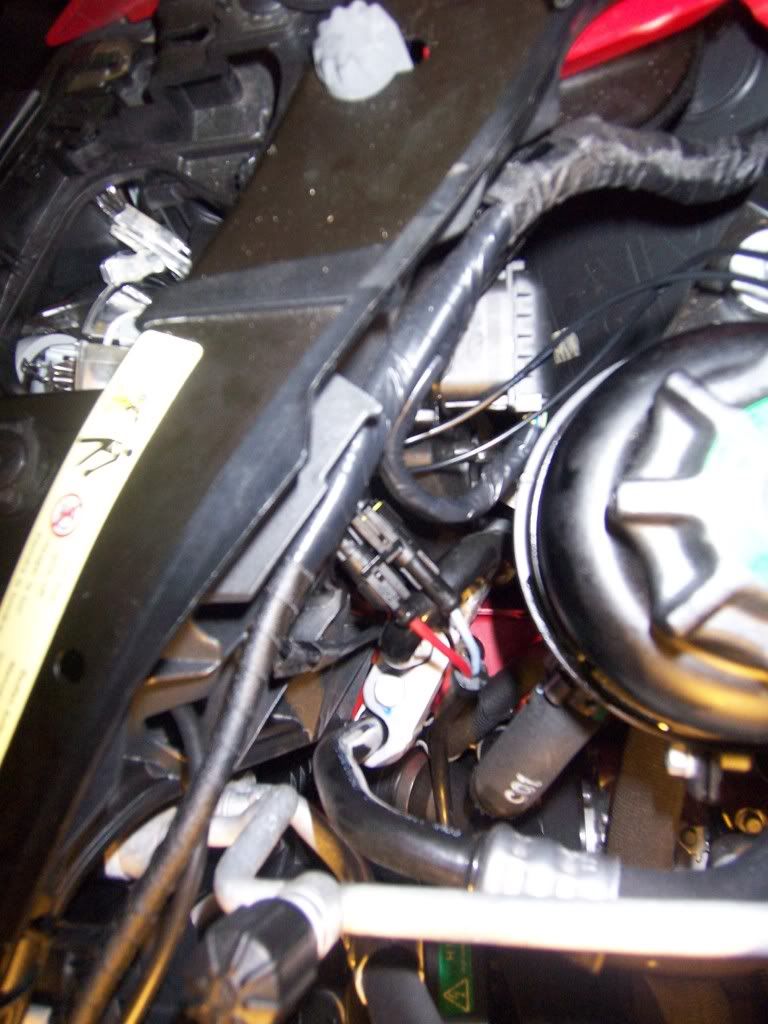 Also connect the plug and play plug from the wiring harness to the ballast looks like this. Be sure to use the shorter one of the two in the harness as the long one is to reach to the driver side. 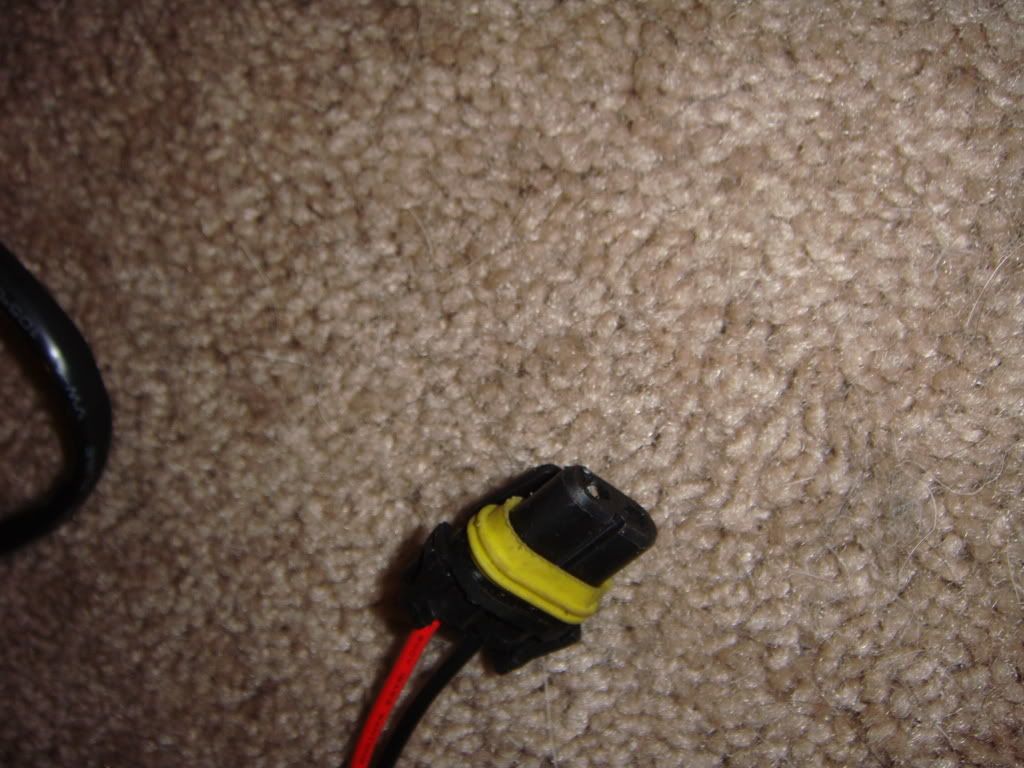 12. After this tuck your ballast, wire harness, and relay away. I put mine here (yellow arrow) and it fits perfect. I placed everything here and its hidden. 13. Then run the other longer of the plug and play plugs shown bellow, in between the top of the fan shroud and under the cover. 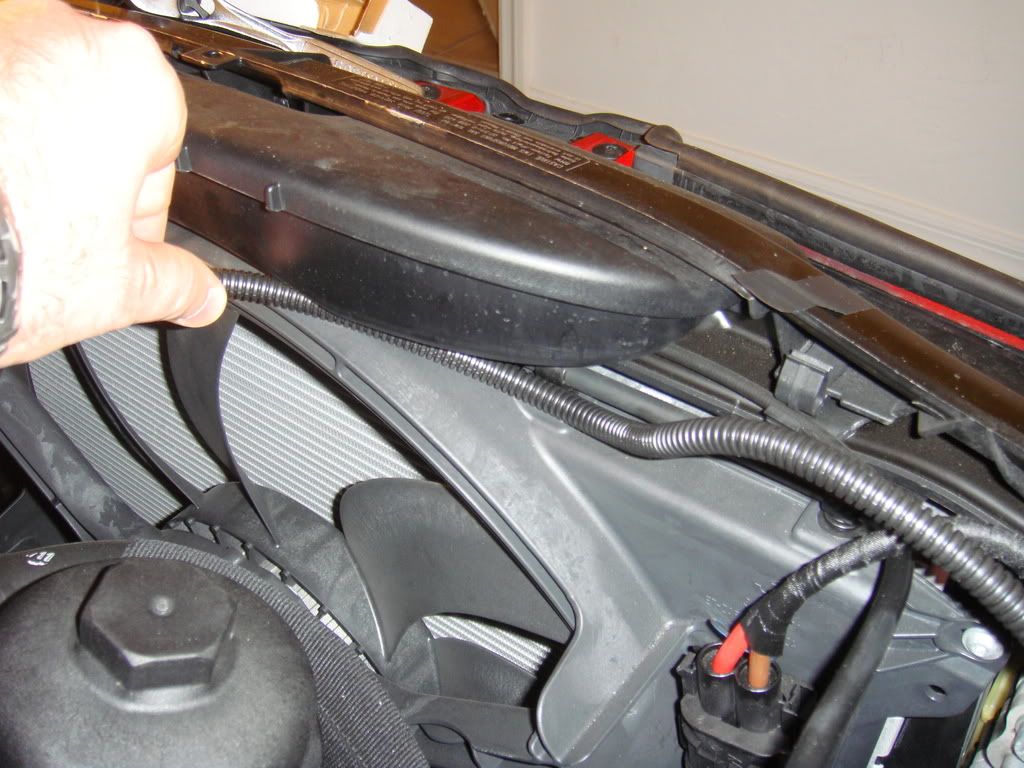 14. Repeat the same process for taking off the lid exposing the old bulb, taking out the bulb etc. Put in the new HID bulb on the other side and hook the remainder of the plug and play plugs. You will also see on the harness a ground for the driver side ballast. Put it on the 10mm bolt on the driver side shock tower (should have two brown wires on it already) and run your wire under the air box. should be here 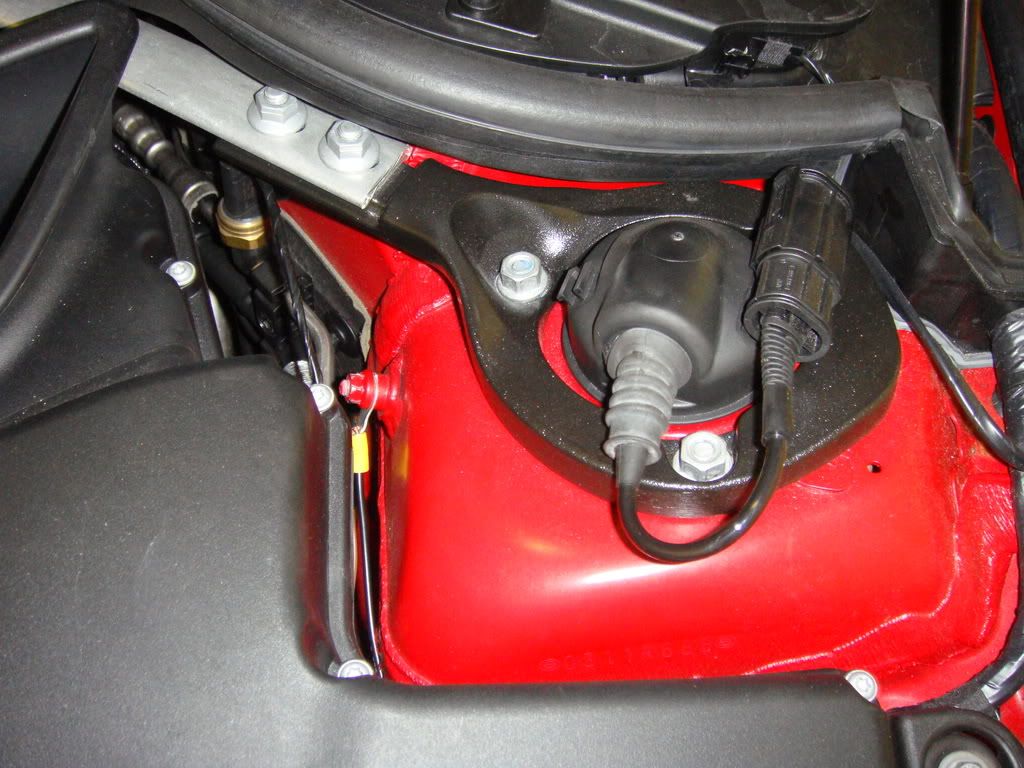 Lastly Place the resistor i supplied into the stock plug with the plug and play connector (note* if your kit dose not include this plug and play connector it wont make a difference, just slide in the plongs to the vehicle car plugs and wrap with electical tape) 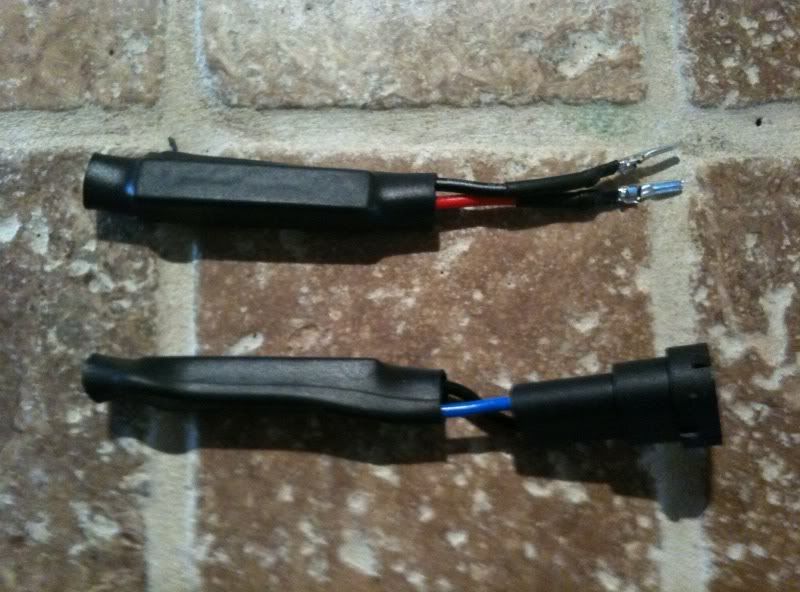 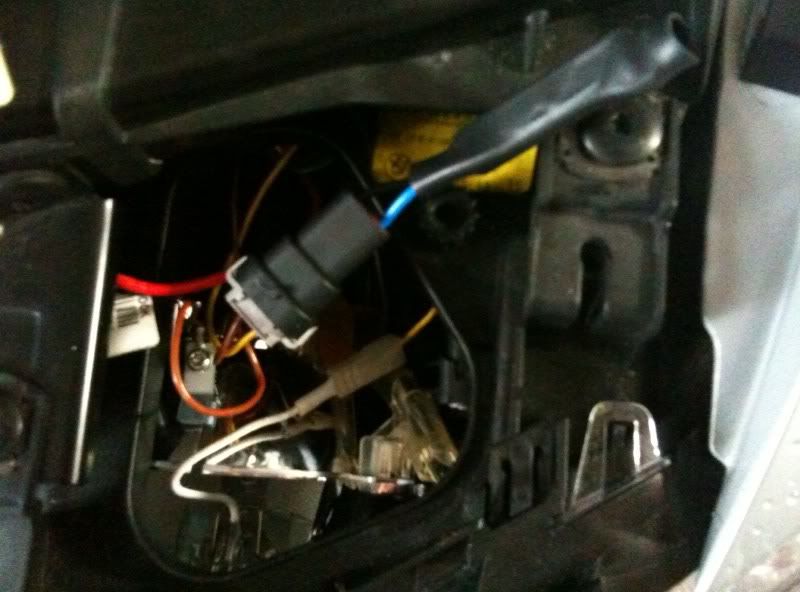 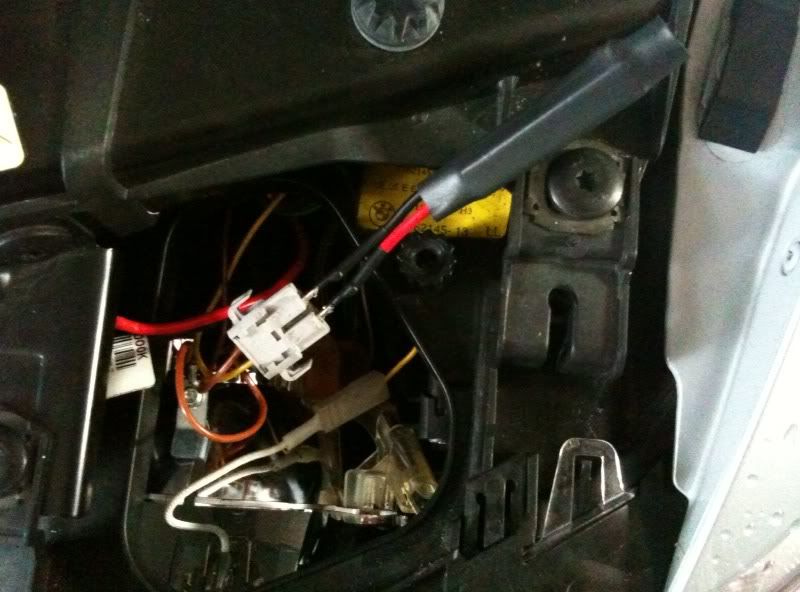 Lastly tuck in your ballast under the air box assembly right here. You may or may not have to remove some bolts holding the air box assembly down. You dont have to do this but i think it gives it a clean stock look. 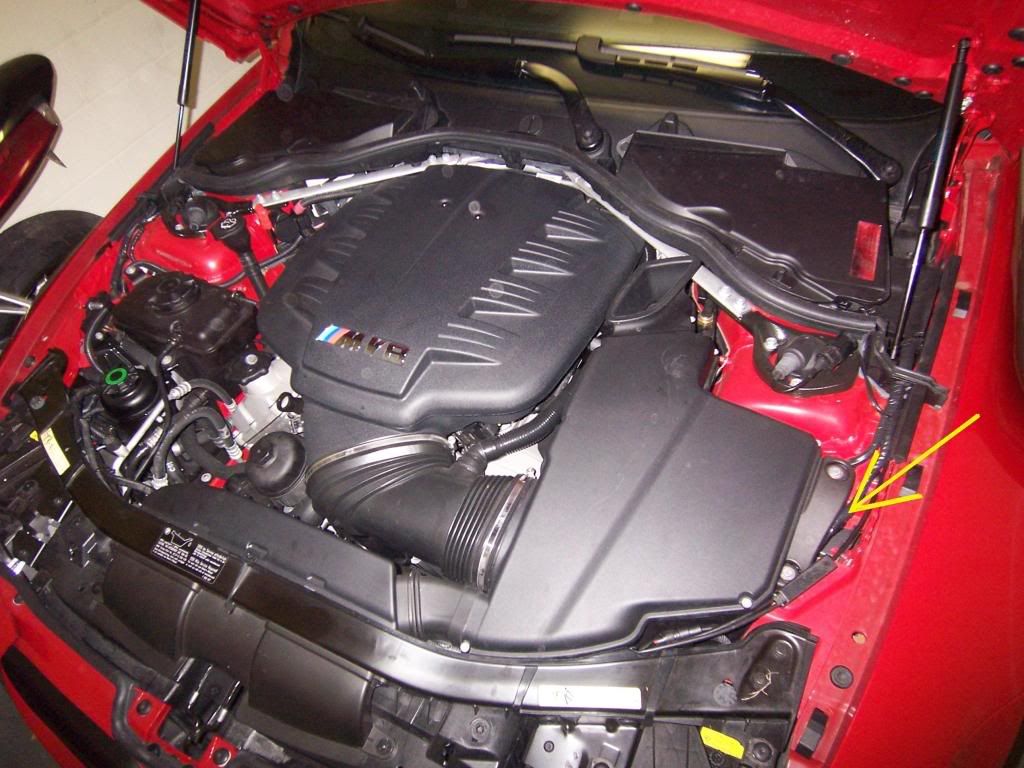 13. Lastly check all your connections and start up your car. Take a look and make sure your all done. WALLA! your done. Just tidy up your wires and zip tie any hanging wires. Here is the final look at the engine compartment. Looks stock and you wouldnt even know there is anything new if you didnt know to look for it  Enjoy your new super bright halos!!! Enjoy your new super bright halos!!!  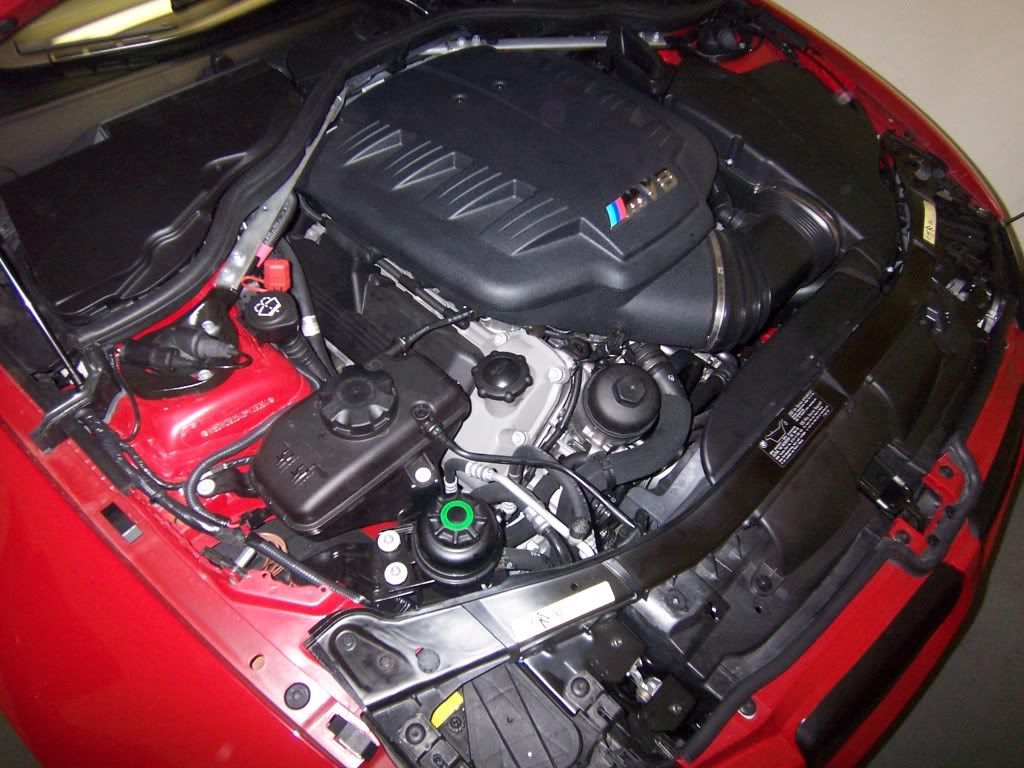 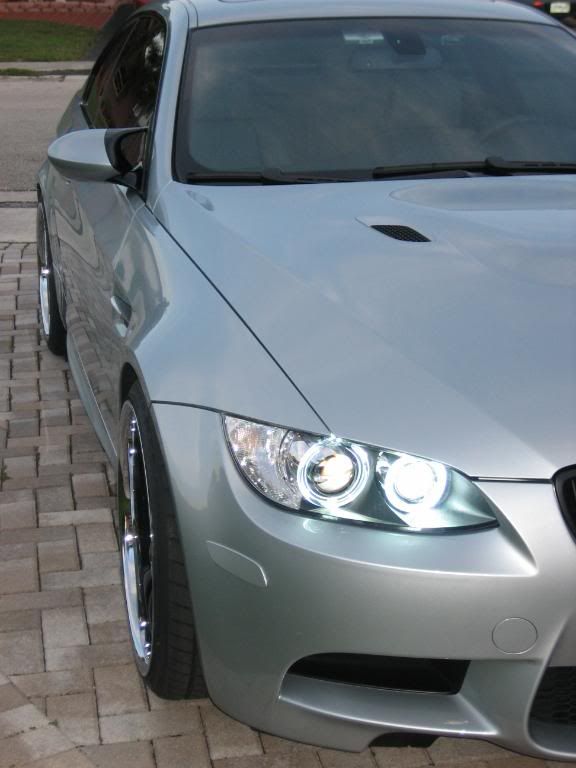   Disclaimer: Im not responsible for any miss wiring or faulty connections and any damage that may occur from someone besides me installing this kit. Install at your own risk! Last edited by camaross305; 09-11-2009 at 12:31 PM.. |
| 09-11-2009, 03:07 PM | #2 |
|
Lieutenant
 
10
Rep 462
Posts |
Awesome write up. This makes the job a lot easier.
__________________
|
|
Appreciate
0
|
 |
| Bookmarks |
|
|


